Custom Display Boxes
Match display structure to store placement, product count and refill flow so each unit stays visible, stable and easy to shop.

Display Boxes options
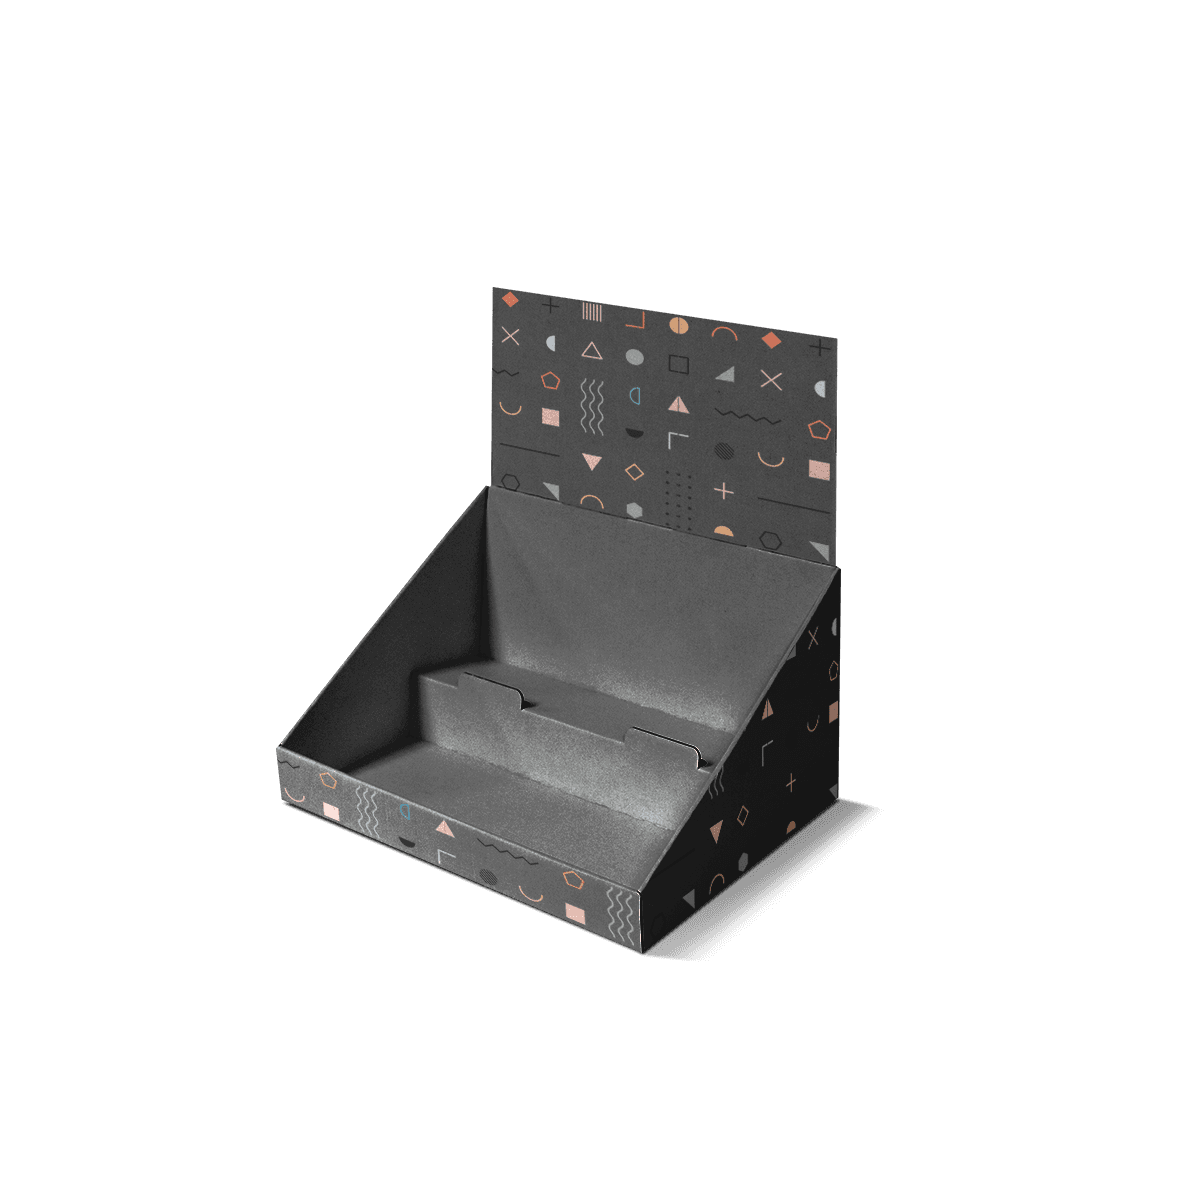
Counter-Top Display Boxes
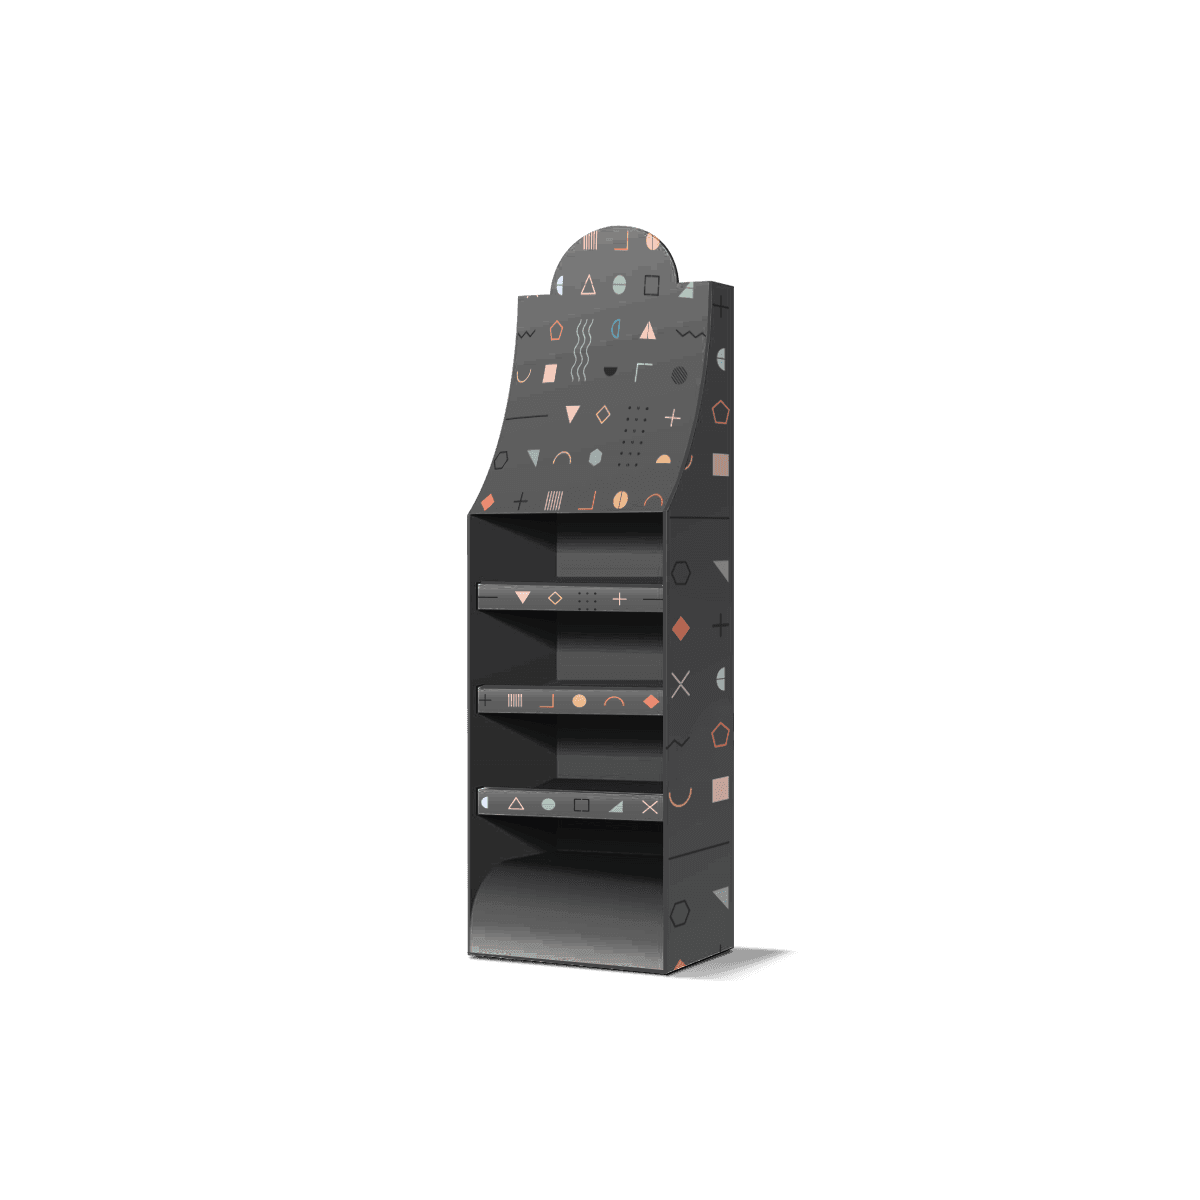
Floor Display Boxes
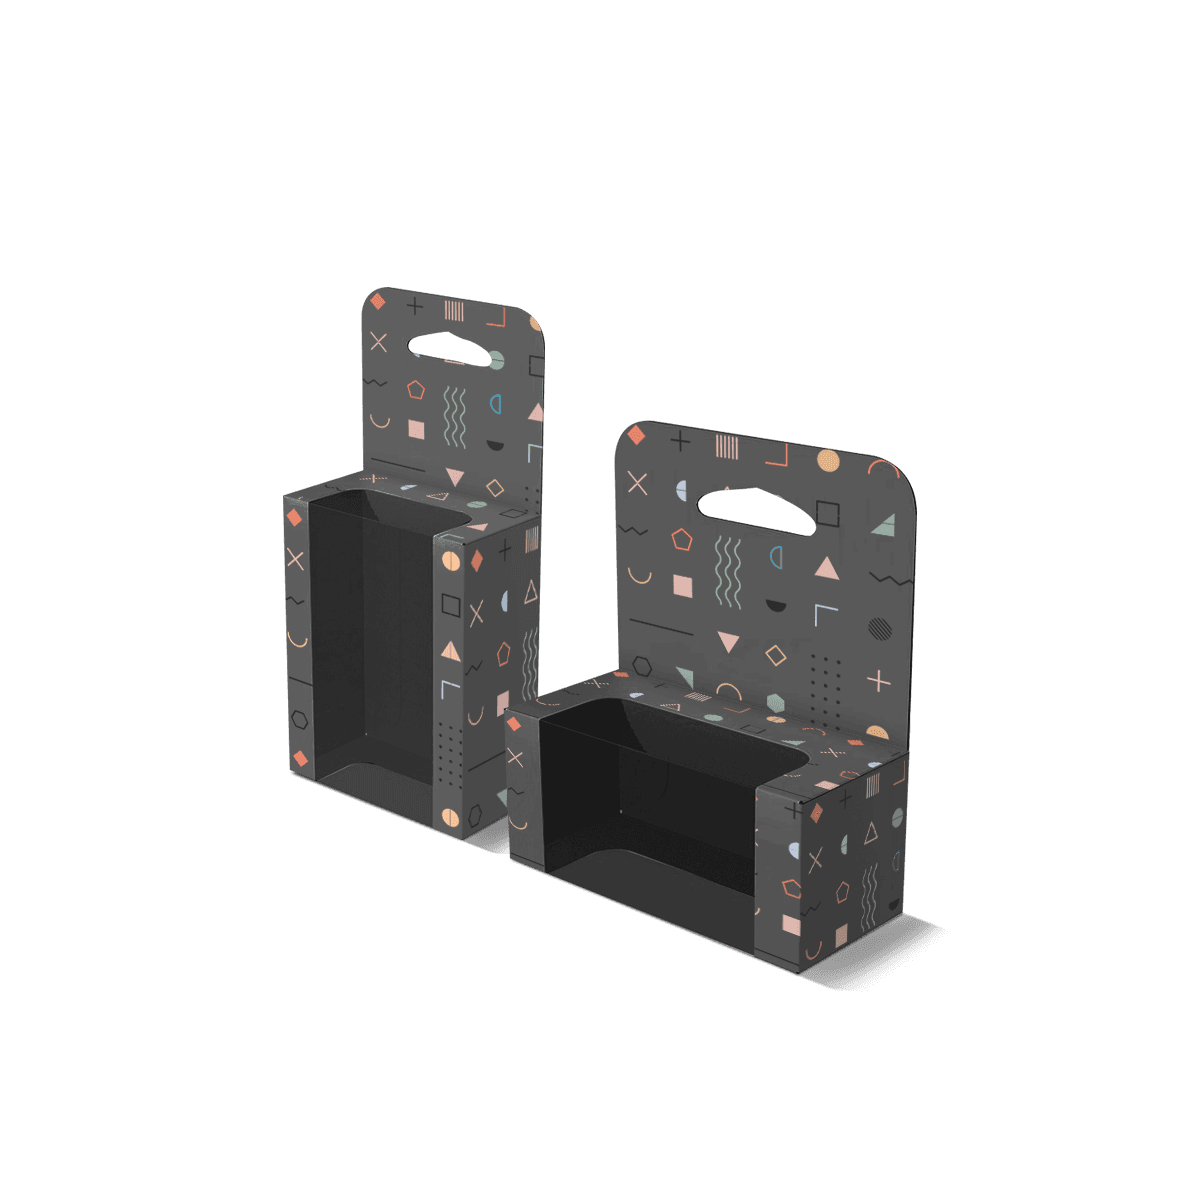
Hanging Display Boxes
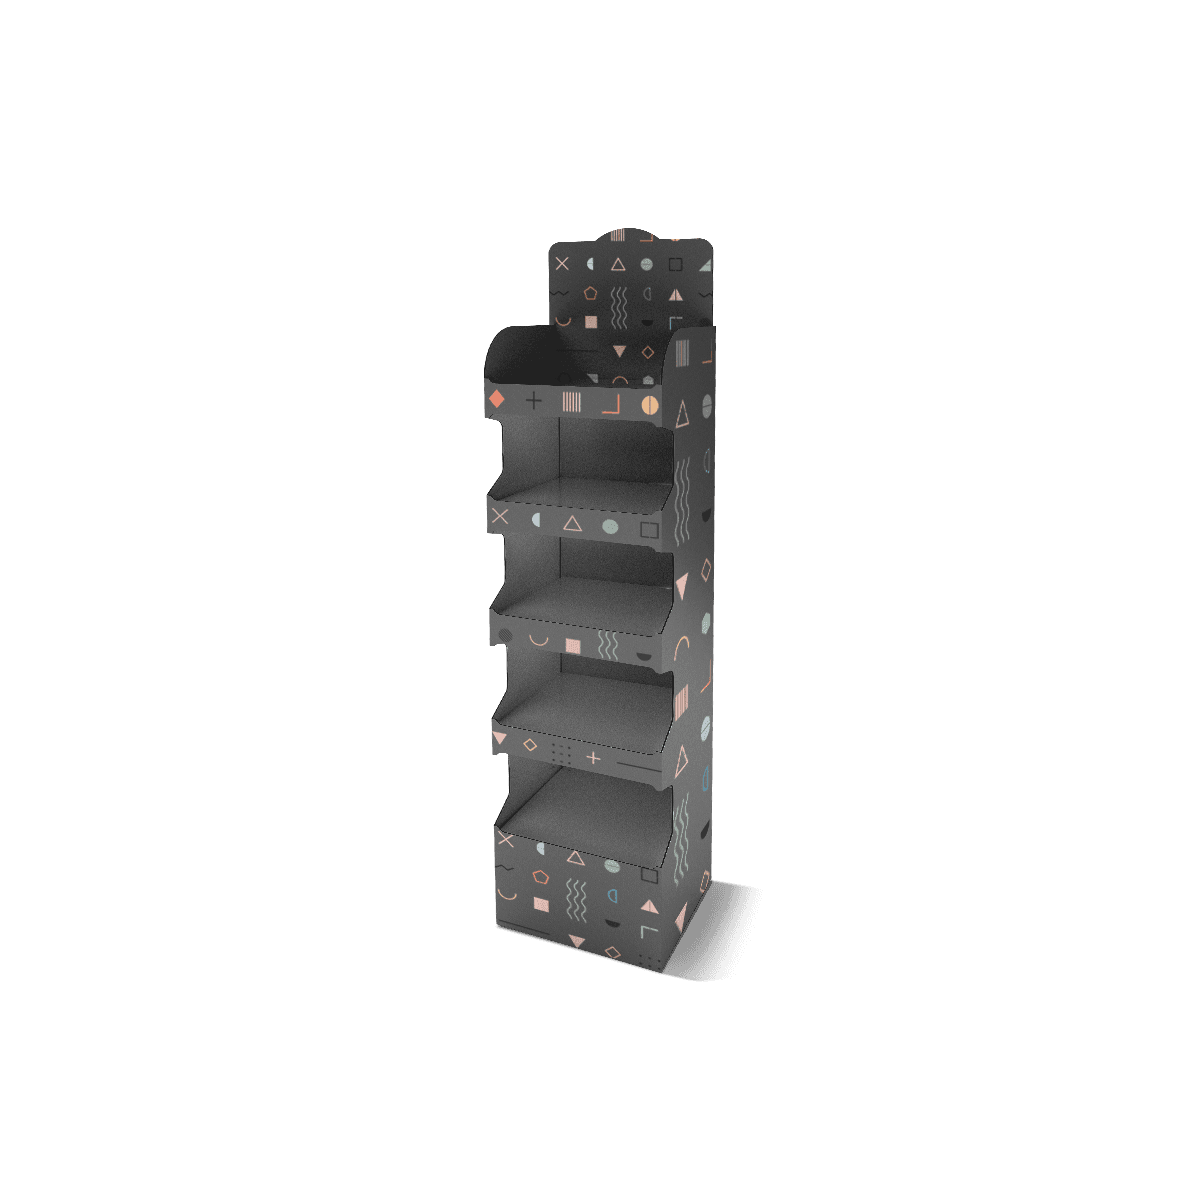
Power Wing Display Boxes
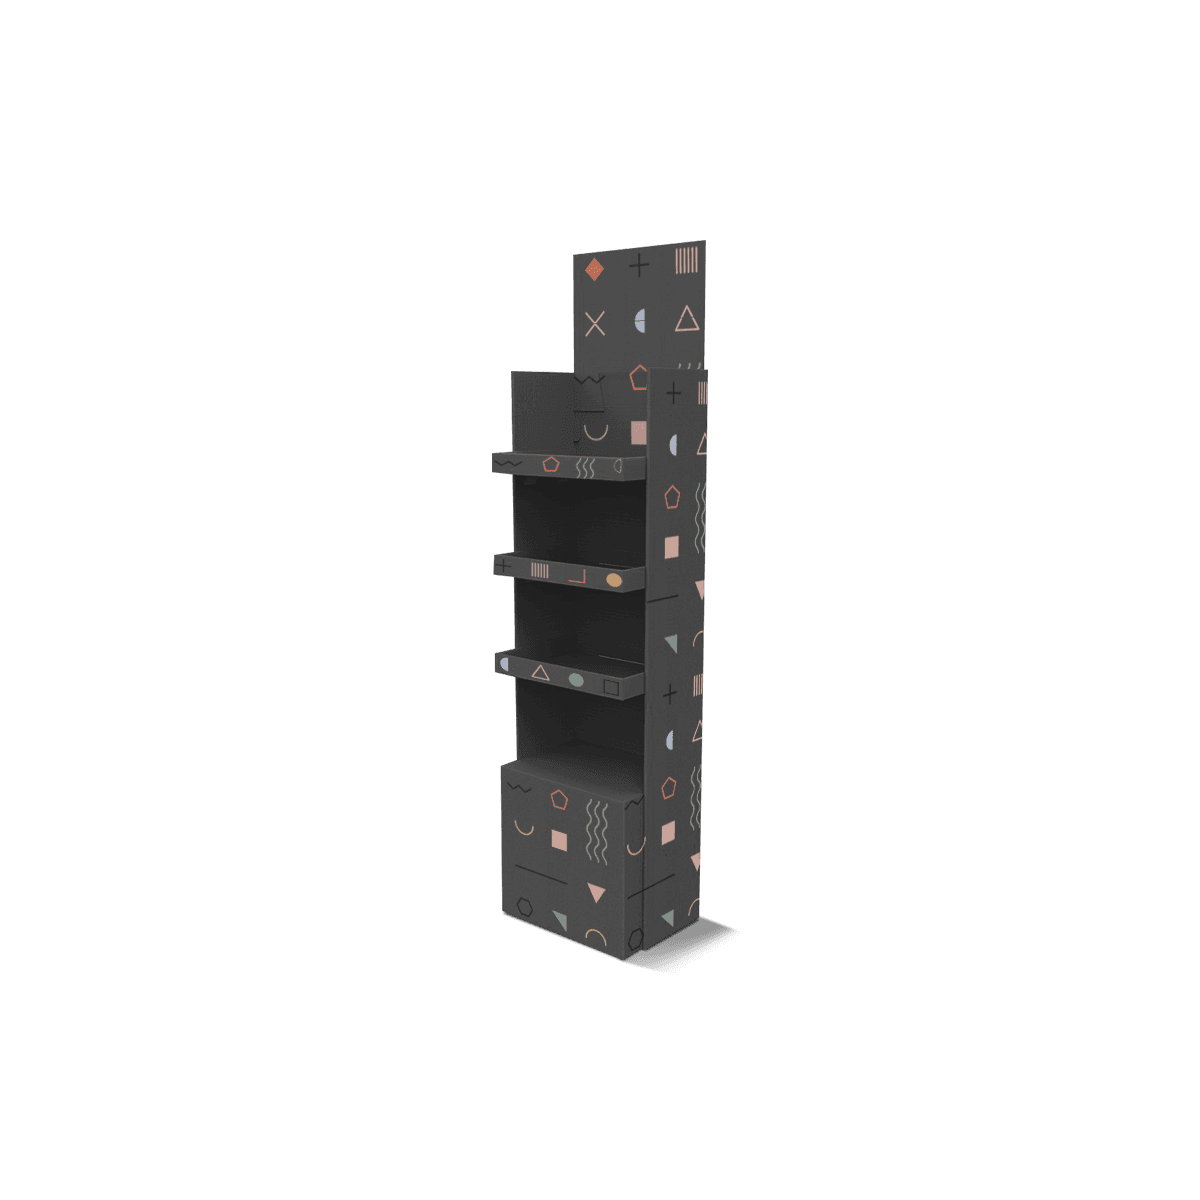
End Cap Display Boxes
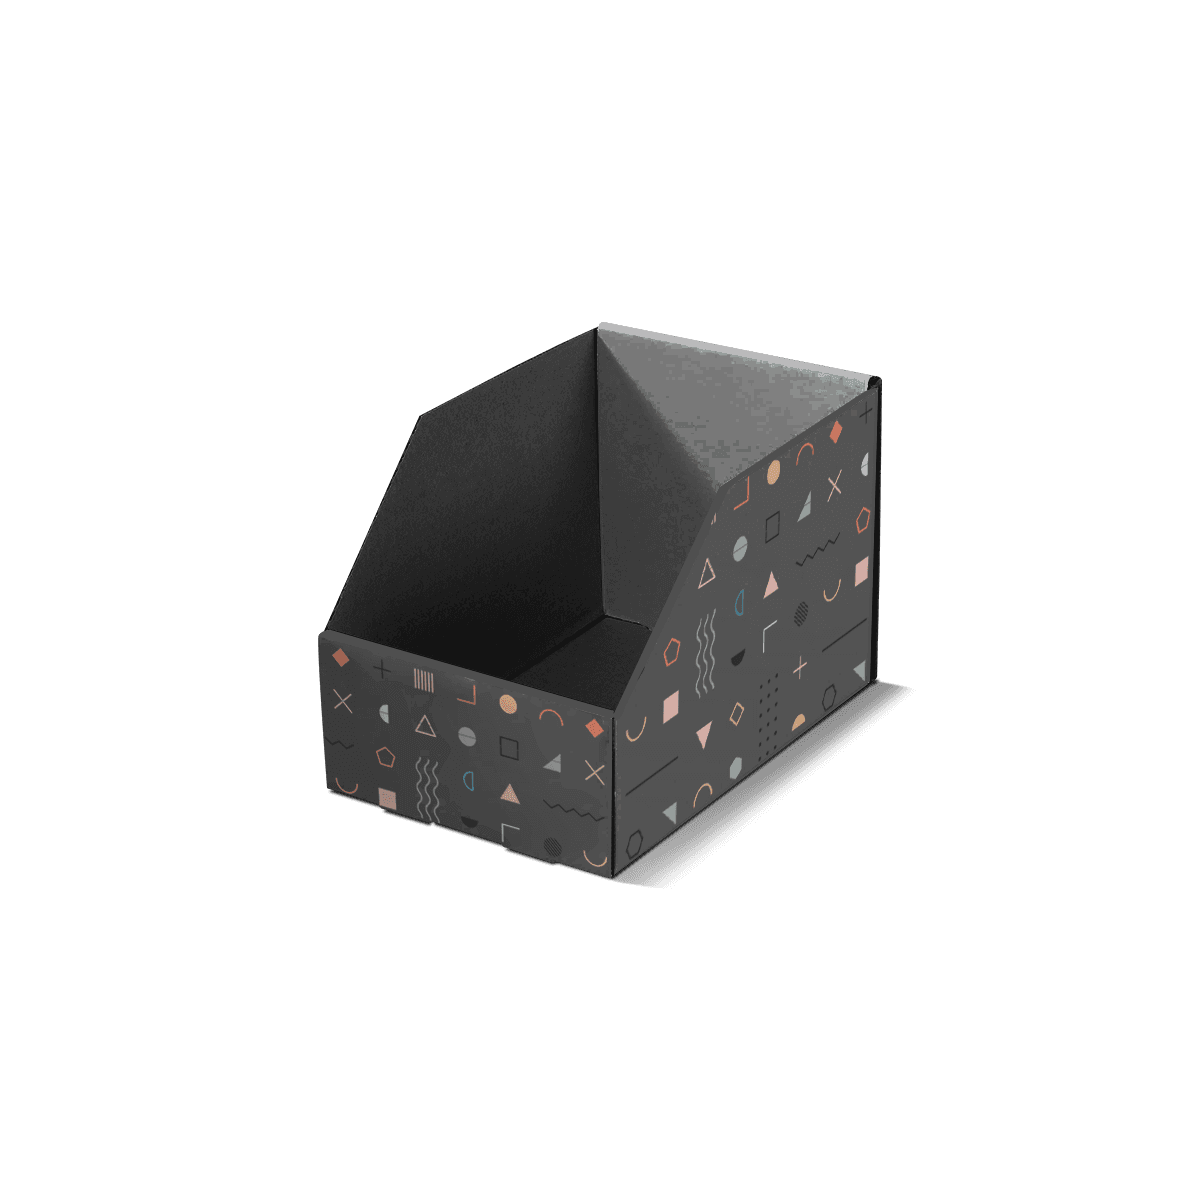
Bin Display Boxes
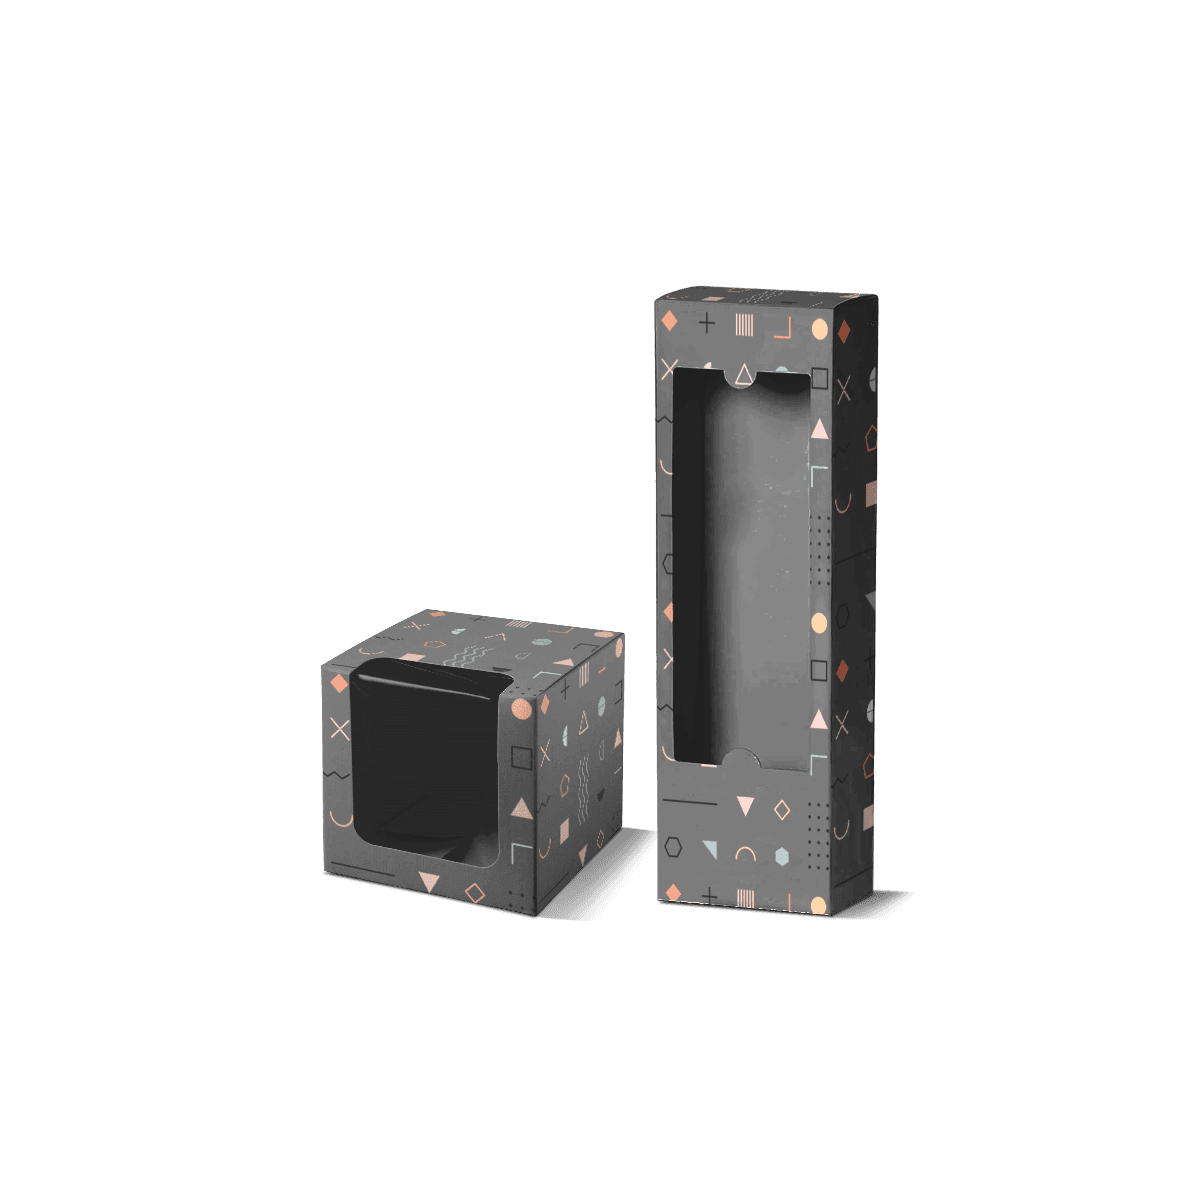
Windowed Display Boxes
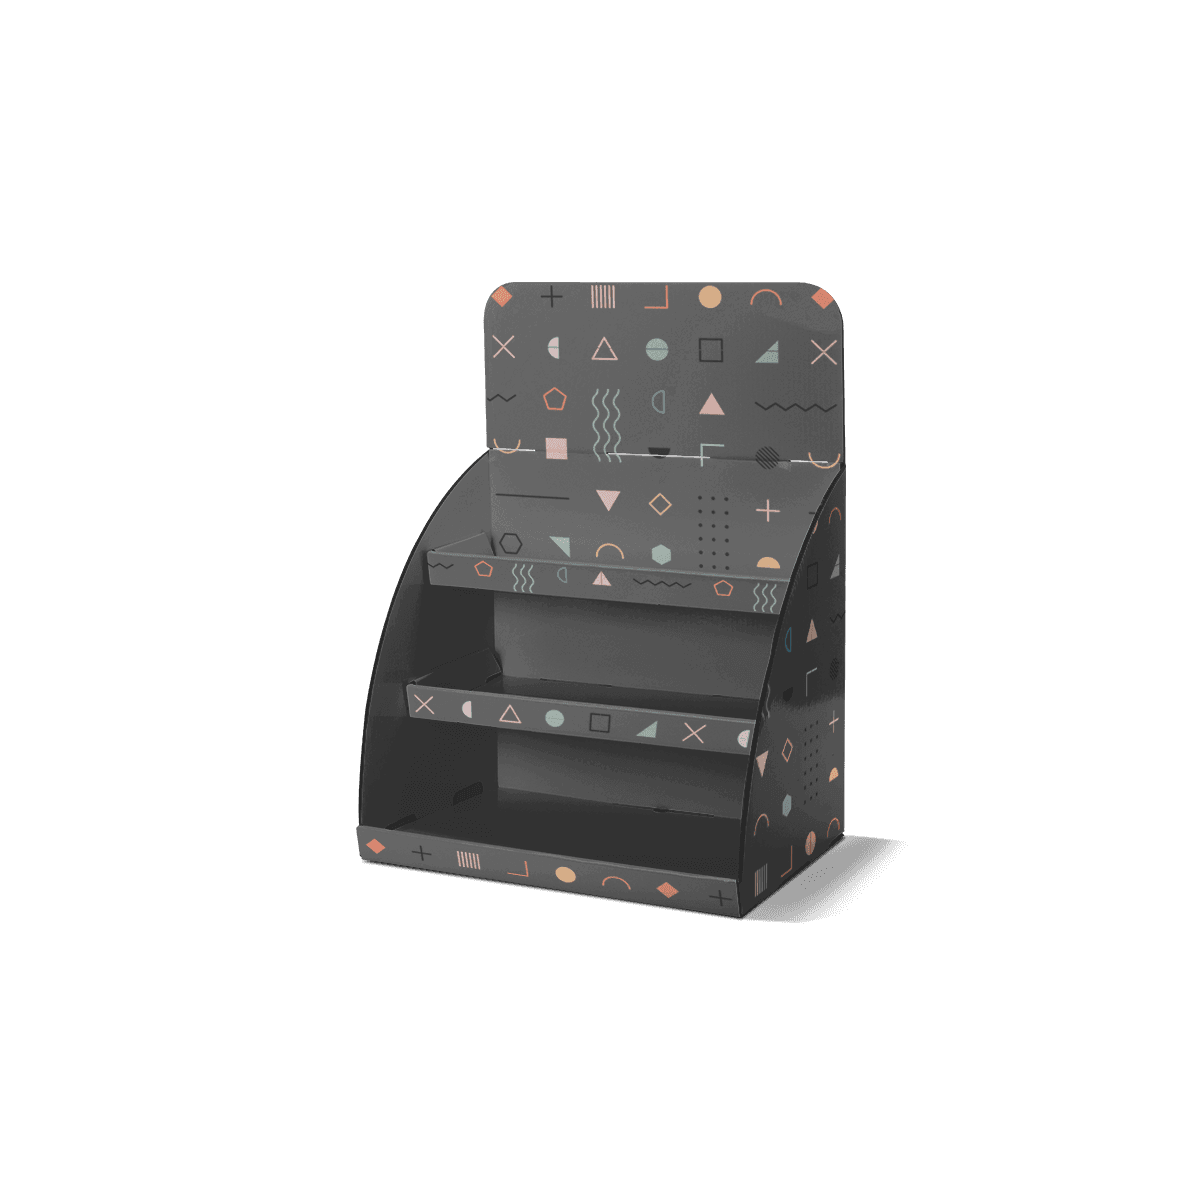
Pop-Up Display Boxes
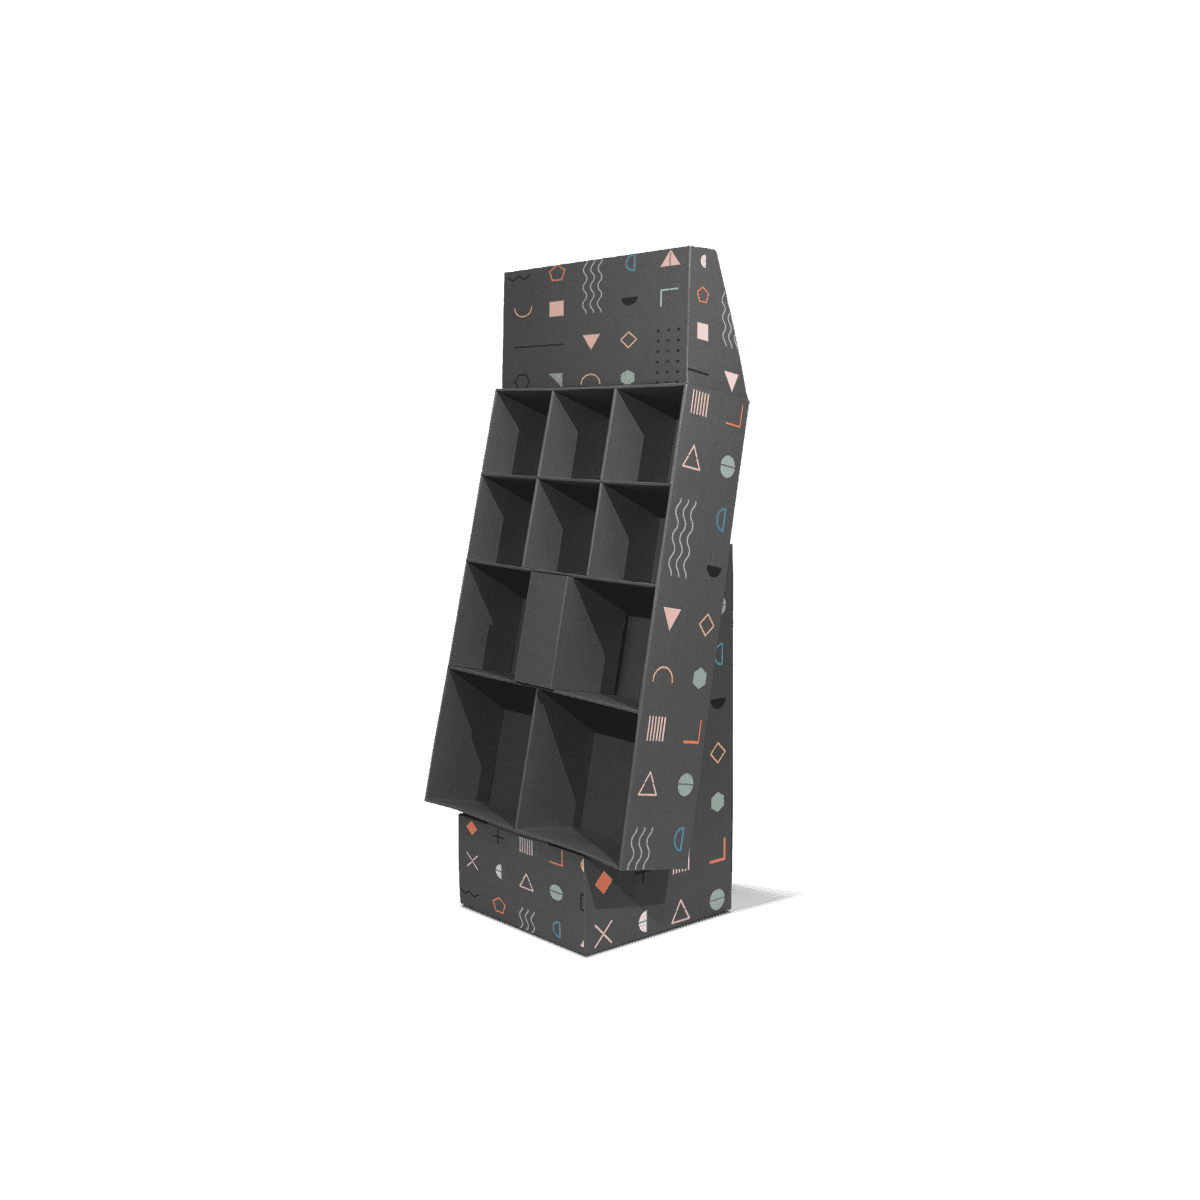
Gondola Display Boxes
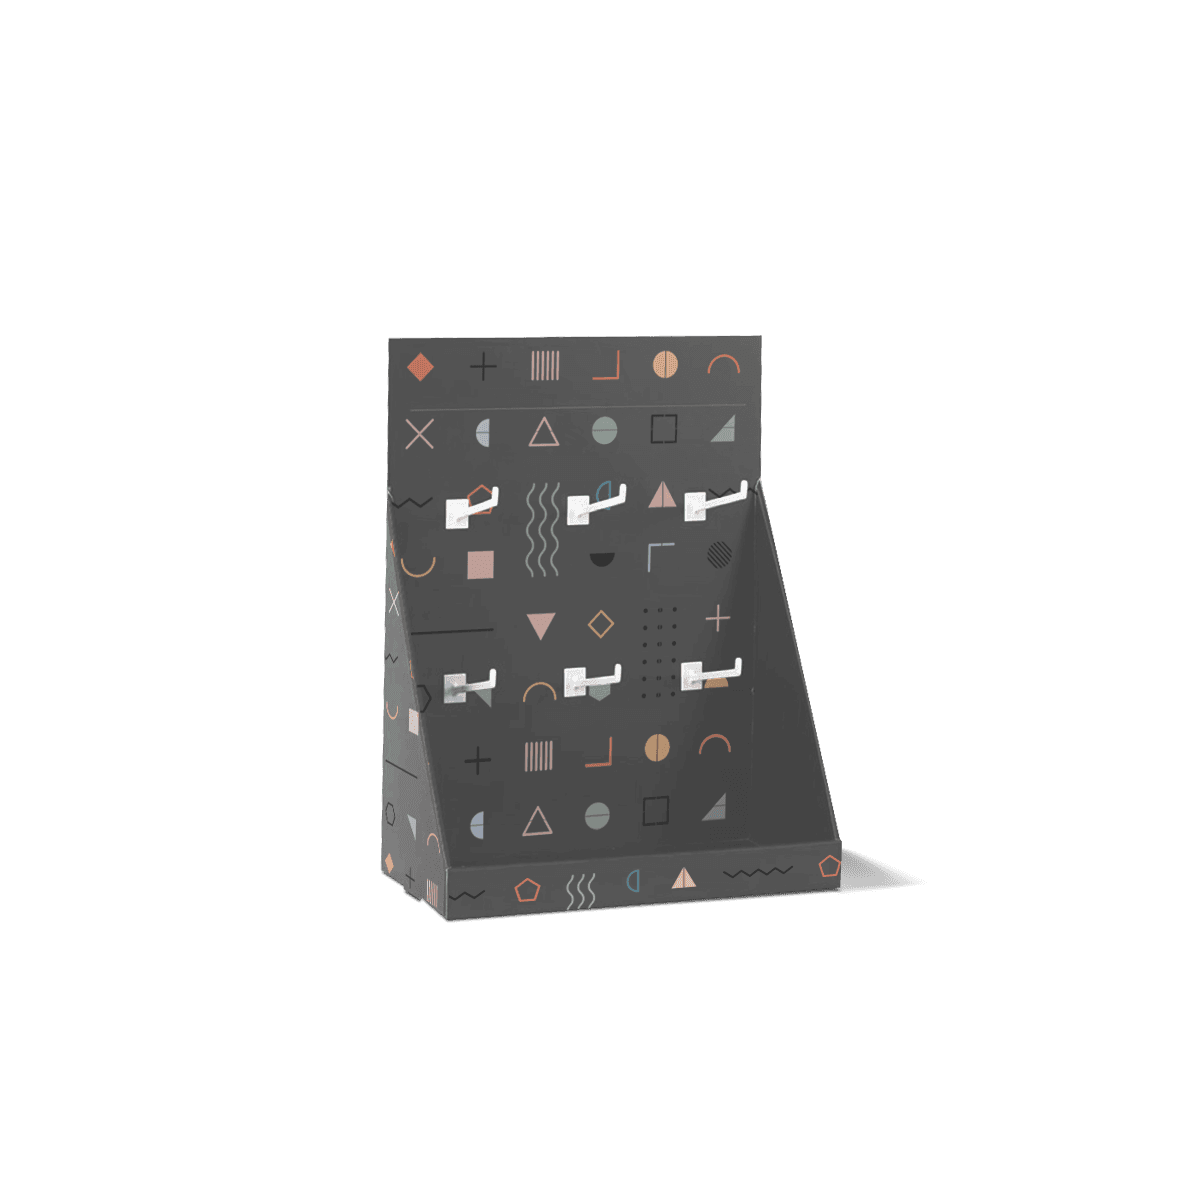
Peg Hook Display Boxes
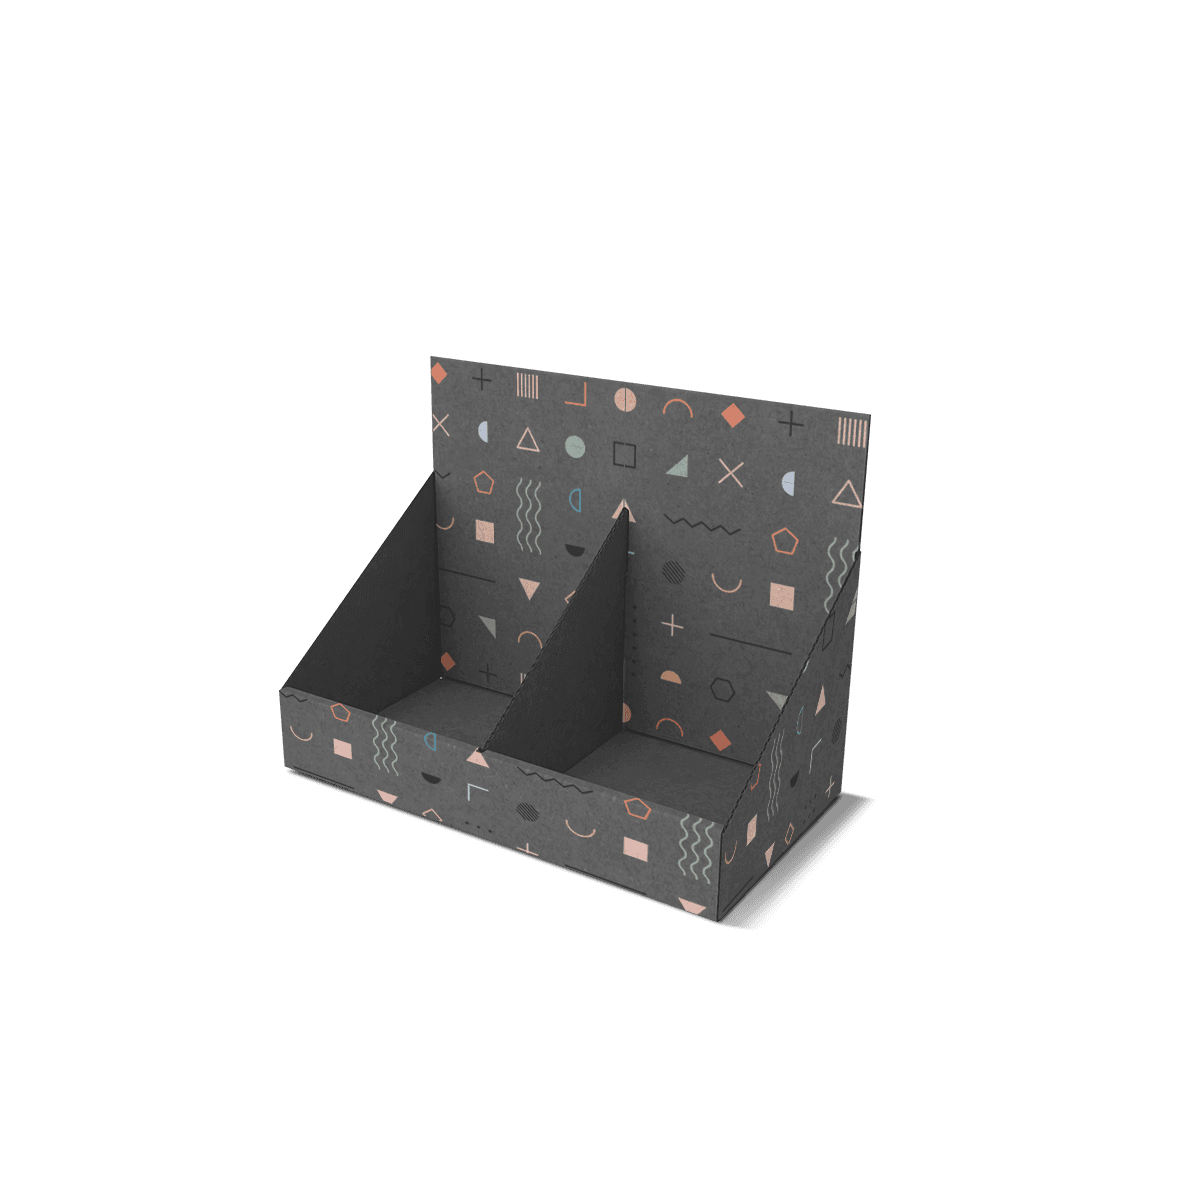
Cardboard Display Boxes
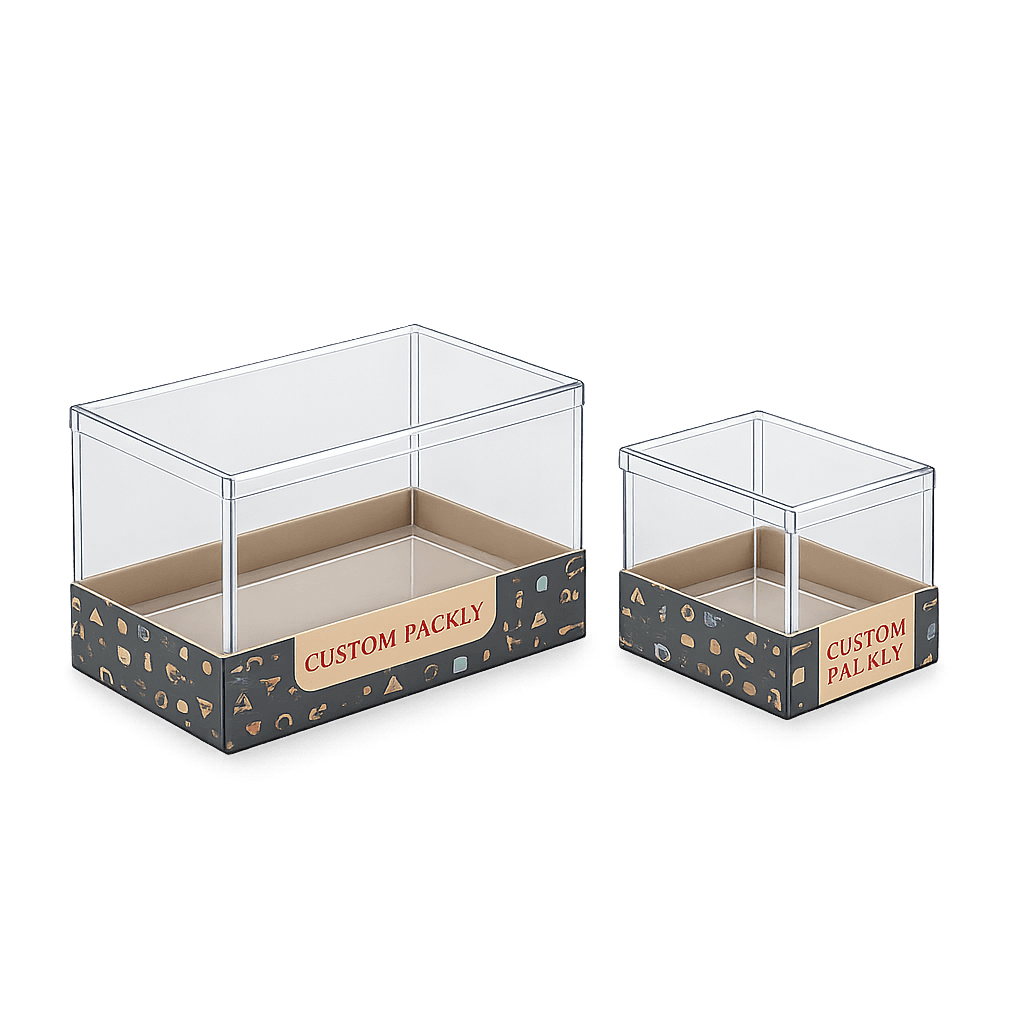
Acrylic Display Boxes
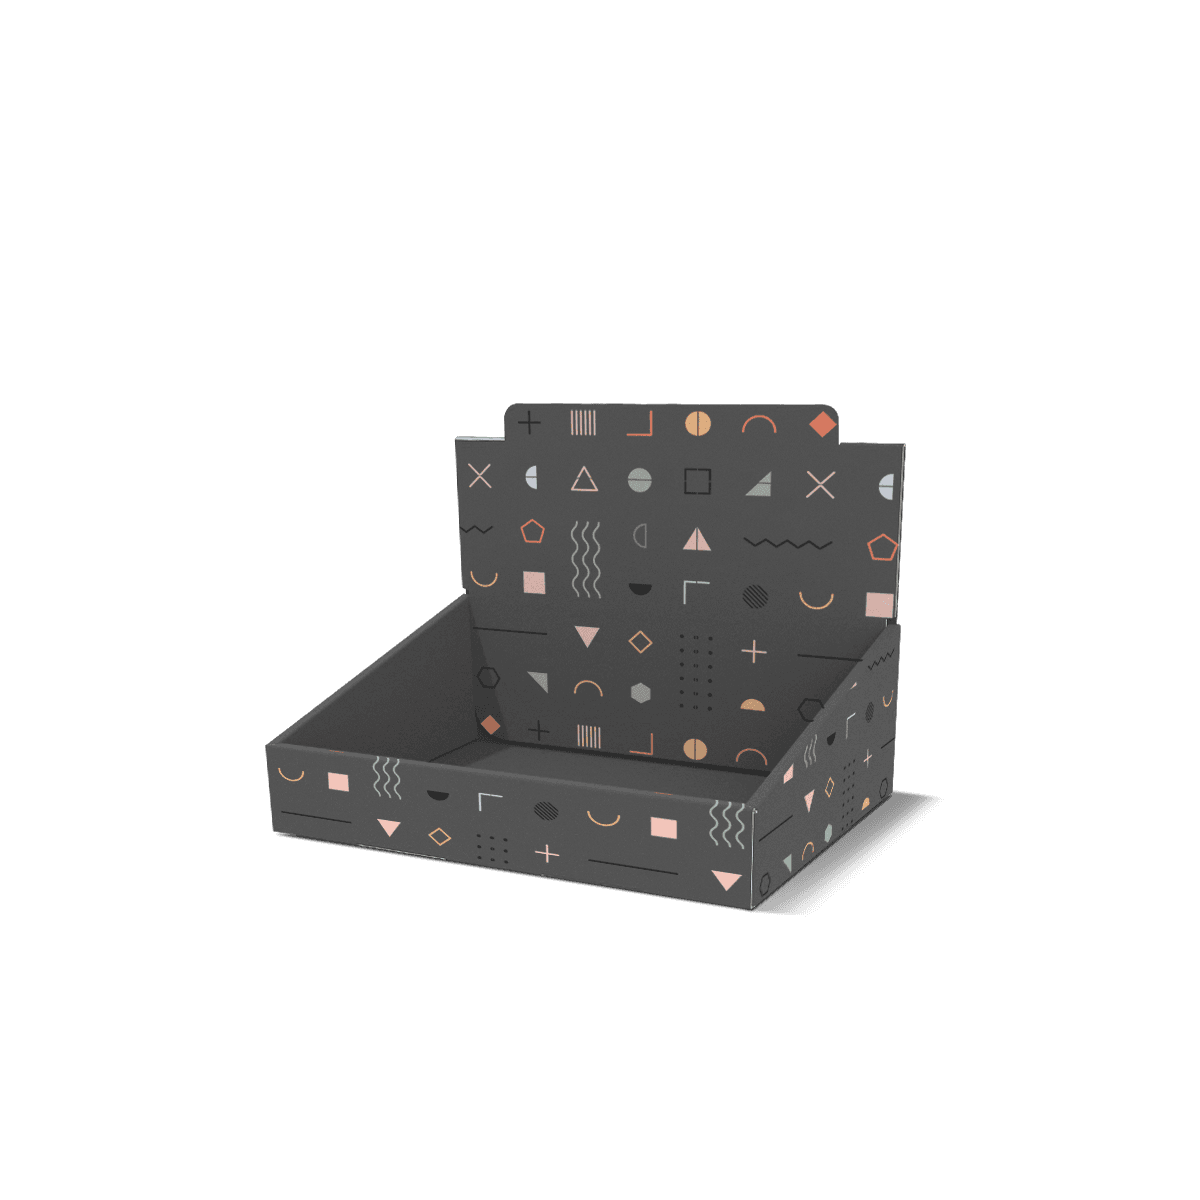
Retail Display Boxes
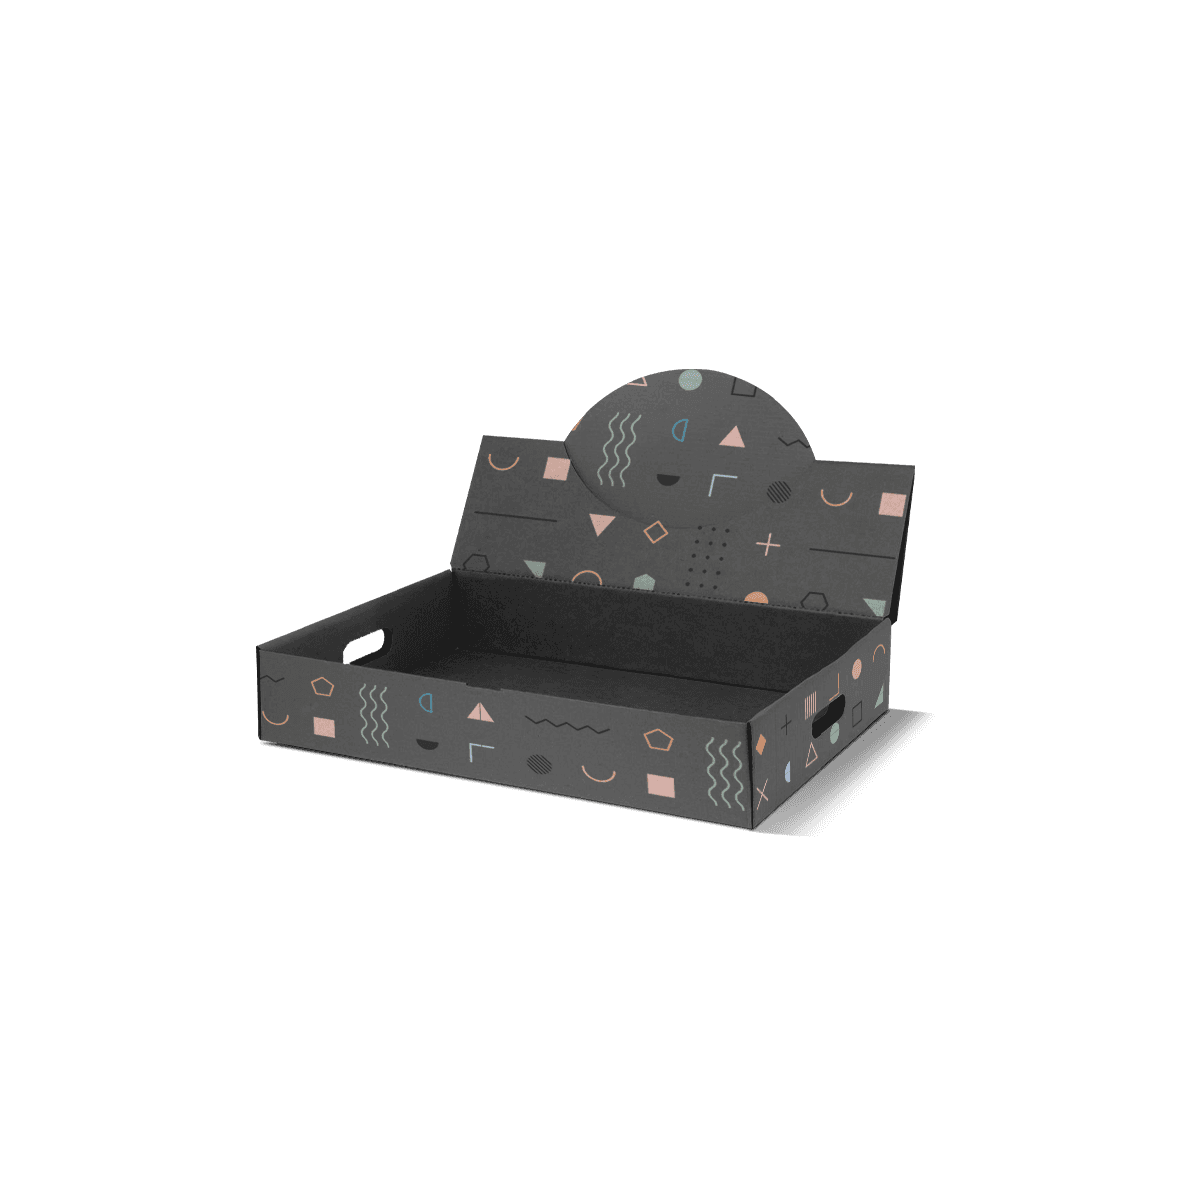
Counter Ready Display Boxes
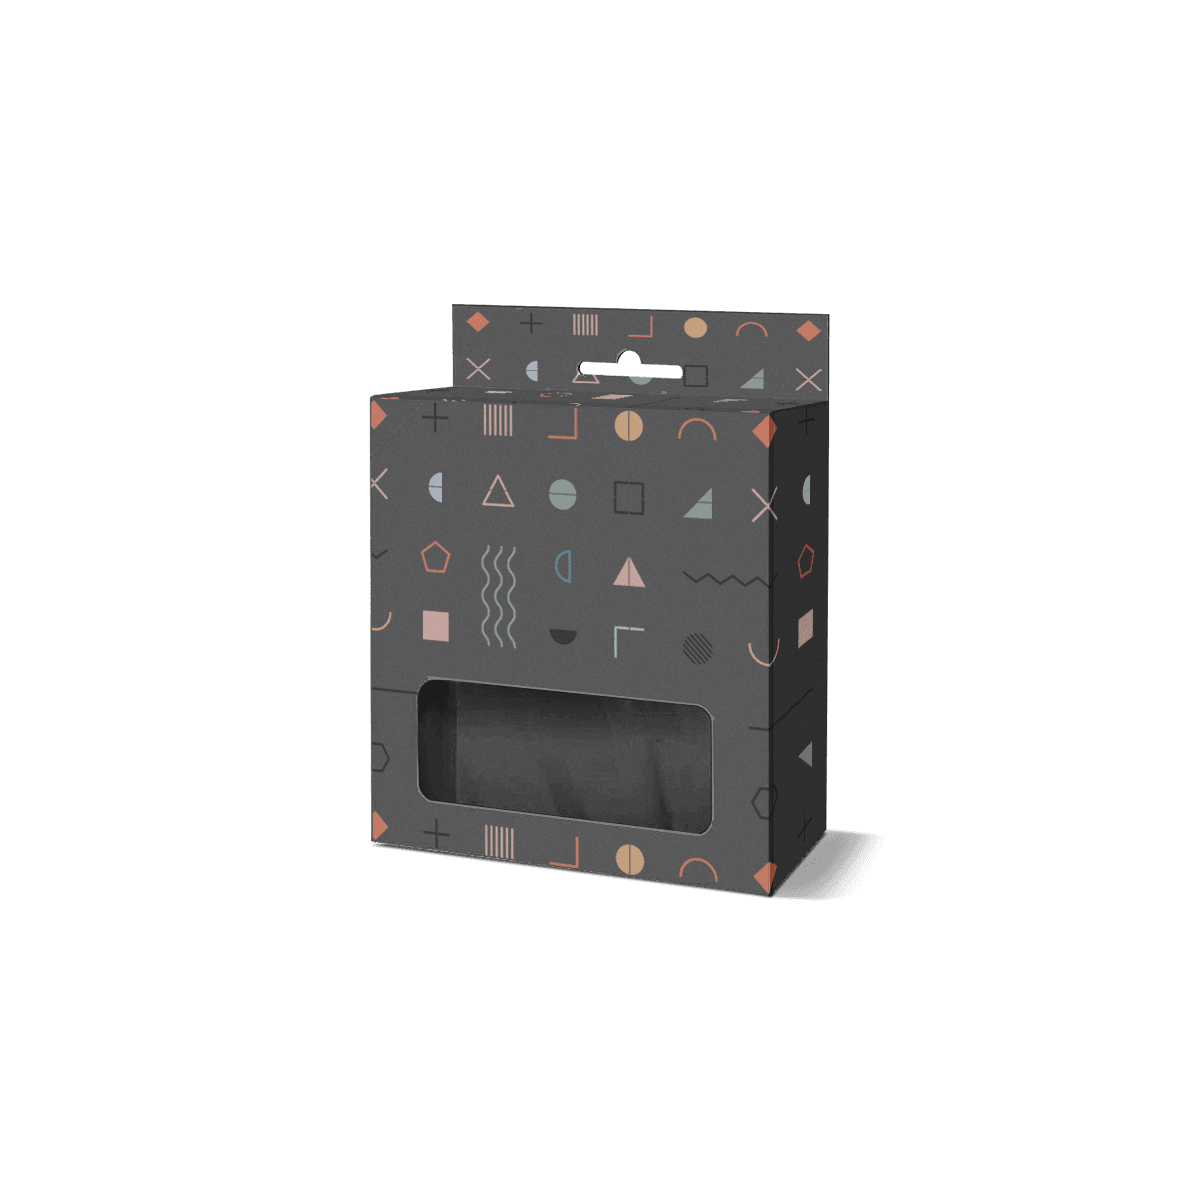
Hang-Tab Display Boxes
Your product shouldn’t have to fit an off-the-shelf box.
Share the shape, size, material, finish, or insert you have in mind. We’ll turn the details into a tailored packaging recommendation and a clear quote.
Custom sizes · materials · finishes · inserts
Design for the Half-Empty Display
A display box should still merchandise the product well after the first few units have sold. A tray that looks stable when fully loaded can become untidy as the front row empties, tall packs lose side support or mixed SKUs get pushed into the wrong lane. That makes sell-down behavior a better starting point than judging the structure only when it is full.
For custom display boxes, the practical questions are: how does the product stand, how is it removed, what keeps the remaining units faced forward and what does the shopper still see when stock is low? Those answers determine the front lip, side-wall height, lane width, dividers, header position and board strength.
This matters especially for bottles, slim cartons, blister packs and other products with a relatively high center of gravity. Give them too much side clearance and the last few units can lean. Make the front lip too high and it hides branding or product information. Make it too low and it may not restrain the product once the display is partly empty.
A useful display therefore has to balance visibility with control. The goal is not to trap the product. It is to keep the remaining stock orderly enough that the display continues to look intentional throughout the selling cycle. The principles behind packaging that stands out on store shelves also help when deciding what shoppers should notice first.
Retail Position Changes the Structure
The display location usually narrows the format faster than the artwork does. Counter space, shelf depth, pegboard, end caps and open floor areas create different limits on footprint, viewing angle, product count and shopper access.
Counter and Checkout
Counter displays need a compact footprint and quick product access. They are often viewed from above and from close range, so the header, upper side panels and front lip can matter more than a large front wall.
A Counter-Top Display Box makes sense for smaller products that need to sit within arm's reach at checkout, service desks, sample stations or boutique counters. Before increasing capacity, check what the extra depth does to reach. A deeper tray can hold more units while making the back row harder to pick.
Shelf and Counter-Ready
Shelf displays need to respect the shelf itself. Width, depth and height have to work with the available bay rather than simply maximize product count. If store staff are expected to open a case and place it directly into position, Counter Ready Display Boxes are the more operational choice because the transit pack converts into the selling tray.
That distinction matters. A dedicated display can prioritize presentation. A counter-ready or shelf-ready pack has to survive handling first, then open cleanly without leaving torn edges, weak side walls or an awkward front panel.
Peg and Hanging
Small accessories often merchandise better vertically than in a tray. Peg Hook Display Boxes use hanging space to keep compact SKUs separated and front-facing while preserving shelf or counter area.
Here, product weight is only part of the specification. Hook spacing, pack width, hole position, refill access and the number of variants also matter. Dense hanging rows can look efficient on a drawing but become frustrating if adjacent packs overlap or shoppers have to remove several items to reach one SKU.
Floor and Promotional Positions
Freestanding floor displays, end-cap units and power-wing formats give brands more selling area, but they also carry larger and changing loads. The base, vertical panels and shelf or tray geometry have to stay stable as shoppers remove product from different levels.
Large display structures should be planned around the store position, traffic direction and how the unit is replenished. A broad header may work well across an aisle, while side-panel branding matters more when the display is approached at an angle. If the retail environment is still undecided, Packaging Styles helps compare display structures with other packaging directions before a specification is locked.
Product Behavior Sets the Geometry
Product dimensions tell you how much space an item occupies. They do not tell you how the item behaves inside a display. Shape, center of gravity, surface friction, pack orientation and removal direction all affect whether the display stays neat.
Facings, Lanes and Clearance
Start with the real product or finished primary pack. Measure its widest and tallest points, then decide how many front-facing units the retailer should see. Leave enough clearance for easy removal, but not so much that the row loses alignment.
A common mistake is to size a tray around a neat full-load arrangement and stop there. Consider a display holding tall skincare bottles. When it is full, neighboring bottles support one another. After the front units sell, excess lane width and a shallow front lip can let the remaining bottles tilt forward or sideways.
Tightening lateral clearance, raising the restraining lip just enough to catch the product base and adding a lane divider can keep the pack upright without hiding the main label.
The same test should be repeated at full, half and low stock. That is more useful than checking one pristine setup.
Mixed SKUs Need Deliberate Separation
A display carrying several colors, flavors, sizes or accessory types needs a clear plan for separation. Loose mixed stock makes replenishment harder and can leave the best-selling SKU swallowing space intended for another variant.
Dividers, stepped platforms or defined lanes can help, but they should earn their space. A divider that is too tall blocks graphics and makes product removal awkward. A low divider may do enough if its only job is to stop lateral drift.
This is where custom product packaging thinking helps: product dimensions, weight, orientation and handling should drive the structure rather than forcing merchandise into a standard footprint.
A Display Carries a Changing Load
Material choice should follow the loaded display, not a generic preference for paperboard or corrugated board. A small counter tray holding lightweight sachets has a different structural job from a floor unit carrying bottles, jars or boxed accessories over several shelves.
Paperboard for Compact Loads
Paperboard can work well for smaller counter and shelf displays when product weight is moderate and the structure has enough folded geometry to stay rigid. Smooth white stocks also support detailed printing where brand color, product imagery and small retail messaging matter.
For lightweight units, adding more board than the load requires can make the display bulky without improving the shopping experience. The useful question is whether the base, side walls and front edge stay square under the intended product count.
Corrugated for Higher Loads and Handling
Corrugated board becomes more useful when the display is larger, carries more weight or has to tolerate distribution and repeated store handling. Fine flutes can give display packaging additional stiffness while still supporting printed graphics. Larger units may also need reinforced shelves, doubled edges or structural folds that move load into the base rather than relying on one flat panel.
Do not assume a stronger board automatically fixes weak geometry. A poorly supported shelf can still bow. A wide base can still rack sideways. Structural folds, support panels and load paths matter alongside material grade.
Custom Packly's packaging capabilities include paperboard, SBS, CCNB and corrugated options, as well as printing, finishes and structural support. For a deeper material comparison, paperboard, corrugated, kraft and rigid board explains how board choice changes strength and print behavior.
Put Branding on the Sightlines
Display printing should follow what shoppers can actually see from the selling position. A technically large print area is not automatically valuable if the panel faces a wall, sits below eye level or disappears behind the product.
Header, Front Lip and Side Panels
The header usually carries the strongest distance message. The front lip can reinforce the product name, variant or offer at close range, but it must stay low enough for the product to remain recognizable. Side panels matter when shoppers approach from an angle or when several displays sit next to one another.
For cosmetics and personal care packaging, shade systems, product names and visual hierarchy may need to remain readable across a dense assortment. In electronics and gadget packaging, compatibility, model or accessory information can be just as important as the brand mark. The display should support those buying cues rather than covering them with decorative print.
Color and Finishes
Premium offset printing is useful when a retail program needs sharp graphics and controlled color across a repeat run. CMYK suits photographic or multi-color artwork, while Pantone matching can help when a specific brand color needs tighter control.
Finishes should be used where shoppers will notice them. Matte or gloss can change the overall surface, while spot UV, foil, embossing or debossing can emphasize selected areas. On a display unit, however, structural edges, folds and repeated handling may matter more than adding a finish to every panel.
Free 3D mockups and design and dieline support can help review which graphics land on the visible faces before production.
Restocking Is Part of the Design
A display that is easy for shoppers but difficult for store staff is only half solved. Setup time, refill direction, case count and stock rotation can determine whether the unit stays neat after the first day on the sales floor.
Ship-Flat or Display-Ready
Ship-flat displays can reduce storage volume before use, but assembly needs to be clear and repeatable. Tabs should locate cleanly, folds should not require excessive force and shelves or dividers should not depend on guesswork.
Display-ready and counter-ready structures trade some design freedom for faster merchandising. When the same outer pack protects the product through distribution and then becomes the selling tray, perforations and tear-away panels need to open predictably without weakening the remaining walls.
Brands planning multi-store rollouts should decide who assembles the display and where. A display assembled at a fulfillment point can arrive ready to place but occupies more shipping volume. A flat unit assembled in store saves space but transfers labor to retail staff.
Validate the Real Handling Sequence
Sampling should test the decision that carries risk. For display boxes, that means more than checking artwork.
Load the intended product count. Remove units from the front and middle. Refill it. Pick up or reposition the display the way staff will. Check whether the base bows, dividers shift, perforations tear cleanly and the header stays upright. If the unit travels loaded, test the distribution condition separately from the final shelf condition.
Free sample examples of previous work can help with material and print reference. Where an exact custom structure needs physical validation, a paid fully custom pre-production sample may be more useful because it tests the actual geometry.
Once placement, dimensions, product count and material direction are reasonably clear, request an instant custom packaging quoteMOQ starts from 100 boxes, with a standard 4–6 business-day turnaround after final artwork and specifications are approved and free shipping for USA orders. Complex structures, specialty materials or advanced finishes may require additional time.
Know When a Display Box Is the Wrong Answer
A display box is useful when multiple units need organized access and merchandising. It is not automatically the right packaging simply because the product is sold in a store.
If each item mainly needs individual containment, labeling and shelf presentation, a folding carton may be enough. If the retailer already supplies the fixture and your product hangs from its own card, a separate display structure may add cost and handling without adding useful function. If the package must survive parcel delivery, a display-first structure may still need an outer shipping box.
For store programs that combine cartons, displays, bags and other selling structures, custom retail packaging is the better planning route because the display becomes one part of a larger retail system.
The decision rule is simple: use a display box when the package itself needs to organize several sellable units in a defined retail position. Use another structure when containment, shipping or individual product presentation is the primary job.
Keep Store Rollouts Consistent
Once a display works, repeatability matters more than adding another feature. Multi-SKU and multi-store programs need the same footprint, board specification, panel positions and assembly behavior from run to run so merchandising teams are not solving a new problem with each replenishment.
Keep a controlled specification for the dieline, material, product count, lane arrangement, print files, color references and finish instructions. If several SKUs share one display footprint, build the variable artwork around fixed structural panels rather than changing the geometry every time a product variant changes.
For higher-volume and repeat programs, warehousing and scheduled deliveries can separate production quantity from immediate store demand. That can help brands hold a consistent approved display specification while releasing inventory in planned stages. US production and bulk and repeat-order support also make it easier to coordinate replenishment without changing the display logic between runs.
The strongest custom display box is not the one with the most features. It is the one that still presents the product clearly when stock is low, fits the retail position without wasting space and can be assembled, refilled and reordered without introducing new friction.
Start Your Custom Packaging Quote
Share your product details, size, quantity and artwork needs. We’ll help choose the right packaging style and send a clear quote.