Skip to content
Details

Custom Counter-Top Display Boxes

Turn limited counter space into a display that keeps small products visible, easy to pick and orderly as stock sells down.

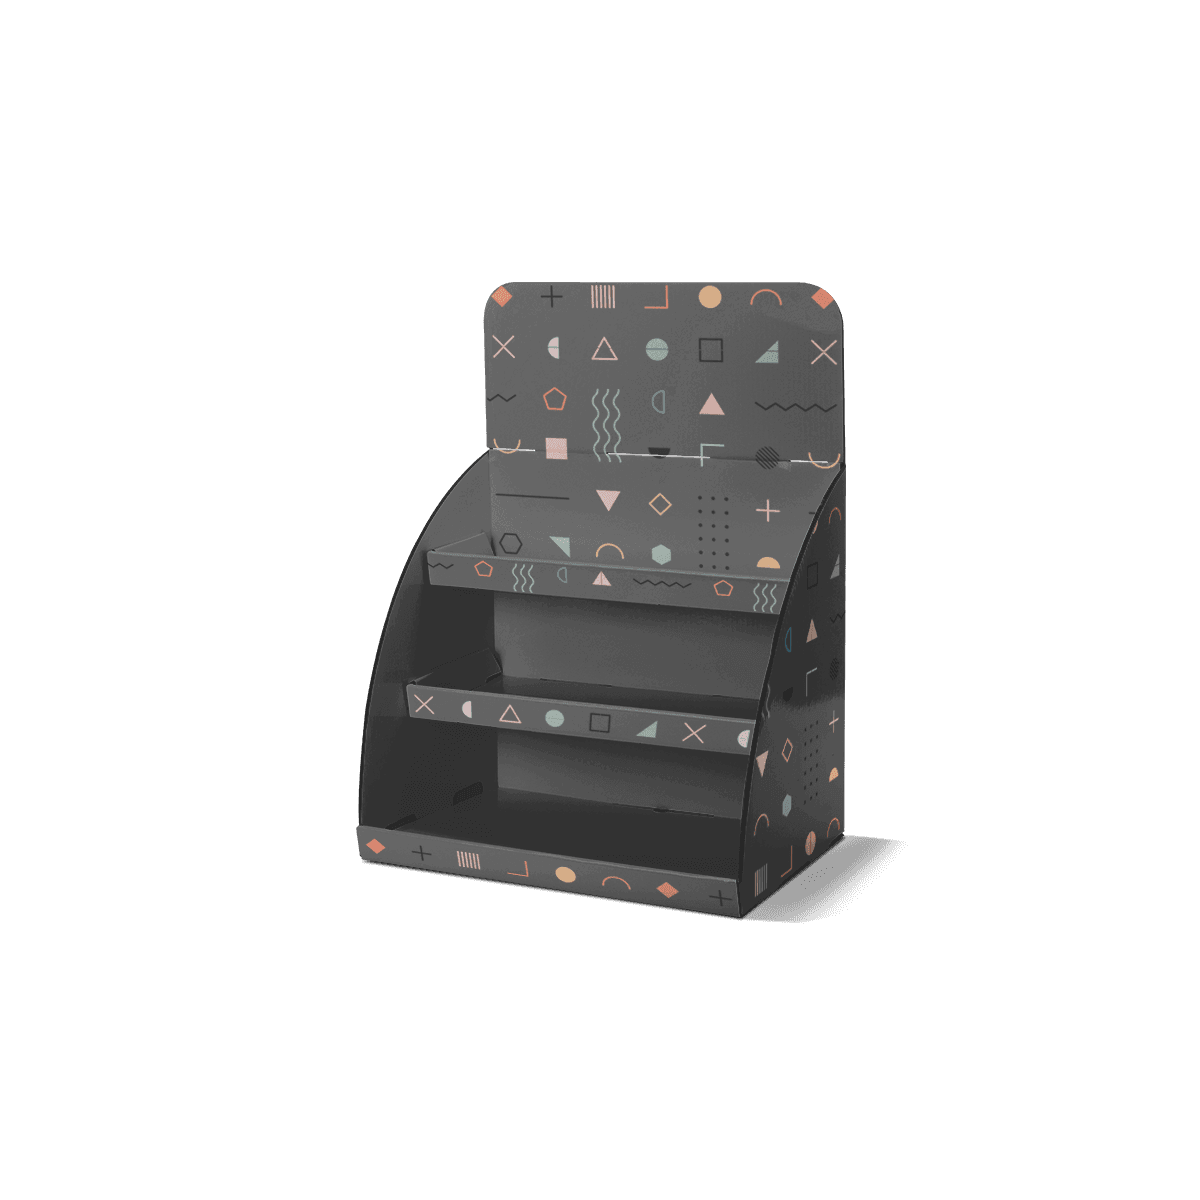
Front Lip Sets the Pick Line

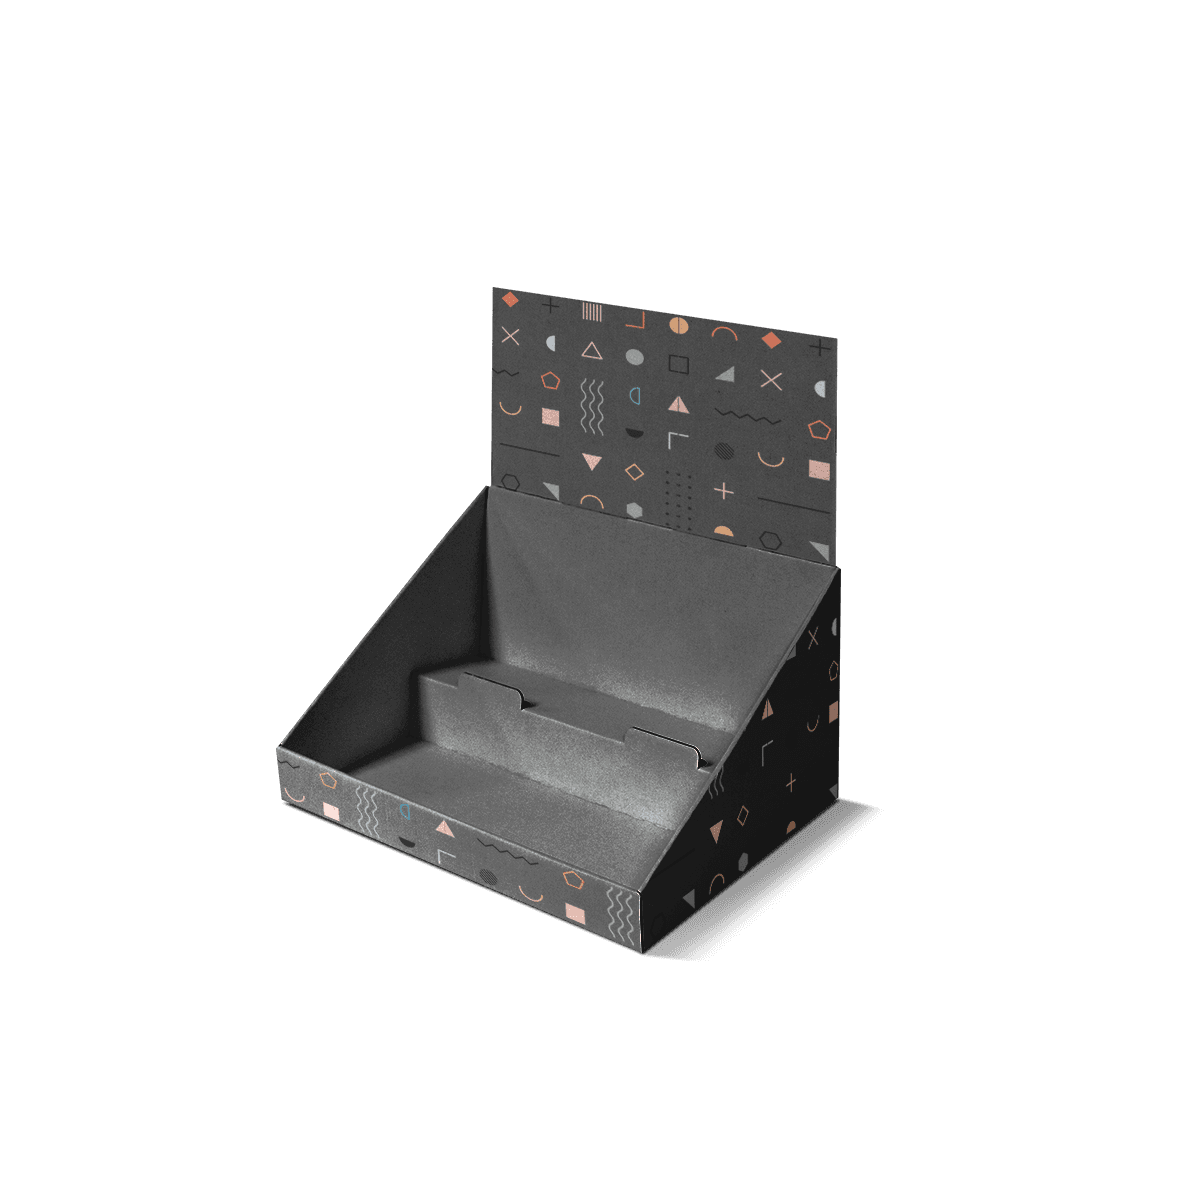
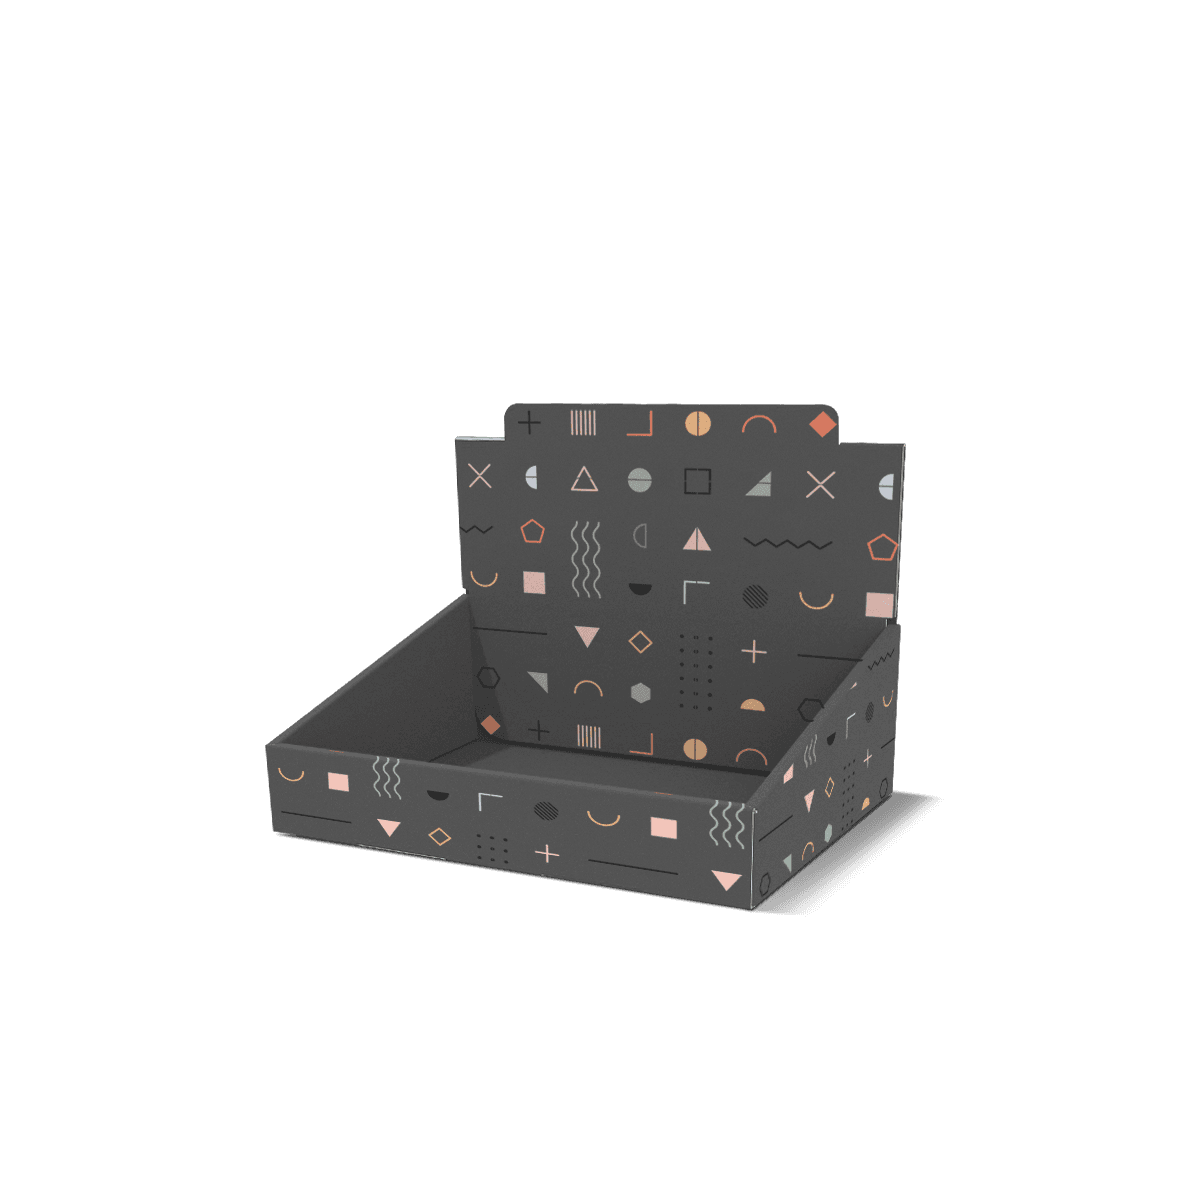
On a checkout counter, total capacity is not the first dimension that matters. The critical question is how much of each product stays visible above the front lip and whether a shopper can lift one unit out without disturbing the rest.

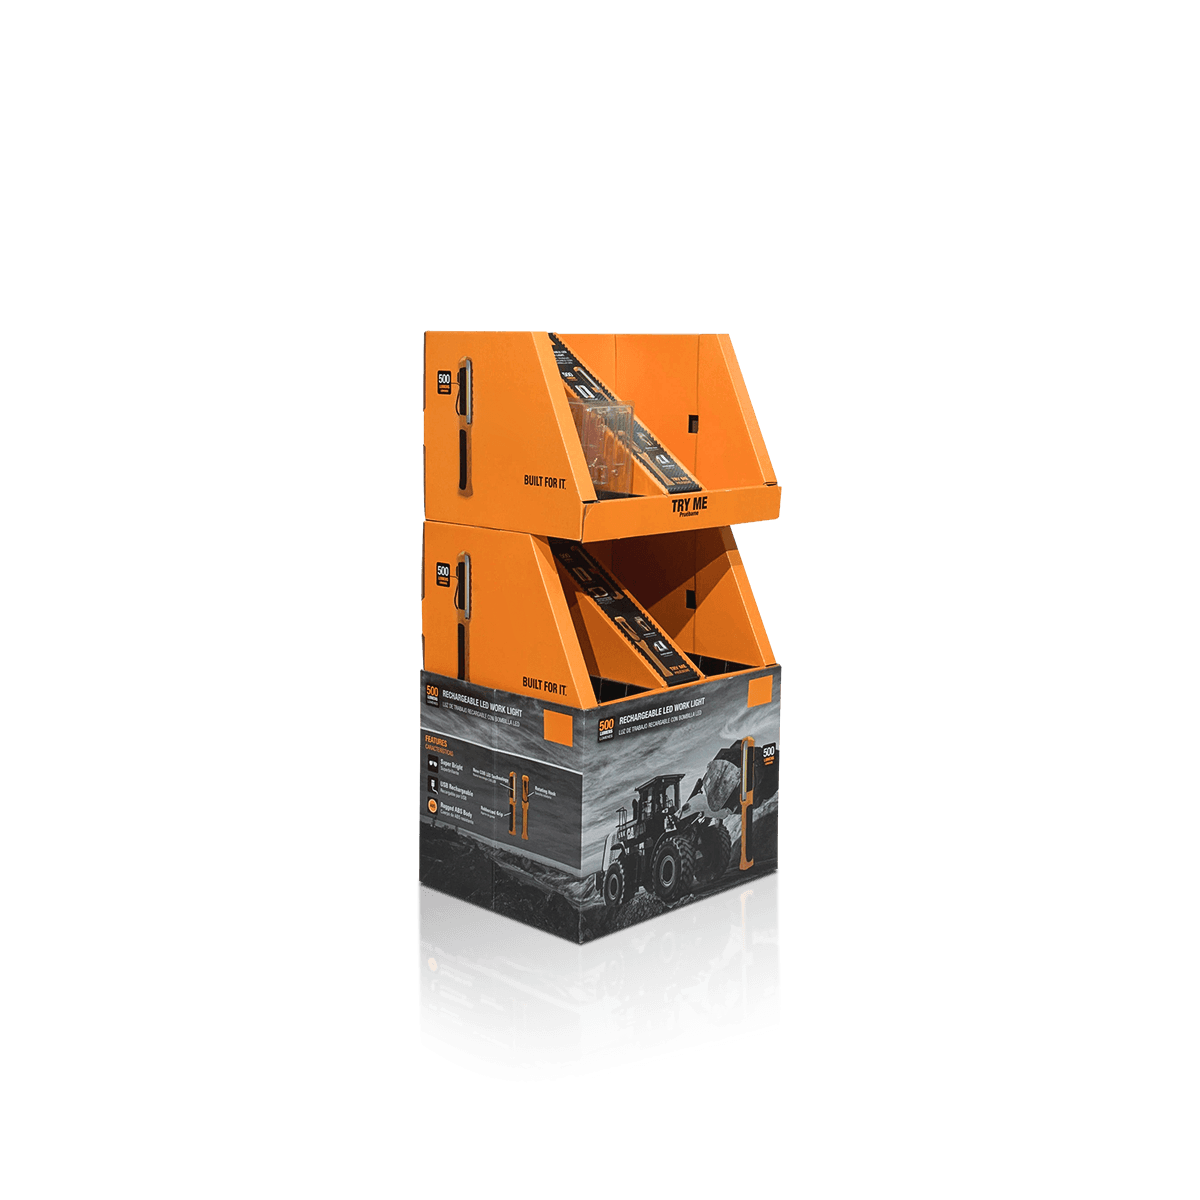
Custom Counter-Top Display Boxes are compact retail displays made for counters, service desks, reception areas and other high-traffic selling surfaces. Their job is to hold several units in a small footprint while keeping the product easy to see, easy to pick and easy for staff to refill.

Within display boxes, countertop construction is the choice when the merchandising unit has a dedicated counter position rather than serving as a shipping case that converts into a tray or a freestanding floor fixture.

Show Enough of the Product

A high front wall may hold stock securely, but it can hide a short carton, sachet or tube label. A very low lip can improve visibility while allowing narrow products to lean forward or spill out as the display empties.

Set lip height around the part of the product the shopper needs to recognize first. That may be the flavor name, shade, product type or top third of a small carton.

Leave Room for the Hand

Product access needs more than visual clearance. Shoppers should be able to pinch, grip or lift one unit without catching the header, divider or neighboring product.

For small packages, a few millimeters of finger access can matter more than squeezing one extra unit into the tray.
Footprint Has to Earn Counter Space

A countertop display competes with the register, payment terminal, promotional signs and other merchandise for limited surface area. A wider display is not automatically a stronger display if store staff have nowhere practical to place it.

Start with the available counter width and depth, then work backward into product count.

The custom retail packaging decision follows the same rule: placement comes before decoration because the selling environment determines the practical footprint, viewing angle and shopper interaction.

Depth Can Hide the Back Row

Adding another row increases capacity, but deeper trays can move rear products out of the shopper's immediate view.

If the second or third row matters, step the interior, raise the back products or use a header and side-panel shape that keeps the rear line visually connected to the front. Otherwise, a shallow display with more frequent replenishment can outperform a deeper tray that looks full but hides half its stock.

Counter depth should also leave enough room behind the display for staff activity and cables where the unit sits near a register. Consider the approach angle as well. A display facing straight ahead can lose visibility when most shoppers pass from the side, so side-panel branding, product angle and header shape should reflect how traffic actually reaches the counter.

Header Height Needs a Sightline

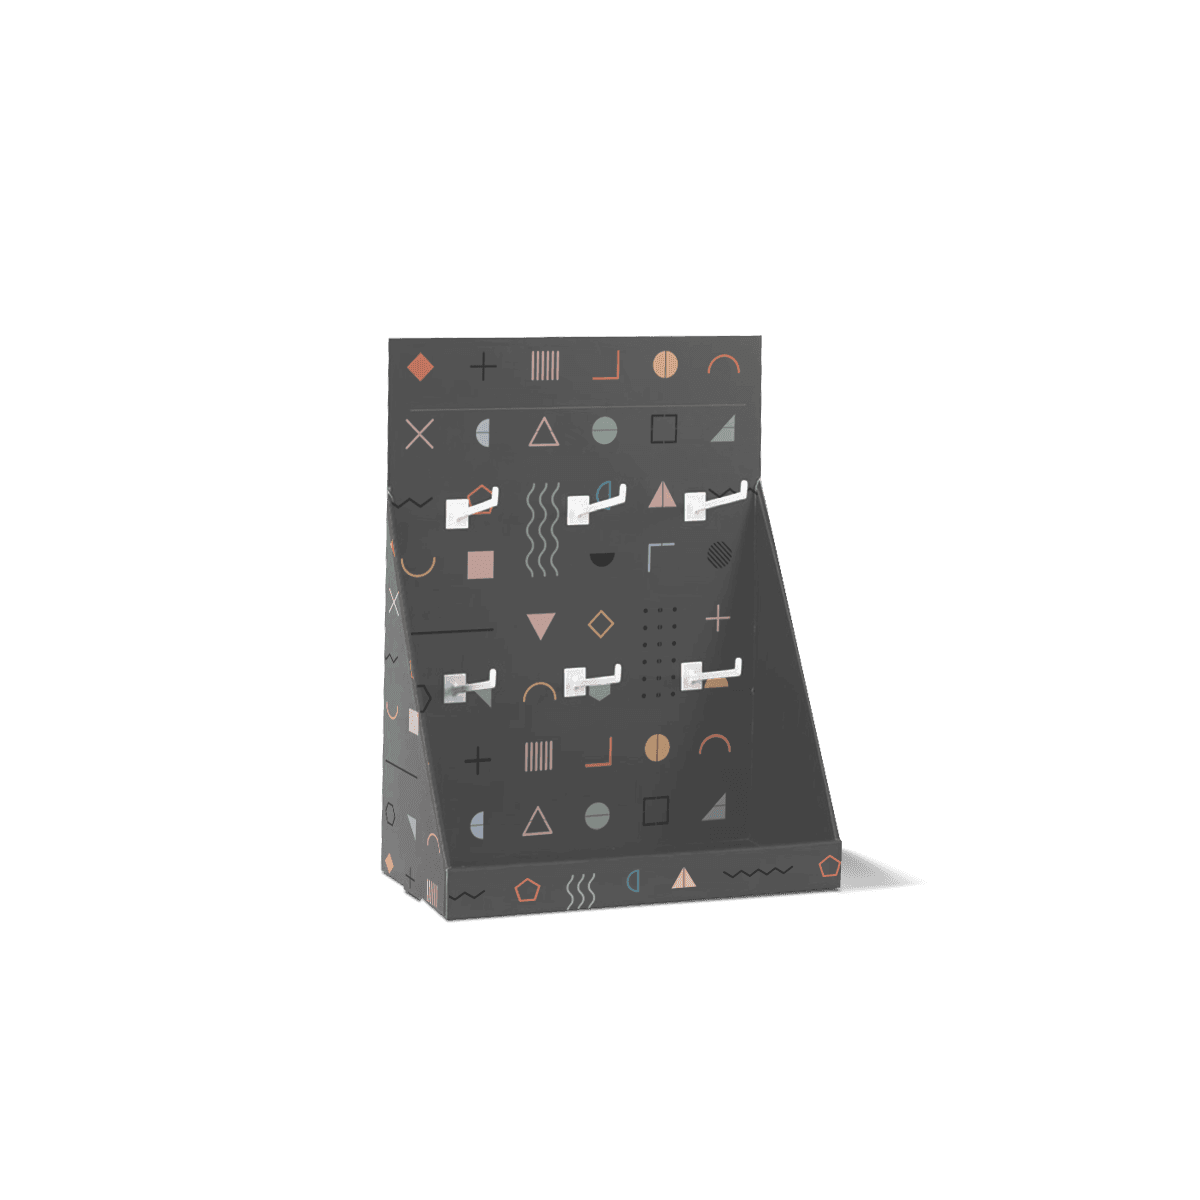
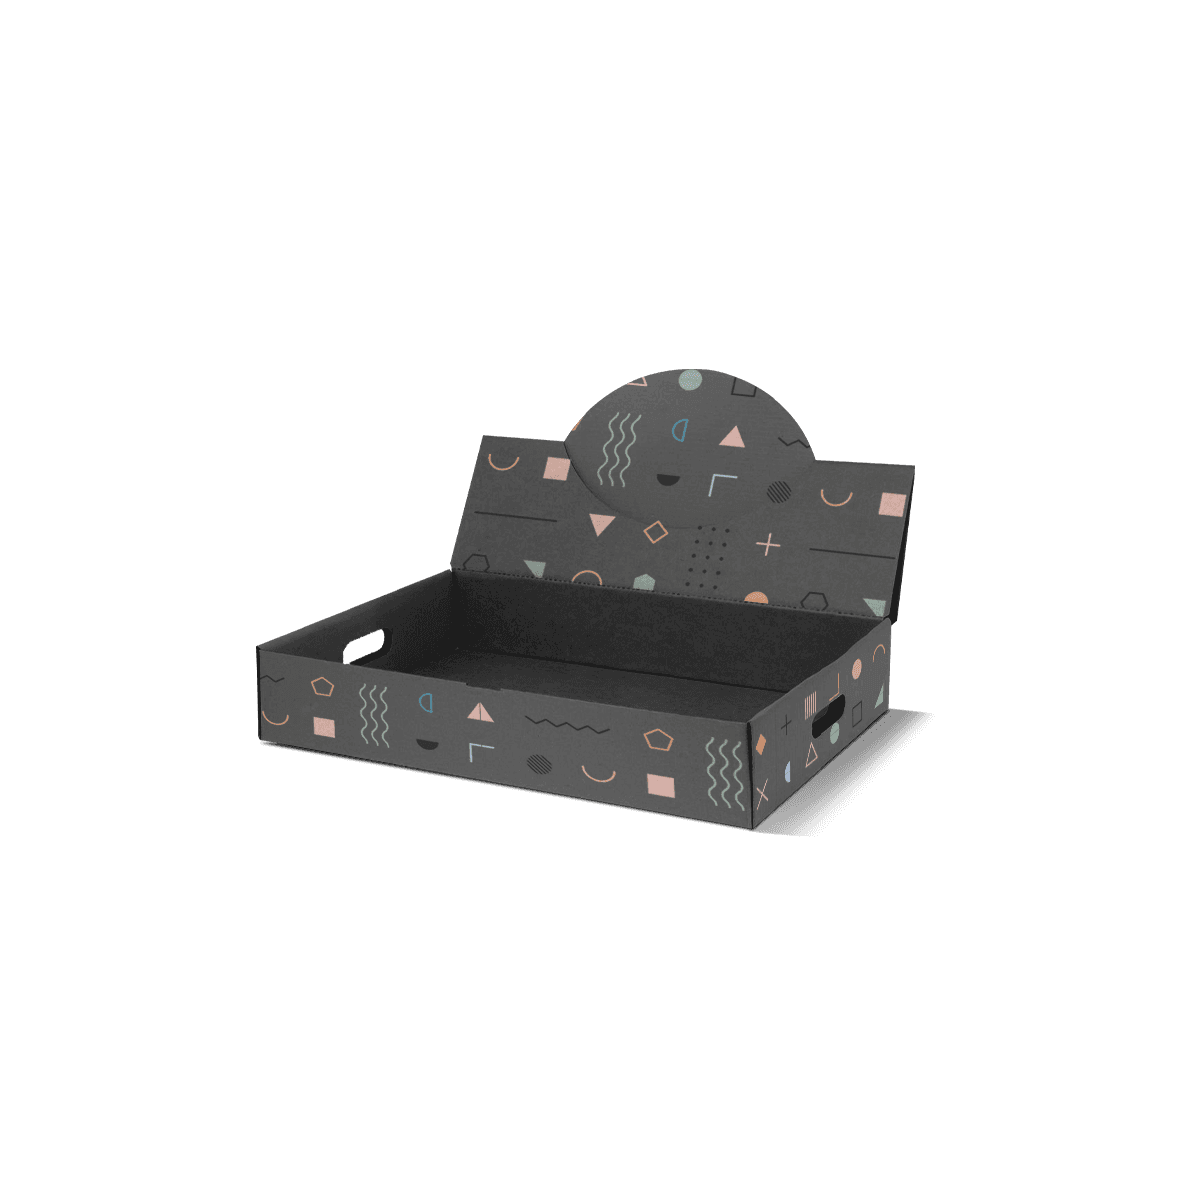
The header panel is valuable because it puts branding above the product, but excessive height can turn a compact display into a visual obstruction.

A header should be tall enough to carry a logo, product promise, launch message or price cue without blocking staff visibility or overwhelming the products below it.

The strongest hierarchy usually lets the header introduce the offer while the product itself remains the dominant object at hand level.

Mock Up the Display at Eye Level

A flat dieline cannot show how a header feels on a real counter.

Use a 3D mockup to check the relationship among header height, product height and front lip. For a promotion where counter placement is already known, view the mockup from the shopper's likely approach angle rather than only from straight ahead.

Custom Packly provides free 3D mockups and design support, which is particularly useful when a die-cut header shape or stepped interior changes what stays visible.

Product Count Changes the Balance

The display must work when it is full, half full and nearly empty.

A full tray can appear stable because neighboring units support one another. After several sales, narrow products may lean, rotate or slide into the open space. That is why product count and cavity width should be tested beyond the initial full presentation.

For compact gadgets and accessories, retail display boxes for gadgets often need clear SKU separation because cables, adapters and small device packs can become visually mixed quickly.

Plan the Half-Empty State

Remove products from different positions during the sample check.

If the remaining units fall sideways, the tray may need narrower lanes, dividers, stepped support or a different count per display. If the back row disappears after the front row sells, raise or stagger the remaining units rather than relying on staff to constantly rearrange them.

A good counter display still looks intentional after several shoppers have used it.

Lanes Control Small SKUs

Loose product piles make replenishment easy but usually weaken presentation for narrow cartons, sachets and small boxed accessories.

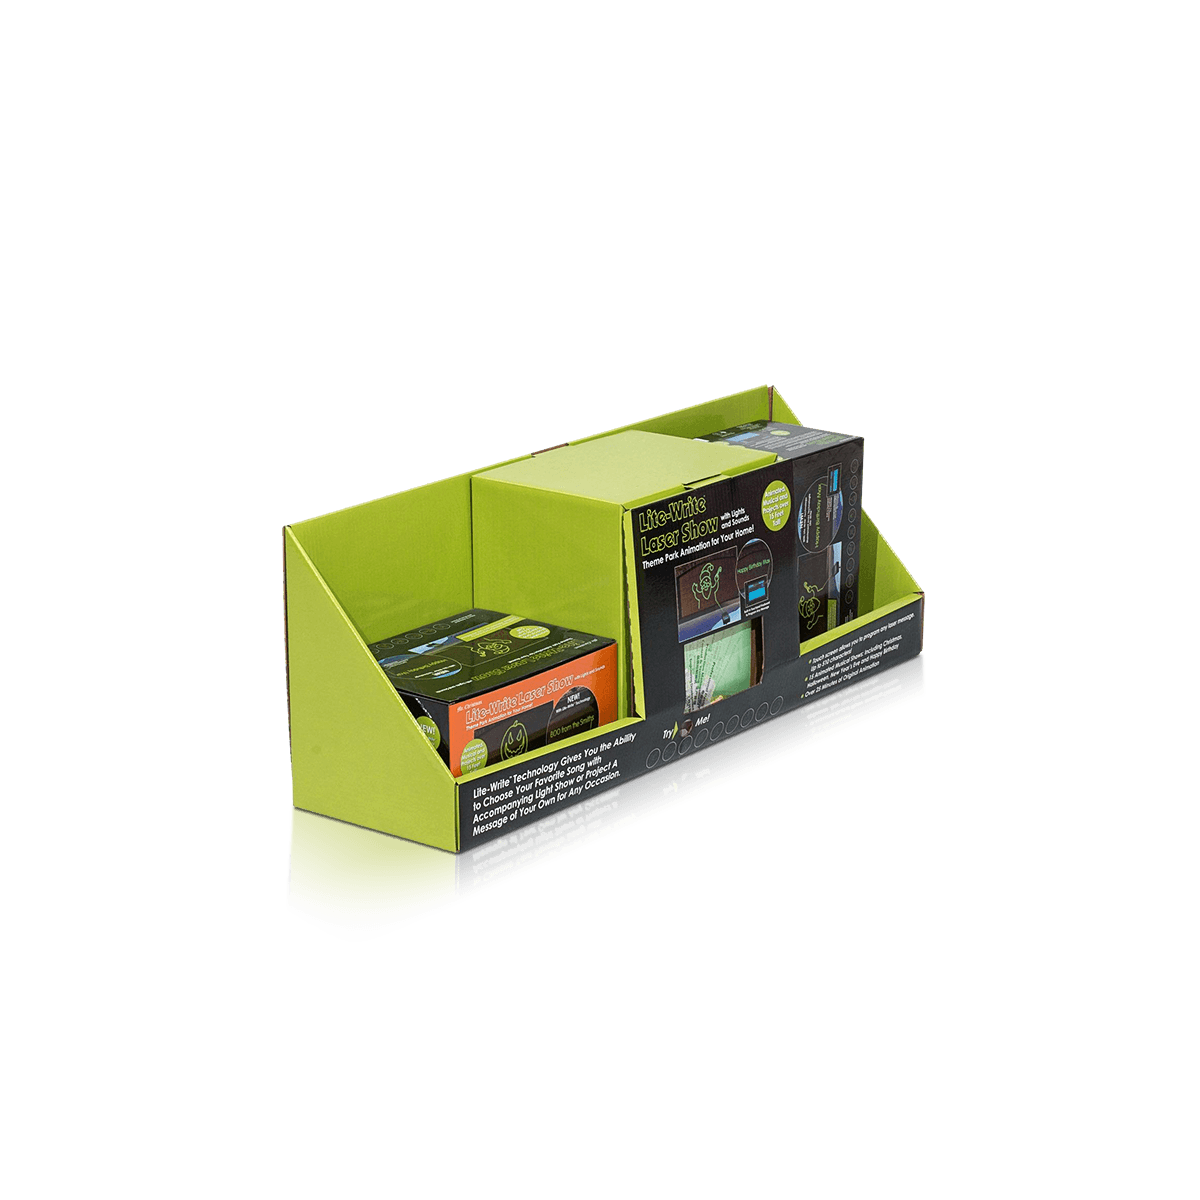
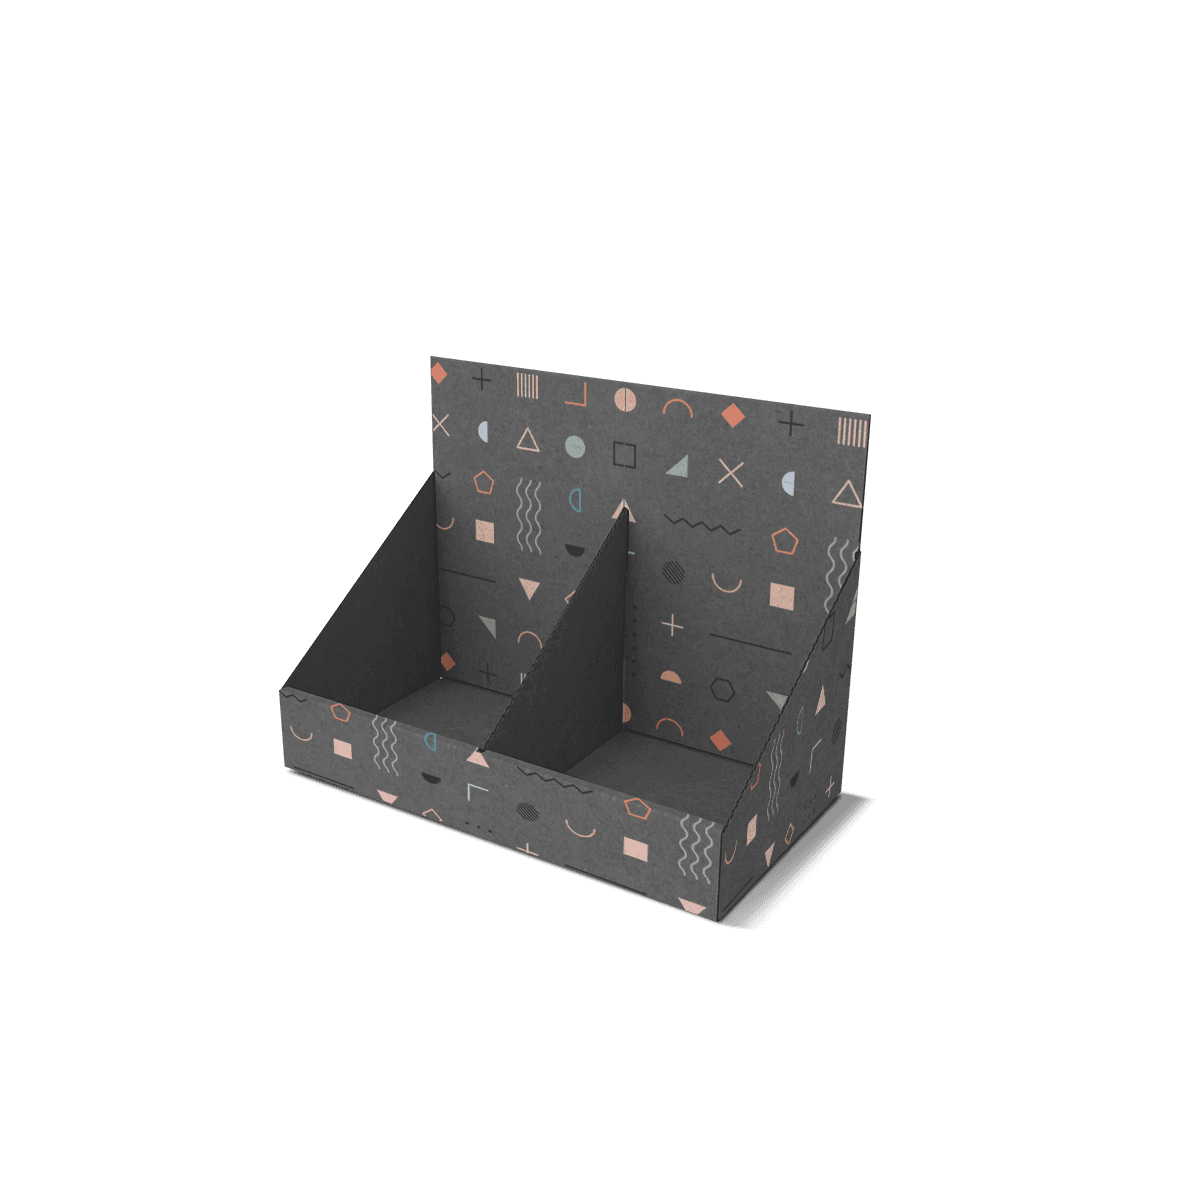
Dividers can create product lanes so each SKU stays faced forward. They can also separate flavors, shades, sizes or product types without requiring an entirely different display for each variation.

The divider height should support the product without hiding side-panel information. The front end of each lane should also leave enough room for the first item to be removed comfortably.

For trade-counter products such as connectors and compact electrical parts, electrical parts display boxes can use lane logic to keep small components separated while preserving quick identification.

Board Follows Load and Display Life

A display holding ten light sachets has a different structural job from one carrying several boxed chargers or glass sample bottles.

Paperboard can work well for lightweight products, shorter campaigns and displays where print quality and compact folding matter most. Corrugated construction becomes more useful as product weight, display duration or handling demands increase.

The available packaging capabilities include paperboard, corrugated options, printing and finishing that can be matched to the product count and store use.

The Base Takes Repeated Handling

The base is not static once the display reaches the store. Staff may lift it during cleaning, slide it across the counter and refill it several times.

A display that feels acceptable when first assembled can soften or bow after repeated handling if the board is too light for the loaded weight. Check the base, front corners and header connection under the expected product count, not as an empty sample.

Do not add corrugated thickness only to make the display feel substantial. Extra material should solve load, durability or handling requirements.

Countertop Is Not Counter-Ready

These two terms sound similar but solve different store problems.

Counter Ready Display Boxes are operations-led. Their outer packaging is designed to move through distribution and convert quickly into a shelf or counter presentation with less in-store handling.

Counter-Top Display Boxes are placement-led. They are normally specified around a dedicated promotional or high-traffic counter position where compact footprint, shopper access and brand visibility lead the decision.

If the main requirement is "open the shipping case and put it straight on shelf," counter-ready construction deserves priority.

If the requirement is "give this small product line its own high-visibility selling spot at checkout," countertop display is the more direct fit.

For campaigns needing a larger freestanding footprint, floor display boxes move the merchandise off the counter and create more capacity and graphic height.

Print Has Seconds to Communicate

A countertop display is viewed quickly, often while the shopper is already paying, waiting or moving toward the exit.

That makes message hierarchy more important than filling every printable panel.

Use the header for the main idea. Let the front lip reinforce the product name, flavor group, price cue or short callout. Side panels can carry secondary branding where they remain visible from an angle.

The principles behind packaging that stands out on store shelves apply strongly to counter placement: shoppers need to understand the product quickly, and structure should support the message rather than compete with it.

Premium offset printing can support crisp repeated graphics. CMYK suits full-color imagery, while Pantone can be useful where a specific brand color needs tighter control across a display program.

Avoid putting small text low on the front lip if products or the counter edge will hide it.

A Full Tray Can Hide a Weak Layout

Consider a twelve-count display for slim lip balm cartons. When fully loaded, the products stand neatly because every carton presses lightly against the next one.

After four units sell, the remaining cartons begin leaning sideways. Shade names rotate out of view and the display starts looking picked over even though most of the stock is still there.

The problem is not the print or board thickness. The cavity is simply too wide to control the products once neighboring support disappears.

A better setup could divide the tray into two six-count lanes, narrow the internal width or reduce the count per display. A slightly higher front lip may help if it still leaves the shade names visible.

The improvement is practical: products stay faced forward through more of the selling cycle, staff spend less time straightening the tray and shoppers can identify the remaining variants faster.

This is why approval should include a half-empty test, not only a photograph of the display at full capacity.

Launch Quantity Should Match Store Placement

The display quantity should follow the number of locations, displays per location, campaign duration and expected refill pattern.

A 100-box MOQ can support an initial launch without forcing a brand to commit to a large nationwide display quantity before placement is proven. For a larger rollout, the count should include store allocation plus a sensible replacement allowance for damaged or lost displays.

A standard 4–6 day turnaround after final artwork and specifications are approved can support timed retail launches and replenishment when the display program has a fixed rollout date. Complex structures, specialty materials or advanced finishes may require additional time.

If the same product is sold both in stores and online, retail and ecommerce packaging may need different structures. A counter display can merchandise the retail units, while ecommerce orders may still need a separate parcel-ready pack.

Use an instant custom packaging quote after product count, footprint, board and print requirements are stable so pricing reflects the actual display rather than a generic countertop tray.

The Refill Rule Lives in the Display

The final decision is not how the display looks when the first store sets it up. It is how easily staff can keep it looking correct after repeated sales.

Define the intended product count, lane assignment and facing direction. If multiple SKUs share one display, decide whether every lane has a fixed SKU or whether staff can replenish whichever item is selling fastest.

The front lip and dividers should make the arrangement obvious without requiring a separate instruction sheet. A display that only stays tidy when someone remembers a complicated reset process will deteriorate quickly in a busy store.

Retail Display Boxes cover the larger merchandising decision when counters, shelves, aisle positions and promotional zones all need to be planned together. For the countertop unit itself, keep the operating rule simpler: products should be visible, removable and refillable without rebuilding the display every time stock changes.

A compact display earns its counter space when it keeps selling after the first few products are gone, not only when it looks perfect at launch.

FAQs

Because they place products where shoppers already stop, wait, and look around. That positioning is one reason countertop displays are widely used for impulse-oriented retail programs.

No. They work best for small to medium lightweight products, especially when the board thickness, tray depth, and structural packaging layout are matched to the pack count and product shape.

Counter-Top Display Boxes usually suit smaller launches better when space is limited and the goal is quick pickup at point of sale. Floor Display Boxes make more sense when the campaign needs higher volume capacity and a stronger presence in aisles or end caps. Compact countertop formats are specifically associated with tighter spaces and checkout use.

Front lips, stepped interiors, divider inserts, and fit testing help maintain organized presentation and reduce product spill-forward.

Yes. Flat-packed cardboard counter displays are commonly used for temporary launches because they are lightweight, easy to assemble, and simple to replace or refresh when the promotion changes.

Process

How it works

Your Packaging Journey, From Idea to Production and Delivery

01

Tell Us Your Specs

Custom packaging boxes

Tell Us Your Specs

Provide size, quantity, printing, and finishes.

02

Get a Fast Quote

Custom packaging boxes

Get a Fast Quote

Instant transparent pricing, no hidden fees.

03

Design and Approval

Custom packaging boxes

Design and Approval

Artwork checks, revisions, and final sign-off.

04

Produce

Custom packaging boxes

Produce

Expert manufacturing to meet deadlines.

05

Ship to Your Door

Custom packaging boxes

Ship to Your Door

Hassle-free, flexible delivery options.

Get Your Quote for Custom Counter-Top Display Boxes

Share your product details, size, quantity and artwork needs. We’ll help choose the right packaging style and send a clear quote.