Skip to content
Details

Custom Retail Display Boxes for Gadgets

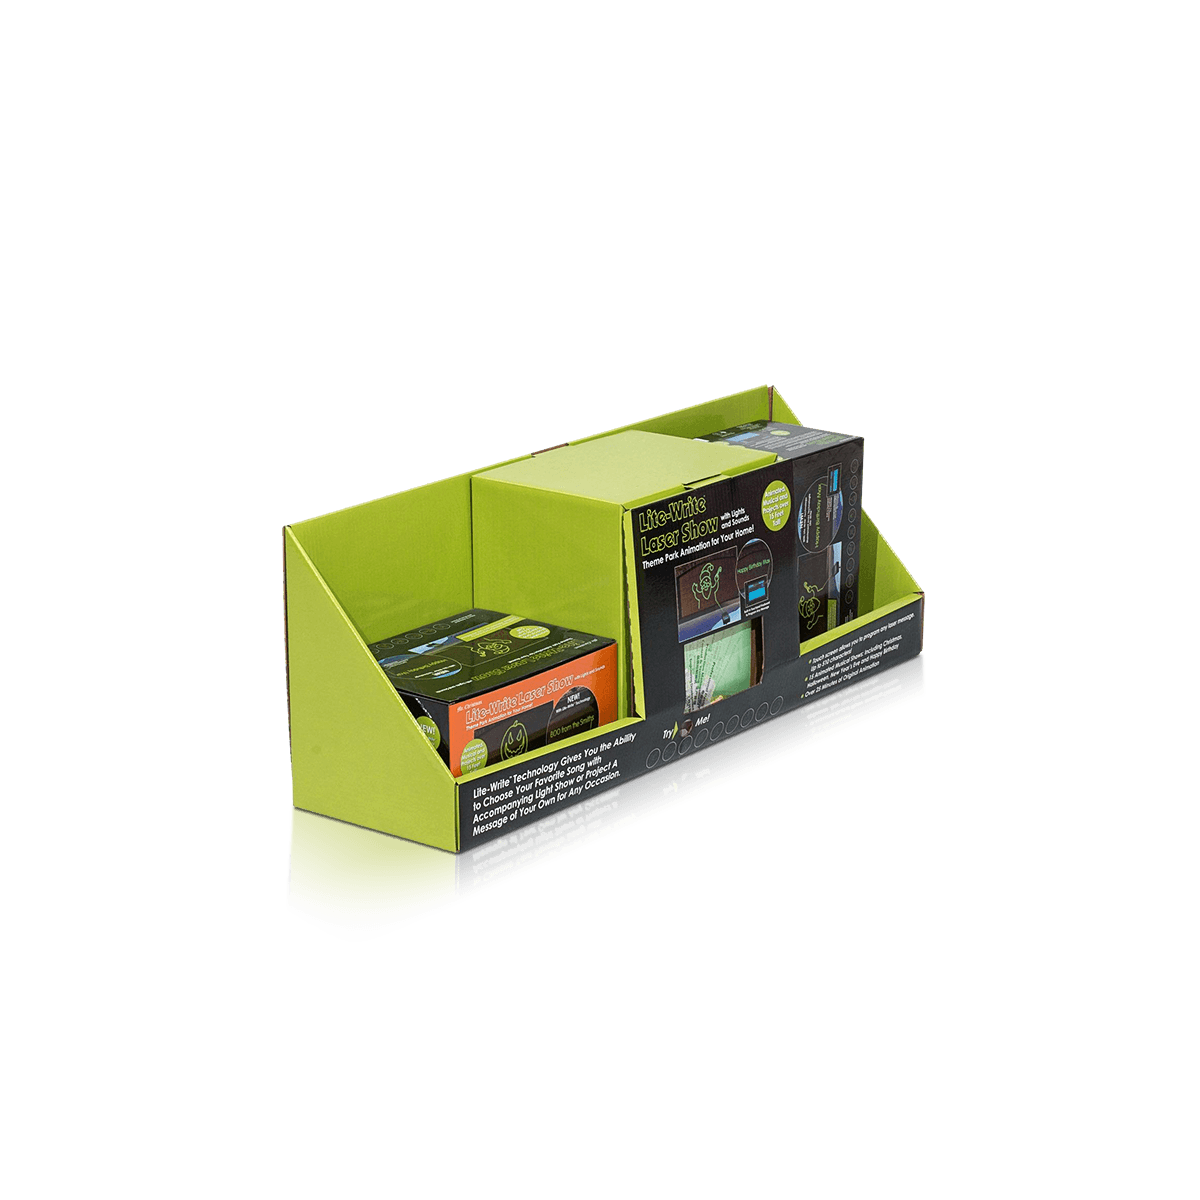
Counter and shelf displays for chargers, cables, earbuds, adapters and compact electronics, planned around unit-pack size, product count, shopper access and how the display behaves as stock sells down.

The Display Changes as Stock Sells Down

A gadget display is not a static box. Its weight distribution, product visibility and visual order change every time a shopper removes a unit.

That matters with compact electronics because the products can differ sharply in weight even when their retail packs look similar. A charger carton can be much denser than a cable pack. An earbud box may be short and rigid while a phone grip or adapter pack is light enough to lean forward once neighboring units disappear.

Custom Retail Display Boxes for Gadgets therefore need to work when full, half-full and nearly empty.

The strongest structure does more than hold the opening quantity. It keeps the remaining products facing forward, stops mixed SKUs from collapsing into each other's lanes and gives shoppers enough access to lift one item without disturbing the rest.

The Nearly Empty State Exposes Weak Displays

A display can look excellent in a rendering with every position filled.

Remove most of the stock and different problems appear.

Tall packages may fall forward. Narrow units can rotate. A rear-heavy arrangement can place extra load against the back wall. Small packs may disappear behind a front lip that looked proportionate when the display was full.

That makes low-stock behavior part of the structural design rather than an issue for store staff to correct later.
Design Around the Retail Pack, Not the Bare Gadget

A display normally holds finished retail units, not loose chargers, earbuds or adapters.

That means the dimensions that matter are the dimensions of each packaged SKU.

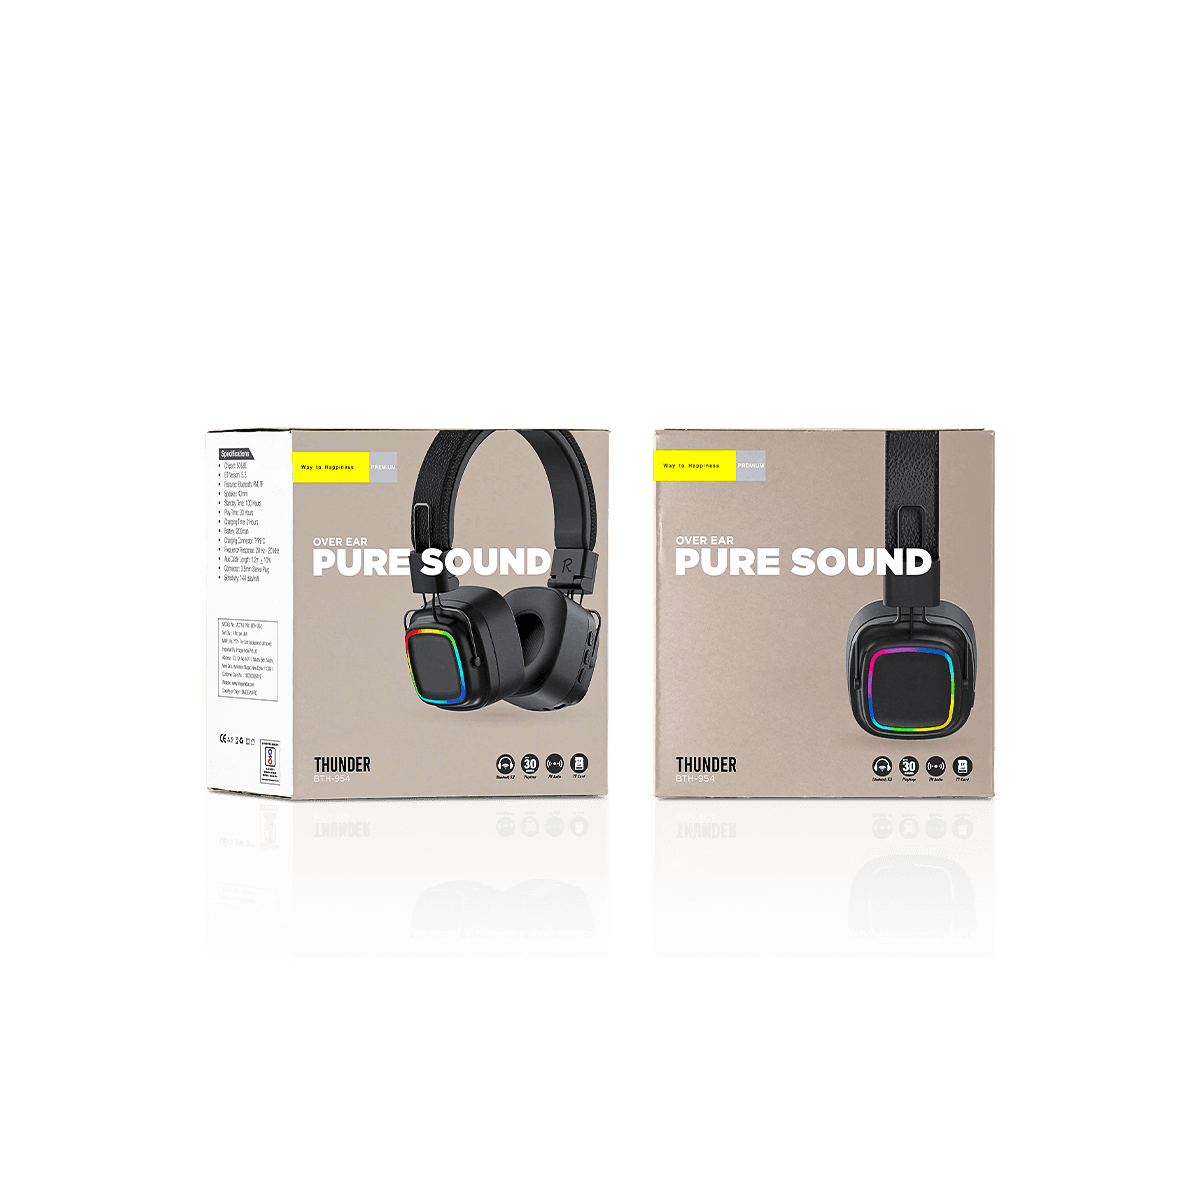
A USB hub might be physically tiny yet sit in a carton with a broad front face because technical specifications need room. A charger may have a deeper pack because of its cable. Earbuds may use a rigid presentation box that takes more display volume than the charging case itself.

The display lanes, front lip and depth should therefore be developed around the final unit packs.

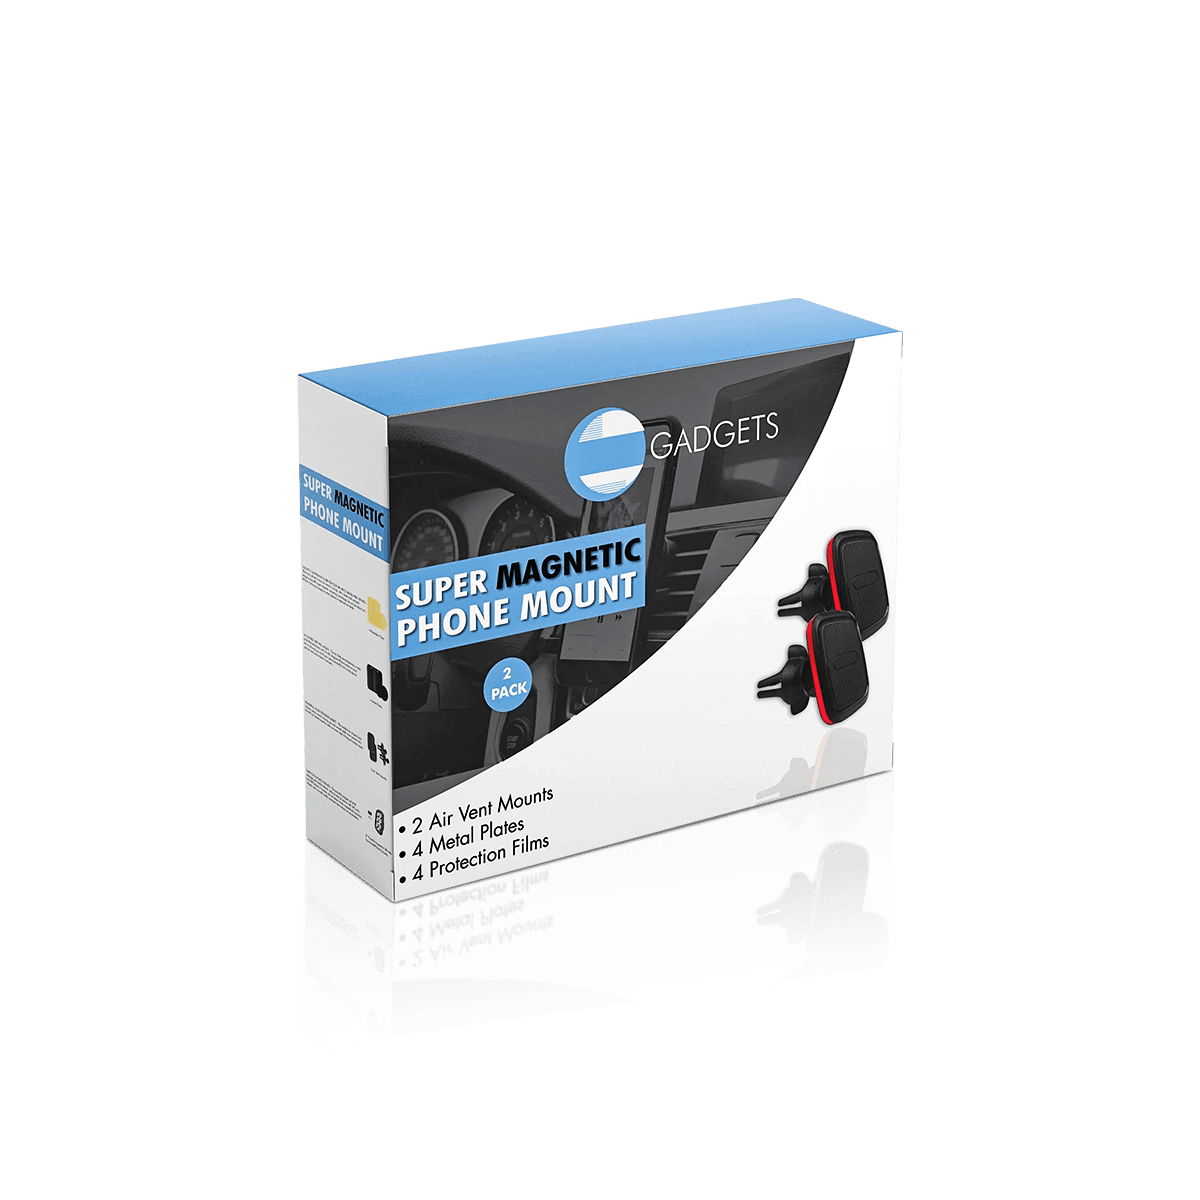
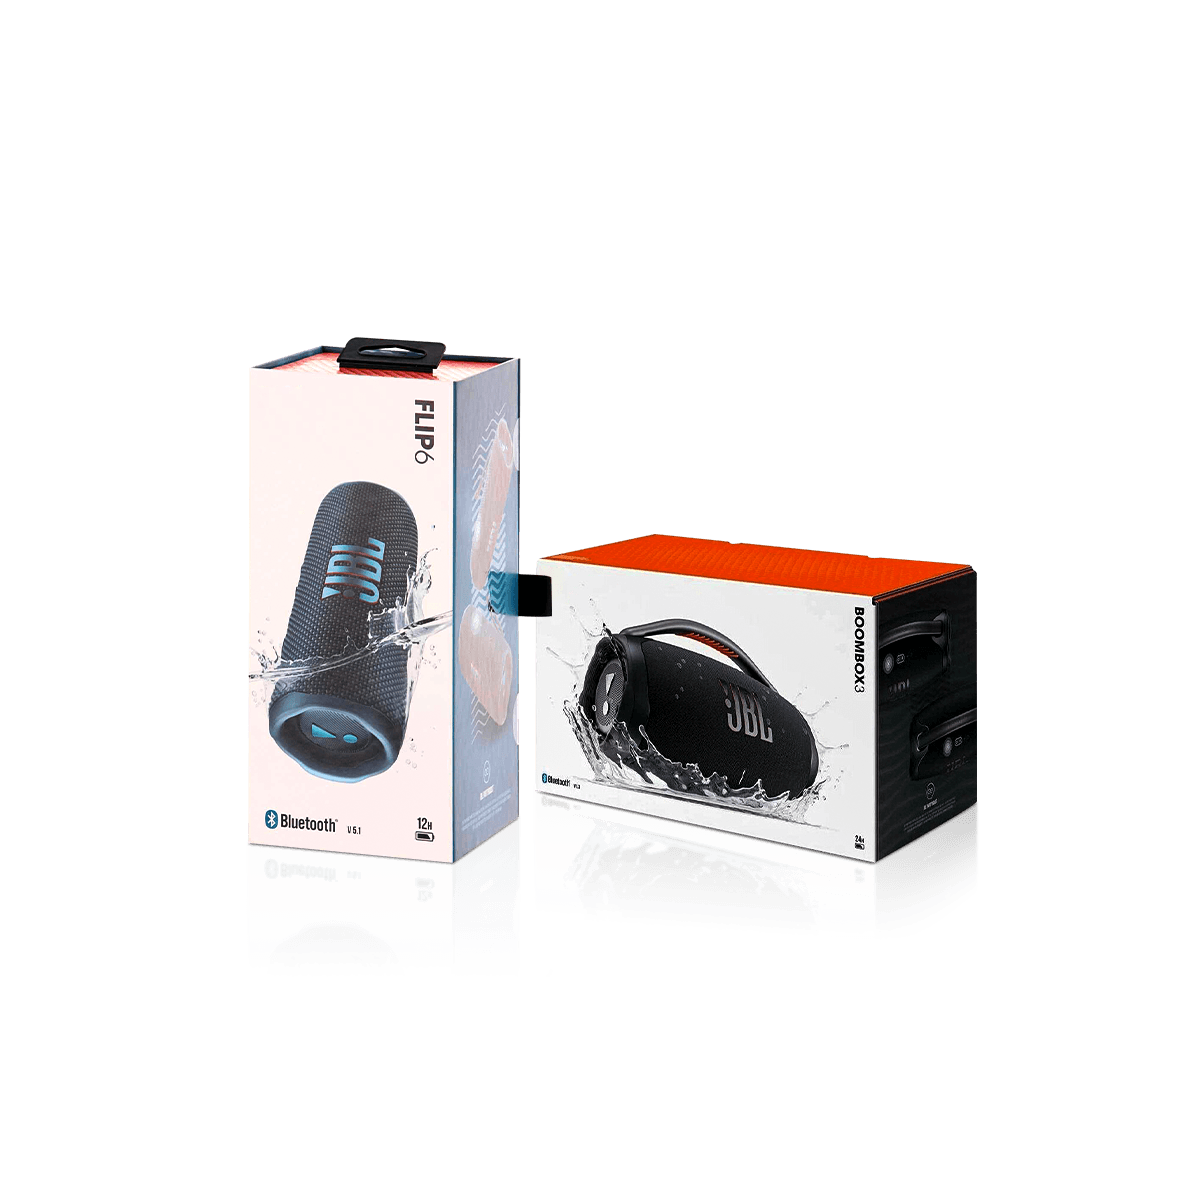
Electronics and gadget packaging includes several product types whose exterior packs can behave very differently even when the electronics themselves are similarly compact.

If the main challenge is organizing a mixed accessory assortment inside each individual product pack, Gadget Accessory Boxes solve that unit-level problem before the finished packs enter the retail display.

Unit-Pack Changes Can Break an Existing Display

A small artwork refresh may have no structural effect.

Adding a cable, thicker insert or new hang tab can.

If the retail carton becomes only a few millimeters deeper, the original display may hold fewer units or force the final row against the back panel. A taller pack can block header artwork. A different bottom profile may no longer stand correctly in the existing lane.

The display specification should therefore use the packed SKU dimensions, not just a product name.

Product Count Determines the Internal Geometry

“Hold 20 units” is not enough to specify a gadget display.

Those 20 units might sit in one deep row, four lanes of five or several tiered positions. Each arrangement changes access, visibility and replenishment.

For small technology products, lane count can be more important than maximum capacity.

A row of four cable types may need four narrow channels so colors or connector types remain separated. A charger promotion might need only two lanes but more depth because each carton is thicker.

Display boxes should be selected around placement, product pickup and refill behavior rather than product count alone.

Front Lips Need Enough Retention, Not Maximum Height

The front wall keeps products from sliding out, but excessive height can hide the identifiers customers need.

Wattage, connector type, device compatibility, capacity or color may sit low on compact electronics cartons. If the display lip covers those areas, customers have to remove packs simply to identify them.

One option is to lower the front wall while strengthening the side structure. Another is to raise the products slightly on an internal platform so the important printed zone sits above the lip.

Lane Width Needs Working Clearance

A channel cut exactly to the product width may look precise but become awkward when print coatings, folding tolerances and normal carton variation are introduced.

Products need enough clearance to slide forward and be restocked without becoming loose enough to rotate.

That tolerance should be checked with actual packed units rather than assumed from nominal dimensions.

Mixed Tech SKUs Can Unbalance the Display

Electronics displays often combine products that share branding but not mass.

A display might contain charging bricks, cable packs and lightweight adapters. If the heavier units sit in one area, the board and base can experience concentrated loading even though the total product count looks modest.

Consider a countertop display with two heavy charger lanes at the back and lightweight cable packs across the front.

When full, the structure appears stable. As the front cable packs sell down, the remaining weight becomes concentrated toward the rear. The back panel begins to flex and the display feels less stable when shoppers pull chargers upward.

Increasing the thickness of every panel is one possible response, but it is not always the best one.

The layout can instead move the denser products closer to the center of the base, add structural support where the load actually reaches the display and adjust lane depth so the remaining stock does not become excessively rear-heavy.

That preserves the merchandising logic without turning a compact display into an unnecessarily heavy structure.

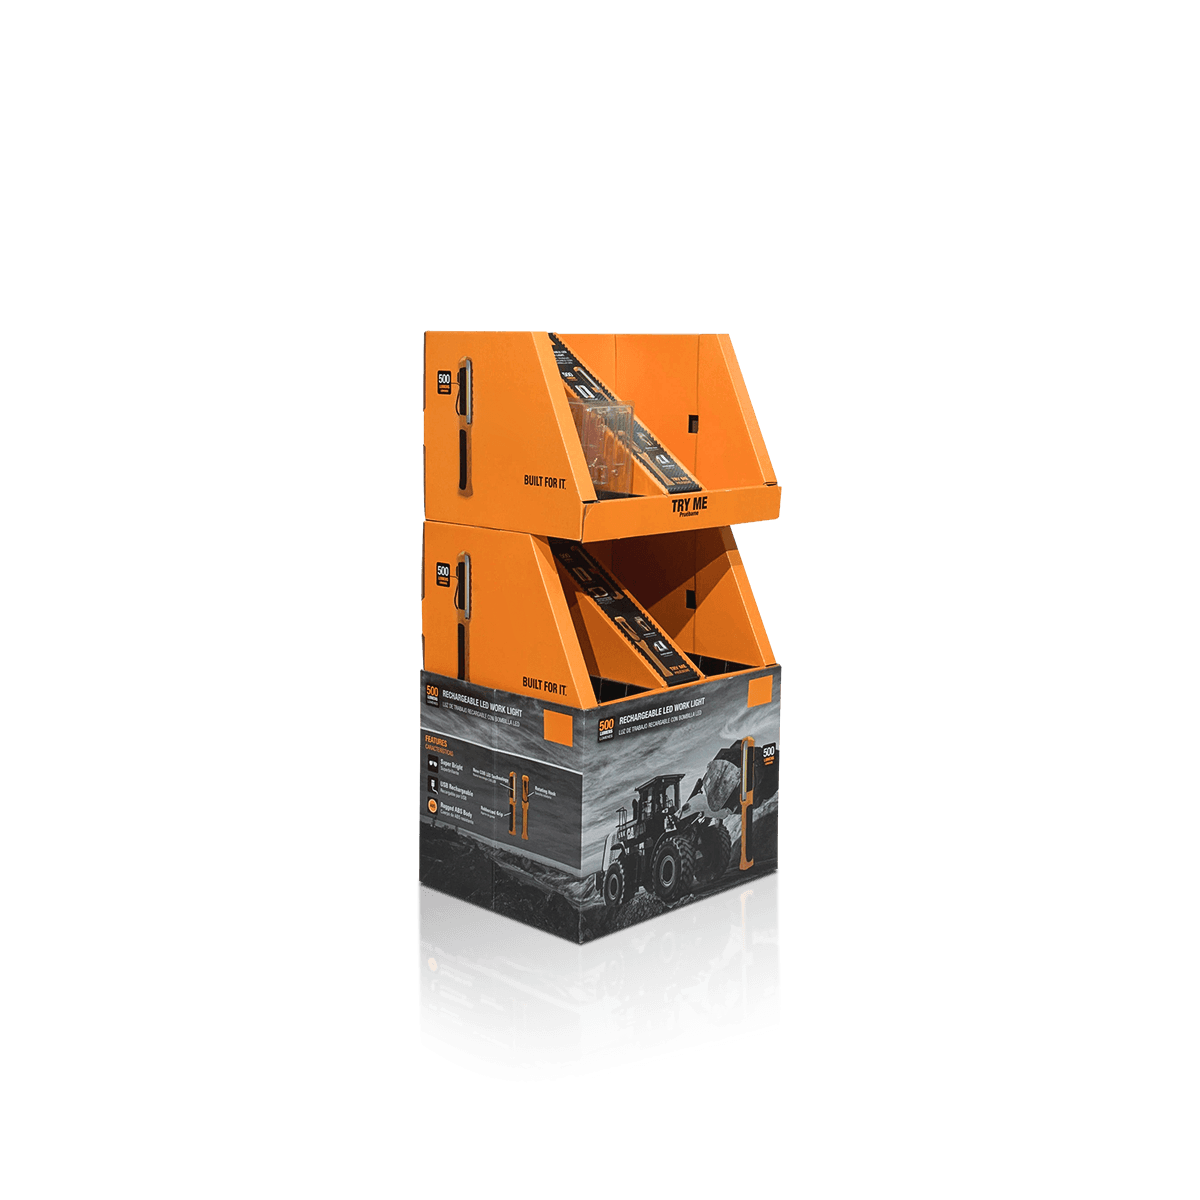
Counter, Shelf and Peg Systems Solve Different Problems

A gadget brand may use several retail environments during the same launch.

Checkout counters reward compact footprints and quick product recognition. Shelf displays often prioritize rows, facings and replenishment. Peg walls use vertical space and depend on each unit's hanging geometry.

Those environments should not be treated as interchangeable.

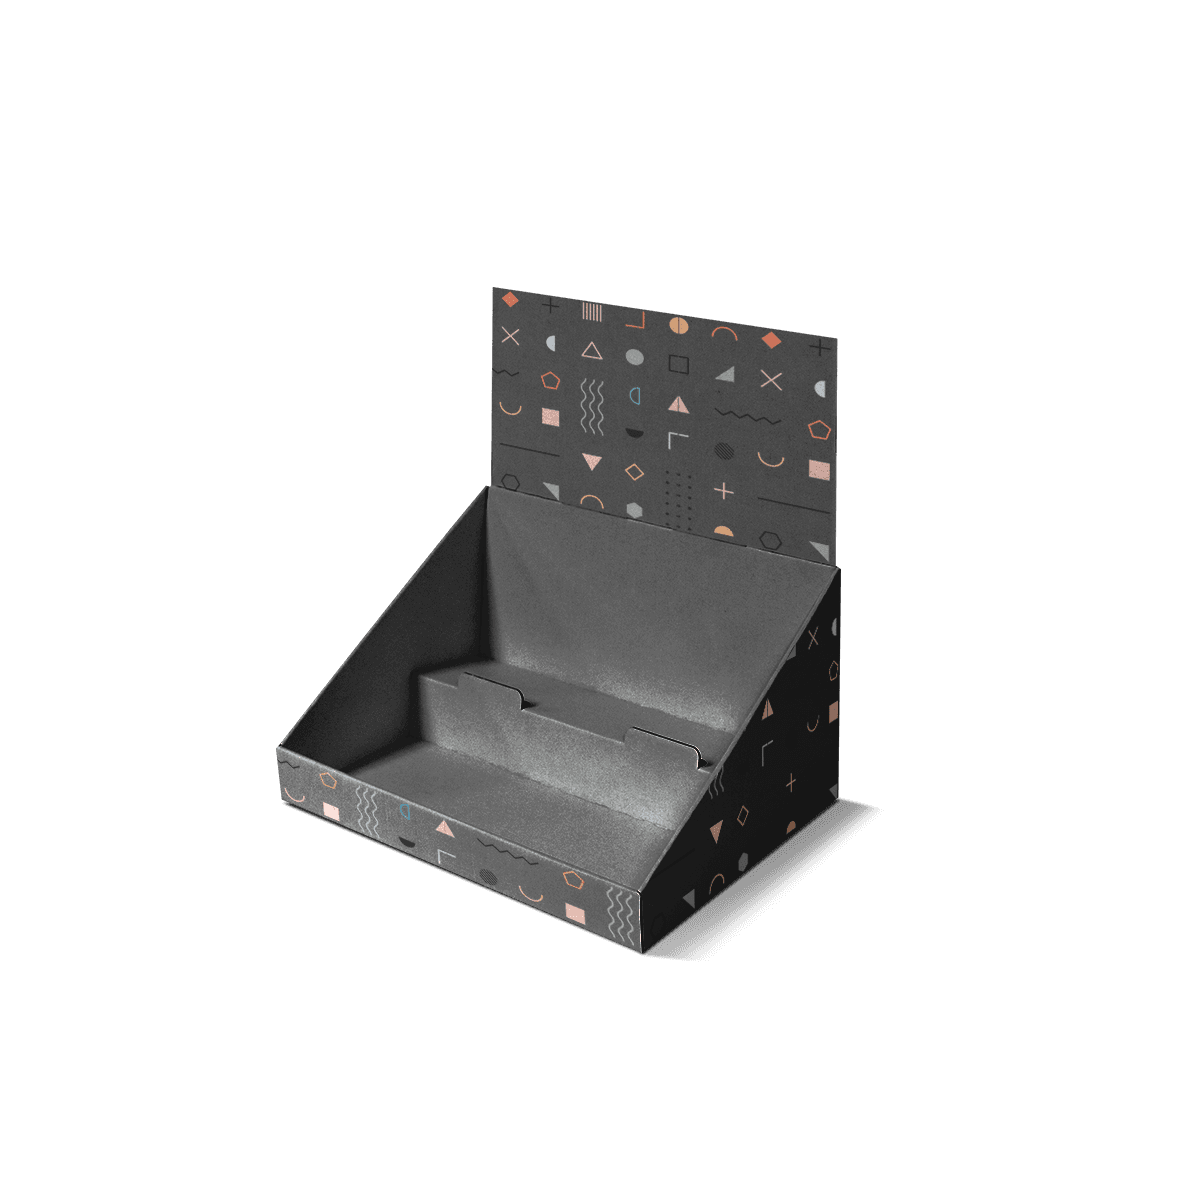
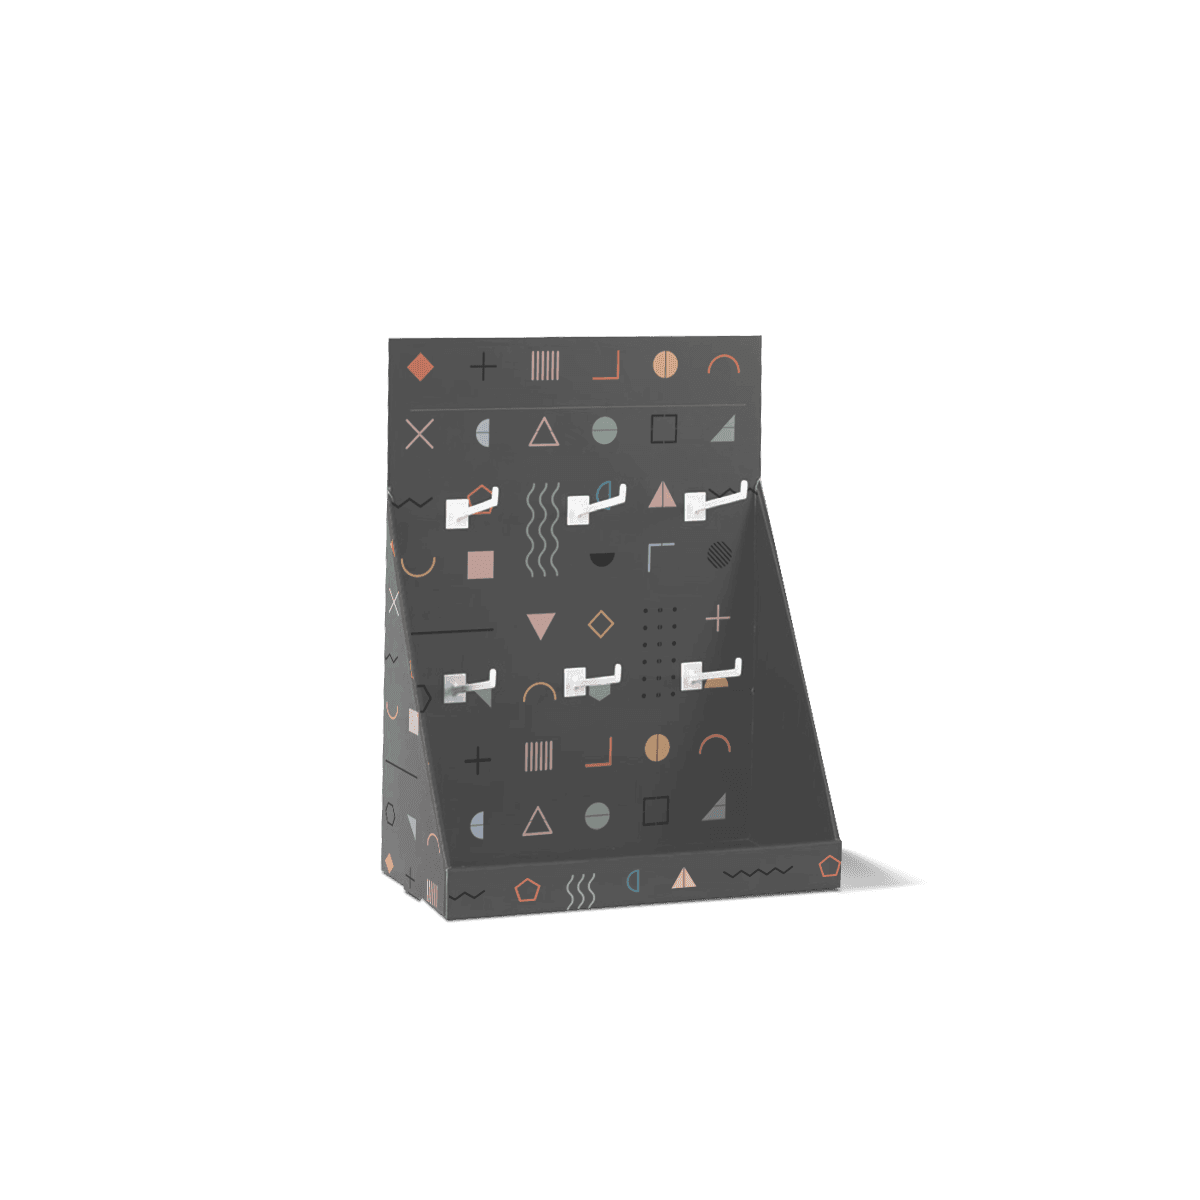
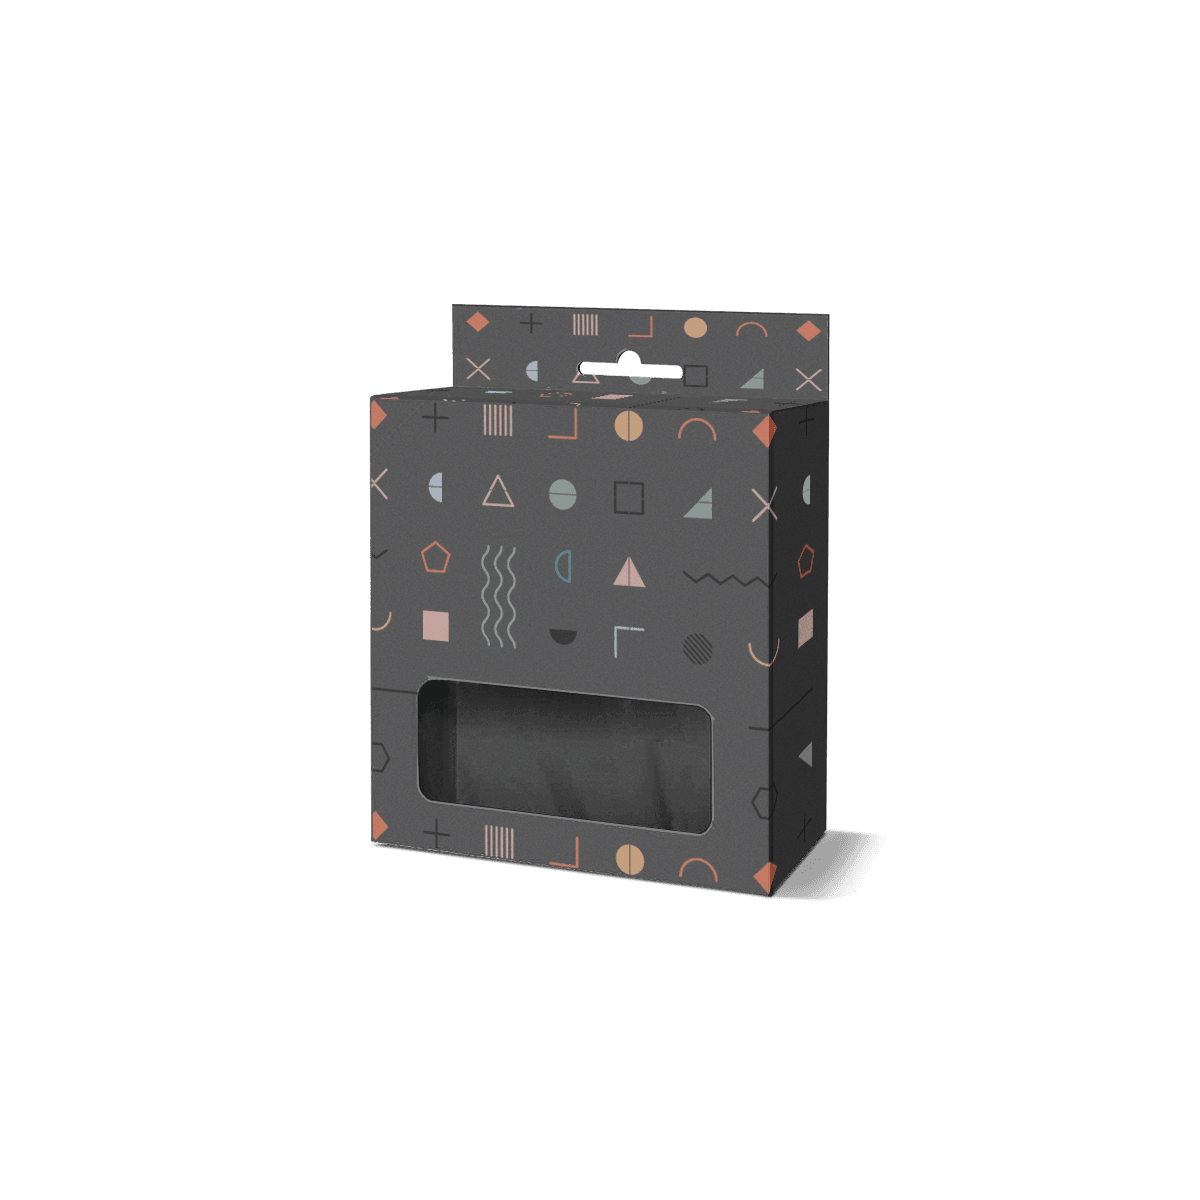
A countertop display can carry several packaged SKUs in open lanes with a printed header. A shelf unit may use a lower profile so products remain visible in a horizontal fixture. Peg merchandising may be better handled by individually packed products using Hang-Tab Display Boxes rather than trying to make an open tray perform a hanging function.

Transit-to-Shelf Programs Need Another Structure

Some retailers want the shipping case to arrive containing the products and then convert quickly into the selling tray.

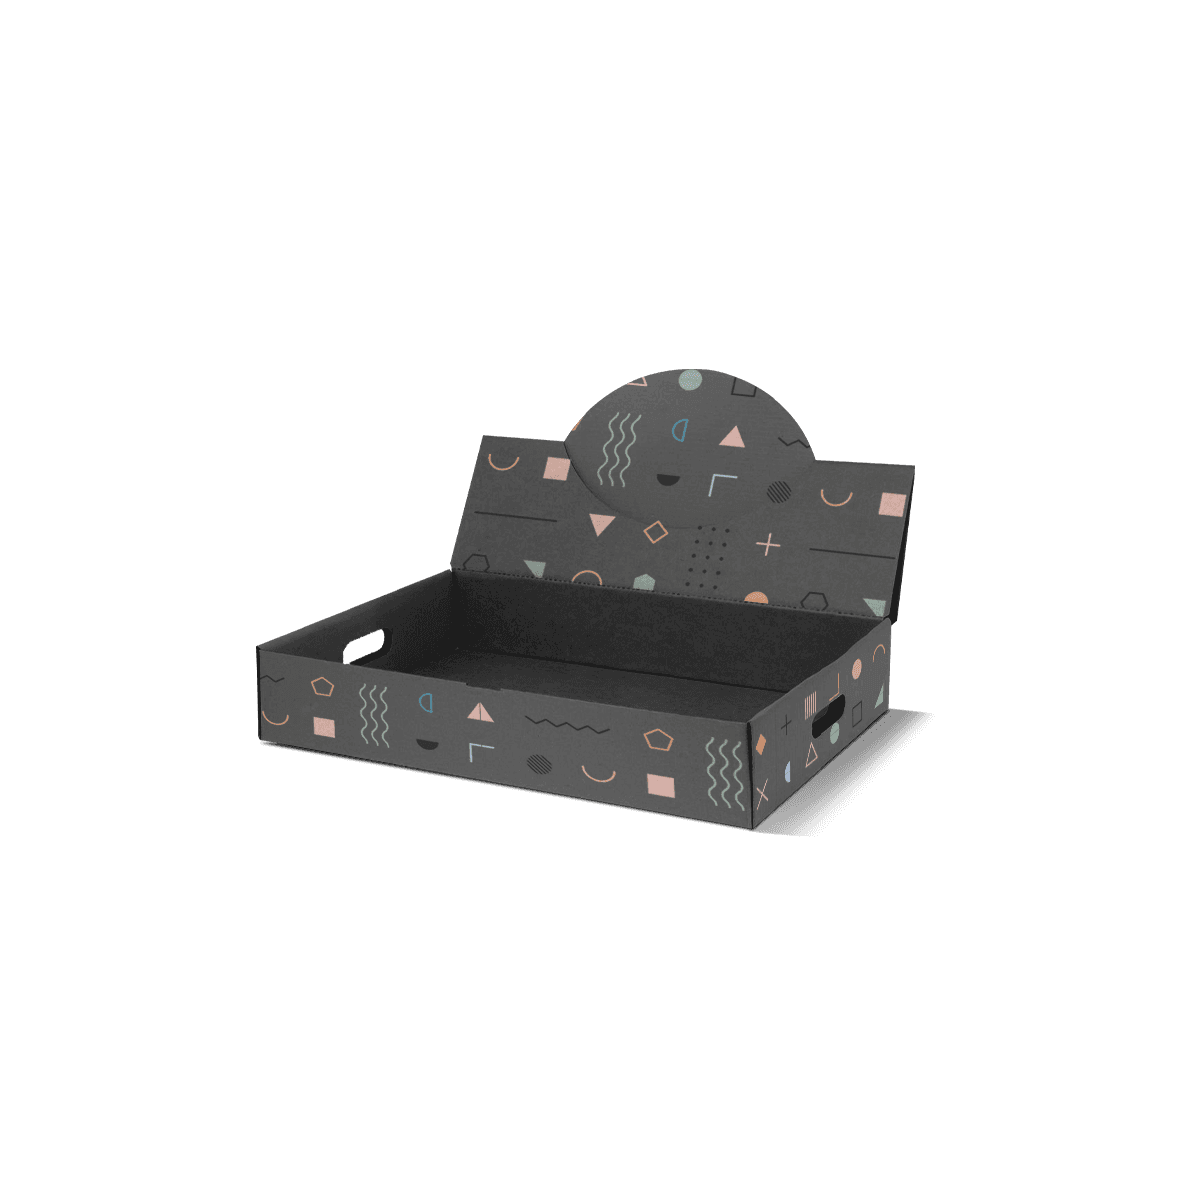
That workflow is better suited to Counter Ready Display Boxes, where the outer structure carries products through distribution and then opens into the retail presentation.

A dedicated promotional display can instead arrive flat or separately assembled and be stocked in store.

The correct choice depends on how much handling the retailer wants between receiving and merchandising.

Replenishment Should Be Obvious to Store Staff

A display that looks good but takes too long to refill creates a different kind of packaging failure.

Store staff should be able to see which SKU belongs in each position and reload it without dismantling the structure.

Divider channels can help when similar-looking products sit together. Printed identifiers on the rear wall, base or divider edges can reduce mix-ups where several models share nearly identical cartons.

The internal arrangement should also account for the direction from which staff actually refill.

A deep counter unit may be easy to load from above. A shelf display underneath another shelf may have limited vertical access, making front loading more practical.

That physical environment affects divider height and header placement.

For fast-moving electronics accessories, refill behavior deserves the same attention as first-day presentation because the display may be handled far more by employees than by the customer who buys one unit.

SKU Identification Has to Survive Visual Similarity

Tech packs often share almost everything except one specification.

A charging accessory may change from 30 W to 65 W. A cable can change connector type. An earbud accessory may fit one device generation but not another. The retail packaging may intentionally share the same brand system.

The display has to support that consistency without making different products appear interchangeable.

Separate lanes, controlled color coding and visible specification zones can help.

The display graphics should reinforce the distinction already present on the individual packs rather than introduce another competing identification system.

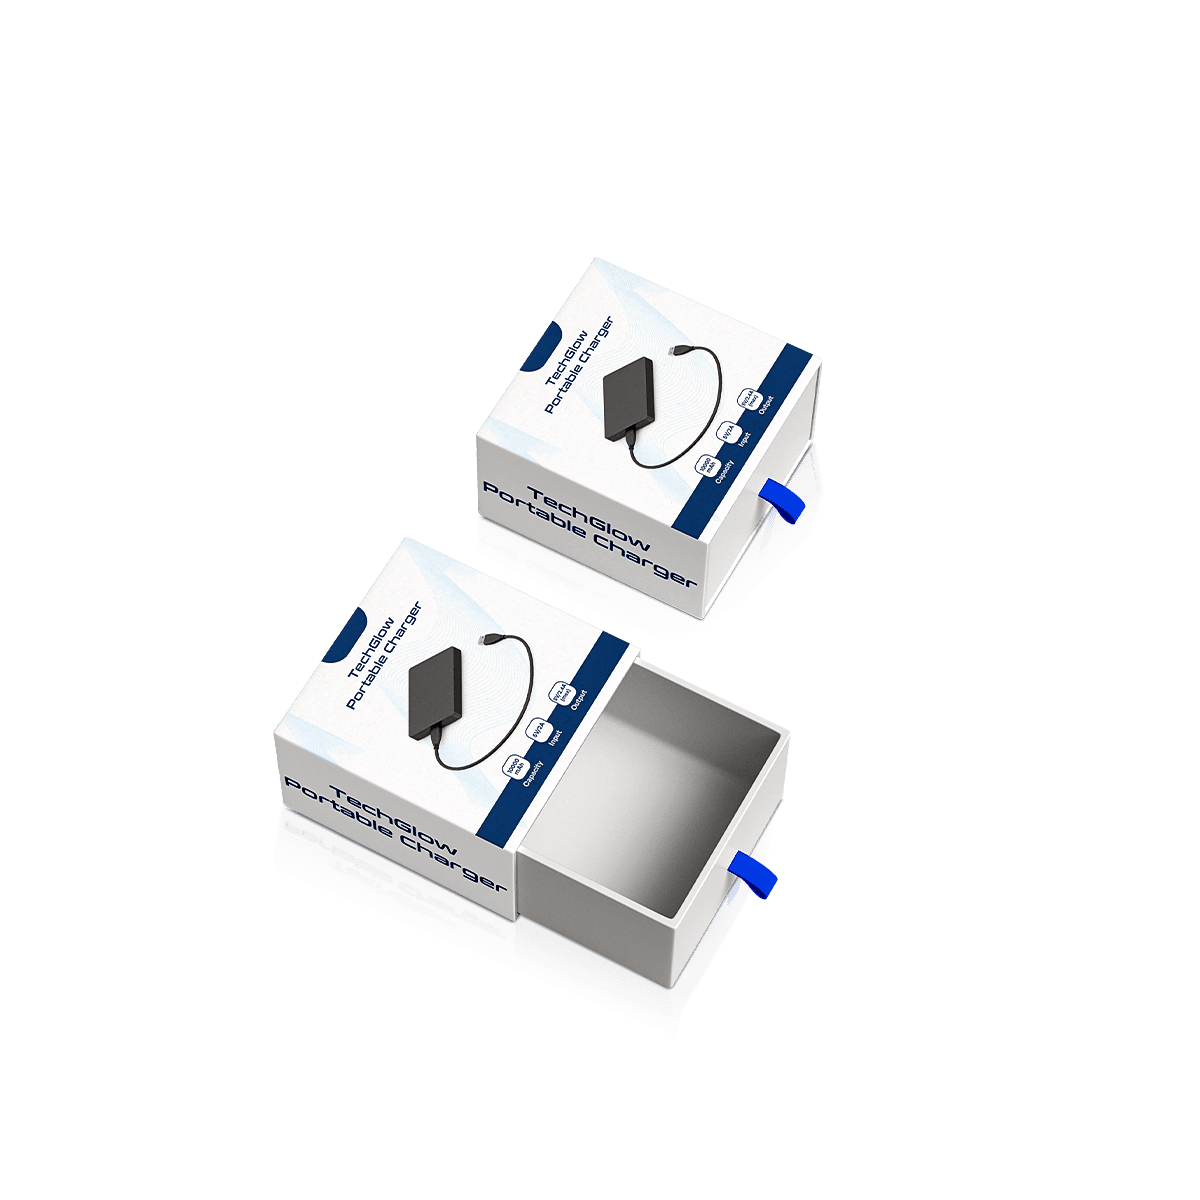
For brands working across many small retail cartons, Custom Folding Cartons for Electronics can establish consistent front-panel logic before those cartons are grouped into a display.

A good display lets customers understand the assortment faster. It should not require them to pull out several boxes and compare fine print just to locate the correct connector or capacity.

Headers Need to Work From the Shopper's Sightline

A tall header creates more branding space, but height alone does not make the display more visible.

The display may sit below eye level, beside a register or underneath another fixture. In those positions, some surfaces matter far more than others.

A countertop header can carry a brand mark or short campaign message while the front lip identifies the product group. Side panels can reinforce the identity when shoppers approach from an angle.

Strong store-shelf packaging principles matter when typography, product recognition and color have to work quickly in a crowded retail environment.

For gadget displays, restraint is often more effective than filling every panel.

The products themselves already carry technical communication. The display should create hierarchy around them rather than repeat every specification.

Premium offset printing can keep logos, model graphics and fine line work sharp across headers and side panels. Pantone colors may suit tightly controlled brand colors while CMYK works well for photographic or multi-color graphics.

Spot UV, foil or other finishes can be applied selectively, but repeated shopper contact and retail handling should influence the finish decision as much as appearance.

Board Choice Depends on Filled Weight and Display Life

A temporary display holding lightweight cable cartons has a different structural job from a long-running counter unit loaded with dense chargers.

Paperboard can work for lighter products, compact displays and shorter promotional programs.

Corrugated board becomes more appropriate as product weight, display footprint, replenishment frequency or expected service life increases. Litho-laminated corrugated construction can pair added strength with high-quality printed surfaces when both matter.

The differences between paperboard and corrugated packaging materials become more important when a display is carrying several retail units rather than one product.

The base, side walls and rear panel do not necessarily need identical reinforcement.

A design can place strength where weight accumulates while keeping low-stress areas lighter.

That is generally more intelligent than treating board thickness as the only structural variable.

Test Three Stock Levels, Not One Sample Photo

Physical validation should imitate how the display will actually be shopped.

Load it completely first. Check the base, dividers, side walls and header.

Then remove roughly half the units and look again.

Finally, reduce the display to its low-stock condition.

Products that stay upright when tightly packed may lean once neighboring support disappears. A deep lane may stop feeding products toward the front. A tall rear wall may suddenly dominate the remaining merchandise. Weight distribution can shift toward one side.

Shopper removal should also be tested.

One unit should come out without lifting two others, catching on a divider or pulling the display forward.

A free 3D mockup can help assess the display proportions and printed surfaces. A fully custom pre-production sample can be arranged as a paid sample where exact assembly, loading and shopper access need physical confirmation.

Store Rollouts Need a Display Count Strategy

The unit quantity inside each display affects production, replenishment and store allocation.

A 24-unit display sent to a store that sells six units during the promotional period wastes inventory and counter space. A six-unit display at a fast-moving location may require constant staff attention.

Display capacity should reflect the intended store and replenishment model.

Some programs can use one standardized footprint with different product allocations inside. Others need separate display sizes for high-volume and low-volume locations.

That planning also affects master cartons and warehouse picking.

If each store receives one display plus a refill quantity, those two packaging components should be planned together rather than independently.

USA MOQ starts from 100 boxes. Warehousing and scheduled deliveries can support staged retail distribution instead of moving the entire finished production quantity at once. Standard turnaround is 4–6 days after final artwork and specifications are approved, with free shipping. Complex structures, specialty materials or advanced finishes may require additional time.

Once unit-pack dimensions, product count, retail placement and material direction are known, an instant custom packaging quote can be based on the real display rather than a generic counter-box size.

The Display Should Still Work After the Promotion Changes

A display designed too closely around temporary artwork can become difficult to reuse when a product line changes.

The physical structure and the campaign graphics do not always need the same lifespan.

A well-planned display can reserve stable areas for permanent brand identity while keeping promotional messaging in artwork zones that can change between print runs.

That can be valuable for gadget brands that maintain the same charger, cable or accessory assortment while changing seasonal campaigns or retail offers.

It also protects structural work already solved through product fit, lane spacing and store placement.

Custom sizing, inserts and dividers, dieline support and premium offset printing can all be coordinated without rebuilding a proven display geometry merely because campaign artwork changes.

Define the Empty State Before Approving the Display

The final check is simple but often ignored: picture the structure with only one or two products left.

Can shoppers still tell what belongs there?

Do the remaining packs stay upright?

Does the front lip still frame the merchandise rather than hide it?

Is the structure stable after its heaviest or lightest products have sold?

Can staff immediately see what needs replenishment?

Those questions reveal whether a Retail Display Box for Gadgets was developed as a piece of printed packaging or as an operating retail fixture.

The second standard is harder. It is also the one that matters once the display leaves the mockup and spends days or weeks being stocked, shopped and refilled.

FAQs

They work best in checkout areas, endcap shelves, accessory aisles and demo tables where shoppers can compare small tech items quickly without digging through mixed inventory.

Yes when the product line includes multiple SKUs or loose accessory packs. Dividers help maintain neat rows, prevent mixing and make daily restocking more accurate.

Retail Display Boxes for Gadgets are better when the priority is open visibility and quick grab-and-go shopping. Folding Cartons for Electronics are the better fit when each item needs a closed retail carton with more panel space and fuller product coverage.

Paperboard works well for lighter items and short-run promotions, while corrugated options are stronger for heavier accessories, larger counts or stores that expect frequent handling.

The best approach is to match cavity count and wall height to the product size so the display holds enough units for a strong visual block but still lets shoppers remove one product cleanly.

Process

How it works

Your Packaging Journey, From Idea to Production and Delivery

01

Tell Us Your Specs

Custom packaging boxes

Tell Us Your Specs

Provide size, quantity, printing, and finishes.

02

Get a Fast Quote

Custom packaging boxes

Get a Fast Quote

Instant transparent pricing, no hidden fees.

03

Design and Approval

Custom packaging boxes

Design and Approval

Artwork checks, revisions, and final sign-off.

04

Produce

Custom packaging boxes

Produce

Expert manufacturing to meet deadlines.

05

Ship to Your Door

Custom packaging boxes

Ship to Your Door

Hassle-free, flexible delivery options.

Get Your Quote for Custom Retail Display Boxes for Gadgets

Share your product details, size, quantity and artwork needs. We’ll help choose the right packaging style and send a clear quote.