Skip to content
Details

Custom Display Jewelry Boxes

Retail jewelry displays planned around viewing angle, piece spacing, removable mounts, anti-tangle control and quick replenishment at counters, showcases and pop-ups.

Jewelry Needs Different Viewing Planes

A ring and a necklace should not be presented at the same angle simply because they belong to the same collection.

Rings benefit from a raised position that exposes the setting. Earrings often need a near-vertical card so the pair reads together. Pendants need enough drop to show the focal piece without exposing loose chain. Bracelets may need a curved support or wider horizontal position.

Custom display jewelry boxes should organize those viewing planes before the outer box dimensions are finalized.

The display is doing a different job from the individual pack. A jewelry gift box presents one purchase after selection. A display structure has to help shoppers compare pieces before the sale.

Rings Need the Setting in View

A ring slot should hold the shank while leaving the setting unobstructed.

If the ring sits too deep, the stone can disappear into the insert. If it sits too high, the product may feel unstable or lean when customers handle nearby pieces.

The display angle should expose the face of the ring from the expected shopper position rather than from a straight overhead view.

Earrings Need Pair Alignment

Studs, hoops and drop earrings create different display heights.

An earring card can keep both pieces aligned, but the card height should match the jewelry. A tall card behind small studs wastes display space. A short card behind long drops can let the product overlap the row beneath it.

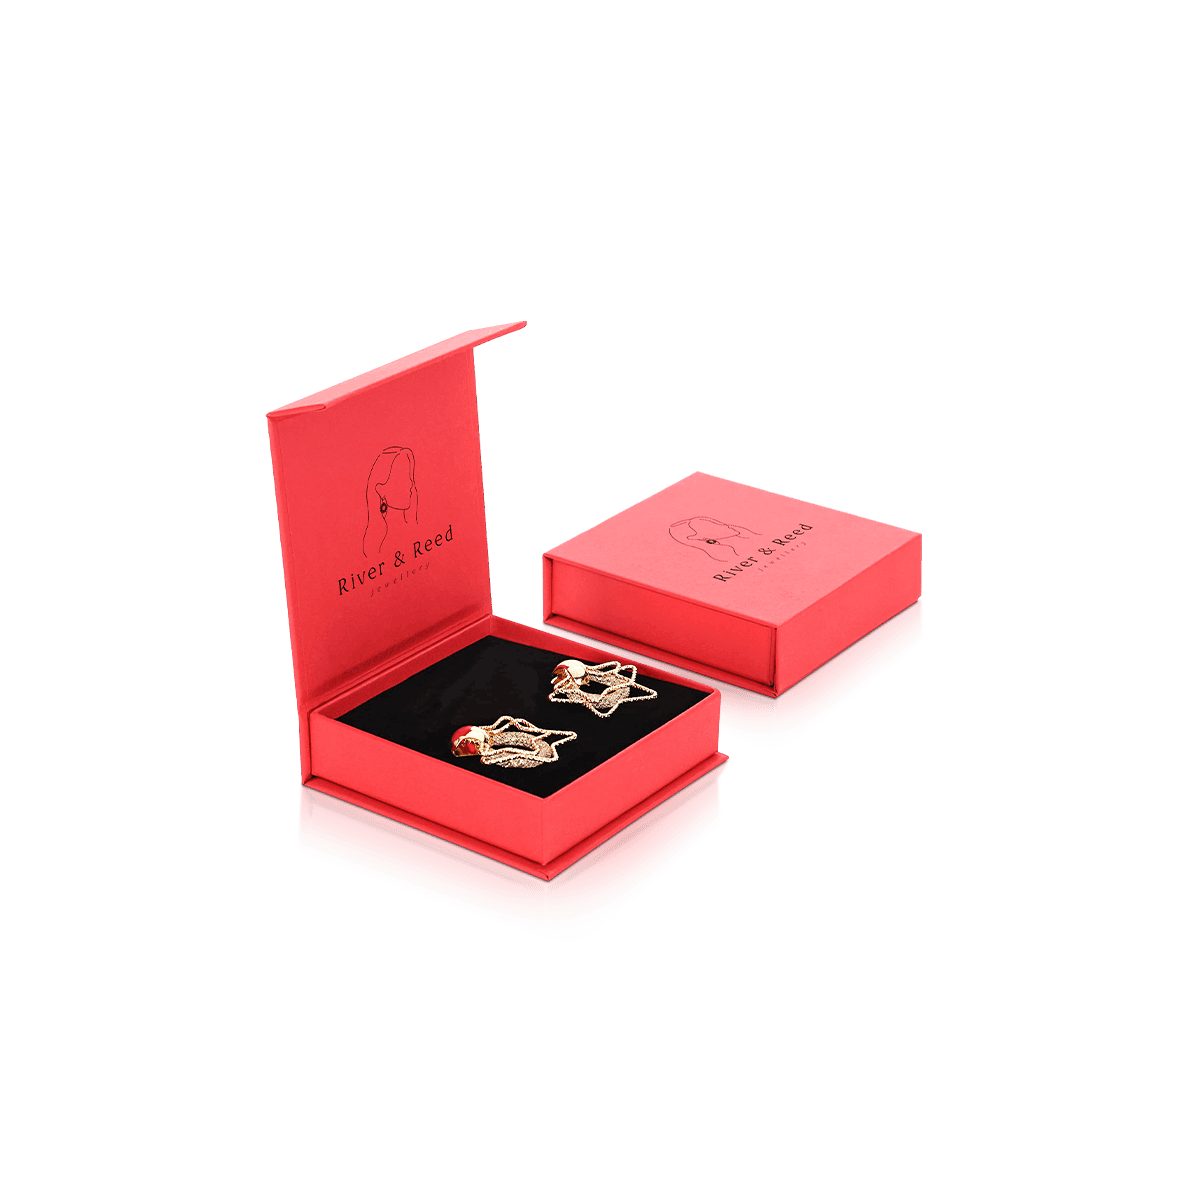
Earring boxes solve pair retention for individual packaging, while the retail display has to manage several pairs without visual overlap.

Pendants Need Chain Control

A pendant can look centered while the chain behind it becomes tangled with neighboring pieces.

Routing the chain behind a card, into a slot or through a hidden lower space keeps the focal piece visible without leaving excess chain loose across the display.

That separation becomes more important as several necklace styles share one tray.
Product Spacing Sets Perceived Order

Jewelry displays fail quickly when pieces begin touching one another.

The issue is not only physical contact. Too little space makes separate products visually merge, especially when several items use similar metal colors or small stones.

Spacing should create a clear boundary around each piece without making the tray feel empty.

The right gap changes with the product. Rings can sit relatively close when each has a defined slot. Hoop earrings need lateral room. Bracelets need enough distance that their profiles do not overlap. Necklaces need stronger separation because chains can cross into adjacent positions.

Across a jewelry and accessories packaging program, each jewelry type should follow its own physical behavior rather than one cavity pattern.

Negative Space Is Functional

Empty space around jewelry is not necessarily wasted capacity.

It can separate price points, distinguish collections and make small products easier to identify. It also gives fingers somewhere to reach when shoppers or staff remove an item.

The goal is not maximum pieces per square inch. It is the number of pieces that can remain individually readable within the available retail footprint.

Display Depth Changes What the Shopper Sees

A deeper display does not automatically hold more jewelry effectively.

If front rows sit too high, they can block products behind them. If rear rows stay on the same plane, the shopper may see only the tops of their cards or boxes.

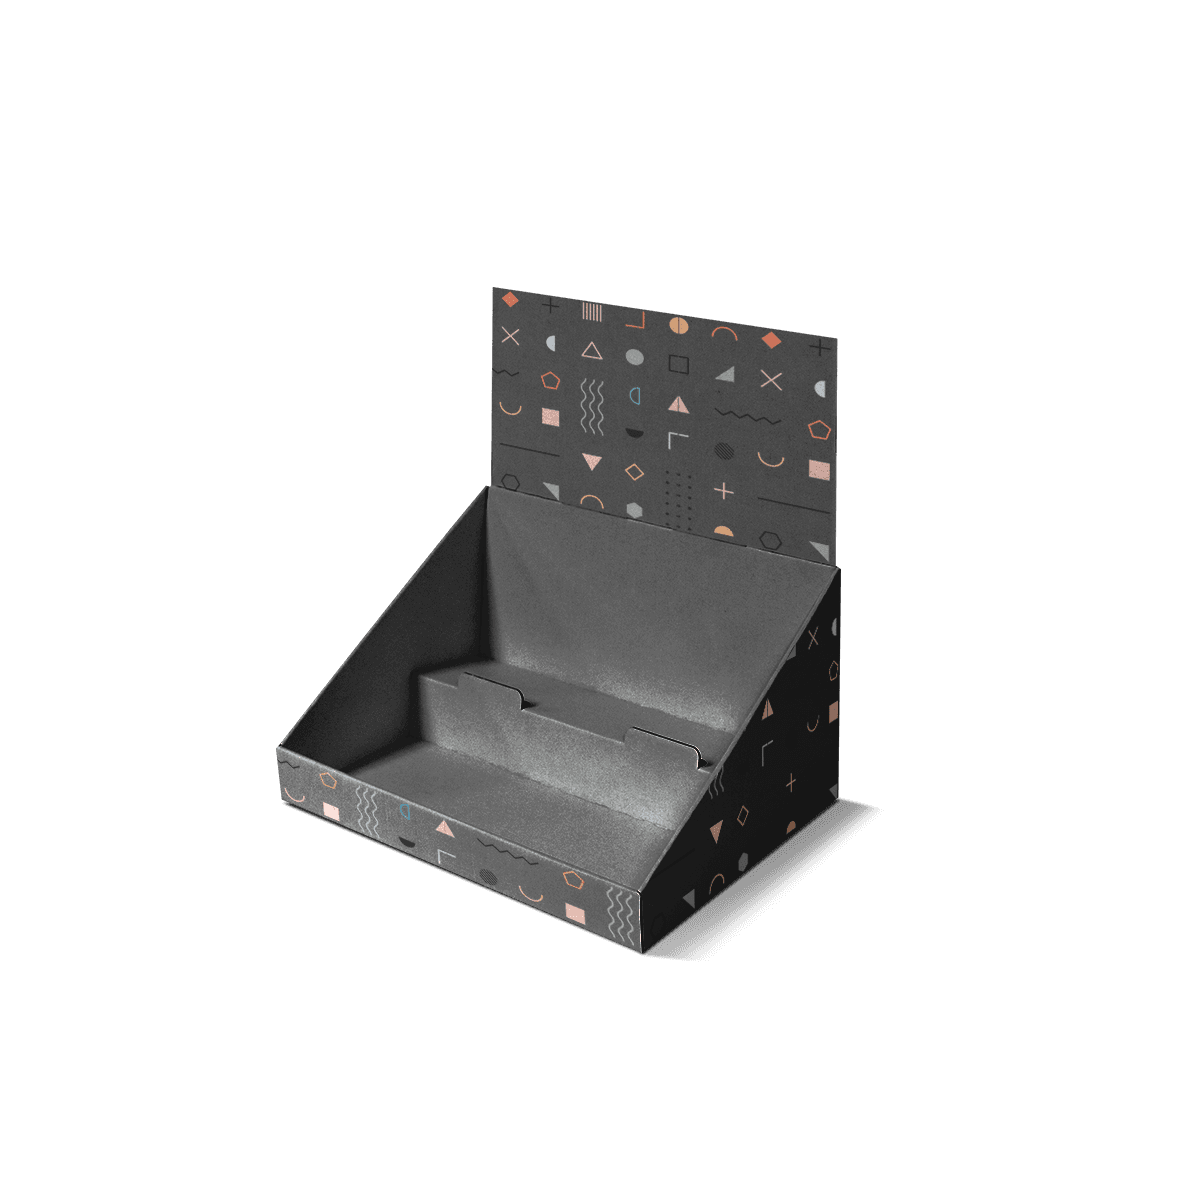
Stepped levels can improve visibility when several rows share one footprint.

For small jewelry cartons, a counter-top display box can use tiered product positions to keep rear units visible above the front row.

Loose jewelry usually needs more specific mounting because the product itself does not create a stable rectangular facing.

Rise Should Follow Product Height

A rear step only needs enough elevation to restore the sightline.

Making every level dramatically taller can increase display height, raise the center of gravity and consume material without improving visibility.

Test the display from the customer's side of the counter. A layout that looks clear from directly above may hide half the assortment at eye level.

Touch Access Changes the Layout

Some jewelry is intended to be handled freely. Other displays are staff-assisted. The structure should know which selling mode it supports.

An open counter tray can make fashion jewelry easy to browse. Fine jewelry inside a showcase may prioritize orderly presentation while staff controls product removal.

Those two environments require different spacing and retrieval behavior.

Finger Space Prevents Disturbance

If removing one ring requires touching the two rings beside it, the display is too dense or the slot geometry is wrong.

The same issue appears with earring cards packed tightly into channels. The shopper pulls one card and several others move with it.

Provide enough grip area for one product to leave without disrupting the surrounding presentation.

Removable Mounts Help Staff Handoffs

A removable jewelry card, pad or small platform can let staff lift the product from the display while keeping the piece arranged.

That is useful when an item moves from showcase to consultation counter and then either returns to the display or enters its individual sale packaging.

The mount should locate consistently when returned so staff does not need to rebuild the visual arrangement after every customer interaction.

Mixed Jewelry Needs Zones, Not One Grid

A display carrying rings, earrings, necklaces and bracelets should not divide the footprint into identical rectangles.

Each product type needs its own retention method and visual scale.

One area might use ring slots. Another can hold earring cards upright. A necklace zone can provide hooks and hidden chain space. A bracelet position may need a curved form or long channel.

The outer display can still look unified, but its interior should acknowledge those physical differences.

One Large Cavity Creates Disorder

Consider a boutique launch that places rings, small hoop earrings and pendants on one flat padded tray.

The arrangement looks clean immediately after setup. During the day, rings shift sideways, the hoop pairs rotate and pendant chains creep across neighboring products.

Adding more padding does not solve the problem because the products still lack defined positions.

The better correction is to divide the surface by movement type: ring slots for shanks, card positions for earrings and chain-control points for pendants. Each item then has a known home without requiring a heavier outer display.

That improves resetting as well as presentation because staff can see immediately where a returned piece belongs.

Insert Color Changes Jewelry Contrast

The display background can make a product easier or harder to see.

Light-colored metals can disappear against some pale interiors. Dark jewelry can lose definition against deep backgrounds. Highly reflective surfaces can also compete with polished metal under strong retail lighting.

The insert color should create sufficient separation from the jewelry while staying consistent with the brand.

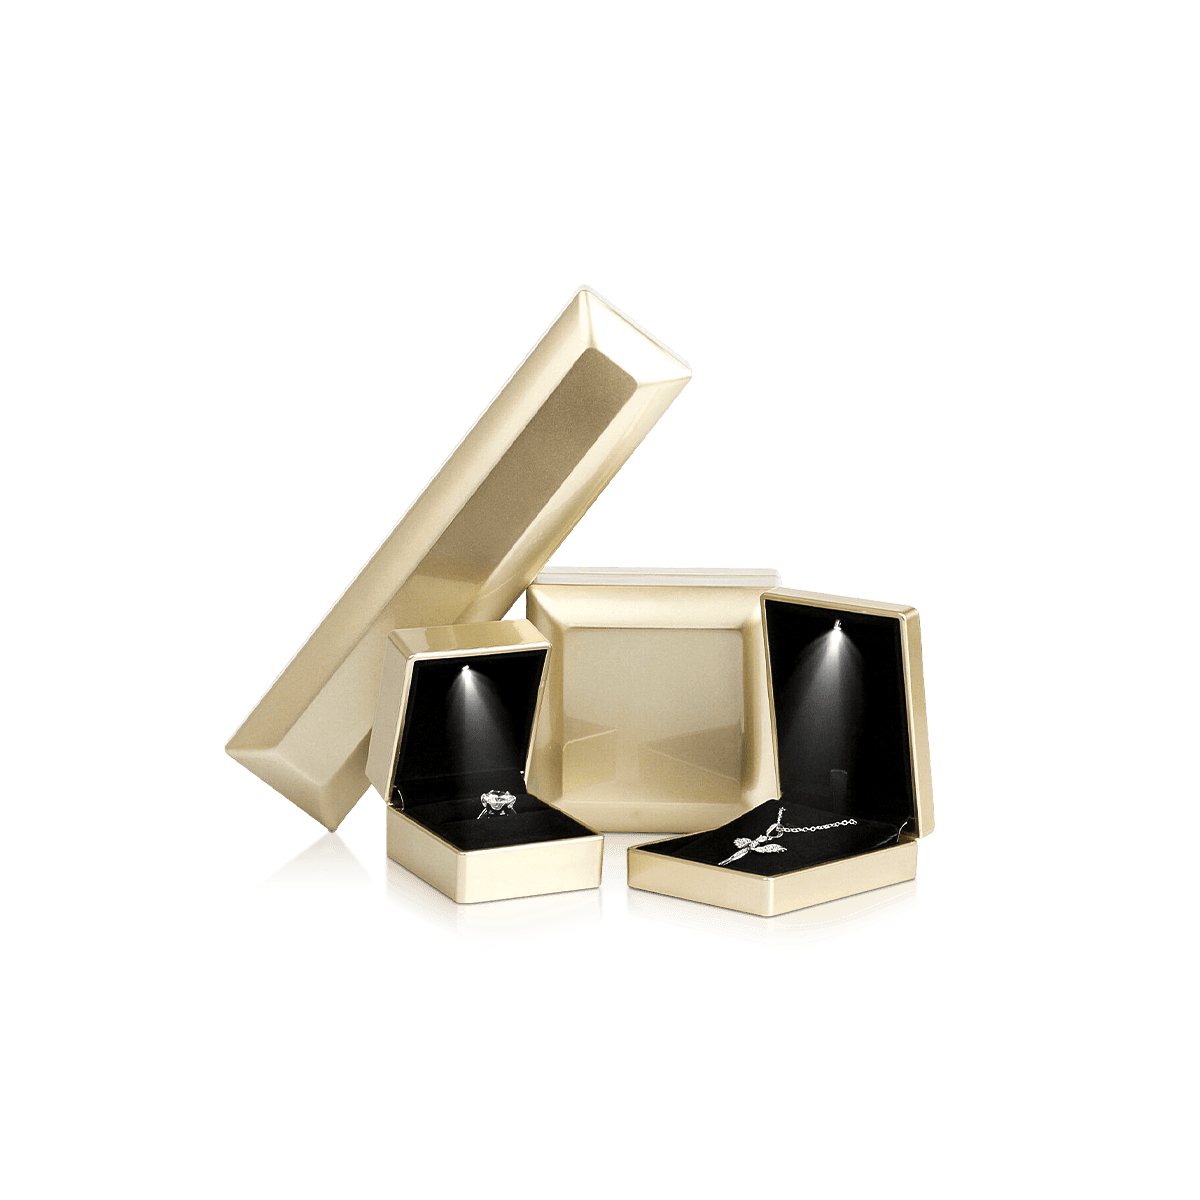
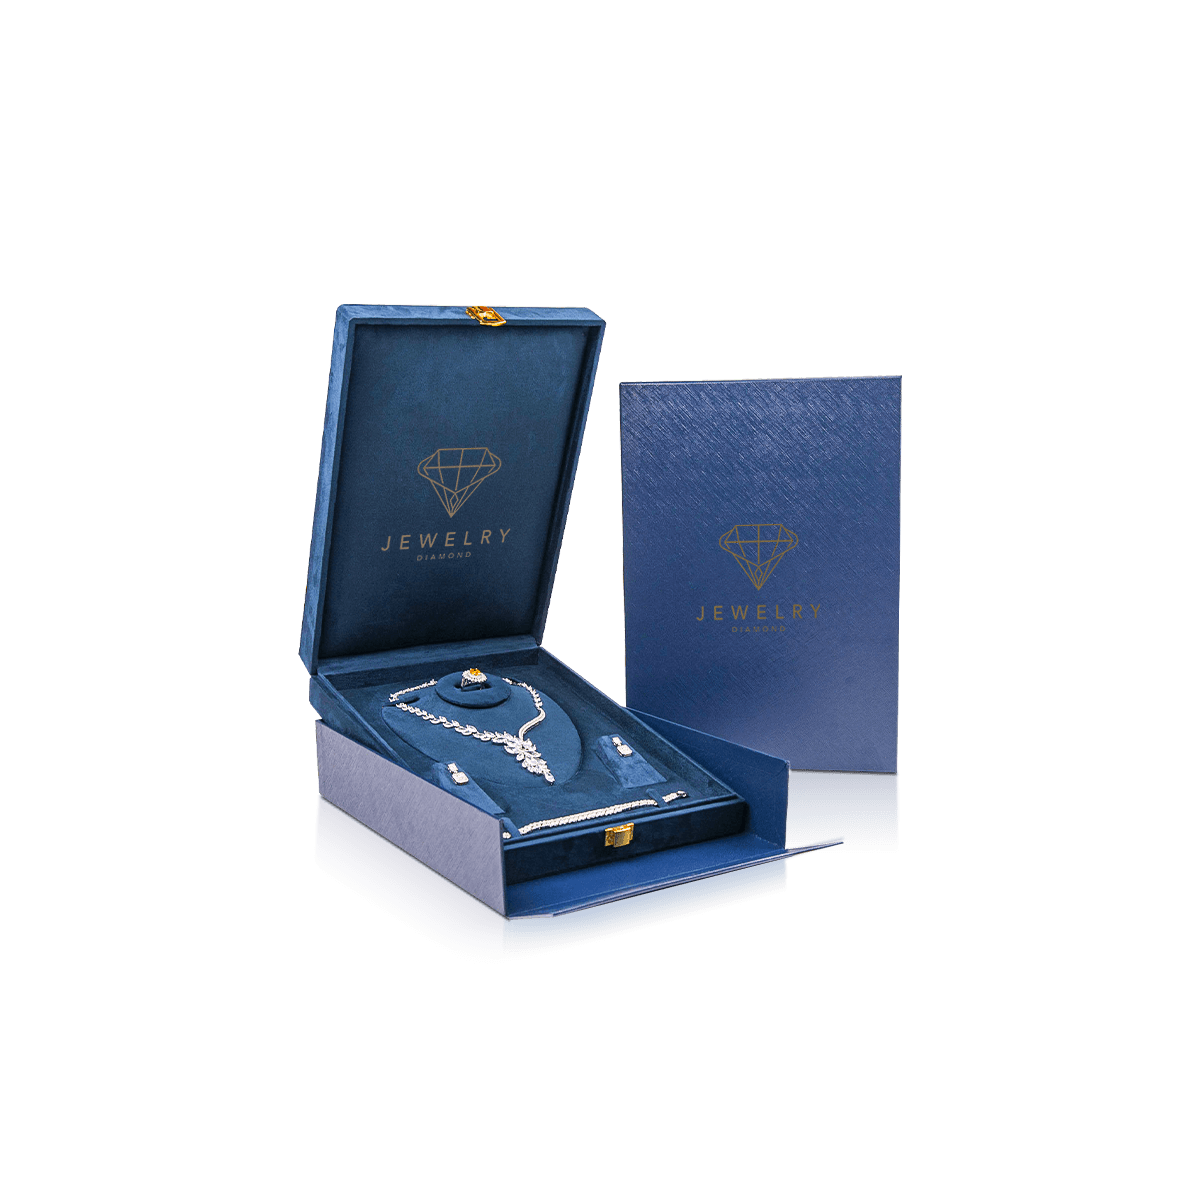
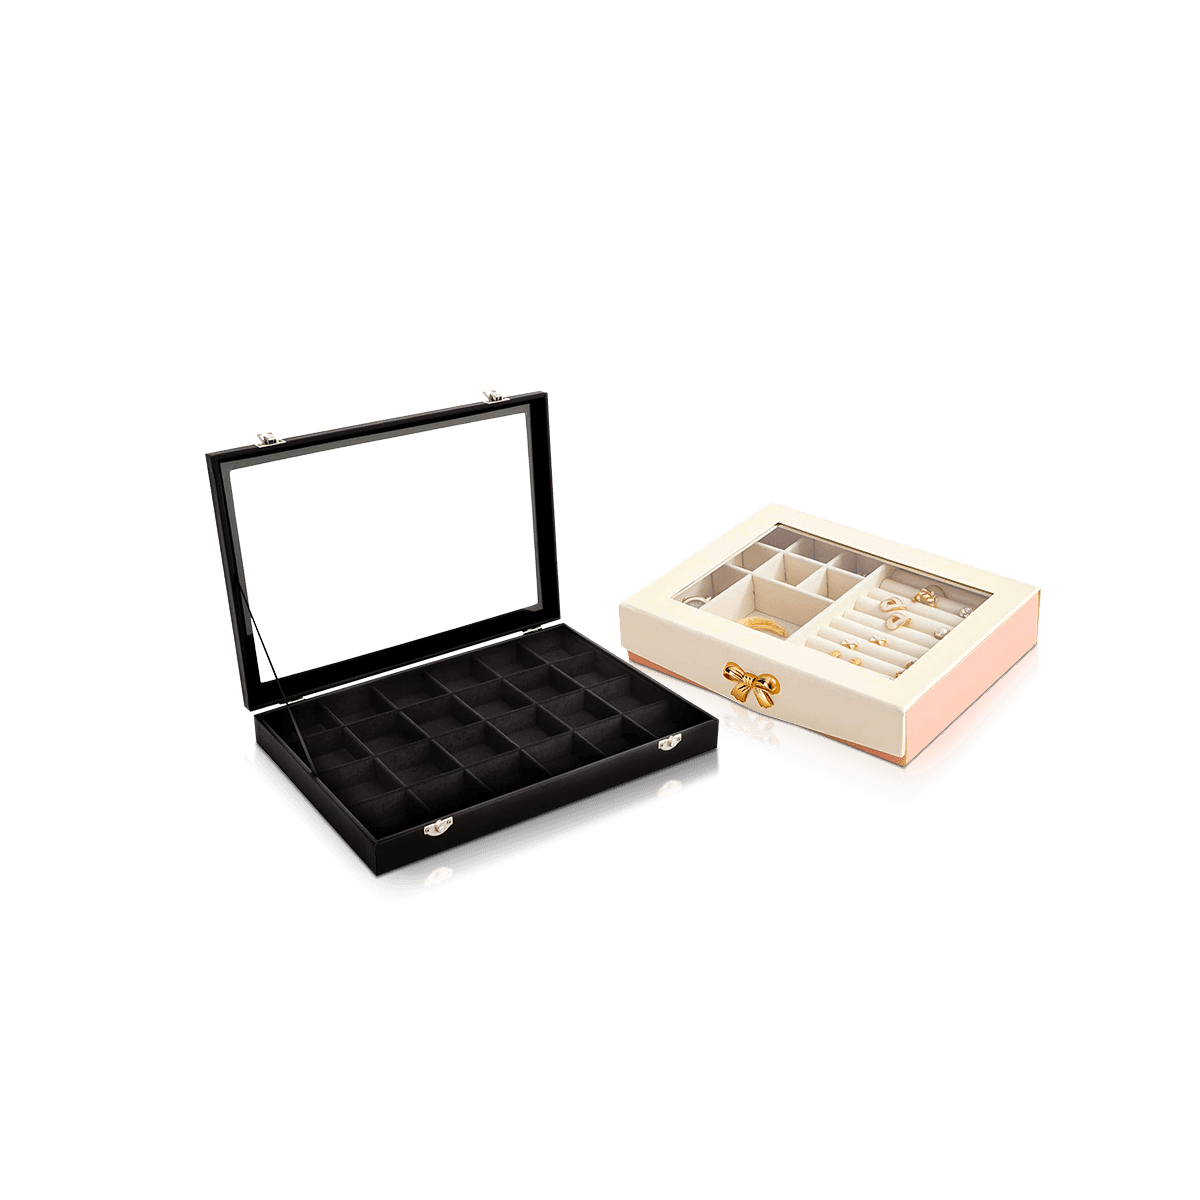
A velvet-lined presentation emphasizes soft texture and premium contact. A retail display may instead use paperboard, fabric-covered pads, foam or another insert treatment according to the product and intended lifespan.

Color should be judged with the actual jewelry in place.

A blank black tray may look sophisticated on its own, but the real question is whether a black pendant, dark watch face or oxidized metal piece remains visually distinct once loaded.

Cards, Pads and Slots Affect Replenishment

A retail display is rarely loaded once and left untouched.

Products sell. Staff refill empty positions. Pieces are removed for customer inspection and returned. A practical insert needs to tolerate that routine without losing its layout.

Permanent cavities create clear locations but can limit flexibility. Removable cards make SKU changes easier but need enough positional control to stop the display becoming uneven. Slotted pads can work well for repeat products where each position stays consistent.

The preferred system depends on how frequently the assortment changes.

Fast-Moving Items Need Fast Resetting

If stud earrings sell throughout the day, staff should be able to replace an empty card without removing half the tray.

The refill path should be obvious.

A rear-loading channel, removable row or open card slot can work better than a tightly trapped insert if daily replenishment is expected.

The display should remain presentable even when several positions are temporarily empty.

The Header Should Not Compete With the Jewelry

Jewelry itself already carries texture, color and reflective detail.

The display graphics do not need to fight for the same attention.

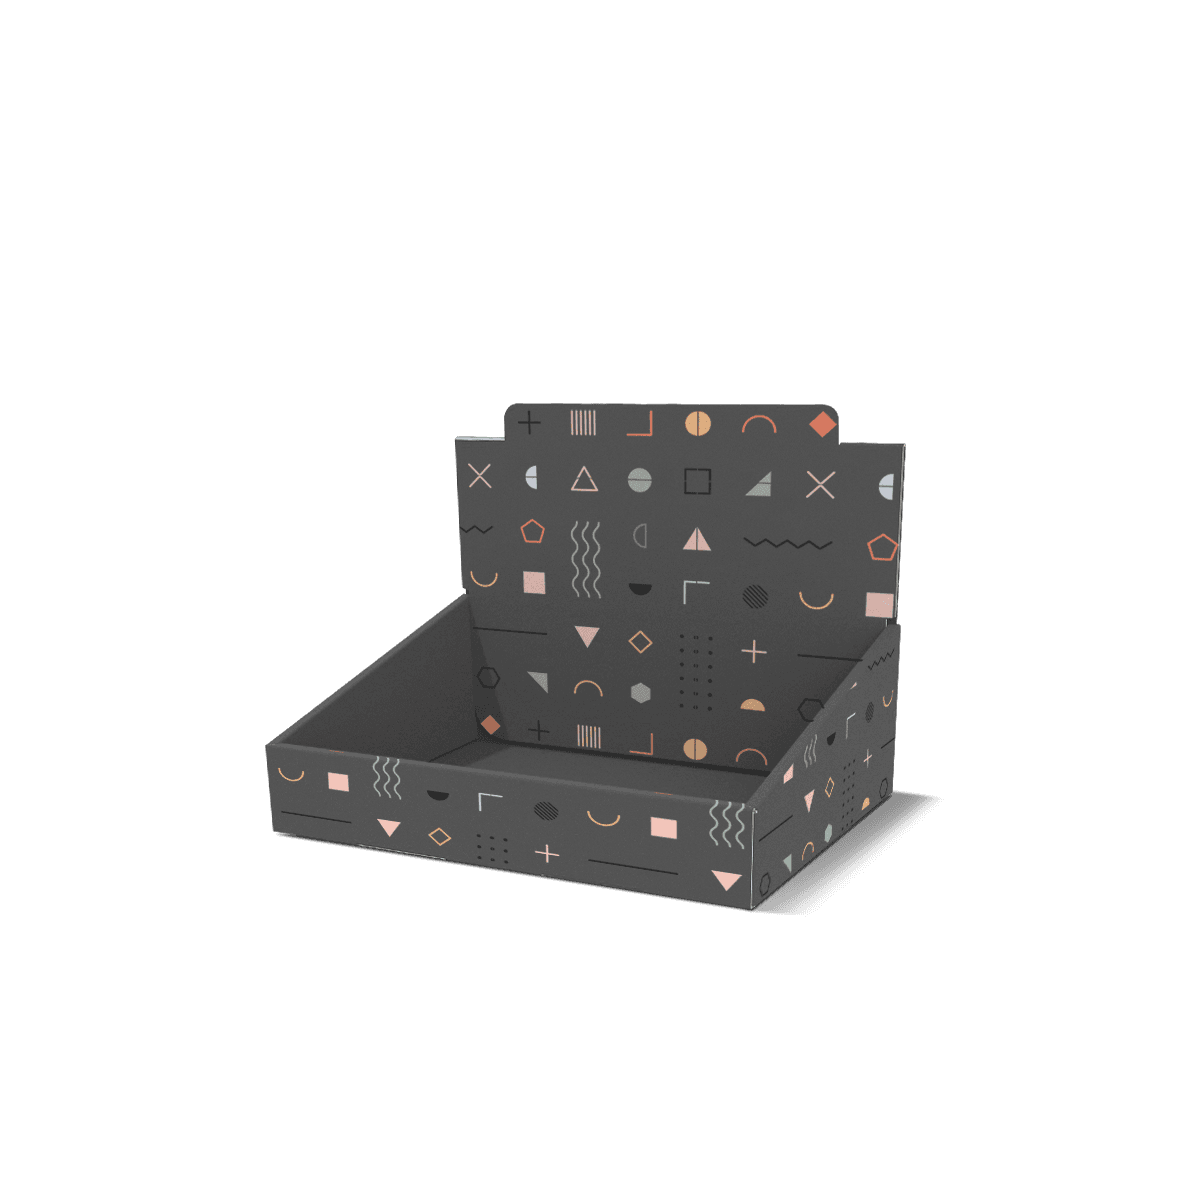
A header panel can identify the brand, collection or campaign. Side and front panels can carry supporting color or pattern. The product area should usually remain visually disciplined enough for the jewelry to stay dominant.

For brands where artwork is the main differentiator on the individual pack, custom printed jewelry boxes handle logo scale, campaign color and print consistency at the product-box level.

The display can then use a simpler visual system that organizes those printed packs together.

Premium offset printing can carry collection graphics, fine typography and controlled color across display headers and side panels. Foil, embossing, debossing, matte, gloss or spot UV can be used where they improve hierarchy without turning the fixture into the focal product.

Counter, Showcase and Pop-Up Use Different Footprints

The selling environment determines how much height and depth the display can use.

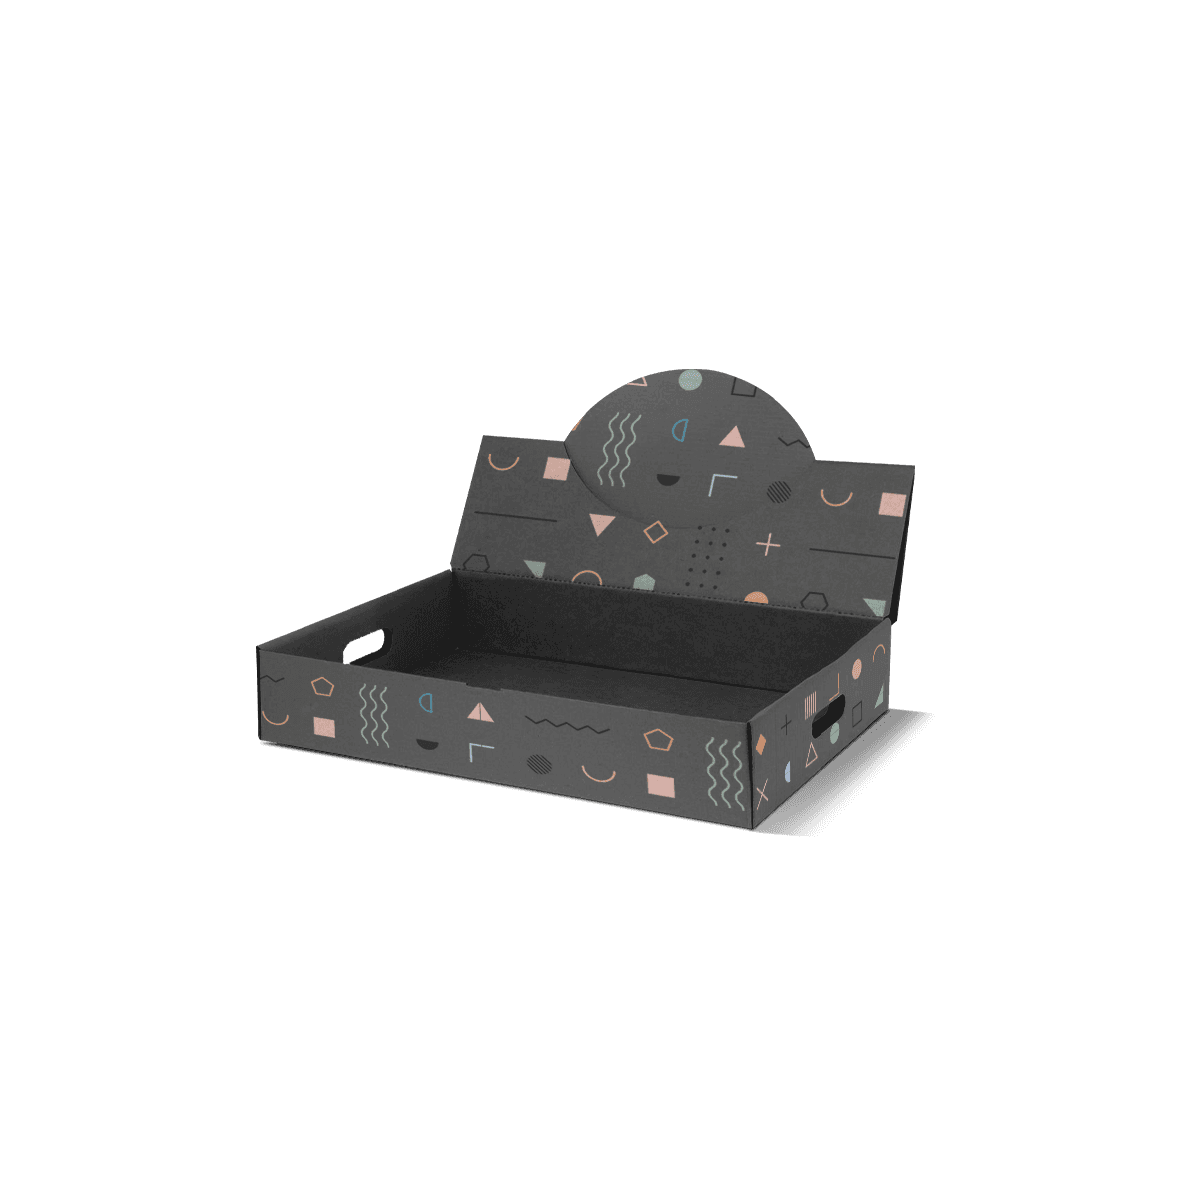
A countertop unit needs a compact footprint and clear front-facing visibility. A glass showcase can spread pieces horizontally because the customer views them through a controlled presentation area. A pop-up or trade-show display needs portability and quick setup in addition to product organization.

Display box structures can be adapted around those retail environments rather than assuming one display body works everywhere.

Counters Favor Vertical Efficiency

Counter space is usually limited.

Stepped rows, upright cards and compact headers can use vertical space without creating a large base footprint.

The display still needs enough stability that customer interaction does not tip it forward.

Showcases Can Spread the Collection

A showcase tray can sacrifice some vertical density for cleaner spacing.

That suits jewelry where each piece needs visual separation or where staff presents the assortment under glass before removing selected pieces.

Pop-Ups Need Repeatable Setup

A display carried between events should reassemble into the same layout without staff reinventing product positions every time.

Removable trays, marked card positions or modular zones can make setup faster while keeping the presentation consistent across locations.

Sale Packaging Should Stay Separate

The display is not necessarily the box the customer takes home.

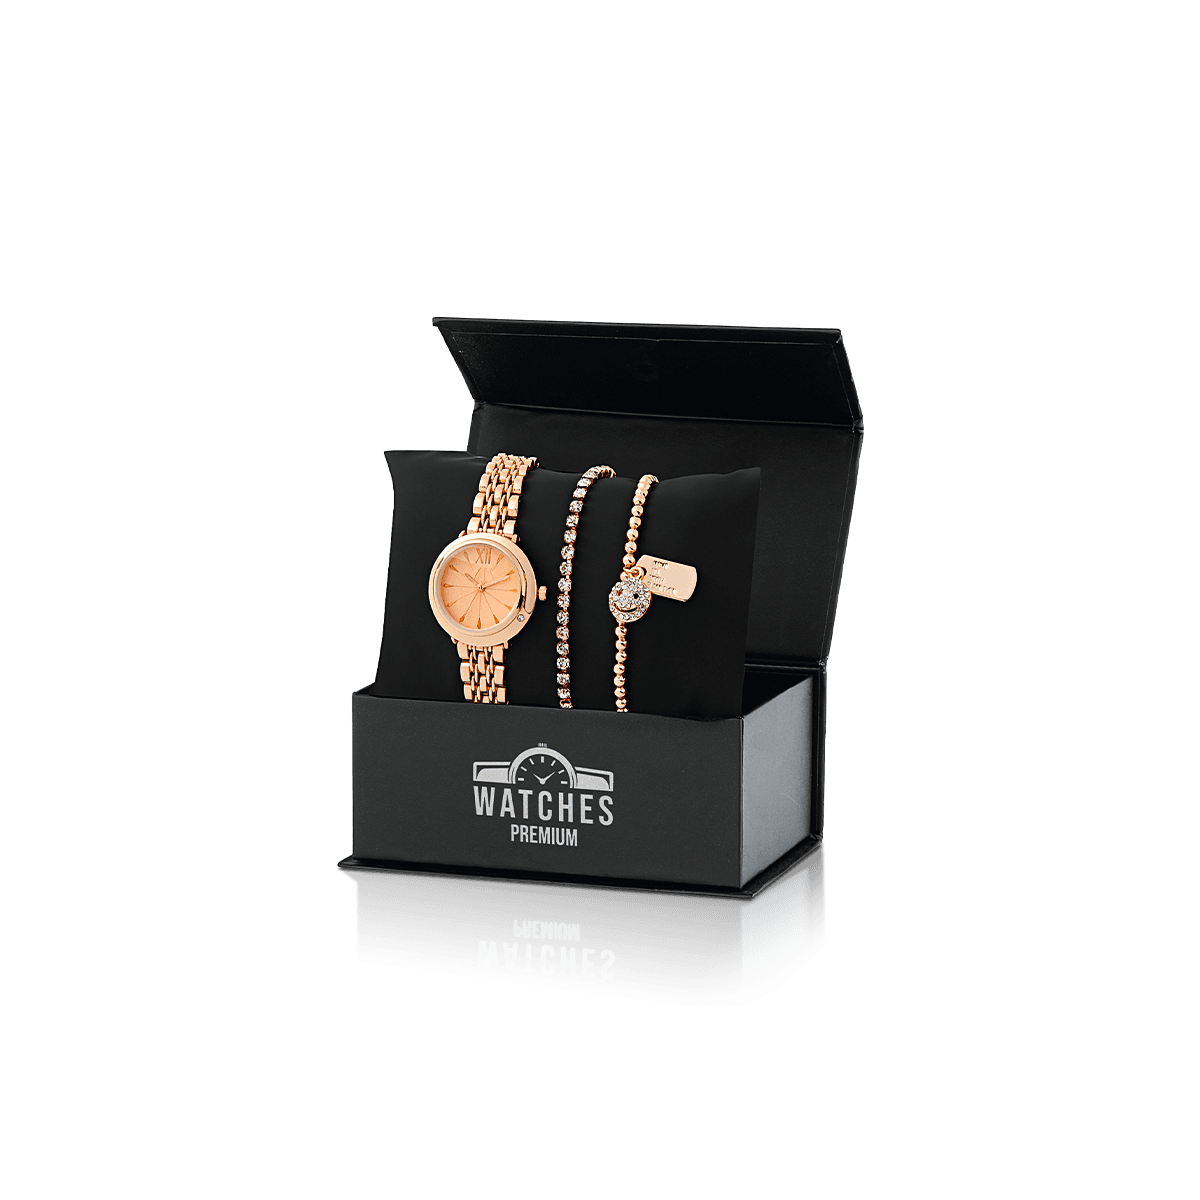
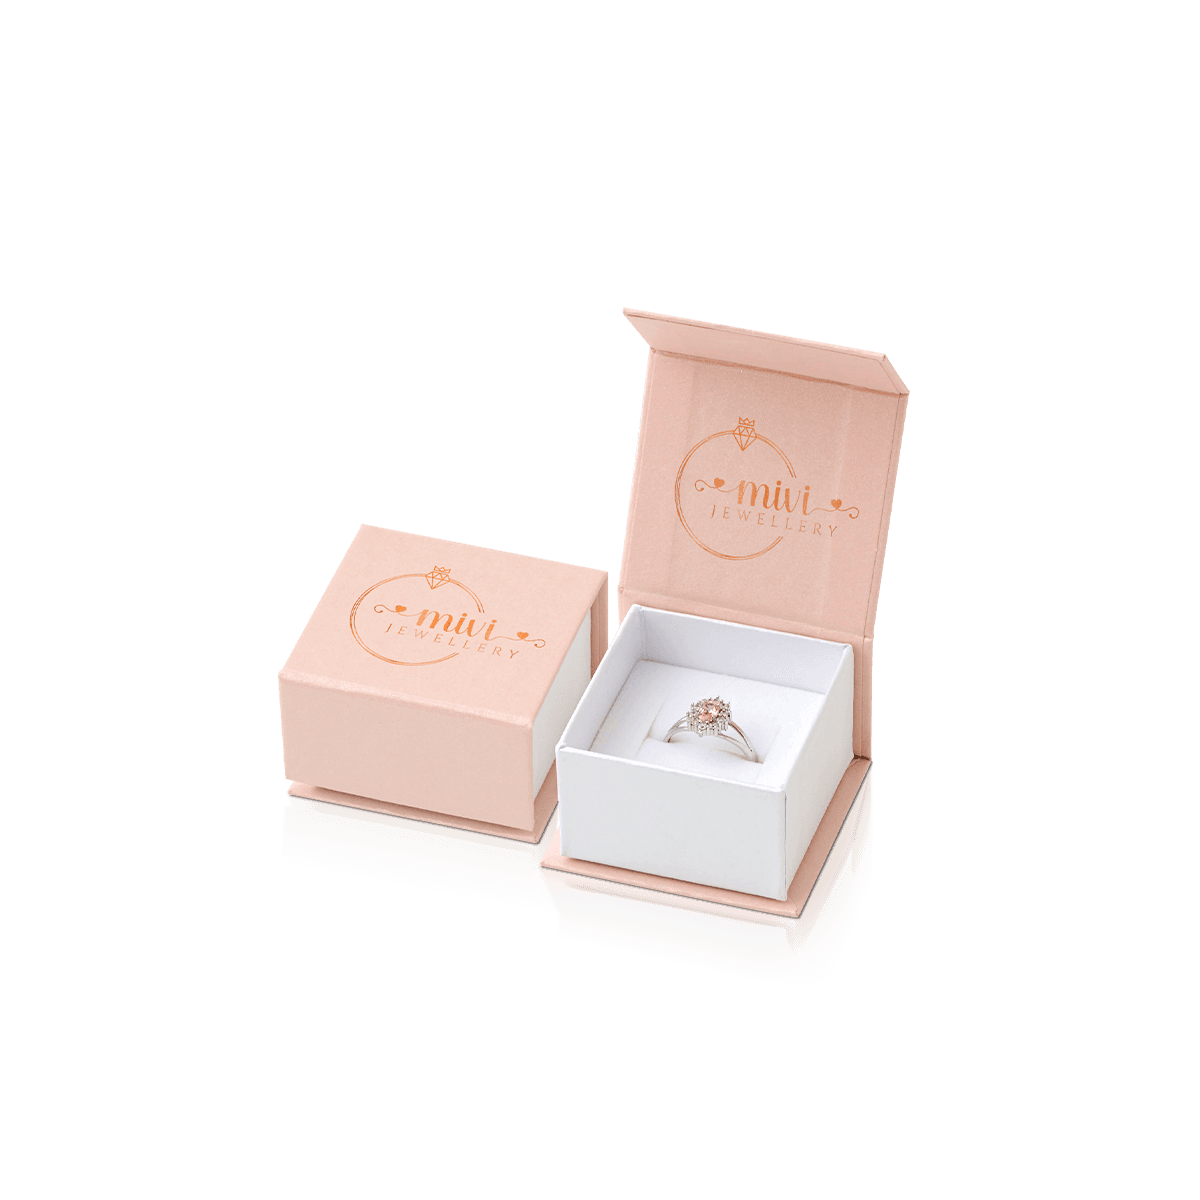
A ring may sit in a multi-piece retail tray and move into an individual ring box after purchase. Earrings may hang on a display card but leave the store in a small paperboard box. A necklace might move from a presentation pad into a gift box.

Keeping those roles separate lets the merchandising structure optimize visibility while the customer pack handles gifting, transport and branded handoff.

A cardboard jewelry box can serve lightweight everyday purchases, while higher-ticket pieces may move into a more substantial presentation pack.

That separation also reduces the need to make every sellable box function as a permanent retail fixture.

Display Counts Follow Locations, Not Jewelry Units

A display order should be calculated from selling positions first.

If a retailer has 40 stores and wants two display units at each location, that creates a different packaging quantity from the number of rings, earrings or necklaces used to fill those displays.

Launch stock, refill stock and display bodies should therefore be planned separately.

This matters even more when the same display remains in store through several replenishment cycles.

Replacing the jewelry does not automatically require replacing the fixture.

Custom Packly supports warehousing and scheduled deliveries for programs where display bodies and refill packaging move on different schedules. MOQ starts from 100 boxes. US production, free shipping and a standard 4–6 day turnaround after final artwork and specifications are approved can support retail launches once the display construction and quantities are approved. Complex structures, specialty materials or advanced finishes may require additional time.

A free 3D mockup can establish product positions, levels and branded surfaces before production. When card slots, pad depth or product clearance require physical verification, a fully custom paid pre-production sample can test the real interaction.

Hand Off a Loaded Display Plan

The strongest production brief for a jewelry display is not an empty-box drawing. It is a loaded layout.

Show the jewelry types, number of positions, card or insert dimensions, row heights, desired viewing direction and any separate tester, price or collection areas. Include how staff removes each piece and how an empty position is refilled.

That gives structural design a real retail task to solve.

Once the footprint, insert system, position count, print and display quantity are defined, an instant custom packaging quote can be based on the actual merchandising setup.

Custom Packly can coordinate the display body, inserts, printing and dieline work with premium offset printing and 24/7 packaging expert support.

The finished display should remain orderly after customers have touched it, staff have replenished it and several products have sold. That is a better test of retail performance than how perfect an untouched tray looks in the first product photograph.

FAQs

Countertops, checkout zones, glass-case add-on areas and pop-up tables are usually the best placements because the display keeps product visible in a compact footprint.

Both options are possible. Folding display formats often ship flat for easier storage while more structured setups may arrive pre-assembled for quicker floor placement.

Display Jewelry Boxes are better for browse-and-buy retail because they show multiple units at once and make replenishment easier. Jewelry Gift Boxes work better for single-item presentation after the sale.

Slots, pads, risers and compartment dividers help hold jewelry cards, mini boxes or pouches upright so the assortment stays neat throughout the day.

Yes. Premium lines can use stronger board, foil accents, soft-touch finishes or velvet-supported inserts to keep the display refined while still making products easy to shop.

Process

How it works

Your Packaging Journey, From Idea to Production and Delivery

01

Tell Us Your Specs

Custom packaging boxes

Tell Us Your Specs

Provide size, quantity, printing, and finishes.

02

Get a Fast Quote

Custom packaging boxes

Get a Fast Quote

Instant transparent pricing, no hidden fees.

03

Design and Approval

Custom packaging boxes

Design and Approval

Artwork checks, revisions, and final sign-off.

04

Produce

Custom packaging boxes

Produce

Expert manufacturing to meet deadlines.

05

Ship to Your Door

Custom packaging boxes

Ship to Your Door

Hassle-free, flexible delivery options.

Get Your Quote for Custom Display Jewelry Boxes

Share your product details, size, quantity and artwork needs. We’ll help choose the right packaging style and send a clear quote.