Skip to content
Details

Custom Camera Boxes

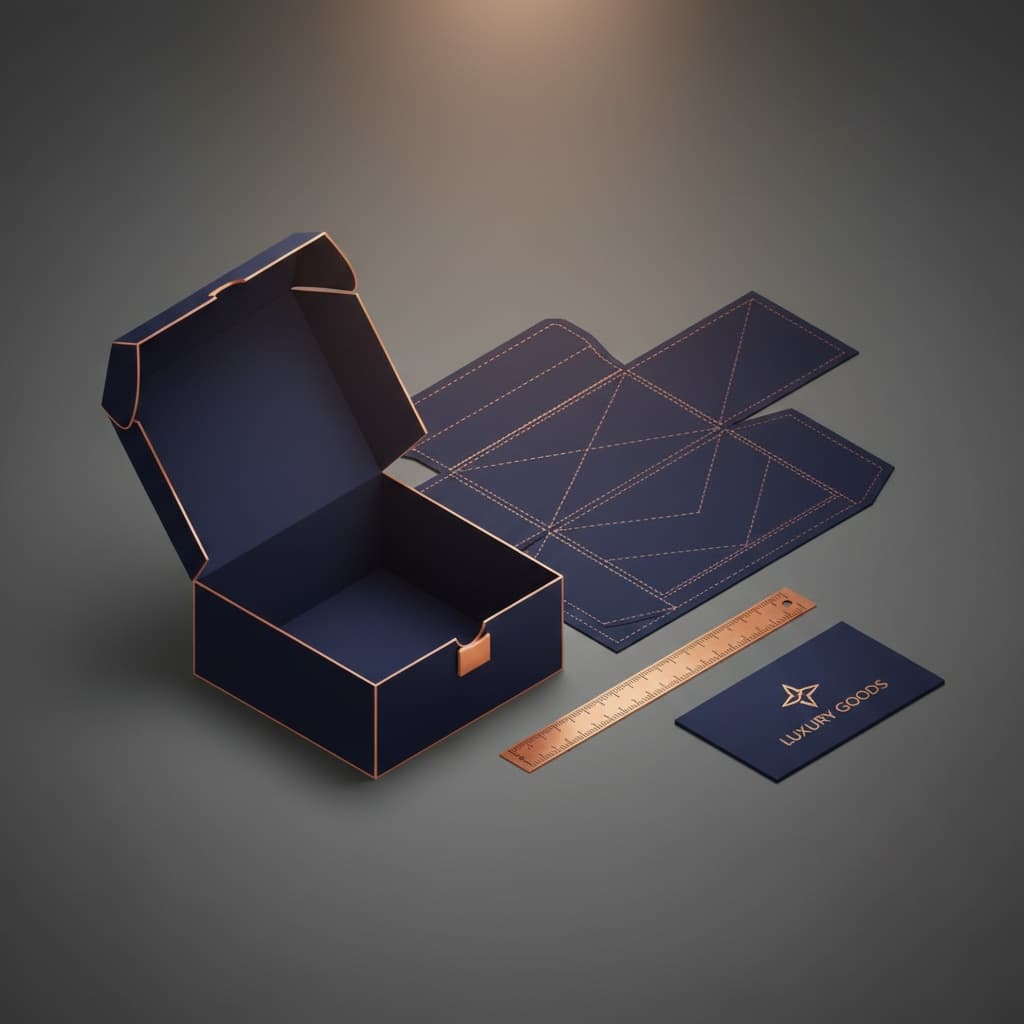
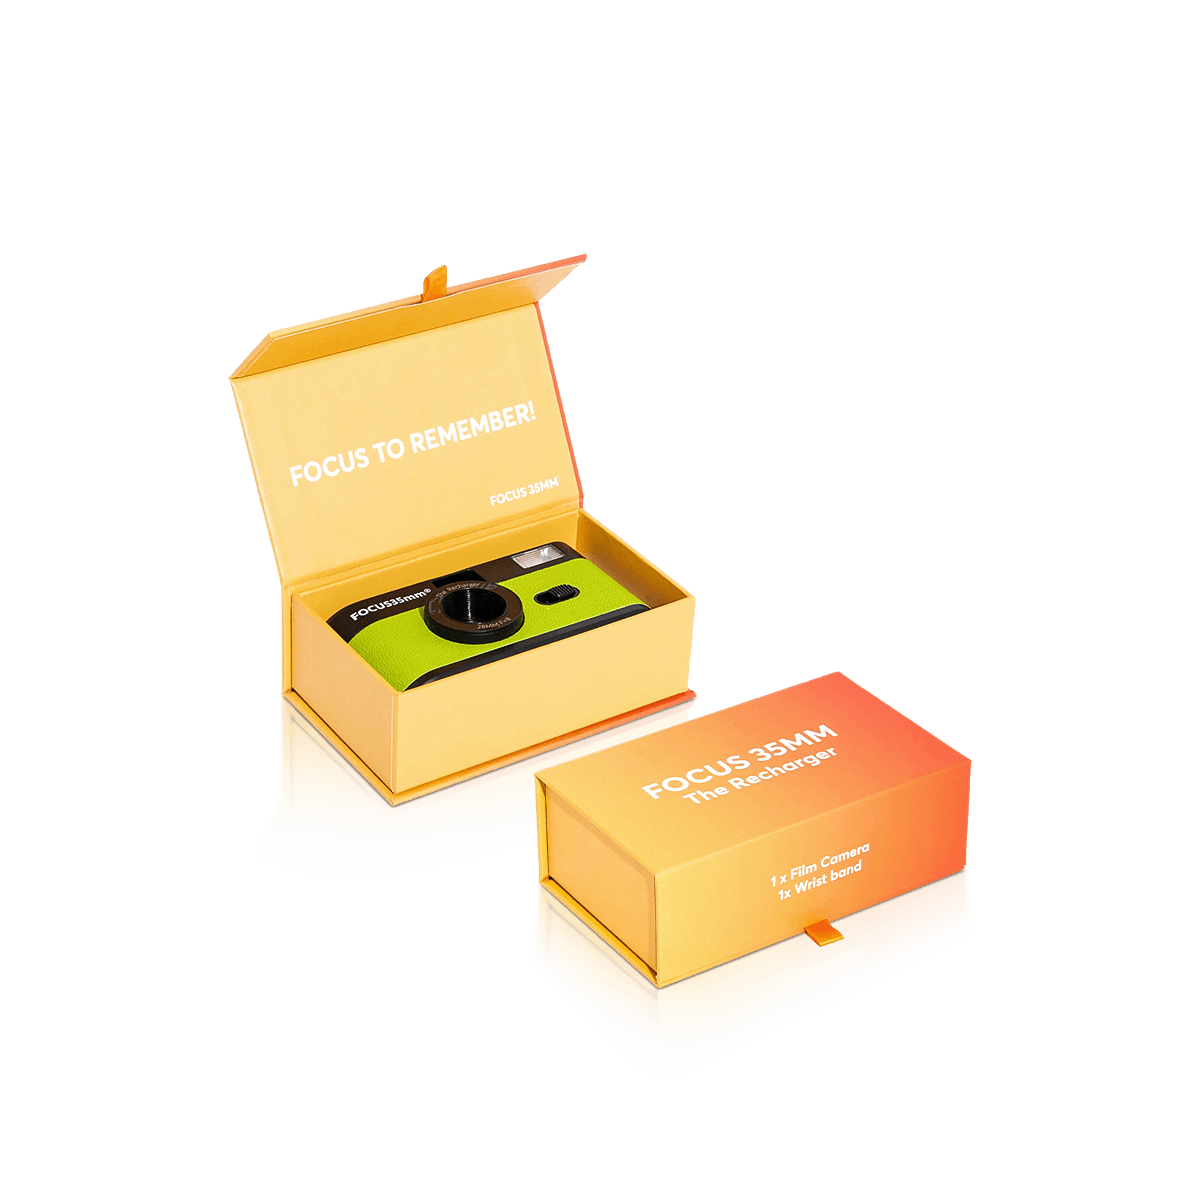
Camera packaging built around lens-mount protection, asymmetrical body support, controlled lens restraint and organized kit components from retail presentation through shipping.

The Lens Mount Should Not Carry the Load

A camera kit can look securely packed while still concentrating force in the wrong place. The biggest concern appears when a lens is attached to the body but the insert supports only the camera chassis. Any movement at the lens then creates leverage through the mount connecting the two components.

Packaging should either hold the body and lens as separate items or support both independently when they are packed together.

For an attached-lens configuration, the lens needs its own support under the barrel. That support should stop the lens from behaving like a cantilever extending from the camera body. It should also avoid squeezing zoom or focus rings that are meant to move.

For a detached-lens configuration, the body and lens need separate cavities with enough structure between them to prevent contact. Both should be packed with their protective caps in the exact state used during production packing.

This lens-to-body relationship makes camera packaging distinct from many other products under electronics and gadgets. The interior is managing connected precision components, not simply holding one rectangular device in place.

A free 3D mockup can help establish cavity positions and the overall presentation. Where lens support, fit or removal pressure needs physical confirmation, a paid fully custom pre-production sample can test the real packed assembly.
Camera Bodies Need Uneven Support

A camera body is rarely a clean rectangular block.

The grip projects from one side. The viewfinder may rise above the top plate. Control dials, shutter buttons, strap lugs, ports and the rear display create surfaces that should not become primary pressure points.

An insert that follows the outer silhouette too aggressively can therefore create the wrong kind of fit.

The better approach is to identify stable chassis areas and retain the camera there while leaving sensitive projections clear.

Leave the Controls Alone

A cavity should not depend on a mode dial, shutter button, hot shoe, joystick or rear controls to stop movement.

These areas need clearance so normal insert tolerance does not turn into accidental pressure after the camera is seated.

The same applies to strap eyelets. They can project beyond the main body and interfere with a cavity that was created only from nominal width measurements.

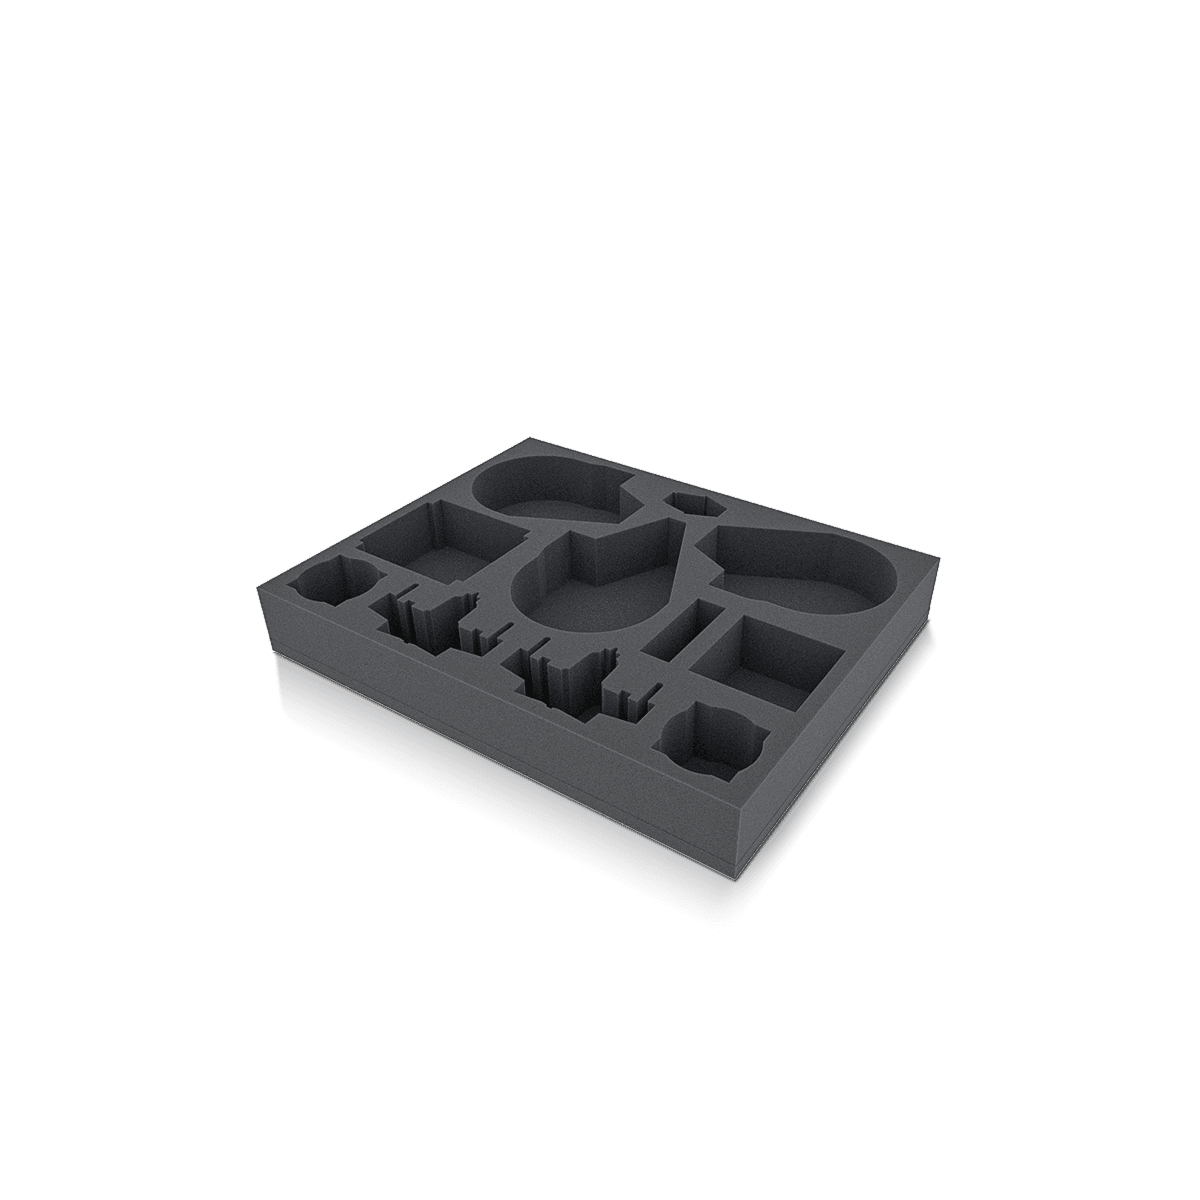
For complex shapes, custom insert boxes can assign the camera body and each accessory a defined position instead of relying on a generic rectangular well.

Support the Grip Without Trapping It

The hand grip is useful for locating a camera, but the cavity still needs a sensible removal path.

If the insert wraps too tightly around the deepest part of the grip, the customer or packing team may need to pull from the viewfinder, lens mount area or another sensitive point to release the camera.

Finger access can sit near stronger body surfaces while the grip helps control rotation.

The box should hold the camera securely without turning removal into a force test.

Lens Cavities Need Axial Control

A loose cylindrical lens behaves differently from a camera body. Preventing side-to-side movement is only half the job. The package also needs to stop the lens from sliding along its own axis.

A lens cavity should therefore control both diameter and end movement.

A shaped cradle can locate the barrel while end stops keep the capped lens from moving forward and backward. The contact areas should sit on suitable barrel surfaces rather than clamping movable rings, switches or an extended zoom section.

Pack the Lens at Its Shipping Length

Some lenses change physical length when zoomed or focused. The cavity must be based on the state used during packing.

Do not size from the shortest catalog dimension if production workers will pack the lens in another position.

Lens hoods create another decision. A hood may ship reversed over the barrel, in its own cavity or already mounted in the use position. Those three arrangements occupy different space and change where insert contact can occur.

This packed-state decision should be fixed before the cavity is finalized.

Different Lenses Change the Kit

A body may be sold with a compact prime, a standard zoom or a much longer lens.

Trying to turn one deep cavity into a universal answer can leave smaller lenses free to move while larger lenses consume the clearance needed for safe removal.

A shared outer footprint can still be practical when the internal platform changes by kit.

That separation lets the brand keep consistent exterior packaging while the lens restraint follows the actual bundle.

Attached-Lens Kits Need Two Supports

Consider a mirrorless camera packed with its kit lens already mounted.

The foam or paperboard cavity grips the camera body closely, so the pack appears secure. The lens extends forward without another support point.

When the package receives a front impact or repeated movement, the lens can move relative to the body. The insert is controlling the camera chassis, but the mount is being asked to control the lens mass.

The adjustment is to support the barrel independently while preserving clearance around moving controls. Another option is to detach the lens and create two isolated cavities.

The improvement comes from changing the load path, not simply tightening the camera-body cavity or increasing the outer board thickness.

For a camera kit where cushioning carries a major part of this job, protective foam insert boxes can create distinct support points around irregular equipment shapes.

A physical sample belongs beside this decision because it can reveal whether both components sit on their intended supports after the package is closed and rotated.

Accessories Should Not Fill the Gaps

Camera kits can contain batteries, chargers, cables, straps, lens hoods, memory cards, adapters and printed materials. Empty space beside the body may look like a convenient place for these items, but loose accessories can become moving hard objects.

Each dense or fragile component needs a defined position.

A charger should not be free to strike a lens barrel. A battery should not migrate into the body cavity. A strap should not become trapped under the camera and change how the device sits.

Small components create another problem: visibility.

A memory card or adapter can disappear into a deep accessory well even when the component technically fits. Small pieces may work better in a shallow pocket, envelope or clearly separated compartment that makes kit completeness easy to verify.

Build the Packing Order Into the Interior

The interior should also make assembly straightforward.

If a worker has to remove the camera after seating it because the strap can only be loaded underneath, the sequence is working against production. If an accessory well is hidden by the body, final kit inspection becomes harder.

The most practical arrangement lets the packing team place components in a clear order and confirm the complete kit before closure.

That operational behavior matters as much as the appearance of an empty prototype.

Body-Only and Lens-Kit Boxes Are Different SKUs

A camera manufacturer may sell one body in several configurations:

  • body only
  • body with kit lens
  • body with two lenses
  • creator bundle
  • battery and charger bundle
  • retailer-specific promotional kit

Packaging can share a visual system without pretending these configurations have identical internal requirements.

The body-only version might use a compact cavity with accessories beside it. The lens-kit version needs another protected component and possibly a deeper box. A two-lens bundle may require a fundamentally different interior even when the branding remains unchanged.

With an MOQ starting from 100 boxes, smaller camera configurations can use their own insert geometry where physical fit justifies it.

A smart program decides what stays common before artwork versions multiply. That might be the exterior dimensions, printed wrap or graphic layout. The insert, accessory deck or identification label can then change by kit.

This is also the stage where pricing becomes meaningful. Camera body dimensions alone are not enough. Quantity, lens configuration, insert construction, outer structure and print treatment materially affect the job.

Structure Follows the Camera Program

Camera packaging can move from a compact retail carton to a deep presentation box or corrugated protective pack. The deciding factor is what is being sold and how it reaches the customer.

A lightweight compact camera with a small accessory set may work in a paperboard carton with a formed interior. A premium interchangeable-lens kit may justify thicker walls and a more substantial reveal.

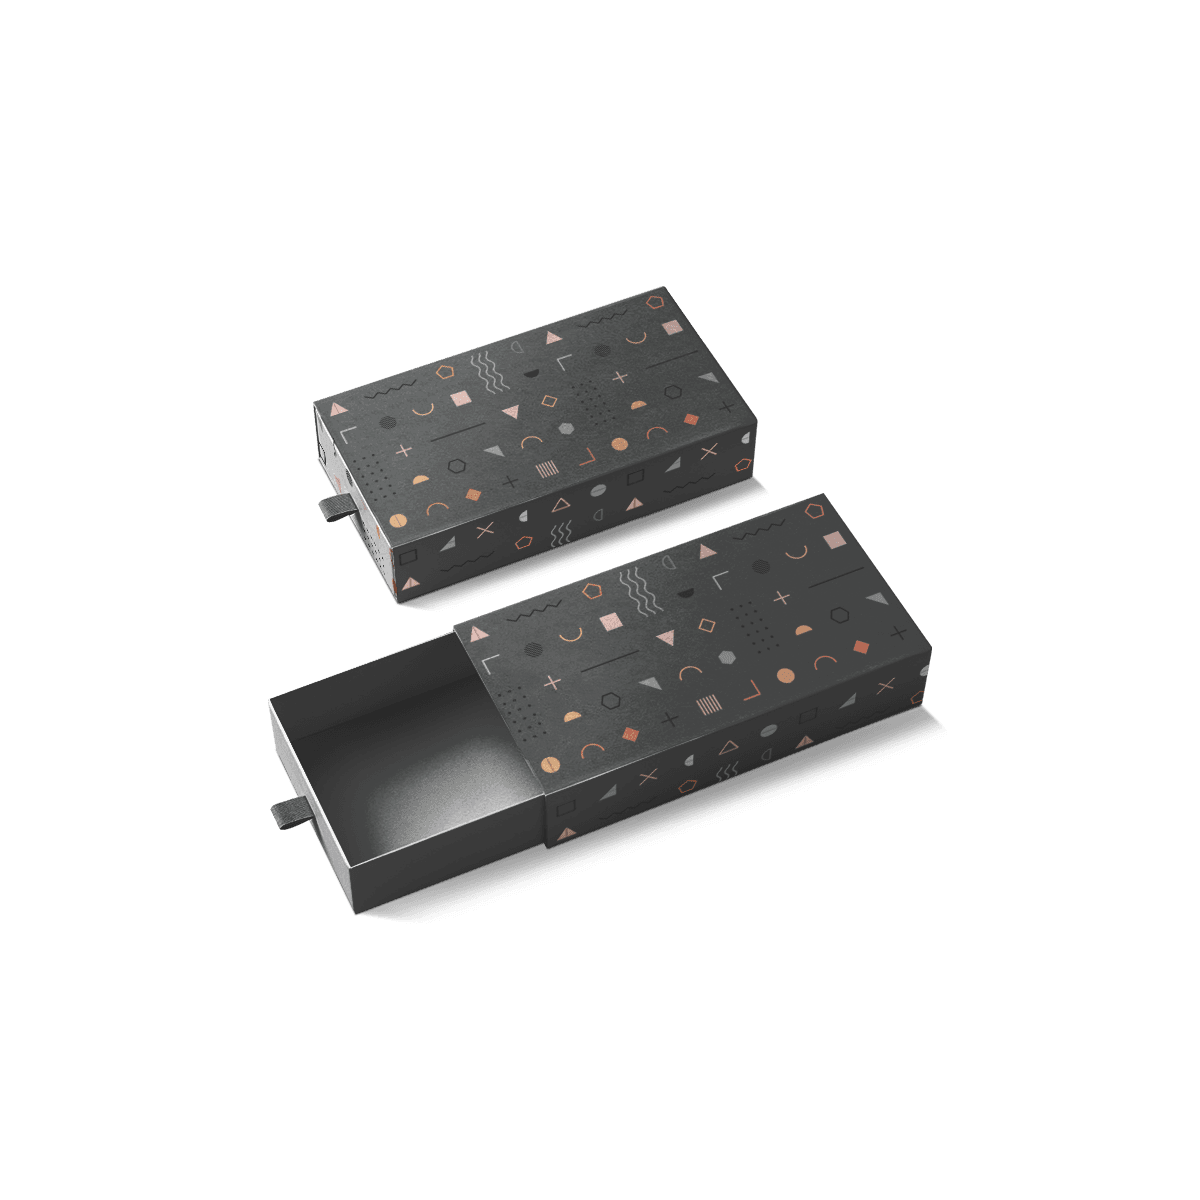
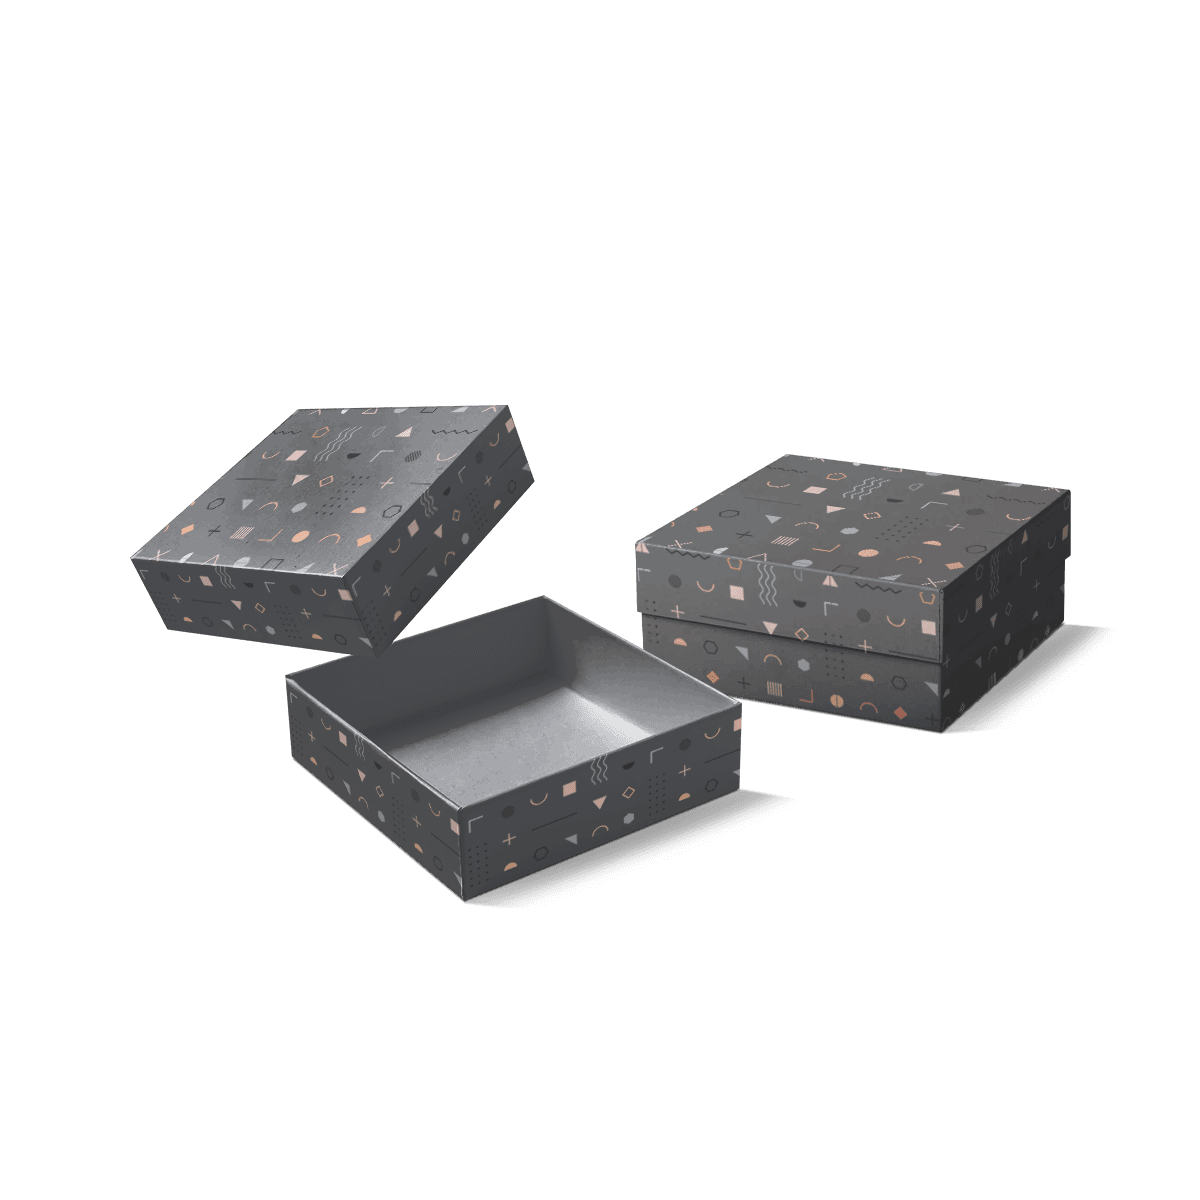
Custom rigid boxes can suit premium bodies, limited camera kits and presentation-led launches where insert depth and opening control matter.

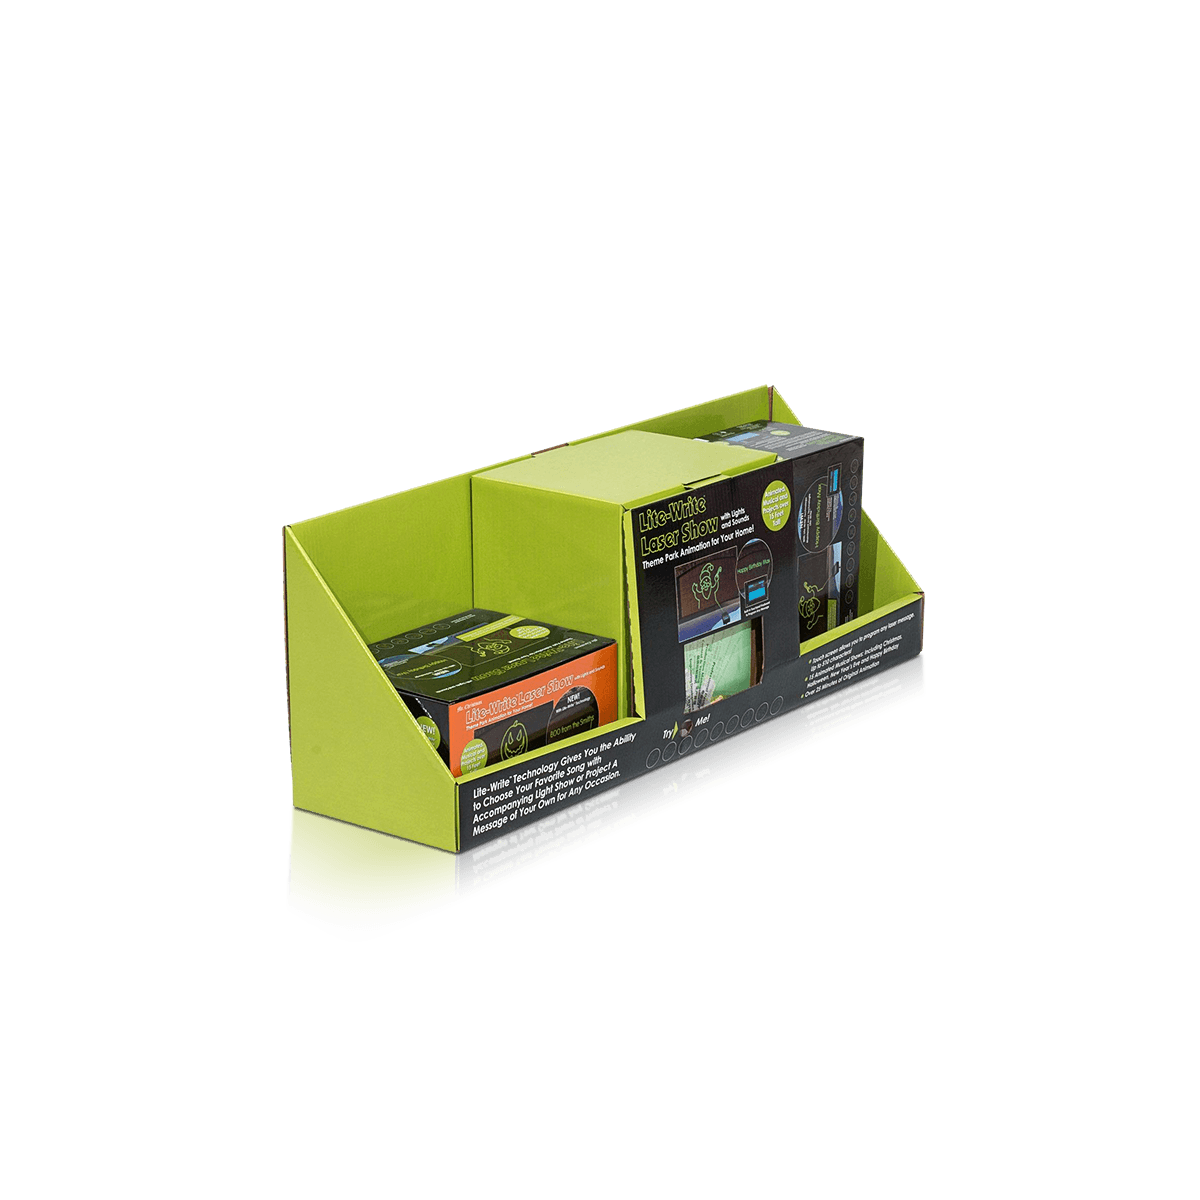
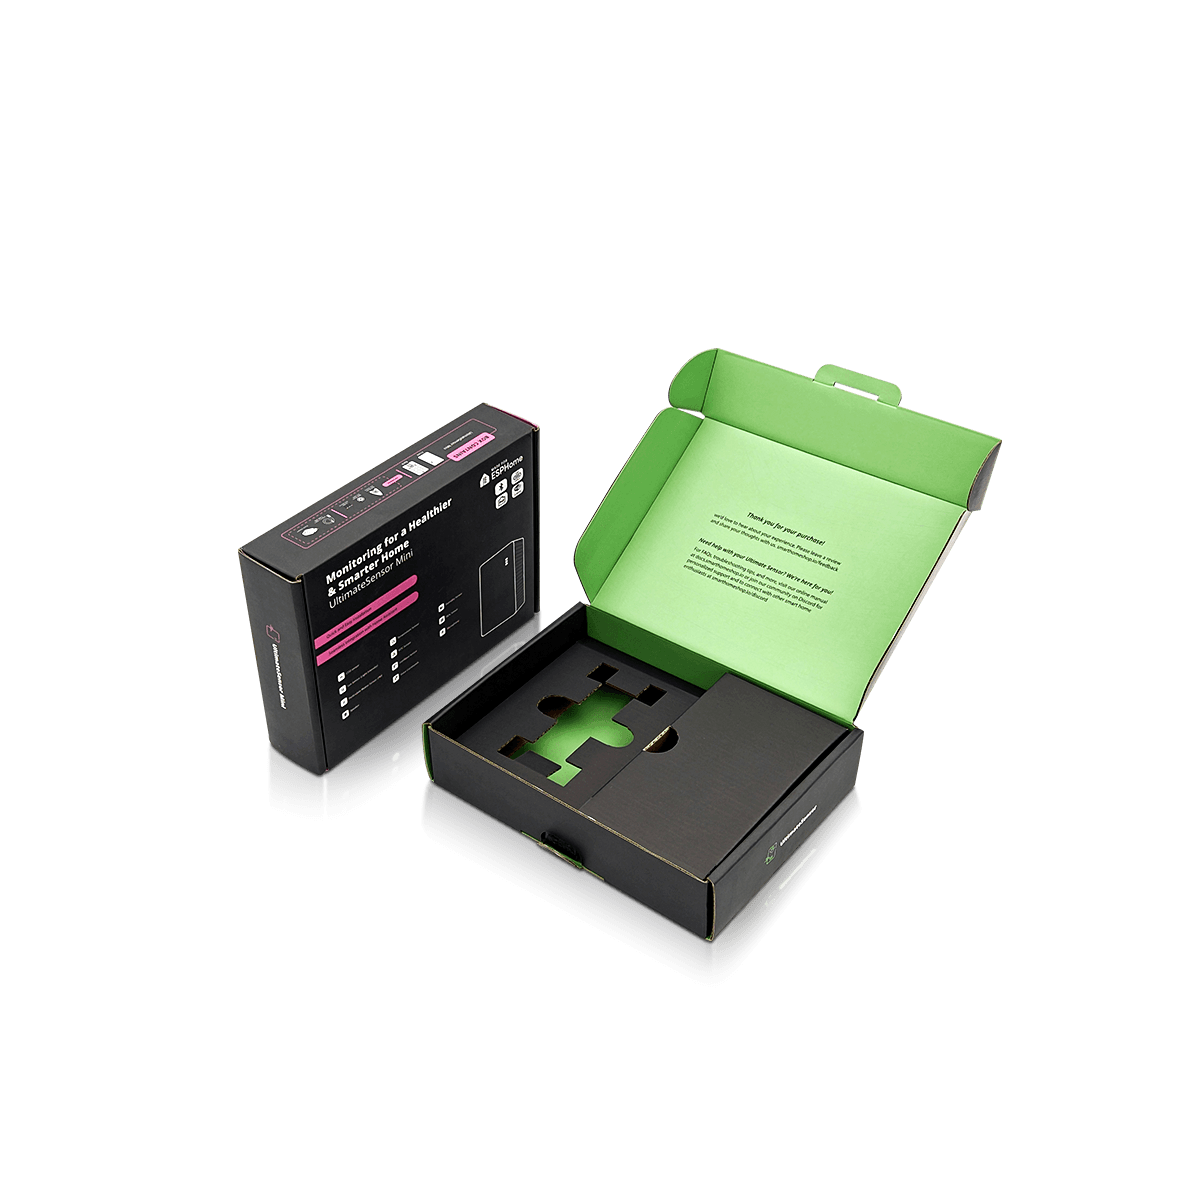
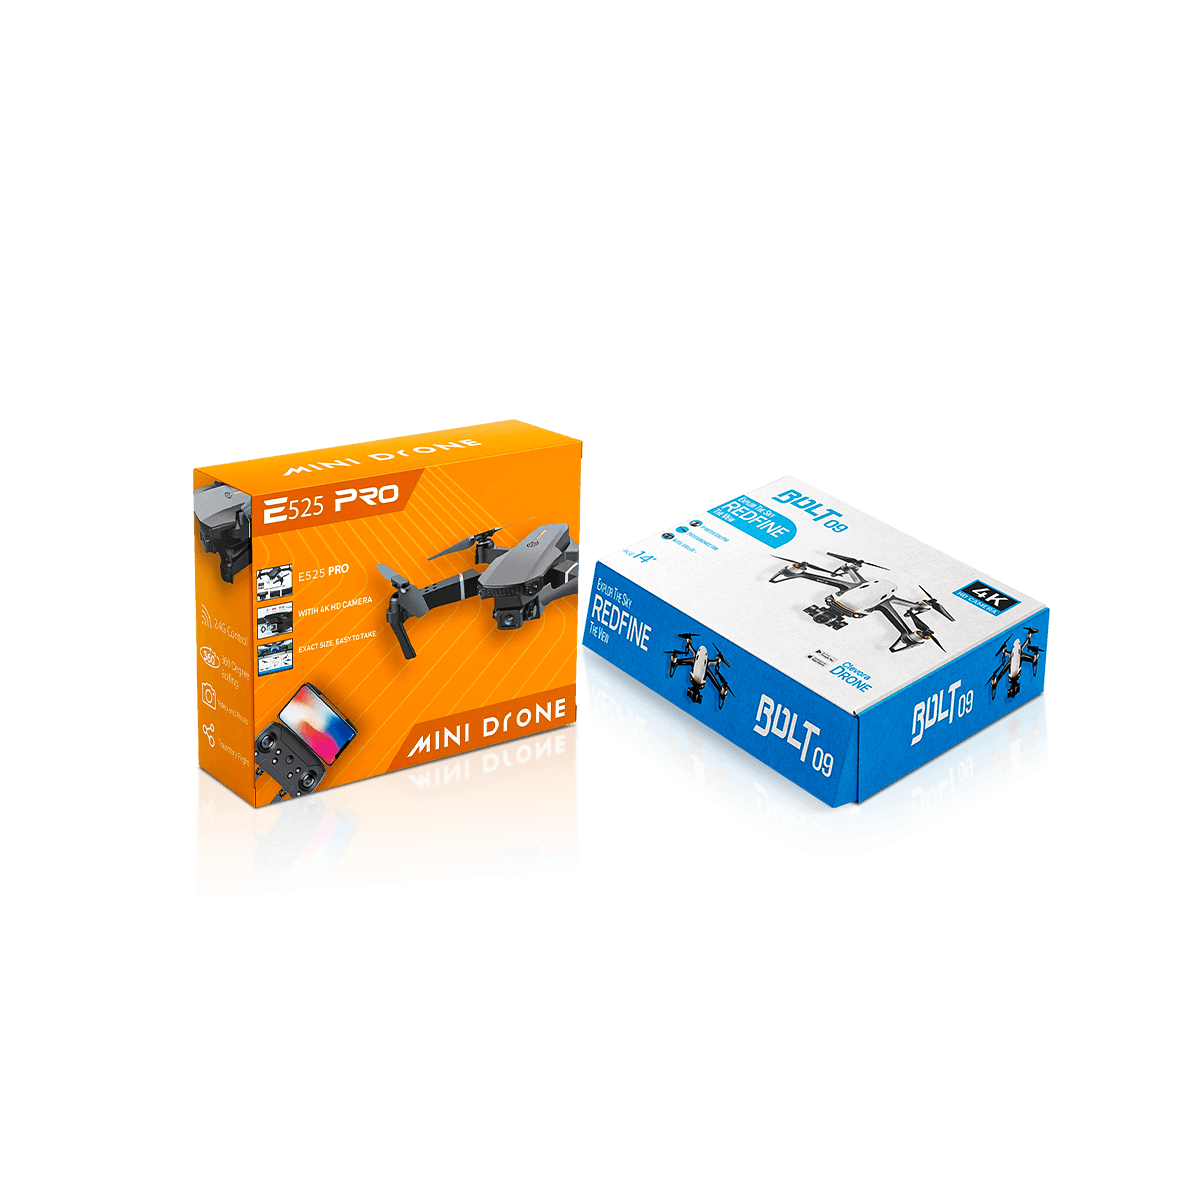
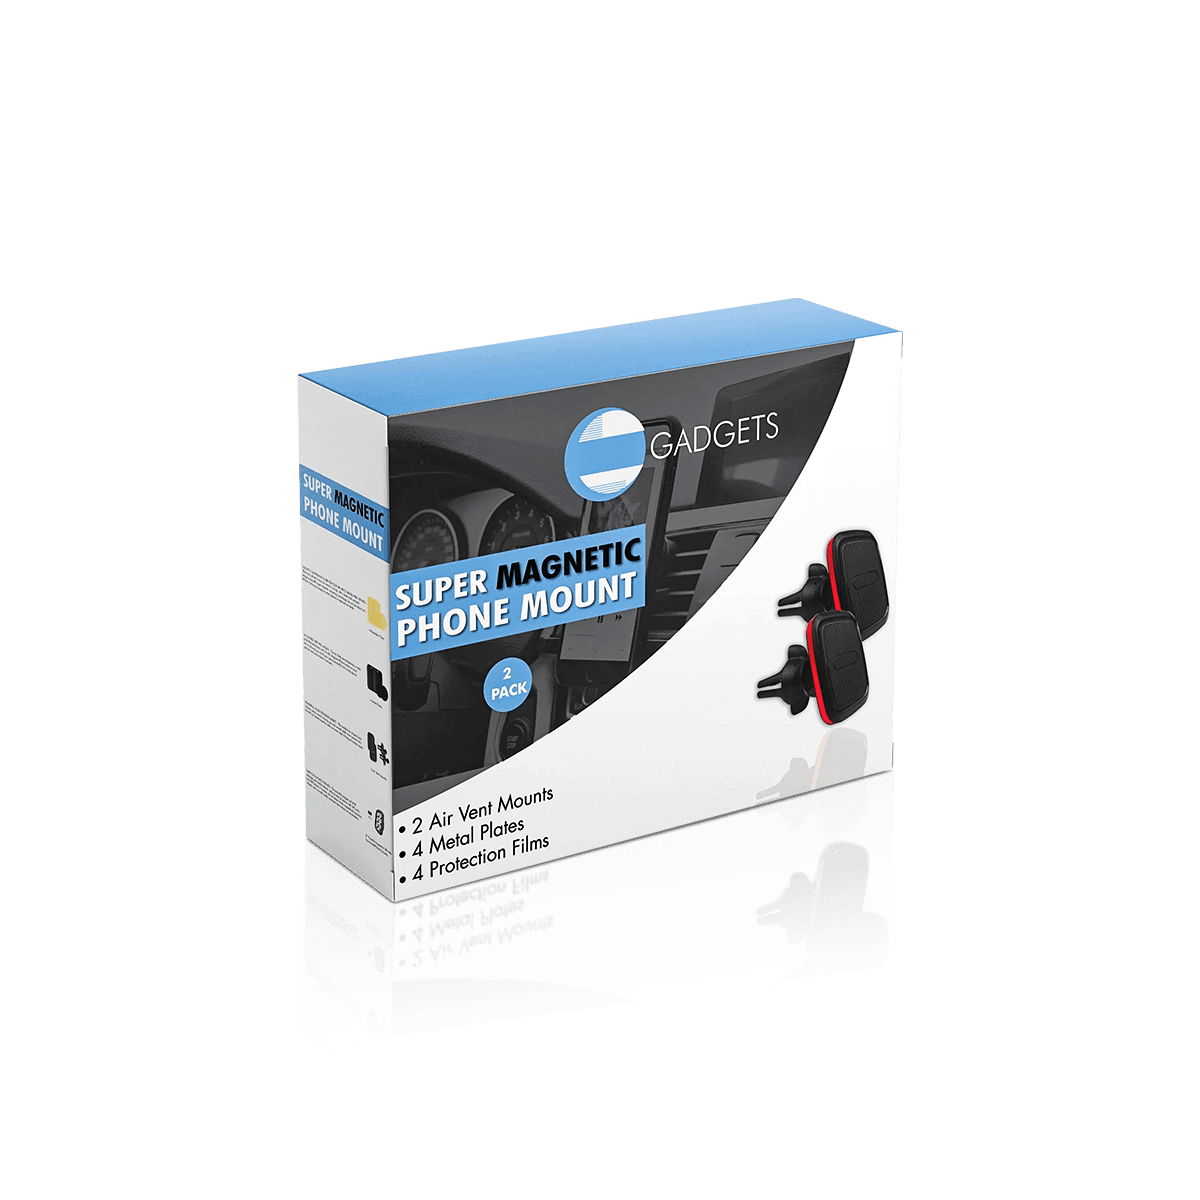
A more efficient retail construction can use folding cartons for electronics when the product weight and internal support system allow a lighter structure.

Neither choice removes the need for correct retention. A rigid wall does not stop a loose lens from moving, and a fine paperboard carton can still work well when its load and interior geometry suit the product.

The material decision should therefore start with the packed kit rather than with a predetermined idea of what premium electronics packaging should look like.

Camera Kits Are Dense for Their Size

Cameras, lenses and chargers can create considerable mass inside a relatively compact package.

That density matters because an attractive retail box can still experience demanding loads when stacked, carried or shipped.

If the primary box is meant to arrive with clean corners and premium printed surfaces, it may need a corrugated shipping layer around it rather than carrying parcel labels and courier wear directly.

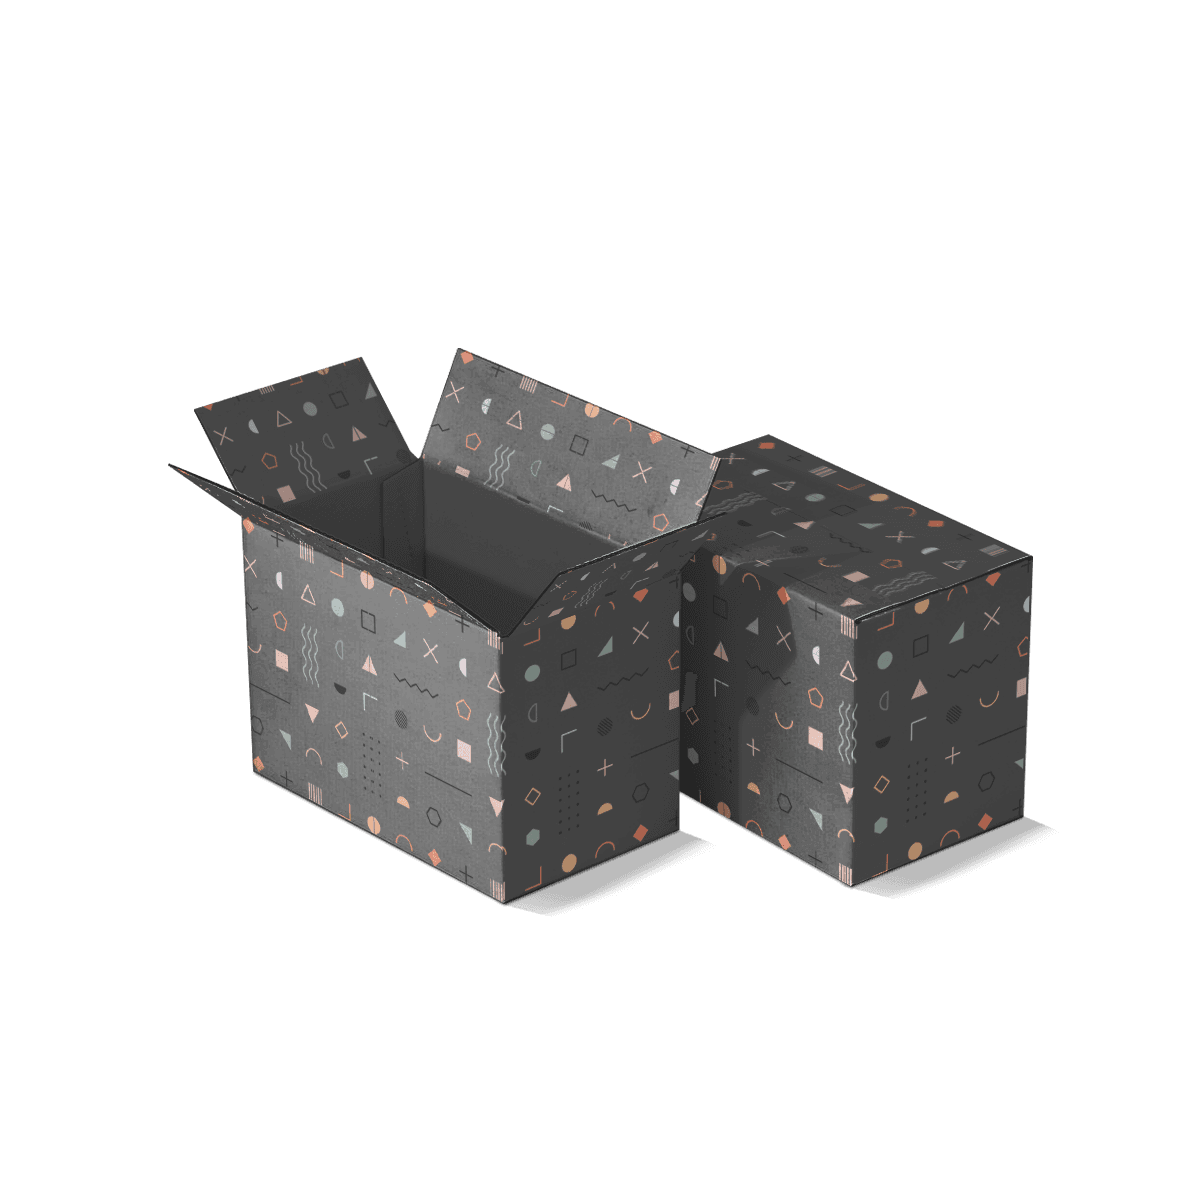
Corrugated shipping boxes can handle the external transit job while the camera pack concentrates on component positioning and presentation.

The outer shipper should still restrain the inner box. Excessive space around a rigid presentation pack simply moves the uncontrolled-motion problem outward.

The principle behind packaging testing is especially relevant here: the outer carton and internal fitment solve different failure mechanisms, so strengthening one does not automatically correct weakness in the other.

Transit checks should use the complete packed camera kit, including the lenses and accessories actually sold together.

Test Rotation, Not Just Closure

A camera package should be inspected in more than one orientation.

Closing the lid proves that the components physically fit. It does not prove that they remain on their intended supports after the box is turned onto its side or inverted.

A useful fit check is to pack the complete kit, close it normally and rotate the package through the orientations it may experience during handling. Reopen it and inspect:

  • whether the camera shifted
  • whether an attached lens remained supported
  • whether detached lenses moved axially
  • whether chargers left their compartments
  • whether straps crossed into another cavity
  • whether the body is rubbing against the insert
  • whether any control or viewfinder is carrying pressure

This check belongs before repeat production because it evaluates the exact internal geometry rather than an abstract material specification.

Custom Packly can support structure, board, insert and sampling decisions through its packaging capabilitiesUS production and a standard 4–6 day turnaround after final artwork and specifications are approved can then support launch timing once the physical camera kit has been resolved. Complex structures, specialty materials or advanced finishes may require additional time.

Treat the Box as Part of the Product System

Camera packaging often needs to communicate more variants than the exterior shape initially suggests.

One body may come in different finishes. Kits may use different lenses. Retailers may carry distinct bundles. Regional sets may change the charger or printed materials.

The outside therefore needs a controlled identification system rather than artwork that assumes every box contains the same kit.

Reserve predictable areas for model name, body or lens designation, barcode, SKU and variable configuration labels. Keep those zones clear of folds, deep embossing or other treatments that interfere with application or scanning.

Premium offset printing can carry photography, technical imagery and precise brand artwork while the operational identification remains easy to read.

If several camera kits share a brand system, custom printed boxes can keep outside and inside artwork coordinated without forcing the interior structure to stay identical.

Map the Kit Before Final Artwork

The most useful final specification for a camera box is a packing map.

It should show the camera body in its exact shipping state, every lens and cap, the charger, battery, cable, strap, hood, memory component and printed item that ships in that SKU.

From that map, the packaging team can see which components require fixed cavities, which can share a compartment and where hard items must stay separated.

It also makes kit variation easier to manage.

A body-only package may keep one interior. A kit-lens version can replace the insert while retaining the exterior. A creator bundle may need another accessory layer instead of a completely different brand presentation.

Warehousing and scheduled deliveries can support those separate configurations when launches or replenishment happen at different times. Bulk and repeat-order support is more effective when each camera kit has a clearly defined component map rather than one loosely defined "camera box" specification.

For camera packaging, the useful question at the end is not how many components can fit inside one box. It is whether every body, lens and accessory still has a controlled place after the complete package starts moving.

FAQs

Mirrorless cameras, compact camera kits, action cameras, home security units and boxed bundles with accessories benefit most because they need stable placement and clearer component separation.

In most cases, yes. Inserts help hold the device in place, protect the lens area and keep smaller parts from shifting during handling, display or shipping.

Camera Boxes are usually built around tighter fit, cleaner product reveal and better part containment for a higher-value device. Gadget Accessory Boxes work well for simpler electronics that do not need the same level of insert control.

It depends on the product weight and selling environment. Folding cartons work well for lighter retail packs while rigid or corrugated builds make more sense for premium units, bundled kits or heavier accessories.

Sometimes, but not always. For direct-to-consumer orders, many brands place the retail box inside a corrugated outer shipper so the inside presentation stays intact after transit.

Process

How it works

Your Packaging Journey, From Idea to Production and Delivery

01

Tell Us Your Specs

Custom packaging boxes

Tell Us Your Specs

Provide size, quantity, printing, and finishes.

02

Get a Fast Quote

Custom packaging boxes

Get a Fast Quote

Instant transparent pricing, no hidden fees.

03

Design and Approval

Custom packaging boxes

Design and Approval

Artwork checks, revisions, and final sign-off.

04

Produce

Custom packaging boxes

Produce

Expert manufacturing to meet deadlines.

05

Ship to Your Door

Custom packaging boxes

Ship to Your Door

Hassle-free, flexible delivery options.

Get Your Quote for Custom Camera Boxes

Share your product details, size, quantity and artwork needs. We’ll help choose the right packaging style and send a clear quote.