Skip to content
Details

Custom Tray and Sleeve Boxes

Two-piece sliding packaging with a fitted product tray, printed outer sleeve and flexible construction for retail sets, accessories and branded kits.

The Sleeve Closes a Filled Tray

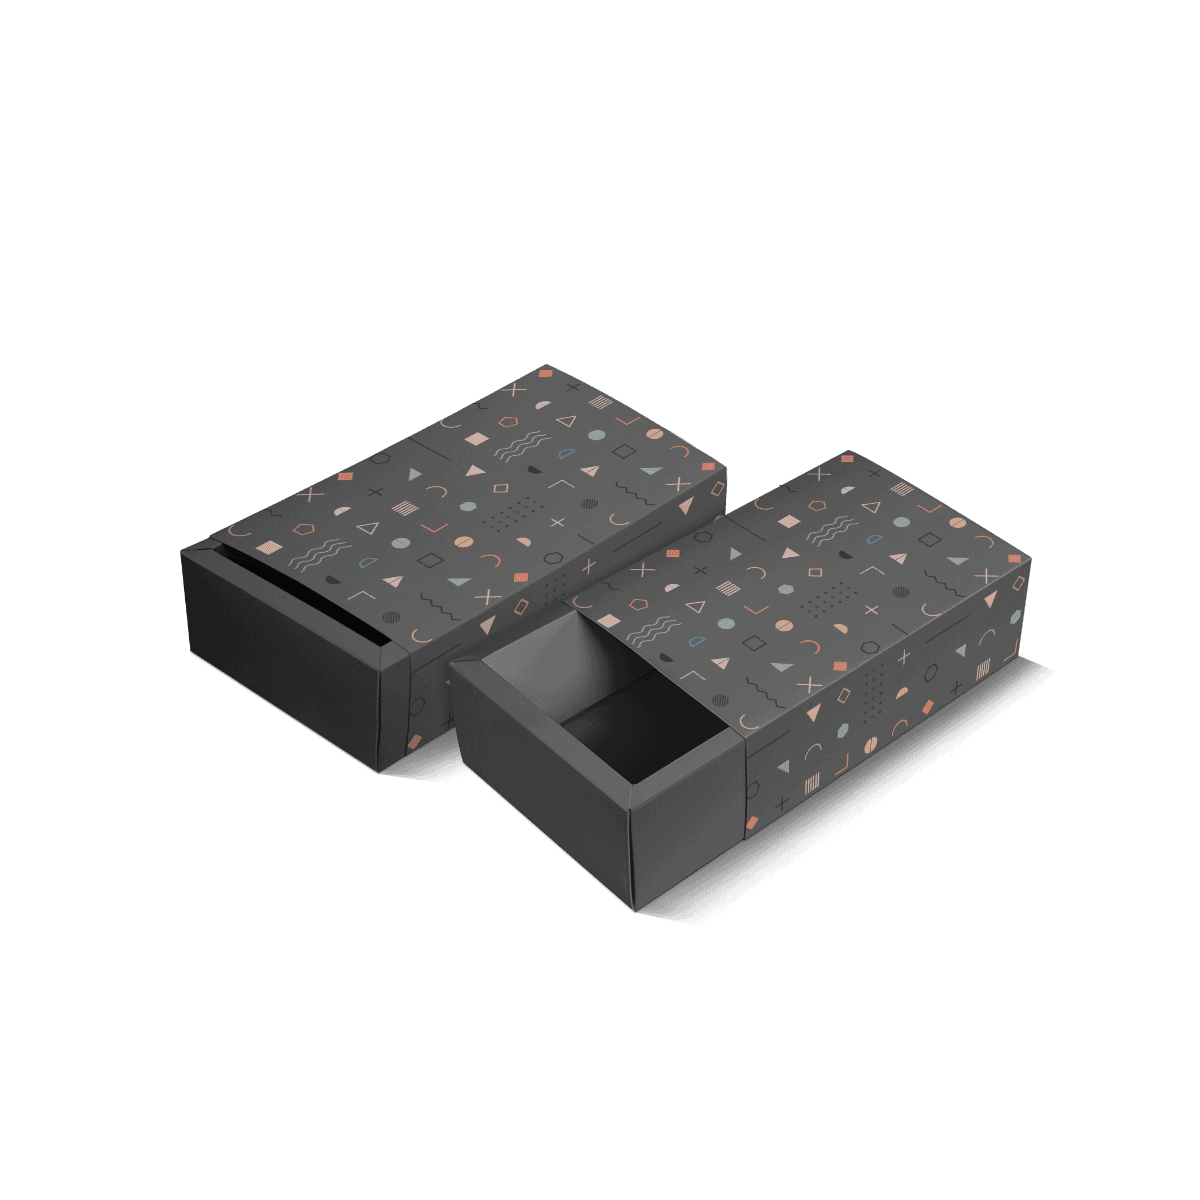
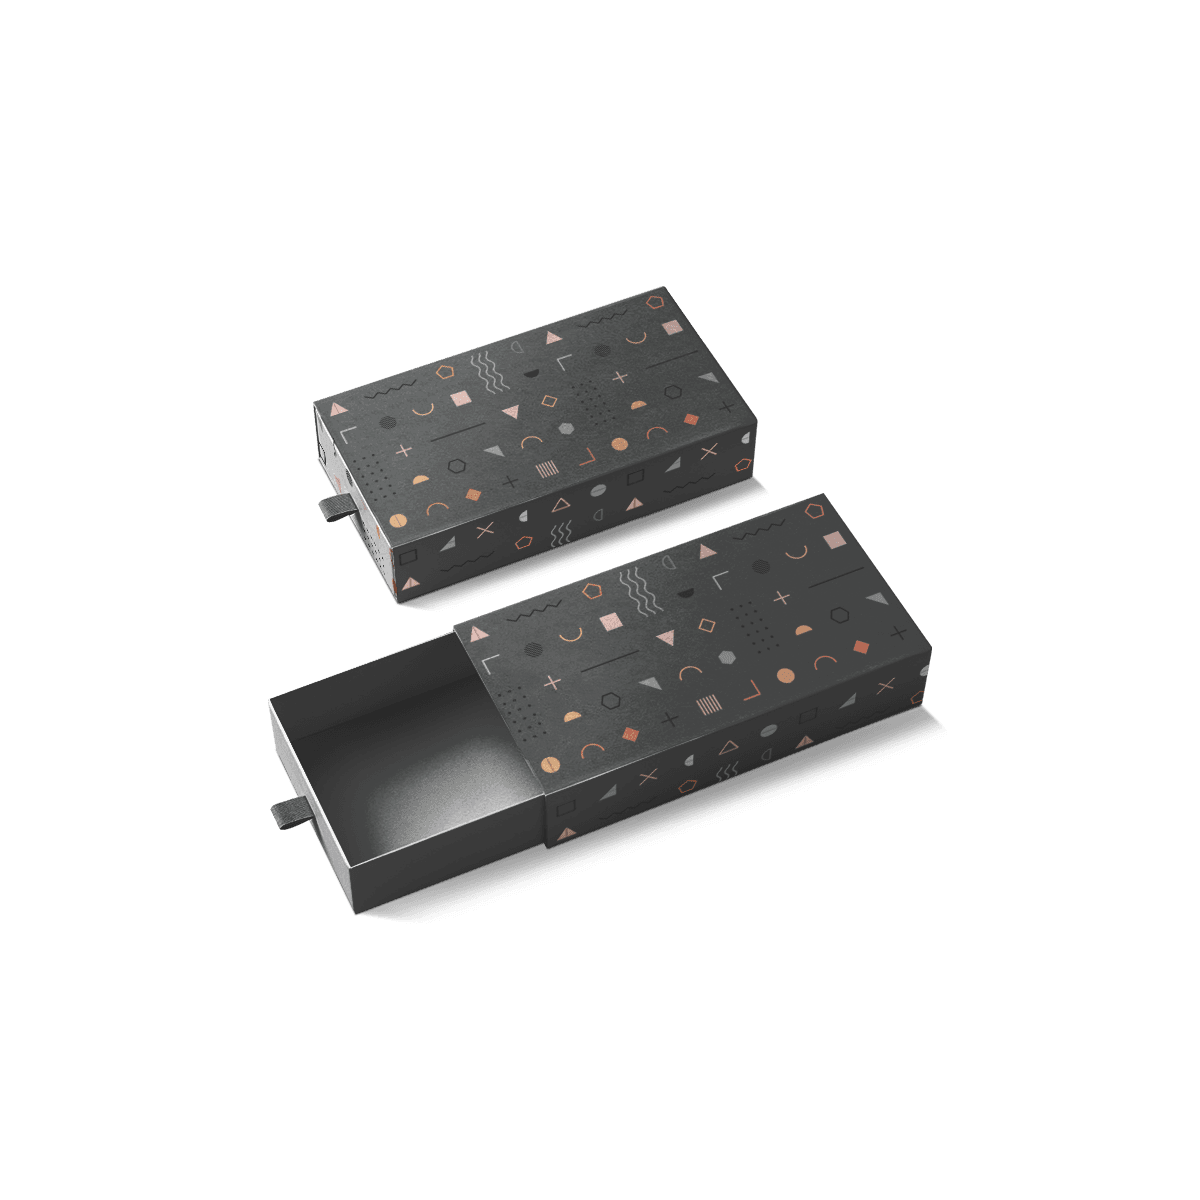
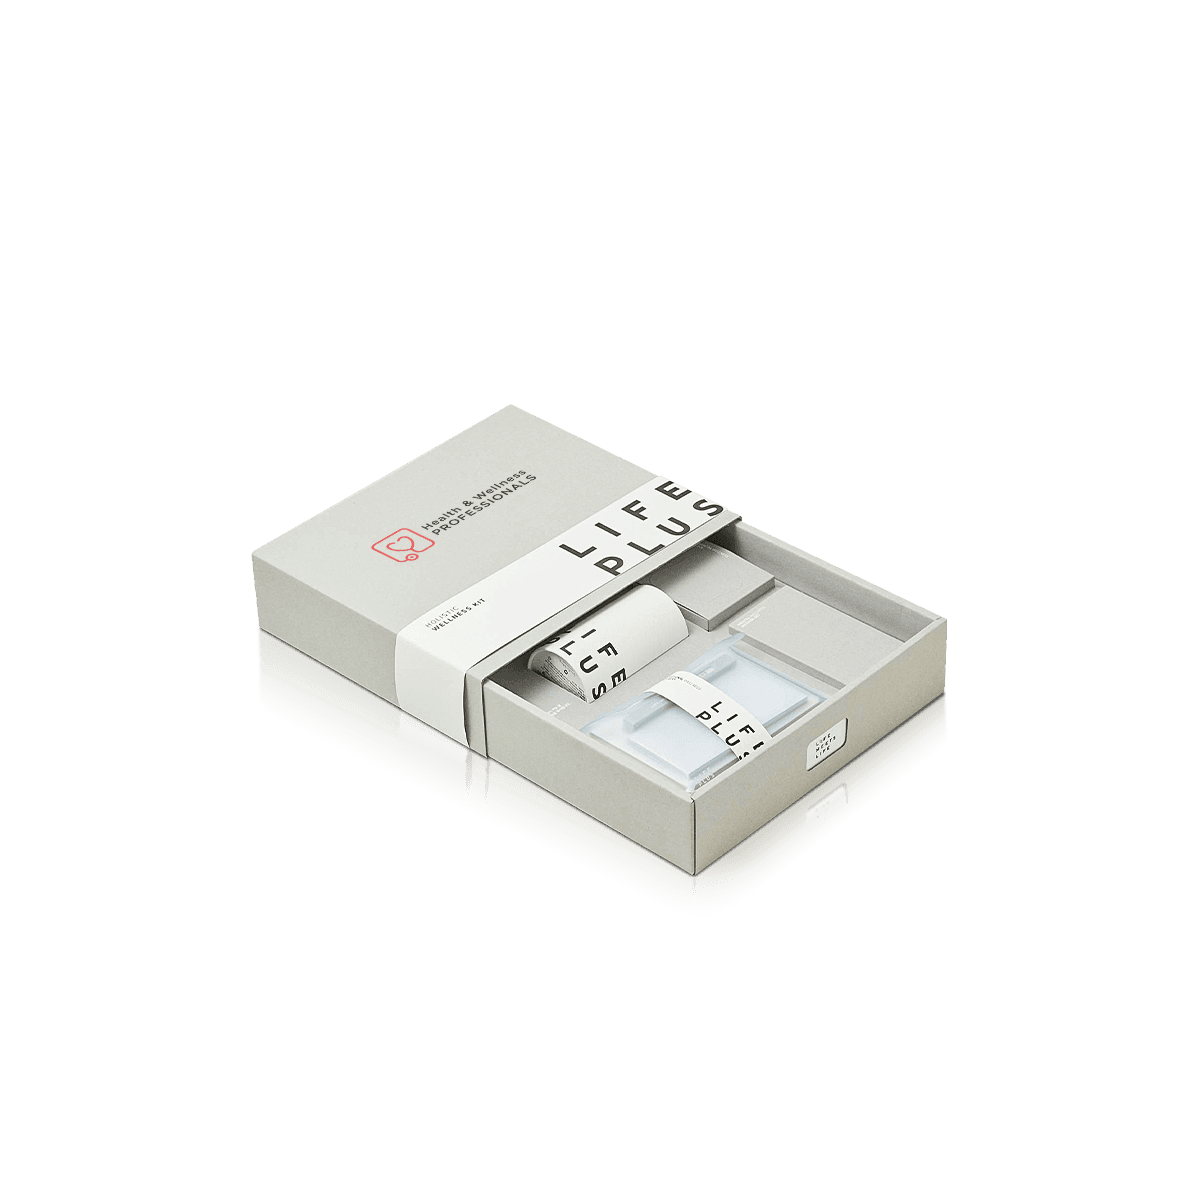
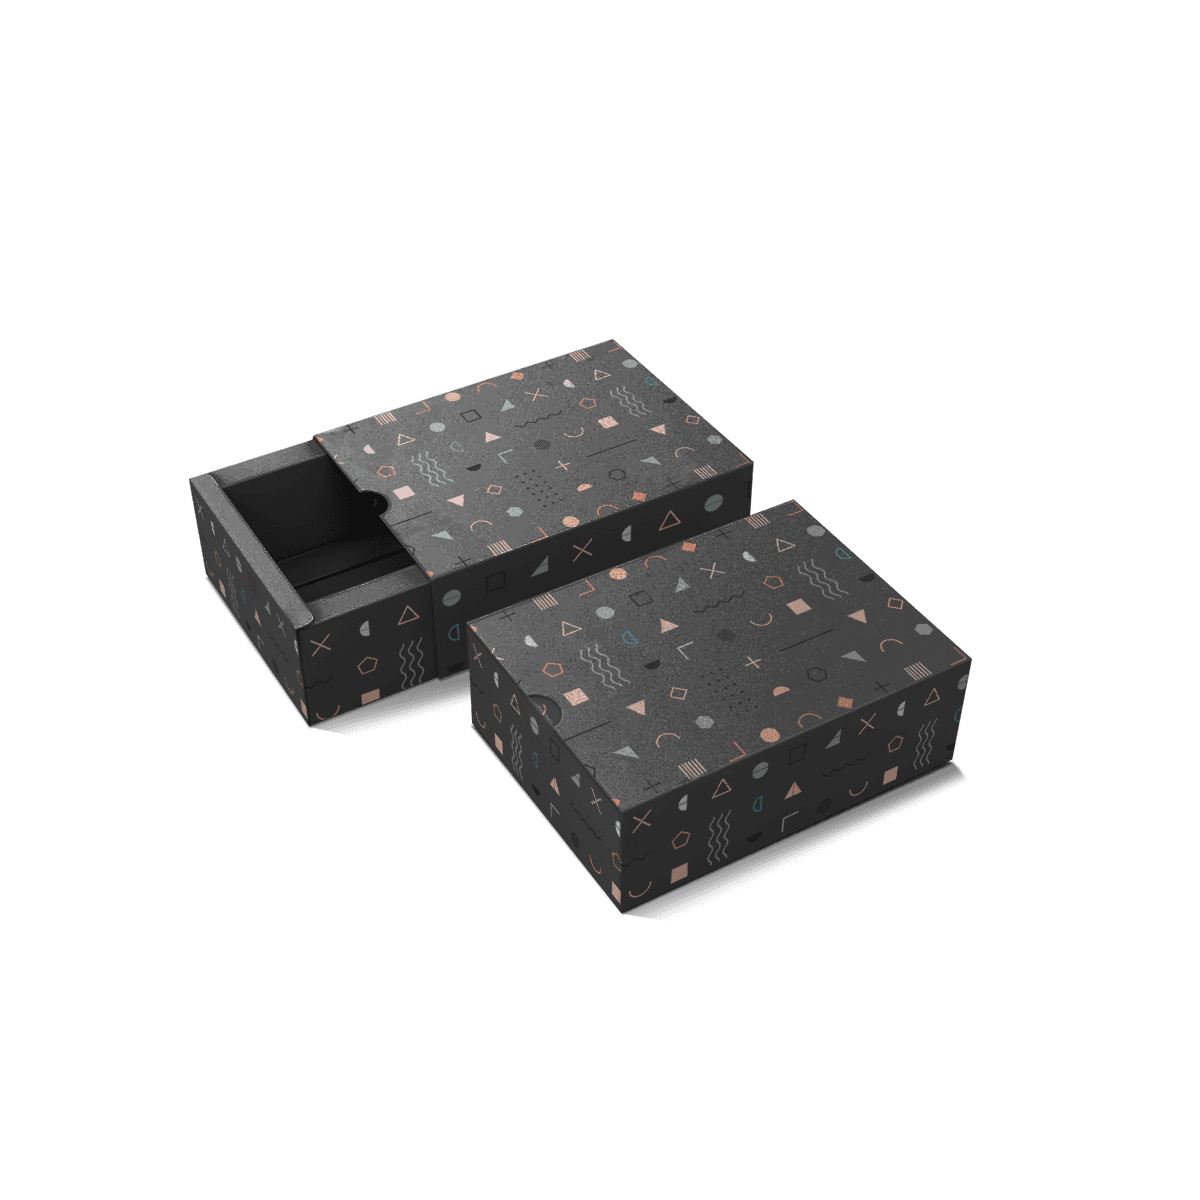
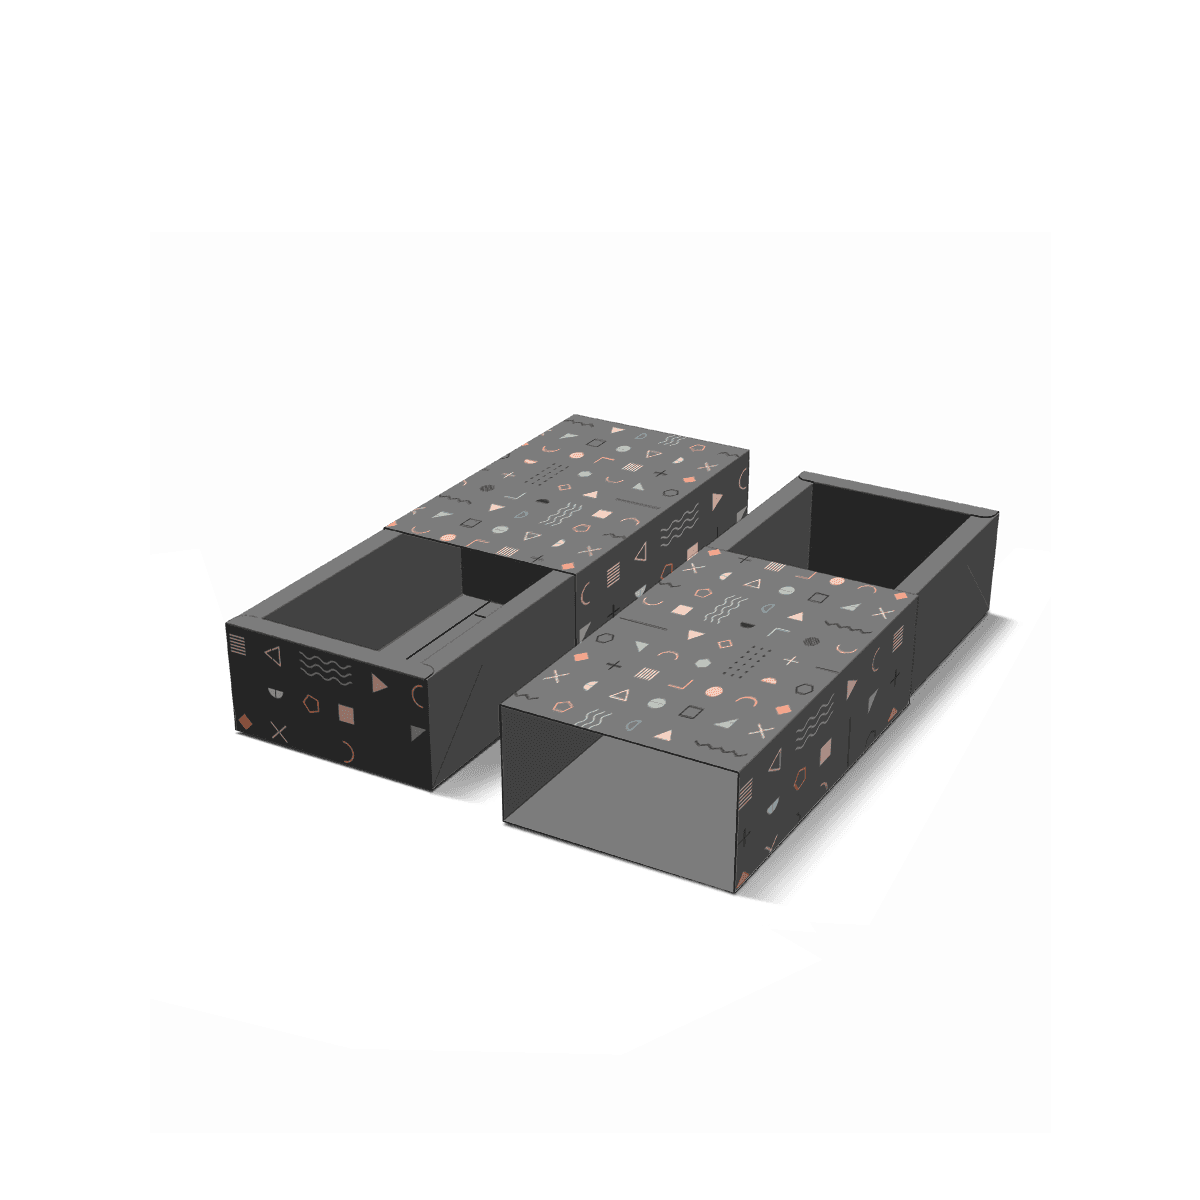
Custom tray and sleeve boxes consist of two separate components: an inner tray that holds the product and an outer sleeve that slides around it. The tray establishes the product's position, while the sleeve completes the enclosure and carries the main exterior branding.

This construction works for products that need a defined position inside the packaging but do not require a conventional hinged or tuck-flap closure.

A skincare set might contain several products arranged in a shallow tray. An electronics kit could hold a device accessory, cable and instruction card. A gift assortment may use individual compartments to present its contents together.

In each case, the tray can be filled before the sleeve is fitted.

That creates a practical packing sequence. Staff can arrange the contents, inspect their placement and then slide the assembled tray into the outer sleeve.

The sleeve should close the pack without shifting the contents or placing unnecessary pressure on them.

The same structure can be manufactured in lightweight paperboard, heavier board or suitable corrugated construction, depending on the product and intended use.

Custom Packly can develop both components around the merchandise, including custom dimensions, board specifications, printing, inserts and the finished sliding arrangement.

The Slide Must Be Deliberate

The sleeve needs sufficient clearance to move over the loaded tray without binding, but excessive clearance can allow the components to separate unintentionally.

This is the central mechanical requirement of the construction.

A box can have correctly measured exterior dimensions and still open poorly if the sleeve's internal dimensions do not account for the completed tray.

Internal and External Dimensions

The sleeve must fit the tray's finished outside dimensions.

The tray itself must accommodate the product, any inserts and the board used to construct its walls.

For a typical rectangular structure, establish:

  • The internal tray length, width and depth.
  • The maximum outside dimensions of the assembled tray.
  • The finished sleeve's internal width and height.
  • The direction in which the tray will slide.
  • The required clearance between the moving components.

The sleeve's length along the sliding direction determines how much of the tray it encloses.

Board thickness, creases, glued seams and additional wraps can affect the completed dimensions.

For example, a rigid tray with an exterior paper wrap may be slightly larger than the underlying board structure. A sleeve sized only from the unwrapped board dimensions may fit too tightly after both pieces are finished.

The clearance should therefore be based on the completed materials rather than the original cutting dimensions alone.

Friction and Board Finish

Paperboard, coated stock and wrapped rigid board do not all behave identically when their surfaces slide against each other.

Lamination can affect friction and increase the finished thickness of the printed component.

A rigid sleeve with sharp, stable walls may behave differently from a lightweight folding sleeve that flexes during handling.

The glued seam also matters. An internal overlap or raised area can interfere with the tray if it sits directly along a contact surface.

These factors should be considered before finalizing the sleeve's internal dimensions.

A snug fit can help retain the tray, but friction alone should not be treated as a guaranteed locking mechanism.

Where a difficult fit remains a concern, an exact custom physical sample can be used to assess the finished materials and opening action. Fully custom physical samples can be arranged as paid samples.

Both Ends Are Open

A conventional rectangular sleeve normally has two open ends.

This means the tray can potentially move in either direction unless the construction incorporates a physical stop, retention feature or another suitable means of controlling movement.

That matters when the box is handled vertically, placed inside a retail bag or carried by its sleeve.

A loose tray may slide out under its own weight.

Possible design adjustments include controlled sleeve friction, a suitable tray-stop feature or an approved locking arrangement.

The correct approach depends on whether the product needs frequent reopening and how the completed package will be handled.

For a reusable product box, the opening should remain convenient without becoming unintentionally loose.

Tray Depth Determines Access

The tray establishes the position of every product and determines how easily those products can be removed once the sleeve is taken off.

A shallow tray can expose the merchandise immediately. A deeper tray may provide greater containment but can make small products harder to reach.

Neither approach is automatically correct.

The appropriate depth follows the product's shape, the arrangement of its components and the intended opening experience.

The Tray Wall

The tray wall must be tall enough to perform its retaining function without unnecessarily concealing the contents.

For a single rectangular product, the wall may provide sufficient lateral support without requiring an additional insert.

For a set containing several irregularly shaped items, the tray may need dividers or a separate fitted platform.

A higher wall can help contain the set, but it should not make individual products difficult to grip.

If a product sits below the tray rim, a thumb notch or another access feature may be appropriate.

The shape and position of that feature should account for both product removal and the structural strength of the tray wall.

A Layout That Survives Sliding

The tray's contents should remain in their assigned positions while the sleeve is fitted and removed.

A loose accessory may shift when the pack is tilted or when the sleeve makes contact with a projecting component.

For mixed-product kits, establish the arrangement before selecting the final tray dimensions.

A cable, adapter and instruction card may need separate positions even when their combined volume would fit inside a much smaller compartment.

A fitted platform can help retain individual components.

Paperboard dividers may be sufficient for lightweight products, while a more substantial insert can be appropriate for fragile or heavier merchandise.

For wellness kit boxes, the position of bottles, sachets, tools and printed instructions can also affect the order in which the customer encounters the contents.

The outer sleeve should not be used to compensate for an unstable arrangement inside the tray.

The Product's Highest Point

The tallest product or insert determines how much vertical space is required beneath the sleeve.

This includes caps, pumps, folded instruction cards and other components that may extend beyond the main product body.

An insert can lift a product toward the opening to improve its presentation, but the increased height must remain compatible with the sleeve.

The tray and sleeve should be dimensioned around the complete packed arrangement.

Material Changes the Assembly

Tray and sleeve construction can be adapted to different product weights and presentation requirements without automatically using thick rigid board.

The tray and sleeve also do not have to use identical materials.

A strong inner tray can be combined with a lighter printed outer sleeve when their dimensions and handling requirements are compatible.

Lightweight Paperboard

Folding paperboard is suitable for many compact retail products and lightweight kits.

A paperboard tray can be die-cut, creased and folded into its finished shape. The outer sleeve can be produced separately and fitted after the products are packed.

White or coated stock can support detailed retail artwork, while kraft stock may suit a simpler visual direction.

This construction can be appropriate for small beauty products, accessories, stationery and packaged gift assortments.

The tray's corners, base and folded walls must still support the intended merchandise.

For a product that is already contained inside a separate carton or formed tray, sleeve folding cartons may achieve the desired branded wrap without manufacturing another product-holding component.

Rigid Board Construction

Rigid board creates a more substantial structure that retains its shape during handling and repeated opening.

It can support deeper trays, thicker walls and fitted presentation platforms.

A rigid sleeve is commonly made from thick board covered with printed or specialty wrap paper. The tray can use a similar construction.

For premium presentation, drawer-style rigid boxes use the same basic sliding tray-and-shell principle with substantial wrapped-board construction.

The decision is whether the product requires that weight, stiffness and finished appearance.

A lightweight accessory does not necessarily need a rigid structure simply because it is sold as a gift.

Corrugated Components

Light corrugated board may be appropriate where a larger tray needs additional stiffness or the merchandise places greater loads on its walls.

The flute profile and board grade should follow the actual product and structural requirements.

Corrugated construction can increase the package's overall thickness. That affects the sleeve dimensions and the amount of space occupied by the completed set.

The outer sleeve may use a printable paperboard or a corrugated construction with an appropriate printed surface, depending on the requirements.

Material selection should account for the complete structure rather than treating the tray and sleeve as independent products.

Custom Packly's packaging capabilities can support decisions involving paperboard, corrugated and rigid construction, including printing and compatible finishes.

Two Components, Separate Artwork

The outer sleeve and inner tray can carry different parts of the brand presentation.

The sleeve usually provides the primary retail-facing artwork. The tray becomes visible after opening and can carry secondary graphics, product identification or instructions.

This separation creates flexibility, but the artwork must follow the actual assembled orientation.

The Sleeve's Main Panel

The broadest visible panel can carry the logo, product name and principal brand graphics.

For retail packaging, the chosen orientation should correspond to how the finished box will sit on a shelf.

A landscape box may display its broadest panel horizontally, while a tall product set may use a vertical presentation.

The front panel should communicate the contents clearly without relying on information that only becomes visible after the tray is removed.

For packaging that carries several individual products, the sleeve can identify the complete set while the inner tray presents the components.

Inside Printing

The inner tray can carry graphics that complement the exterior artwork.

A short instruction, coordinated color or printed product identifier may be appropriate when it serves the opening experience.

Interior artwork should remain visible after the contents are placed inside.

Printing elaborate graphics beneath an insert or an opaque product platform may add cost without improving the finished presentation.

For kits containing several components, printed identification near each compartment may help customers return items to their positions after use.

The artwork should support the actual arrangement.

Artwork Across Multiple Versions

The outer sleeve and inner tray can sometimes be managed as separate artwork components.

For example, a brand might use the same tray construction for several compatible product sets while changing the printed sleeve to identify each assortment.

This approach requires care.

A common tray only works if the products and inserts remain compatible with its dimensions and construction.

The printed sleeve also needs the correct product name, barcode and any required product-specific labeling.

Where a packaging program uses several designs, digital, offset and flexographic printing can help establish how quantity per artwork version affects the production decision.

Custom Packly supports premium offset printing and CMYK or Pantone color specifications where appropriate.

Matte, gloss, soft-touch, foil and other finishes can be considered according to the selected substrate and structural design.

Separate Production Dielines

The tray and sleeve require their own cutting and creasing specifications.

Their artwork layouts must account for the completed dimensions, visible panels, folds and any glued areas.

The sleeve's artwork orientation must also correspond to its intended sliding direction.

The principles behind a packaging dieline are especially relevant when coordinating two separately manufactured components.

Custom Packly's free design and dieline support can help establish these requirements before final artwork approval.

A free 3D mockup can show the closed package and the exposed tray, making it easier to review both printed components together.
Product Sets and Retail Applications

Tray and sleeve boxes are particularly practical when several products need to be presented as one selling unit.

The same construction can also accommodate a single product, provided its shape and intended access suit the sliding arrangement.

The internal layout should follow the merchandise rather than treating every application as a gift box.

Electronics Accessory Kits

A compact electronics kit might combine a charging adapter, cable and small instruction card.

The tray can use separate compartments to prevent components from becoming mixed during packing.

The printed sleeve can carry the product name, contents and compatibility information.

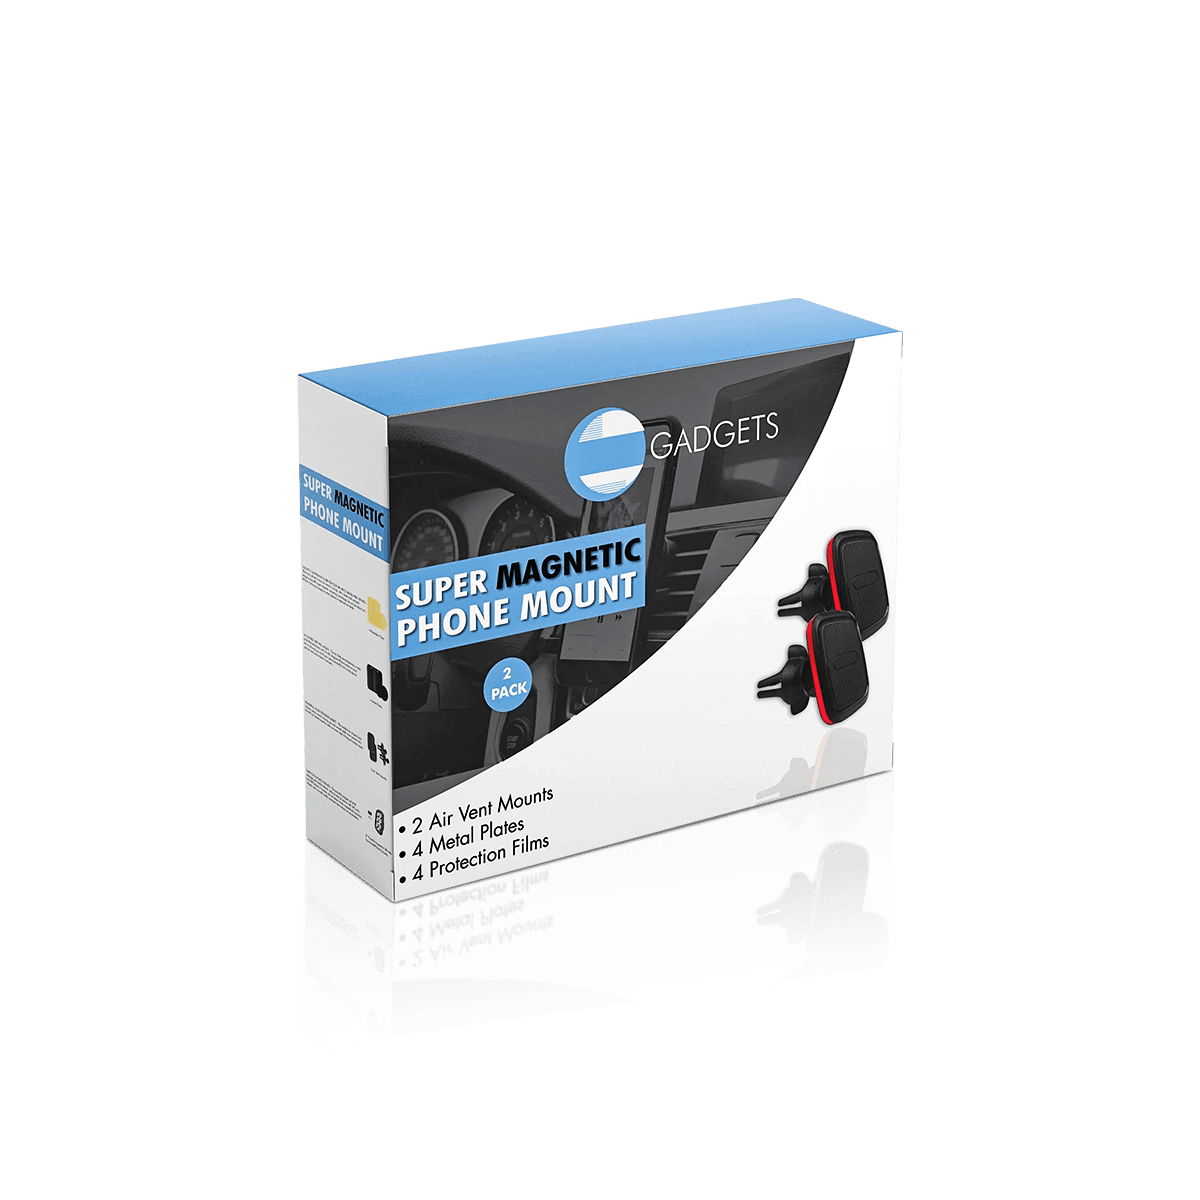
For gadget accessory boxes, organizing the components is only part of the decision. The packaging must also make the included accessories and their specifications easy to identify.

A shallow paperboard tray may be sufficient for a lightweight kit.

More fragile components or heavier assemblies may require a different insert and stronger construction.

Any electrostatic discharge protection needed by sensitive electronics must be established separately. A conventional printed tray and sleeve should not be assumed to provide ESD protection.

Skincare and Cosmetic Sets

A product set containing a tube, small bottle and sample sachet can use a divided tray to present the items in their intended order.

The tray depth should accommodate the tallest component, including its cap or pump.

A printed sleeve can identify the set without requiring a large conventional carton.

This construction also allows the entire tray to remain accessible after opening, which can suit products that customers use together.

Where the package contains liquids, the individual containers must provide suitable containment. The paperboard structure should not be expected to contain leakage.

Jewelry and Accessories

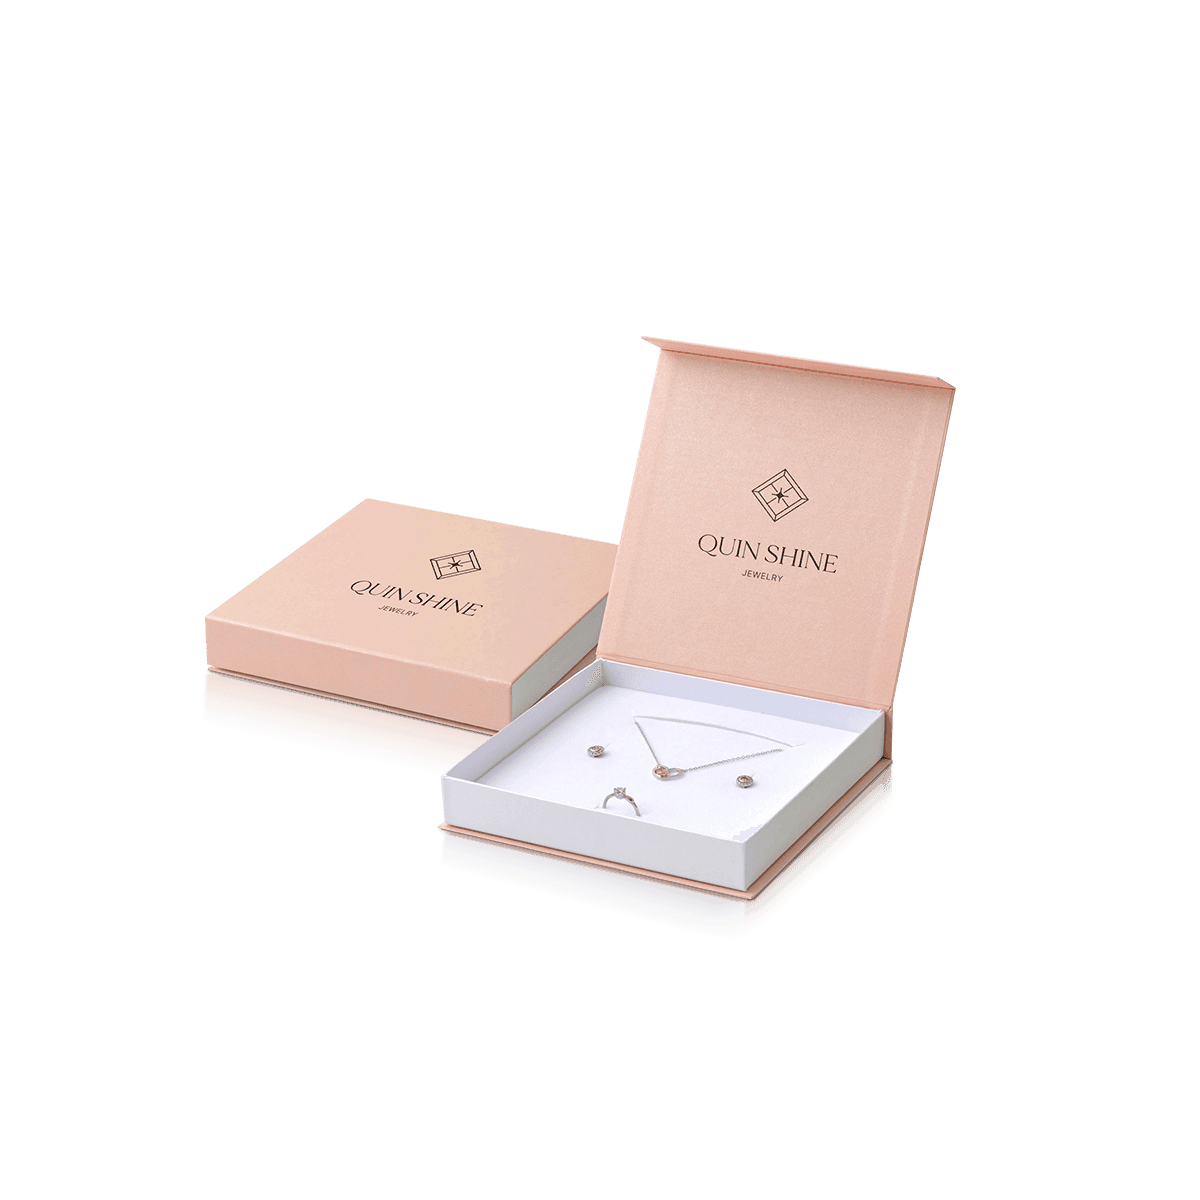
Small accessory sets can use a fitted tray with separate positions for individual items.

The inner arrangement may include cushions, paperboard platforms or other suitable fitments.

A rigid construction can create a substantial gift presentation, while a lighter tray may be appropriate for simpler retail assortments.

The sleeve should not place pressure on projecting jewelry components when it is fitted.

For pieces that can become tangled or scratched, the insert must provide appropriate separation rather than relying only on the outer enclosure.

Food Gift Assortments

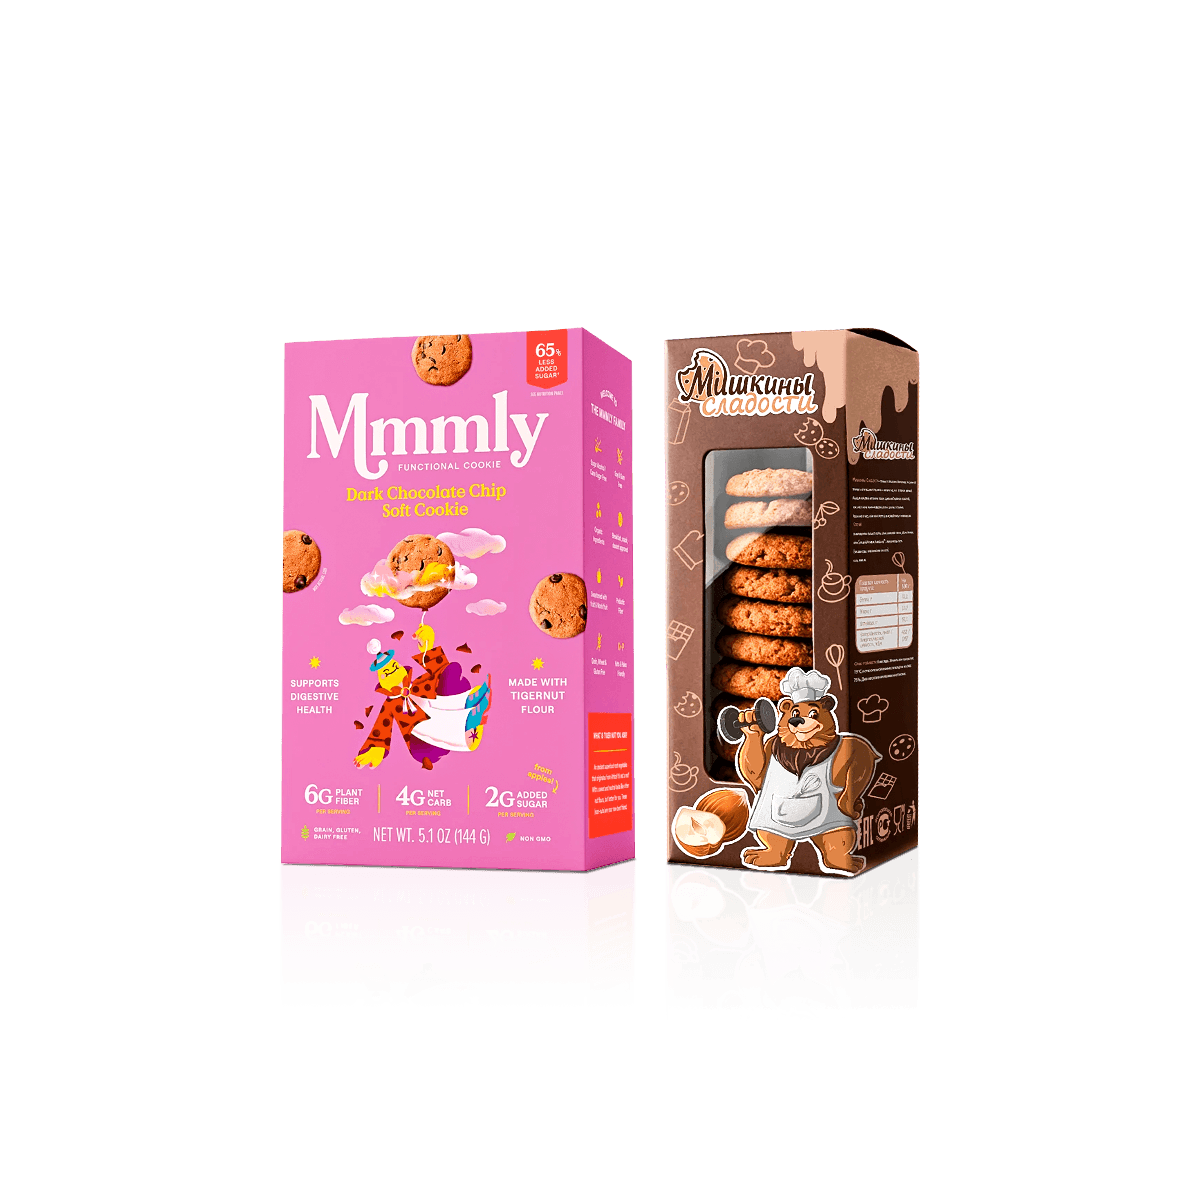
Wrapped confectionery, individually packaged cookies and other compact food assortments can be arranged in a tray-and-sleeve presentation.

The tray can divide the assortment into individual positions, while the sleeve carries the main branding.

However, ordinary printed board should not be assumed to be suitable for direct food contact.

The primary food packaging or the tray's intended food-contact surface must meet the requirements of the actual product and application.

For soft or fragile confectionery, the tray arrangement must also avoid placing excessive pressure on the contents.

The Packing Operation Matters

The assembly method affects the production specification and the work required to prepare every finished box.

A tray-and-sleeve pack normally involves preparing the tray, placing the merchandise and fitting the outer sleeve.

Each step should suit the available packing equipment and the required order quantity.

Flat or Erected Trays

A folding paperboard tray may be supplied flat or in a partially assembled condition, depending on its construction.

Flat supply can reduce the storage space occupied by empty packaging.

However, the packing operation must account for any folding, locking or gluing required before the tray can be filled.

Preassembled rigid trays usually occupy more storage space but eliminate the need to erect the tray during packing.

These differences affect handling and storage, not merely the finished appearance.

Sleeve Supply

Paperboard sleeves may be supplied flat in a pre-glued configuration where the construction permits it.

The packer then opens the sleeve and slides it over the filled tray.

Other constructions may require a separate folding or assembly operation.

The method should be considered alongside the available packing equipment and the number of finished units.

For a large retail program, the time required to erect and fill each component can influence the total packaging cost.

Distribution Protection

A tray-and-sleeve box is not automatically suitable for shipping directly through a parcel network.

Open sleeve ends, decorative surfaces and lightweight tray walls may need additional protection.

For ecommerce orders, a suitable corrugated outer shipper can protect the presentation box from abrasion, compression and handling impacts.

The packed tray should also be restrained so it cannot slide out of the sleeve during distribution.

For retail programs, the completed units may be packed into suitable master cartons for handling and transportation.

The outer shipping arrangement should follow the finished package's dimensions, product weight and intended distribution conditions.

Price the Complete Set

The cost of custom tray and sleeve boxes depends on the combined manufacturing requirements of both components.

A lightweight paperboard sleeve and folding tray have different material and assembly requirements from a rigid tray paired with a wrapped-board shell.

Additional inserts, specialty finishes and separate artwork versions can also affect the total.

The complete specification should account for:

  • The finished tray dimensions and material.
  • The sleeve's dimensions, board and construction.
  • Any internal inserts or product supports.
  • Printing on the sleeve, tray or both.
  • The number of artwork versions.
  • Finishes and special access features.
  • Assembly and packing requirements.
  • The total order quantity.

An elaborate outer sleeve may not be necessary when the product already has a strong visual identity.

Likewise, a heavy rigid tray may add cost without serving a lightweight product.

For projects where the intended structure is still undecided, custom packaging types can help identify other constructions that may suit the product and its packing operation.

Custom Packly's USA MOQ starts from 100 boxes. The applicable minimum for a tray-and-sleeve project depends on the approved construction and production requirements.

Standard turnaround is 4–6 days after final specifications and artwork approval. Complex constructions, specialty materials and advanced finishes may require additional time.

USA production and free shipping are included.

Once the product arrangement, materials and intended assembly method are established, request a custom tray and sleeve quote for the complete two-component set.

After the Sleeve Comes Off

The exposed tray should remain practical once the customer removes the sleeve.

This is an important difference between packaging that simply encloses a product and packaging that also gives its contents a defined resting position.

A skincare set may remain organized in its tray while individual products are used. An electronics accessory kit might retain separate positions for its components and instruction card.

The tray can perform this function without becoming a permanent storage product, provided its construction is appropriate for the intended use.

Its walls should remain accessible, its inserts should support product removal and any printed instructions should remain easy to locate.

For a package intended to be opened and closed repeatedly, the sleeve should return over the tray without disturbing the remaining contents.

A ribbon pull, thumb notch or other access feature may be appropriate when the completed pack is difficult to grip.

These additions should support the natural opening movement rather than complicate it.

For a single-use retail set, a simpler construction may be sufficient. The tray only needs to hold the products securely until the customer removes them.

For a reusable kit, the opening action and internal arrangement deserve more attention because the customer will interact with the components repeatedly.

The final structural decision should follow that intended use.

FAQs

Because it handles organization better. Tray and Sleeve Boxes make more sense when the product has multiple parts, needs a staged reveal, or benefits from clearer separation inside the pack.

No. They can look upscale, but they are also practical for starter kits, retail bundles, sample sets, and compact products that need better component control.

Tray and Sleeve Boxes are often the more flexible choice when brands want a slide-based format across different materials and price points. Drawer-Style Rigid Boxes usually lean further into premium rigid construction, while tray-and-sleeve formats can cover both presentation and practical retail packaging more efficiently.

Yes. This style works especially well with paperboard inserts, foam fitments, printed cards, and layered product arrangements because the tray gives more predictable placement.

SBS paperboard works well for crisp printing, while rigid board or light e-flute can add more structure. Matte lamination, foil stamping, embossing, spot UV, and inside printing are all useful when the sleeve needs stronger visual impact.

Process

How it works

Your Packaging Journey, From Idea to Production and Delivery

01

Tell Us Your Specs

Custom packaging boxes

Tell Us Your Specs

Provide size, quantity, printing, and finishes.

02

Get a Fast Quote

Custom packaging boxes

Get a Fast Quote

Instant transparent pricing, no hidden fees.

03

Design and Approval

Custom packaging boxes

Design and Approval

Artwork checks, revisions, and final sign-off.

04

Produce

Custom packaging boxes

Produce

Expert manufacturing to meet deadlines.

05

Ship to Your Door

Custom packaging boxes

Ship to Your Door

Hassle-free, flexible delivery options.

Get Your Quote for Custom Tray and Sleeve Boxes

Share your product details, size, quantity and artwork needs. We’ll help choose the right packaging style and send a clear quote.