Skip to content
Details

Custom Tray-Style Folding Cartons

Open-top paperboard trays shaped around product access, wall height and corner strength for retail sets, kitting and presentation-led packing.

Wall Height Controls Access

A tray becomes harder to use as soon as its walls rise higher than the product requires.

Low walls leave more of the product exposed, make top-loading easier and reduce how far someone must reach into the pack. Taller walls add containment and branding area but can obstruct removal, hide the product or make assembly more involved.

That wall-height decision is more important than treating a tray as a shallow version of a conventional box.

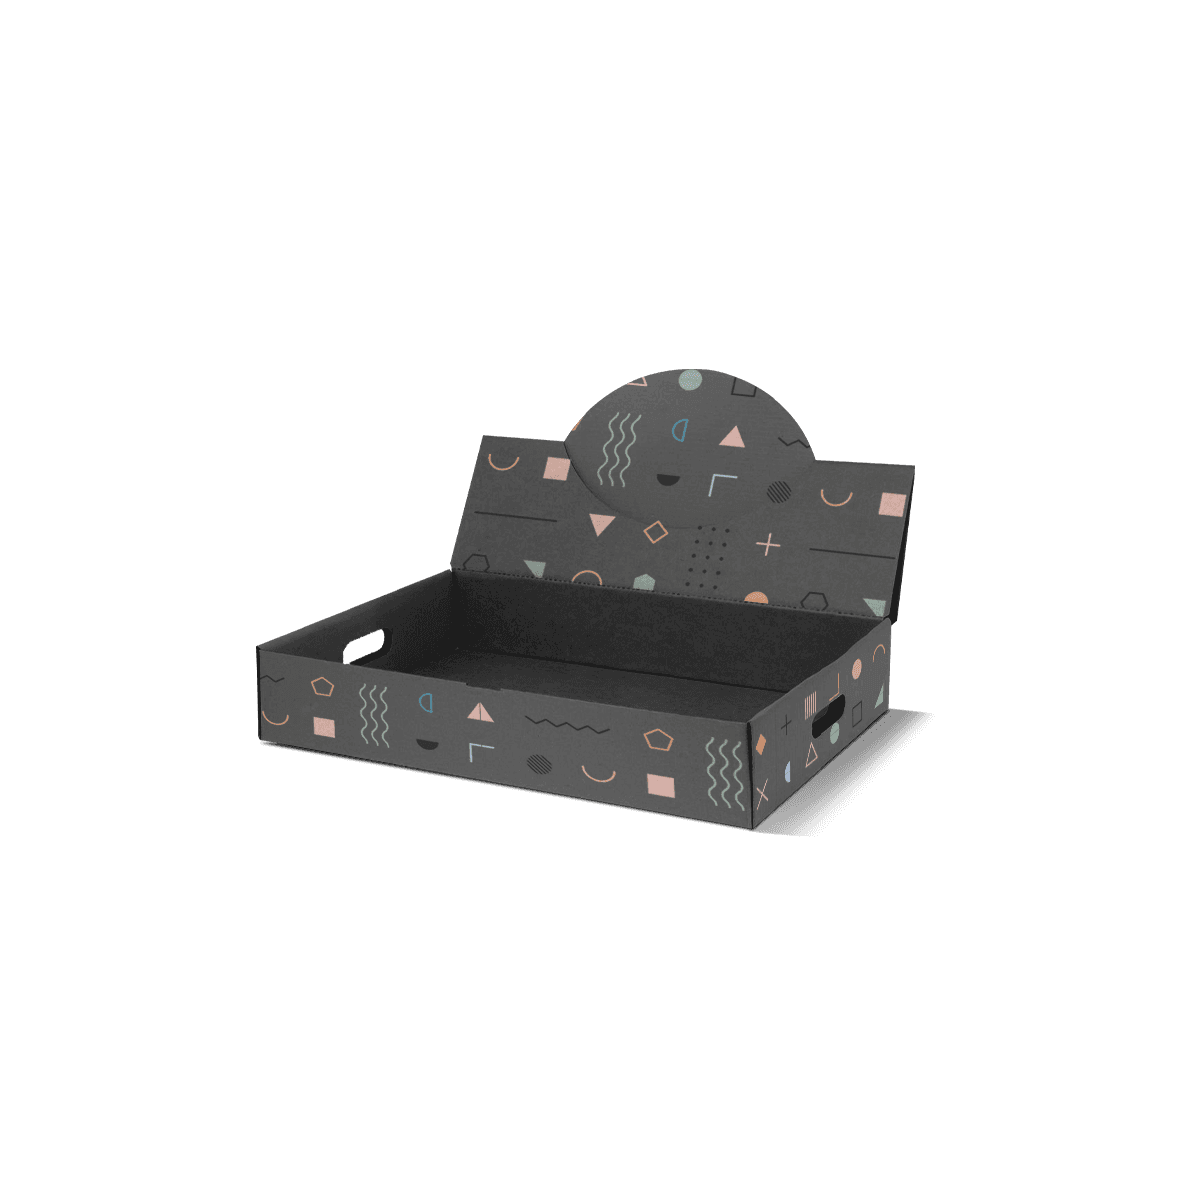
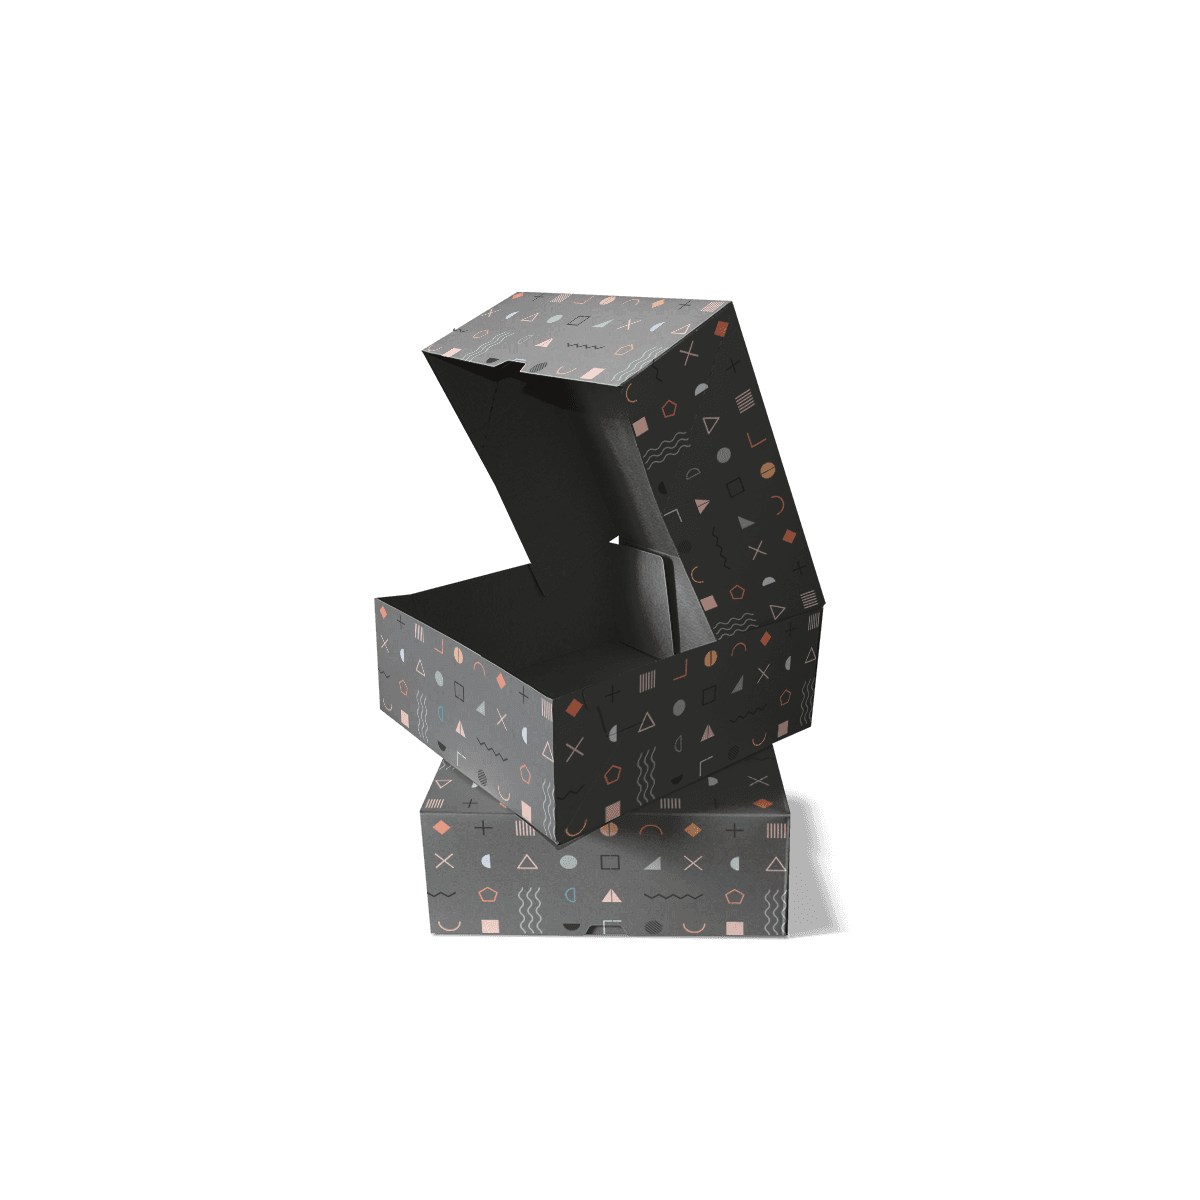
Custom Tray-Style Folding Cartons work best when the open top is intentional. The folding carton structure still uses die-cut and creased paperboard, but the tray removes the normal top closure so access and presentation become part of the structural specification.

Low Walls Favor Presentation

Shallow side walls suit products that should remain easy to see and lift.

Wrapped confectionery, cosmetic sets, apparel accessories and compact product kits can sit neatly in a tray without disappearing behind tall paperboard. The wall only needs to retain the product enough for the intended handling.

Too much height can turn an open tray into an awkward box without giving it the protection of a true lid.

Taller Walls Add Control

Higher tray walls make more sense when products need greater lateral restraint or when the tray serves as an inner component inside another pack.

The wall should still stop short of interfering with fingers, inserts or product removal.

For multi-item sets, decide how the products will be picked out before increasing tray depth merely to create more paperboard around them.
Corners Create the Structure

An open tray has no upper closure to help pull the walls into shape. Its corners do much of the structural work.

Different tray constructions may use locking tabs, rolled walls, glued corners or other folding-carton methods to hold the sides upright. The correct approach depends on assembly speed, wall stiffness, product weight and the intended appearance.

The corners should be chosen before artwork because they determine where folds, overlaps and visible edges appear.

Self-Locking Corners

Mechanical locks can let a tray remain completely flat until packing.

The operator folds the walls and engages tabs or slots so the corners hold their shape without adding adhesive during setup. This can suit smaller or moderate runs where hand assembly is acceptable.

The trade is labor. Every tray has to be formed correctly before the product is loaded.

Glued Corners

Pre-glued corner constructions can reduce part of the manual folding process.

Some tray designs can be opened or popped into shape from a prepared flat blank, which moves more work into converting and less into the packing operation.

That can be valuable when erection is repeated frequently, but the extra manufacturing step should solve a real throughput problem rather than being specified automatically.

Rolled Walls Add Stiffness

Some folding trays turn a side panel back over itself, creating a double-wall edge.

That can strengthen the rim and give the inside a cleaner finished edge without moving to rigid board. It also consumes more paperboard and introduces additional folds.

Use rolled walls where edge stiffness, appearance or product contact justifies the extra construction.

The Product Sits on Display

An open tray exposes more of the item than an enclosed carton.

That makes product orientation part of the visual design. A cosmetic bottle laid in the wrong direction, a cable kit with loose components or a folded accessory sitting unevenly is immediately visible.

The tray should control how the product rests before print and finishing are used to dress up the presentation.

Set the Product Orientation

Decide whether the main item sits flat, upright or at an angle.

Flat presentation works well for products that need immediate visibility across their full face. Upright products may require deeper walls or internal support. Angled presentation can improve visibility but usually needs an insert rather than relying on the tray alone.

The final orientation affects footprint, tray depth and the amount of printable wall area.

Open Access Needs Finger Space

A closely fitted tray can still be frustrating if customers cannot remove the item.

Leave enough space beside the product for fingers, a pull tab or another intentional lifting method. This matters especially for compact rectangular items with smooth surfaces that sit flush against the base.

Good fit controls movement without trapping the product.

Inserts Define Organized Sets

Trays are particularly effective when several items need to appear together in one plane.

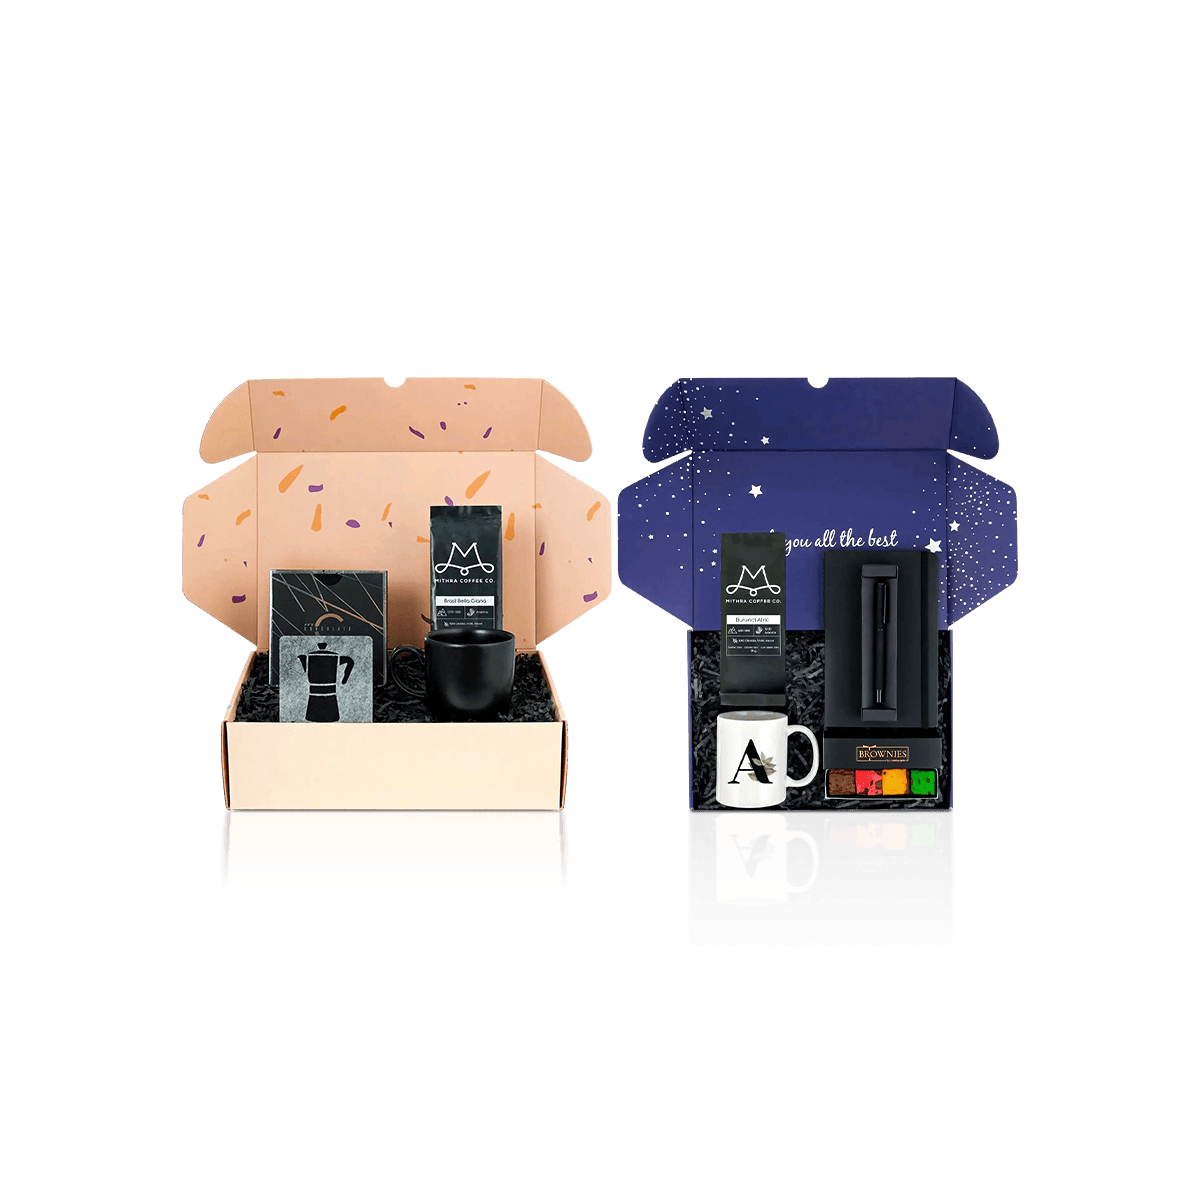
The open top lets each component remain visible, while an insert can establish spacing and order. That makes tray construction suitable for starter kits, promotional sets, cosmetics, accessories and other packs where arrangement is part of the presentation.

The insert should be designed with the tray footprint rather than squeezed into a finished outer size.

Cavities Need Real Clearance

Each product position needs enough tolerance for loading and removal.

If a paperboard insert grips too tightly, packers may damage the product or distort the tray while filling. If the cavities are too loose, the neat arrangement disappears as soon as the pack is moved.

Measure protrusions such as caps, switches, collars, connectors and handles rather than working from the main product body alone.

Divider Height Changes Visibility

A divider can separate items without rising to the full tray height.

Lower partitions maintain organization while keeping the set visually open. Taller dividers add stronger separation but can create a compartmentalized appearance and reduce sightlines between products.

Use only the height needed to stop contact or movement.

A Tray Is Not a Sleeve

An open paperboard tray can function by itself when direct access and visible presentation are desirable.

Once the pack needs full enclosure, stacking protection or a controlled reveal, another component may become necessary.

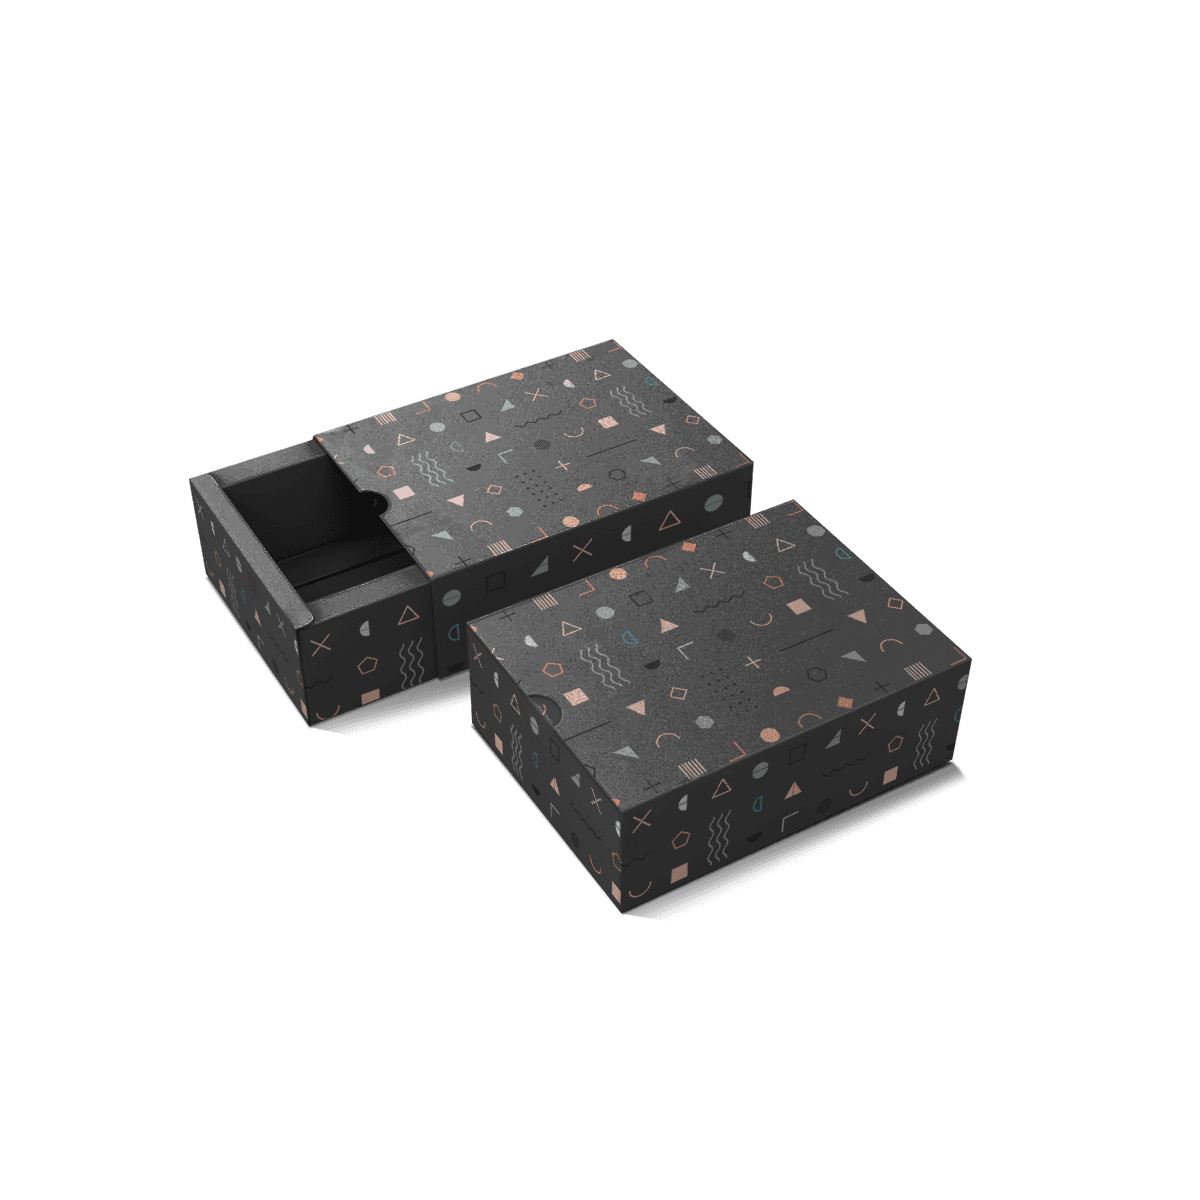
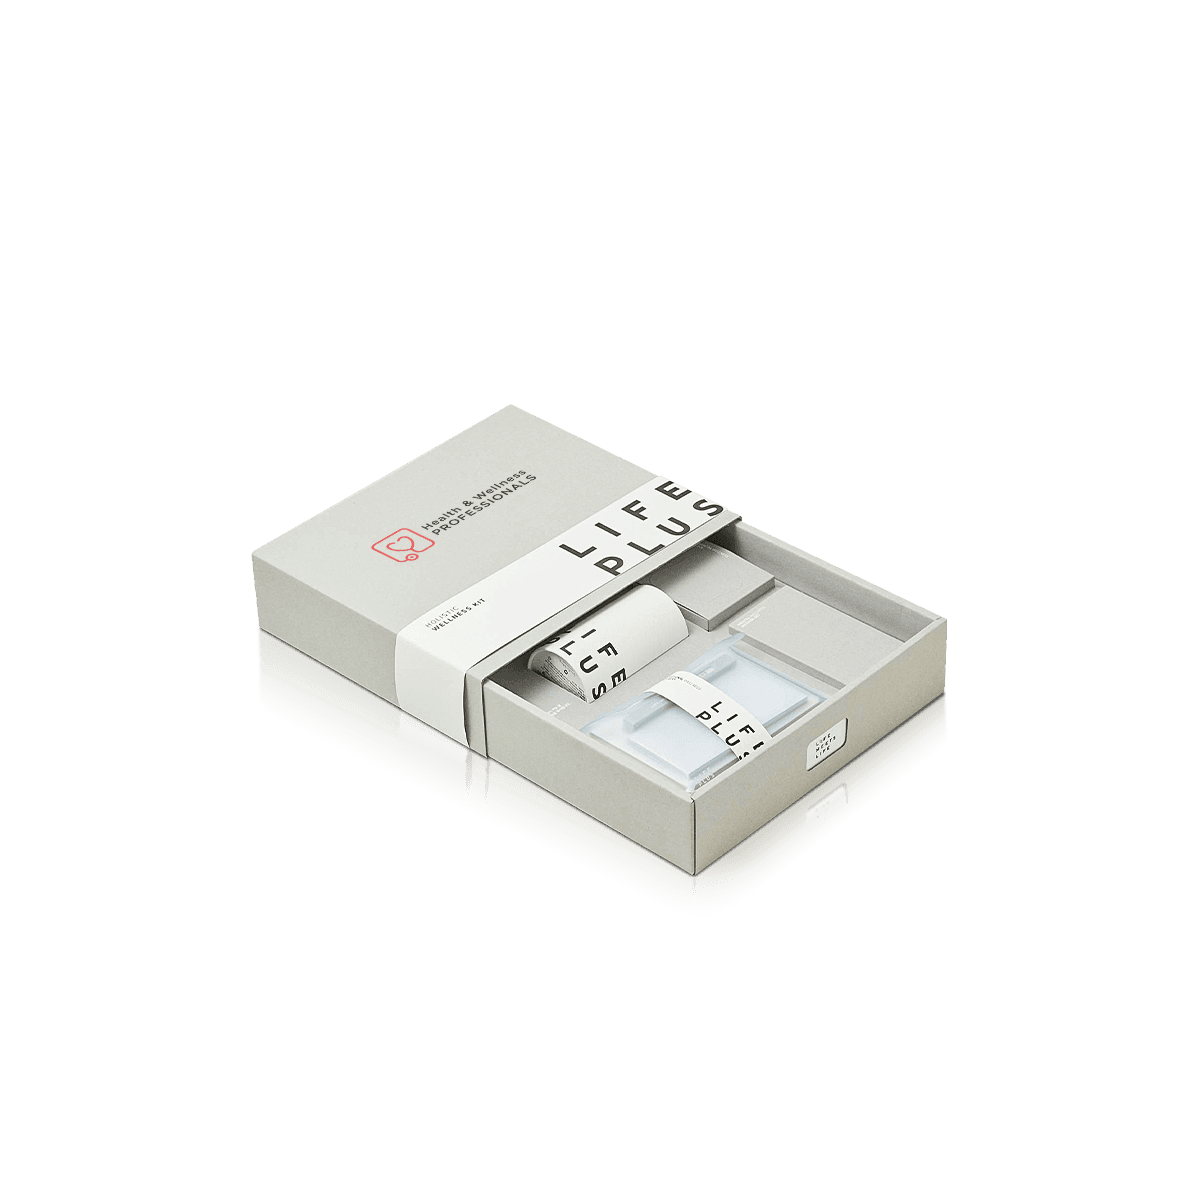
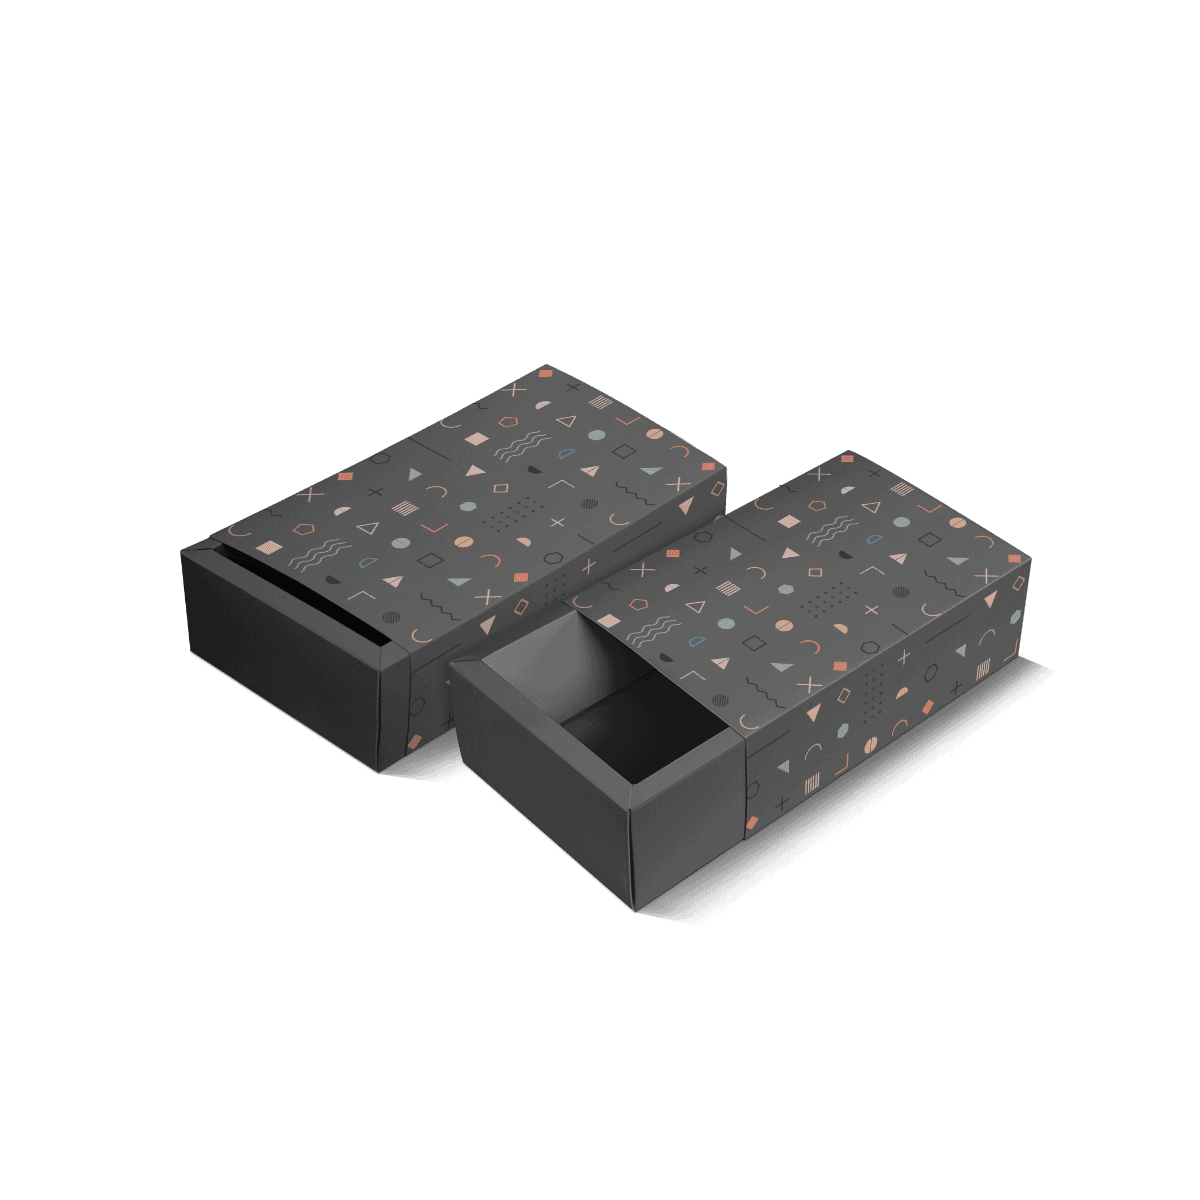
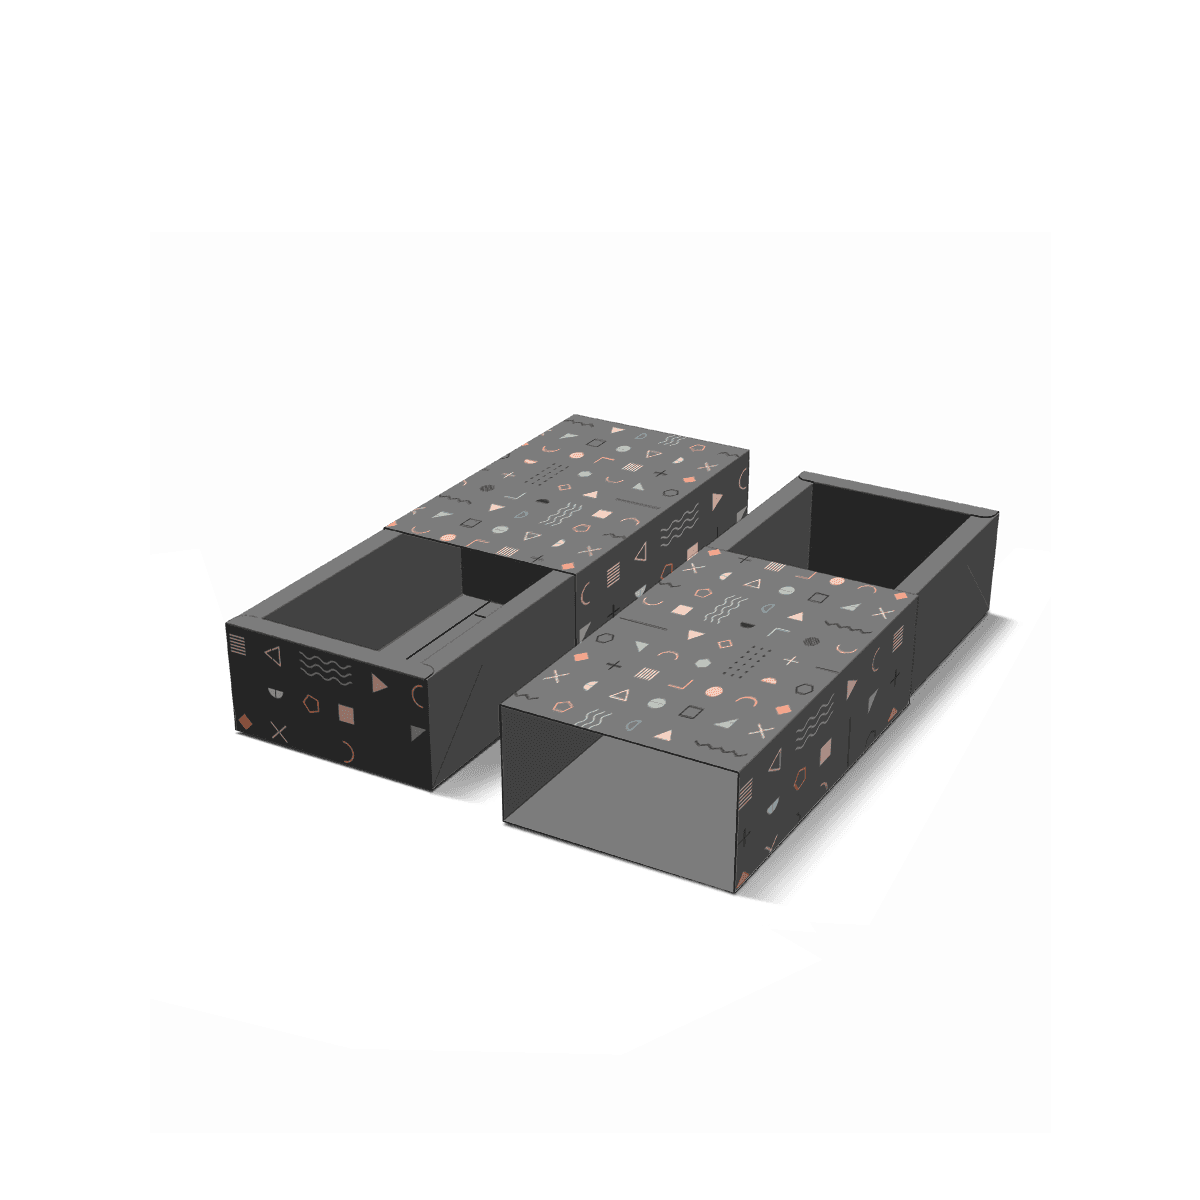
Tray and sleeve boxes add an outer sleeve around the inner tray. That changes both protection and opening behavior because the product is enclosed until the tray slides out.

Open Tray for Immediate Access

Use the tray alone when the product will remain visible, sit inside another outer pack or be presented directly at a counter, event or kit assembly station.

Removing an unnecessary outer component can simplify packing and keep the product easy to reach.

The trade is reduced coverage around the top.

Sleeve for Full Enclosure

A sleeve can add printable surface, protect the top of the product and create a slide-out opening.

It also introduces a fit relationship between two paperboard components. Too tight and the tray becomes difficult to remove. Too loose and the sleeve can feel uncontrolled.

Do not add a sleeve simply to make the tray feel more premium. Add it when enclosure or the sliding action solves a real requirement.

Six Corners Solve More

A tray-like footprint does not make every shallow folding carton the same structure.

Six corner boxes are better suited when the pack needs reinforced corner geometry and an enclosed lid arrangement rather than a simple open presentation tray.

The distinction becomes important for bakery assortments, apparel sets and other shallow packs where both styles may initially appear plausible.

Open Top Means Faster Access

A straightforward tray can be loaded from the top with no lid to move out of the way.

That suits products placed into position by hand, particularly when several components need to be arranged visibly.

The open top also makes inspection easier during kitting because missing or misaligned components can be spotted immediately.

Enclosure Adds Another Job

If the contents need protection from stacking, dust or routine handling, the open tray may need an outer carton, sleeve or other cover.

Do not force taller tray walls to compensate for the absence of a lid. That can reduce access without creating true enclosure.

Choose the extra component according to what the product actually faces after packing.

Display Trays Sell Multiple Units

An individual product tray and a retail display tray may look similar when both have low walls.

Their jobs are different.

A product tray organizes one sellable item or set. A custom display box organizes several sellable units for shoppers to remove over time.

That difference changes the geometry.

Product Trays Stay With the Item

The tray can form part of the customer's final packaging and travel with the product through the opening experience.

Its dimensions follow the item or kit itself. Printing can focus on the brand, product identity and interior presentation.

Display Trays Survive Sell-Down

A retail display has to remain orderly as individual products leave it.

Front lip height, product lanes, replenishment and partially empty stability matter much more in that environment.

A tray-style folding carton should not be turned into a merchandising fixture unless organizing several retail units is genuinely part of its job.

The Base Carries Everything

Open access can draw attention to the walls and corners, but the base panel carries the product load.

Its span, board stiffness and support from the surrounding walls determine whether the tray stays flat or begins to bow.

A broad shallow tray can need more attention at the floor than a compact deeper carton because a larger central area remains unsupported.

Broad Trays Need Stiffness

As length and width increase, the center of the floor can flex more readily.

Increasing caliper may help, but the better answer can also involve changing wall construction, reducing unsupported span or introducing a fitted insert that spreads the load.

Material should follow geometry instead of being selected from product weight alone.

Dense Items Need Support

A concentrated object can create a local pressure point even when its total weight seems modest.

Jars, hardware pieces and compact devices can load a small part of the tray floor. An insert or support pad can distribute that force and stop the product from shifting.

If the tray itself starts approaching transit duty, a shipping box should handle carrier impacts and stacking instead of asking paperboard presentation packaging to do both jobs.

Flat Supply Changes Assembly

Tray cartons can save storage space before use because the blanks remain flat or partially prepared until erection.

The operational question is how much work moves to the packing station.

A self-locking tray may require several folds and corner engagements. A pre-glued design can reduce those motions while adding converting work earlier.

Count the Corner Motions

Set up several trays using the intended packing staff.

Watch how many folds, reversals and tab engagements are required. If workers need to turn the tray repeatedly or correct corners after loading, the assembly method may be too involved for the planned quantity.

Do not judge assembly from one carefully prepared sample.

Validate Before Scaling

Where assembly speed or corner strength is uncertain, test the exact construction with the real board and product.

Load the tray, lift it from different edges and remove the product several times. Check whether corners loosen, walls spread or the base bows.

A fully custom physical sample can be arranged as a paid sample when the exact tray geometry needs that physical check. Free sample examples of previous work can help with print and material assessment.

Print Works Inside and Out

An open tray creates printable surfaces that customers may see from several directions.

The outside walls can carry the main identity. The inside base can become visible when products are removed. Rolled edges or inner walls may also create additional surfaces depending on the construction.

Artwork should account for the tray in both full and empty states.

Base Print Appears Later

Printing on the inside floor can reveal a message, pattern or brand mark after the product is lifted.

That works best when the interior artwork has enough empty space around inserts and cavities to remain visible.

Do not invest in elaborate base graphics that will remain permanently hidden under a fixed insert.

Corner Folds Interrupt Artwork

Continuous graphics can break where side walls turn, tabs overlap or double walls fold inward.

Keep critical logos and small copy on stable uninterrupted surfaces. Patterns and color fields can tolerate folds more easily than fine typography.

Custom Packly includes free design and dieline support, artwork and prepress review plus a digital proof before production. A free 3D mockup can help check how the tray looks after all four walls are erected.

Dimensions Start at the Floor

Tray sizing is easiest when the base footprint is settled before wall height.

Lay out the real product or complete kit, then add only the clearance required for loading, inserts and removal. After that, determine how high the walls need to rise for containment and presentation.

This reverses the common mistake of choosing an attractive tray depth first and making the contents fit afterward.

When the internal footprint is stable, the dieline generator can establish the blank before artwork is finalized.

Footprint Drives Material Use

A small increase in both length and width affects more than interior space.

Every wall, locking flap and rollover panel expands with the base. Oversizing a tray therefore increases the flat blank across several connected areas.

Right-sizing matters even when shipping efficiency is not the primary goal.

Height Should Solve Containment

Wall height should answer a physical question: what needs to stay inside, what needs to remain visible and how will the product be removed?

If the answer is simply "make it look substantial," the extra paperboard may be doing little useful work.

Premium appearance can come from proportion, printing and finish without making the tray unnecessarily deep.

Complete the Tray Specification

The production brief becomes useful after the base dimensions, wall height and corner method are established.

Record the inside length, width and height, product weight, self-locking or glued preference, insert requirement, print coverage, finish and quantity. If the tray will sit inside a sleeve or outer carton, include that component because its fit changes the full specification.

MOQ starts from 100 boxes in the USA.

Premium offset printing can support detailed artwork where it fits the production run. US production, free shipping and standard 4–6 day turnaround apply after final artwork and specifications are approved, while specialty materials, more complex constructions or advanced finishes may require additional time.

The tray should be priced from that complete geometry and assembly method rather than from a generic shallow-carton description.

Decide What Covers the Top

The last tray decision is not decoration. It is whether the product should remain exposed after packing.

Leave the top open when direct access, visible arrangement or use inside another outer pack is part of the plan. Add a sleeve, lid or outer carton when coverage, stacking or a controlled reveal becomes necessary.

That decision should stay separate from wall height. Making the tray deeper does not turn it into an enclosed package.

A tray works best when its openness is an advantage, not an unfinished part of the design.

FAQs

They matter most when the product needs orderly presentation. Instead of hiding everything inside a closed carton, the tray helps items stay arranged, visible, and easier to load.

No. They are also useful for internal kits, promotional bundles, sample presentations, and pack-out workflows where quick access matters.

Choose Tray-Style Folding Cartons when open access or simpler tray presentation is the priority. Six Corner Cartons are better when you want a more enclosed tray-and-lid feel with added corner structure.

Yes. It pairs well with paperboard inserts, divider sections, and fitments for products that need separation or tidy arrangement.

Yes. The tray walls, front panel, and optional sleeve or top element still give useful print space for logos, product details, and merchandising messages.

Process

How it works

Your Packaging Journey, From Idea to Production and Delivery

01

Tell Us Your Specs

Custom packaging boxes

Tell Us Your Specs

Provide size, quantity, printing, and finishes.

02

Get a Fast Quote

Custom packaging boxes

Get a Fast Quote

Instant transparent pricing, no hidden fees.

03

Design and Approval

Custom packaging boxes

Design and Approval

Artwork checks, revisions, and final sign-off.

04

Produce

Custom packaging boxes

Produce

Expert manufacturing to meet deadlines.

05

Ship to Your Door

Custom packaging boxes

Ship to Your Door

Hassle-free, flexible delivery options.

Get Your Quote for Custom Tray-Style Folding Cartons

Share your product details, size, quantity and artwork needs. We’ll help choose the right packaging style and send a clear quote.