Skip to content
Details

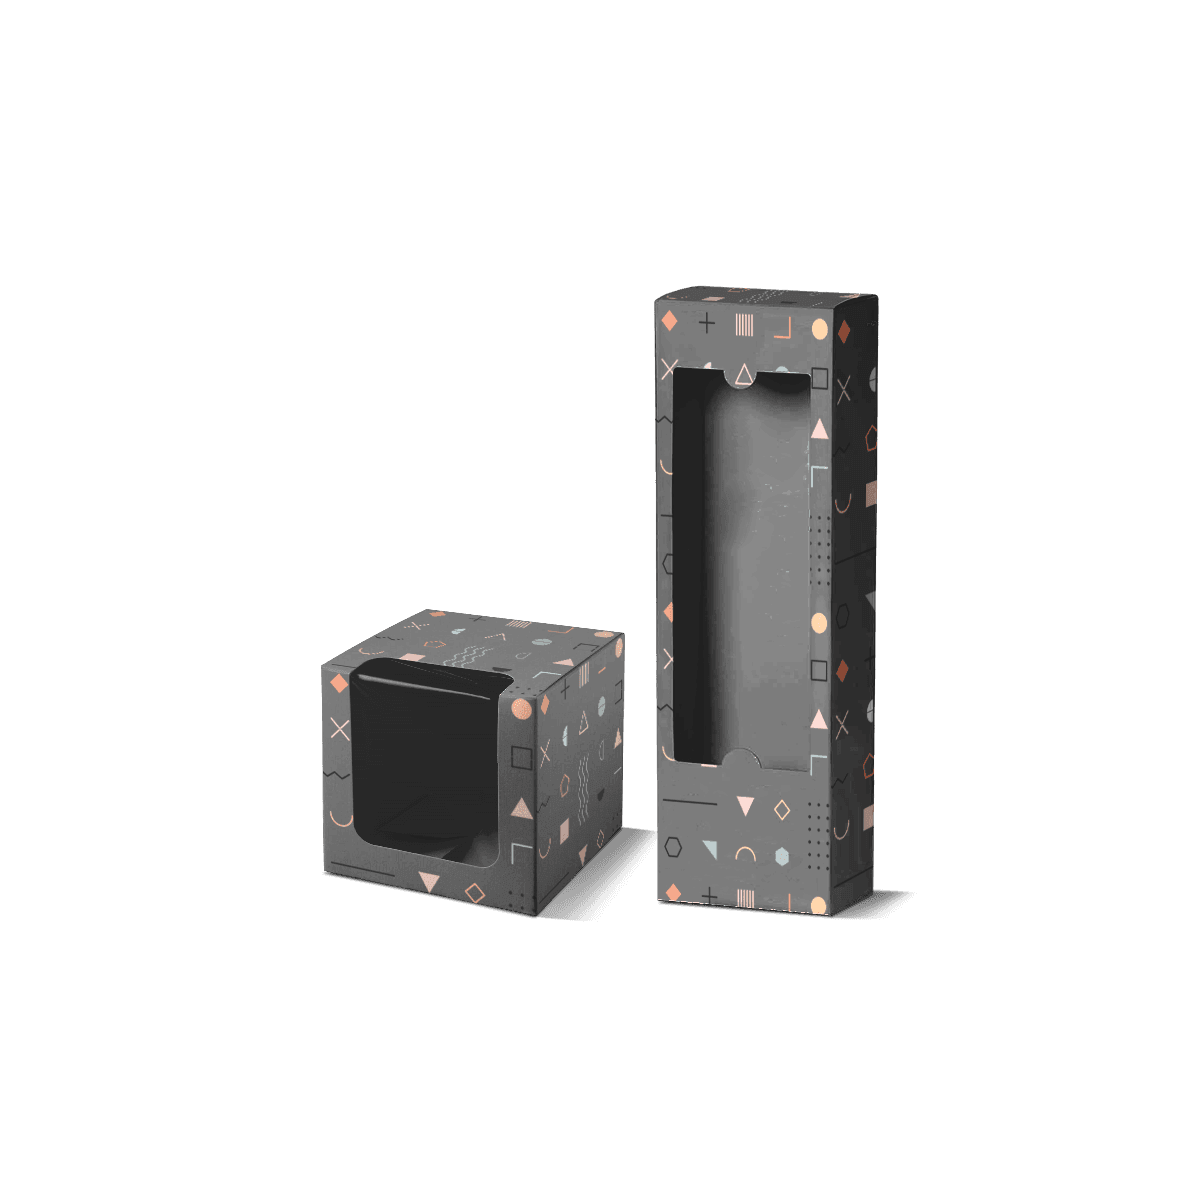
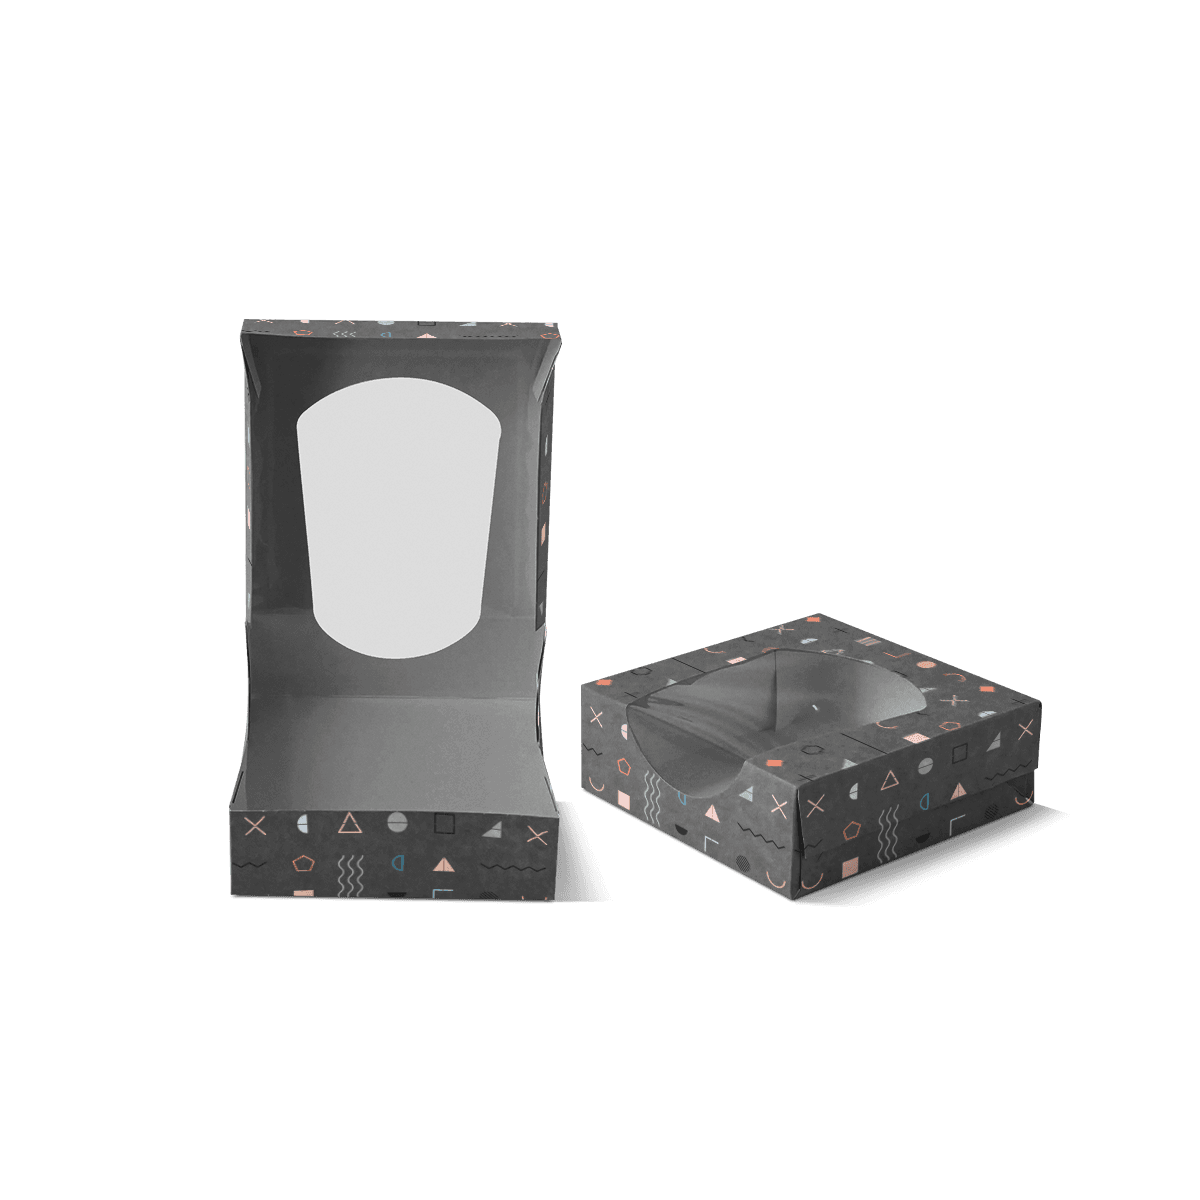
Custom Windowed Folding Cartons

Paperboard retail cartons that turn the actual product into part of the visual design while controlling window strength, positioning and movement behind the opening.

Let the Product Share the Panel

A window changes what the front of a carton has to do. Part of the selling surface is no longer printed artwork. It is the actual product.

That only works when the item visible through the opening is worth seeing and stays in the intended position after packing, handling and shelf placement. A large cutout showing an empty gap, the back of an accessory or a crooked bottle gives away paperboard without improving presentation.

Custom Windowed Folding Cartons should therefore begin with the view customers need, then build the opening around that sightline.

Windowed cartons sit inside custom folding cartons, where paperboard structure and print work together around individual retail units.

Pick the Viewing Face

Front-panel windows suit products sold upright at eye level or on conventional retail shelving. Top windows make more sense when customers look down on the carton at a counter. Side windows can reveal depth, color or a distinctive profile without sacrificing the main branding face.

The retail position should determine the opening location before artwork begins.

A technically attractive top window has little value if a shelf blocks it from view.

Show a Deciding Detail

The opening does not need to expose the entire product.

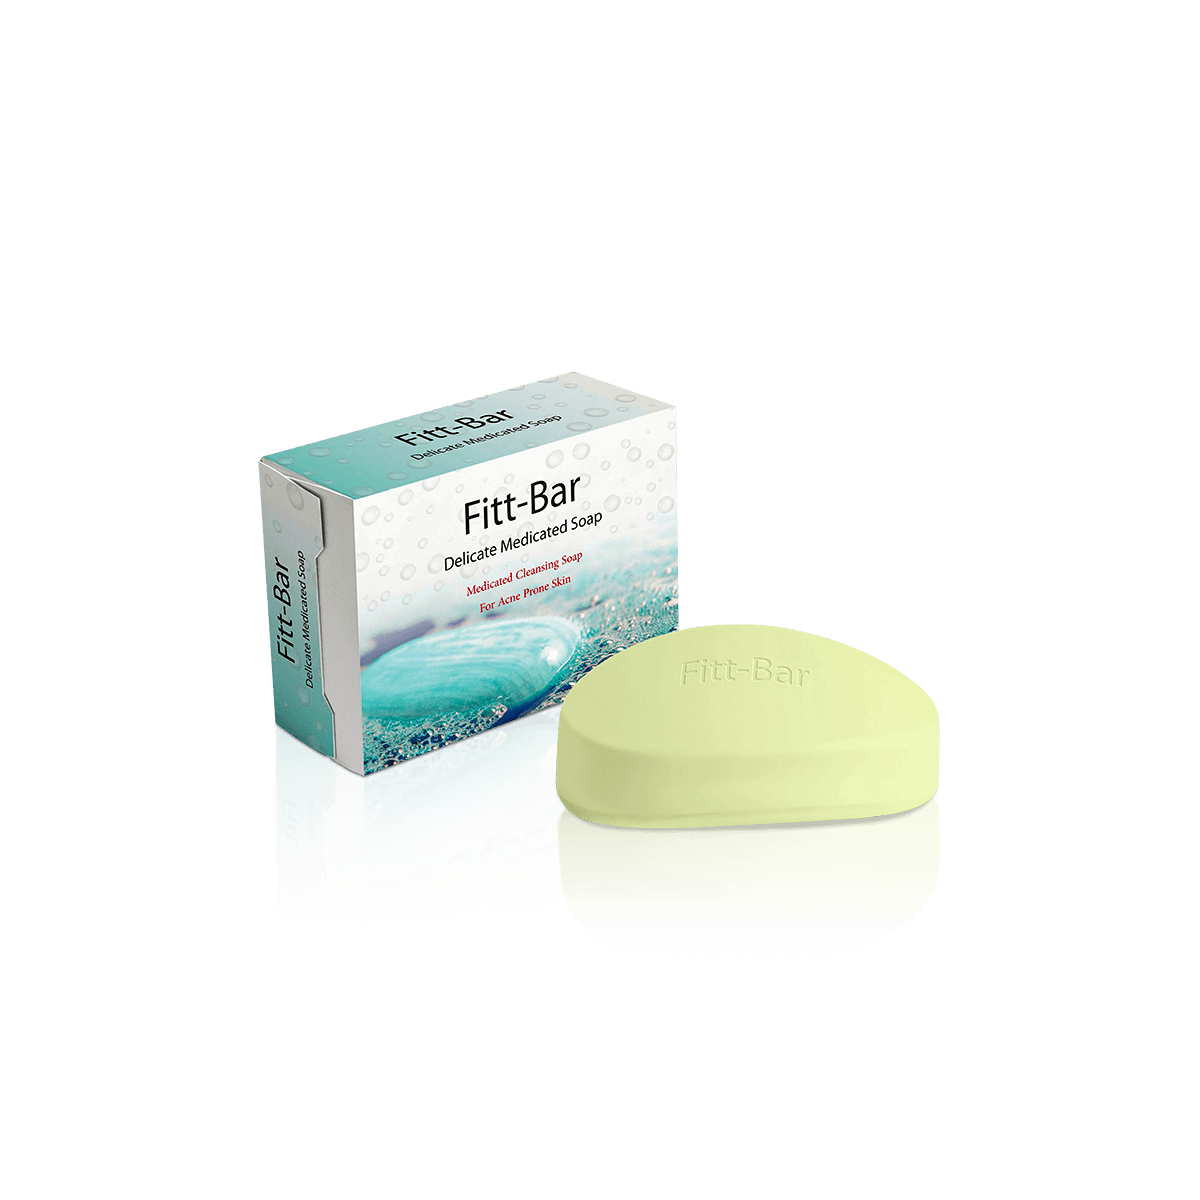
A soap carton may need to reveal color and surface texture. A cable pack may need to show the connector type. A cosmetic carton may expose the actual shade. A small accessory box may show the shape and finish.

The strongest window isolates the part of the product that answers a purchase question quickly.
Hold the Product in View

The window and the product position are one system.

If the item can rotate, settle downward or slide sideways, the sightline changes. The carton may leave production with the product centered perfectly and reach the shelf with only half of it visible.

Before enlarging the window, control the movement behind it.

Fit Before the Cutout

Start with the finished product dimensions and the orientation in which it will be sold.

A close carton fit can sometimes hold a simple rectangular item well enough without extra components. Irregular products, bottles with narrow bodies or multi-part packs may need folded paperboard support to maintain their position.

The outer dimensions should account for that support from the beginning.

Restraint Has to Stay Hidden

An insert can solve product movement and still damage the presentation if its edges become the dominant feature behind the opening.

Position internal support outside the main sightline where possible. If part of the insert must remain visible, make that relationship deliberate rather than letting a raw structural tab appear unexpectedly beside the product.

For small electronics, gadget accessory boxes may need cable, adapter or component control before the viewing opening is positioned.

Shared Sizes Need the Same Sightline

Several SKUs can share one carton structure only when their visible geometry also works with the same opening.

Two products may fit the same internal dimensions but sit differently behind the window. A shorter bottle, different cap or changed accessory can create an obvious empty gap.

Sharing a structural footprint should therefore be checked in the assembled viewing position, not only against length, width and height.

The Frame Still Carries Load

Cutting a window removes paperboard from a working panel.

The remaining frame must still keep the carton square, resist everyday handling and support the folds around it. This becomes more important as the opening gets larger or moves closer to a corner.

The objective is not the largest possible transparent area. It is enough visibility with enough board left to keep the carton behaving like a carton.

Leave Board Around Corners

Corners transfer stiffness between adjacent panels.

A cutout pushed too close to a vertical edge can leave a narrow strip of board that bends more readily than the rest of the face. The same problem can appear beside top and bottom folds.

A slightly smaller opening can preserve a much stronger frame without materially changing what the customer sees.

Curves Are Easier Than Thin Points

Custom window shapes can follow a logo or product silhouette, but decorative geometry should still behave well during die cutting and handling.

Long narrow projections, sharp internal corners and thin bridges of paperboard can create fragile areas around the opening.

A simpler curve or broader geometric shape often produces a cleaner edge and a more dependable panel while still looking intentional.

Validate the Largest Opening

If the chosen window removes a substantial part of the front panel, test that exact construction with the real product.

Check squareness, panel flex, product position and how the carton behaves when picked up from different faces. The question is not whether the window survives while the carton sits still. It is whether the remaining paperboard stays controlled during ordinary handling.

A paid fully custom physical sample can be arranged when the exact window geometry, fit or restraint needs physical verification.

Decide Between Open and Covered

A die-cut opening does not automatically need a transparent patch.

An open window gives direct access to the product surface. A covered opening adds a clear layer between the item and the retail environment.

The correct choice depends on what customers should be able to touch, what needs protection and how the package will be handled.

Open Windows Reduce Separation

An open cutout can work for products that tolerate direct exposure and benefit from touch, scent or texture.

Soap is a clear example. Custom soap boxes may use an open viewing area when showing the cured bar and allowing scent access are part of the retail experience.

The opening still has to avoid weak edges, loose toppings or parts of the product that can rub against the cut paperboard.

Covered Windows Add a Layer

A transparent patch can keep fingers and dust away from the product while preserving visibility.

That extra component changes manufacturing, material use and the disposal characteristics of the finished pack. Its attachment area also needs enough paperboard around the opening to bond reliably without intruding on the visible product.

If sustainability requirements are important, specify the complete material system rather than assuming the paperboard determines the environmental claim for the whole carton.

Food Needs Its Own Decision

Food packaging brings additional questions around contact, grease, moisture, temperature and the exact window material.

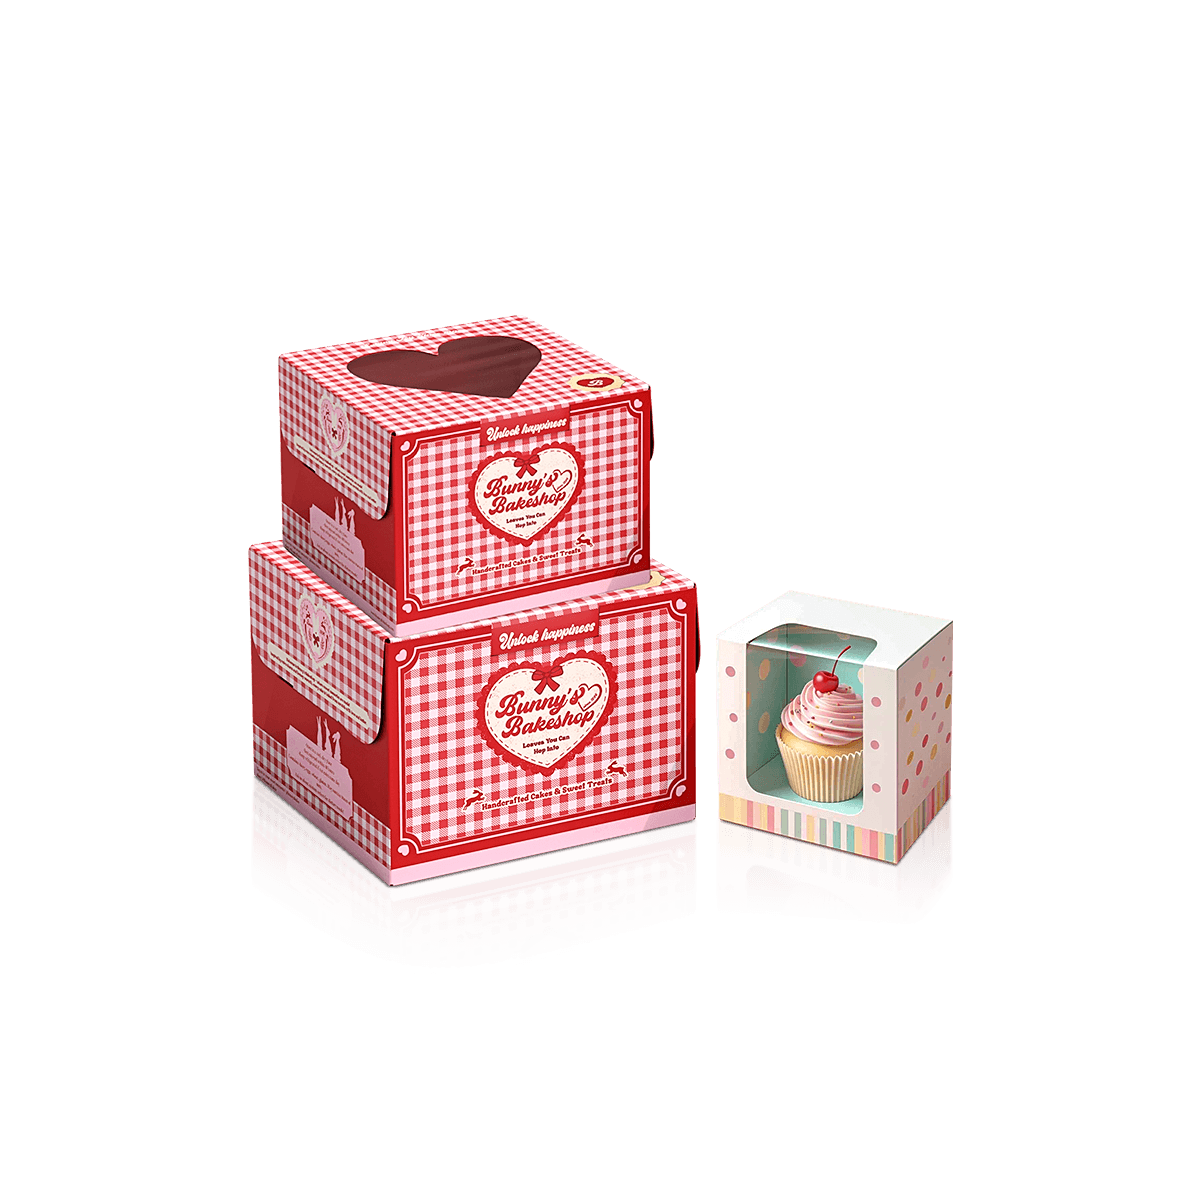
For pastries and baked goods, window bakery boxes should be planned around frosting clearance, grease behavior, condensation and bakery display conditions rather than generic retail visibility alone.

A non-food window carton should not be treated as a food-contact specification by default.

Closure Shapes the Sightline

The window cannot be planned independently from the carton closure.

Tuck flaps, dust flaps, glued seams and bottom structures determine where the strongest uninterrupted panel areas remain. A large opening that looks balanced on one carton style may conflict with the working folds of another.

Structure comes before decoration.

Tuck Panels Need Clear Edges

Front-facing windows on tuck cartons should leave enough paperboard near the top and bottom folds for the panel to remain stable.

If the opening reaches too close to a tuck crease, repeated opening can flex a narrow board strip around the cutout. The visual gain may not justify that structural compromise.

Place the most aggressive cutout where the panel has enough uninterrupted perimeter to support it.

Bottom Style Still Follows Weight

The presence of a window does not decide the base.

Lightweight products may work with a conventional tuck arrangement. Denser products may need an interlocking or pre-glued bottom. The window then has to be integrated into whichever carton structure already makes sense for product weight and packout.

Do not select a weaker base merely to preserve a preferred window shape.

Board Span Changes the Result

The same percentage of removed board can behave differently on two cartons.

A small narrow front panel with a centered window has short spans of paperboard around it. A broad panel may leave much longer unsupported strips even when the opening occupies a similar proportion of the surface.

Carton dimensions therefore matter as much as window size.

Wide Panels Flex More Easily

Broad faces can bow when too much central material is removed.

Increasing board stiffness may help, but the better answer can also involve changing the window size or position. Reducing or repositioning the opening may preserve stiffness more efficiently.

The strongest specification uses geometry and material together.

Kraft Changes the Visual Frame

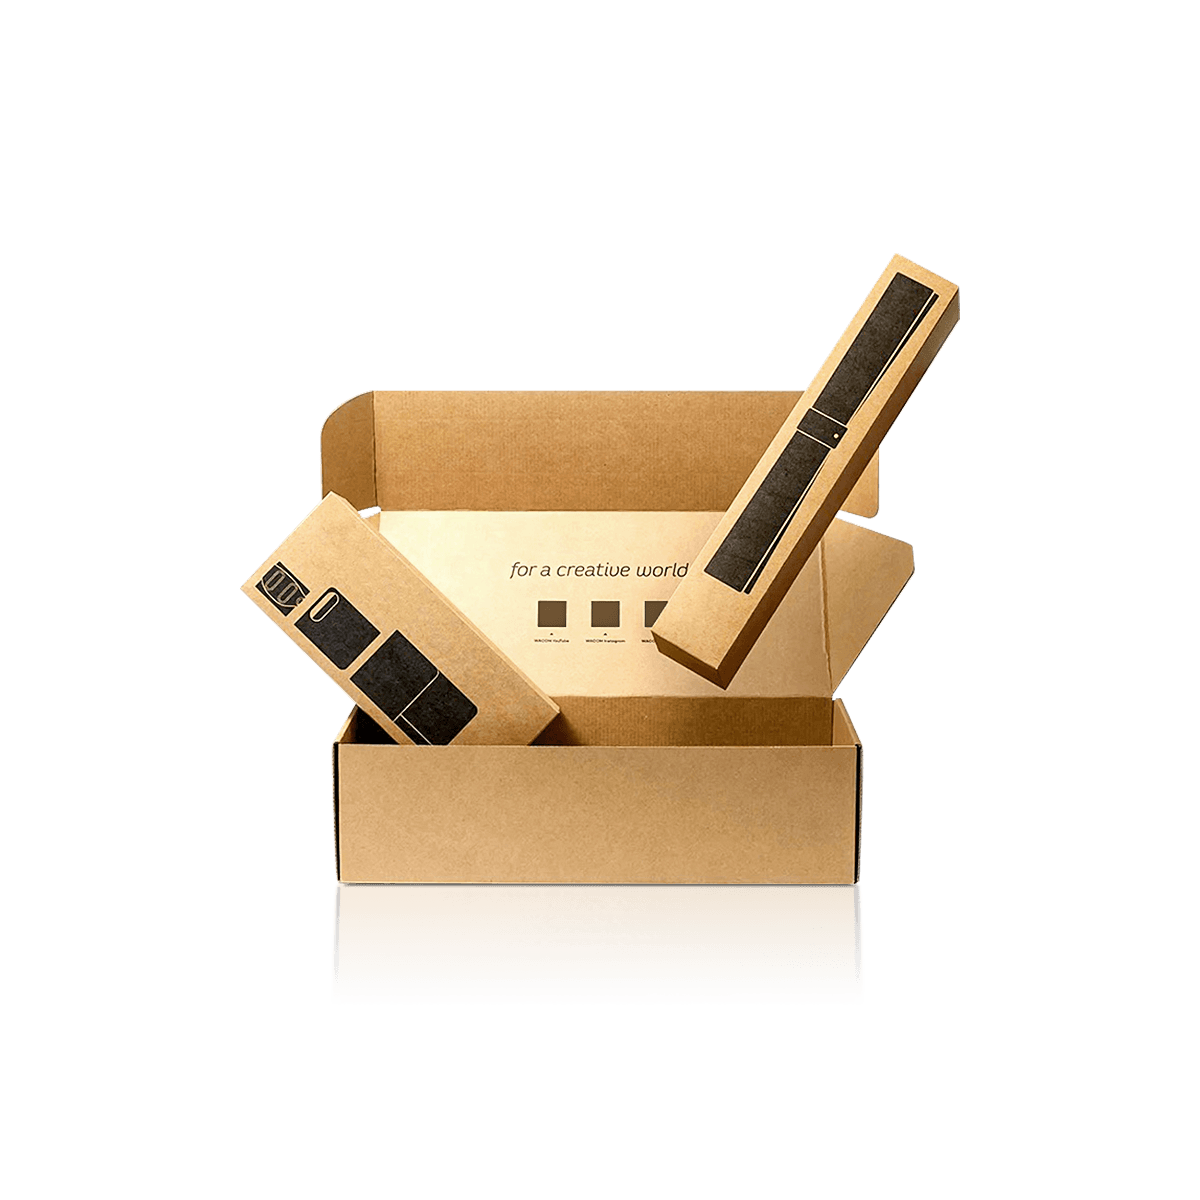
Natural kraft can create a strong contrast between an earthy paper surface and a colorful product behind the opening.

White SBS gives brighter print reproduction and can make the window feel more integrated with polished retail graphics.

Neither stock is automatically better for a window. Product weight, folding behavior, artwork and the desired shelf appearance should drive the choice.

Artwork Frames the Real Object

The product behind the opening becomes part of the graphic composition.

That means artwork should be designed around the actual product position rather than treating the window as an empty hole dropped into a finished layout.

The brand name, product identity and regulatory copy still need enough uninterrupted board to remain legible.

Give the Window Breathing Room

Dense graphics pressed against the cut edge can make the carton look crowded.

A controlled border or deliberate negative space can separate printed communication from the physical product. The amount does not need to be symmetrical if an offset composition gives the product a stronger visual position.

The flat artwork should anticipate how the product and print will meet after assembly.

Keep Critical Copy on Board

Do not depend on the product behind the window to carry information that must remain readable.

Shade, model or flavor cues can sometimes work visually through the opening, but barcodes, instructions and required text still need stable printed surfaces where appropriate.

When the carton dimensions and cutout are settled, the dieline generator can establish panel boundaries before final artwork placement.

Approve the Shelf View

Custom Packly can review artwork and prepress details before production, then issue a digital proof and free 3D mockup.

For a windowed carton, review the assembled relationship between the cutout and the product, not only the print file. The product is effectively another visual element in the design.

The principles behind packaging that stands out on store shelves matter most from the angle customers actually encounter the pack.

Individual Cartons Are Not Displays

A windowed folding carton primarily contains and presents one sellable unit or kit.

A display structure has a different job. It organizes products in a retail position, often controlling facing, access and replenishment for several units.

A multi-unit merchandising fixture is a different task; windowed display boxes organize several products or a larger presentation rather than simply adding visibility to an individual carton.

This distinction prevents a simple retail carton from carrying unnecessary structural complexity.

Cosmetics Need Shade Control

Beauty products often benefit from showing the actual color, bottle finish or compact rather than reproducing it only in print.

The product still needs to stay centered so the window does not reveal a side label, barcode or unfinished back surface.

Window position should therefore follow the finished retail orientation of the cosmetic container.

Electronics Need Recognition

Cables, adapters and compact devices can benefit when customers can confirm shape or connector type before purchase.

The opening should not remove so much printed area that compatibility, specifications and included contents become difficult to scan.

For these products, visual confirmation and technical copy have to share the same front-facing space.

Window Patching Adds a Converting Step

A covered window requires more than die cutting the carton blank.

The patch must be positioned over the opening and attached consistently before the carton reaches final folding and gluing. That additional operation can affect cost and production planning.

It should therefore be specified early rather than added after the carton artwork is complete.

Patch Size Follows the Opening

The transparent piece generally needs enough overlap around the cut edge for secure attachment.

That means the material extends beyond the visible opening onto the interior face of the carton. Interior graphics, inserts and glue positions should account for that footprint.

A large window affects more than what customers see from the outside.

Packout Must Avoid Snagging

Interior edges, patch material and inserts should not obstruct product loading.

Run the real packing motion through the finished structure. If the product catches against the window area or pushes the patch outward during insertion, the carton needs more clearance or a different loading orientation.

Validation belongs beside this operation because the problem occurs during filling, not after artwork approval.

Price the Window as Structure

A window changes die cutting and may add patching, internal support or more demanding panel geometry. Pricing should reflect those production decisions rather than treating the opening as a decorative add-on.

MOQ starts from 100 boxes in the USA.

For an accurate specification, establish the internal dimensions, product orientation, window face, opening size and shape, open or covered construction, paperboard, closure, printing, finish and quantity.

Once those decisions are set, instant custom packaging pricing can reflect the actual windowed carton rather than a standard printed box with an unspecified cutout.

Premium offset printing can support detailed retail artwork when it suits the run. US production, free shipping and 4–6 day standard turnaround apply after final artwork and specifications are approved, while more complex materials, structures or advanced finishes can require additional time.

The Window Has to Earn Space

A window deserves part of the carton only when the actual product communicates something more convincingly than printed artwork alone.

It works when customers benefit from seeing color, texture, shape, finish, quantity or another physical characteristic before opening the pack. It becomes harder to justify when the product moves out of position, looks inconsistent, requires the entire front panel for instructions or forces the carton into a weaker structure.

The final test is simple: cover the proposed opening in the mockup.

If the carton loses an important piece of product evidence, the window is doing useful work. If nothing meaningful disappears, keep the paperboard and let the printed panel do the selling.

FAQs

Not by default. When the board grade, cutout size, and panel layout are engineered properly, the carton can still perform well for everyday retail handling.

They help most when appearance influences buying decisions. Products with visible texture, color, count, or finish often benefit from a pack that lets shoppers inspect the item quickly.

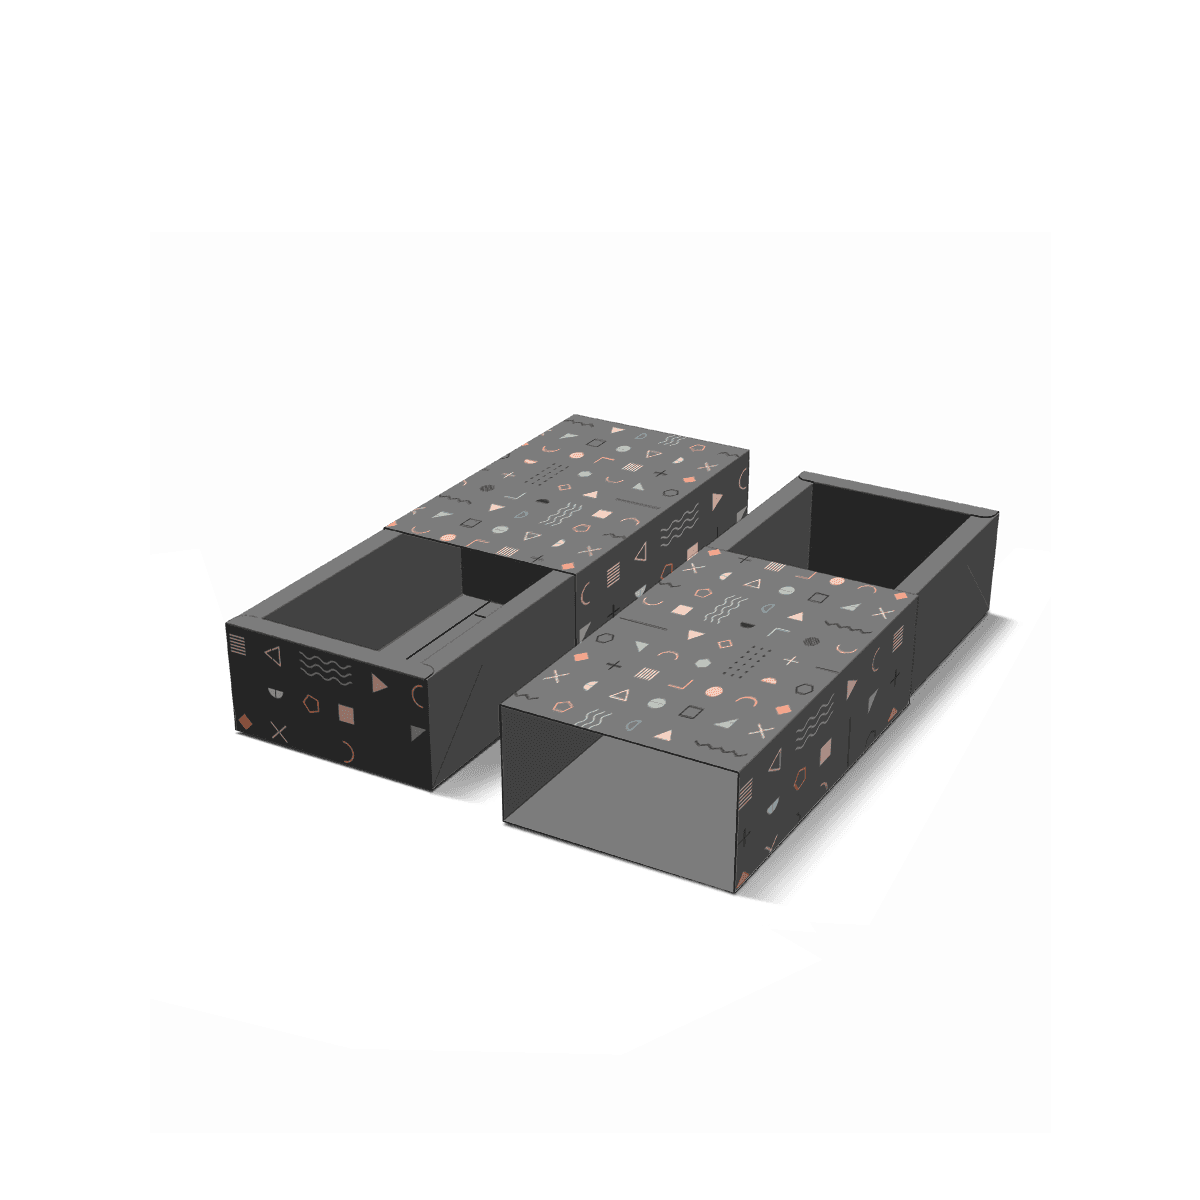
Choose Windowed Folding Cartons when direct product visibility is the main goal. Choose Sleeve Folding Cartons when you want a wraparound branded presentation and the inner pack already handles most of the structure.

Yes. Window cutouts can be combined with CMYK printing, Pantone matching, embossing, foil accents, soft-touch coatings, and other shelf-facing treatments.

No. Some designs use an open cutout, while others use a patch for hygiene, dust reduction, or added product coverage. The right choice depends on the product and retail environment.

Process

How it works

Your Packaging Journey, From Idea to Production and Delivery

01

Tell Us Your Specs

Custom packaging boxes

Tell Us Your Specs

Provide size, quantity, printing, and finishes.

02

Get a Fast Quote

Custom packaging boxes

Get a Fast Quote

Instant transparent pricing, no hidden fees.

03

Design and Approval

Custom packaging boxes

Design and Approval

Artwork checks, revisions, and final sign-off.

04

Produce

Custom packaging boxes

Produce

Expert manufacturing to meet deadlines.

05

Ship to Your Door

Custom packaging boxes

Ship to Your Door

Hassle-free, flexible delivery options.

Get Your Quote for Custom Windowed Folding Cartons

Share your product details, size, quantity and artwork needs. We’ll help choose the right packaging style and send a clear quote.