Skip to content
Details

Custom Clothing Boxes

Keep folded garments, coordinated pieces, tissue, tags and cards in the order customers are meant to see them.

The Top Layer Sets the Reveal

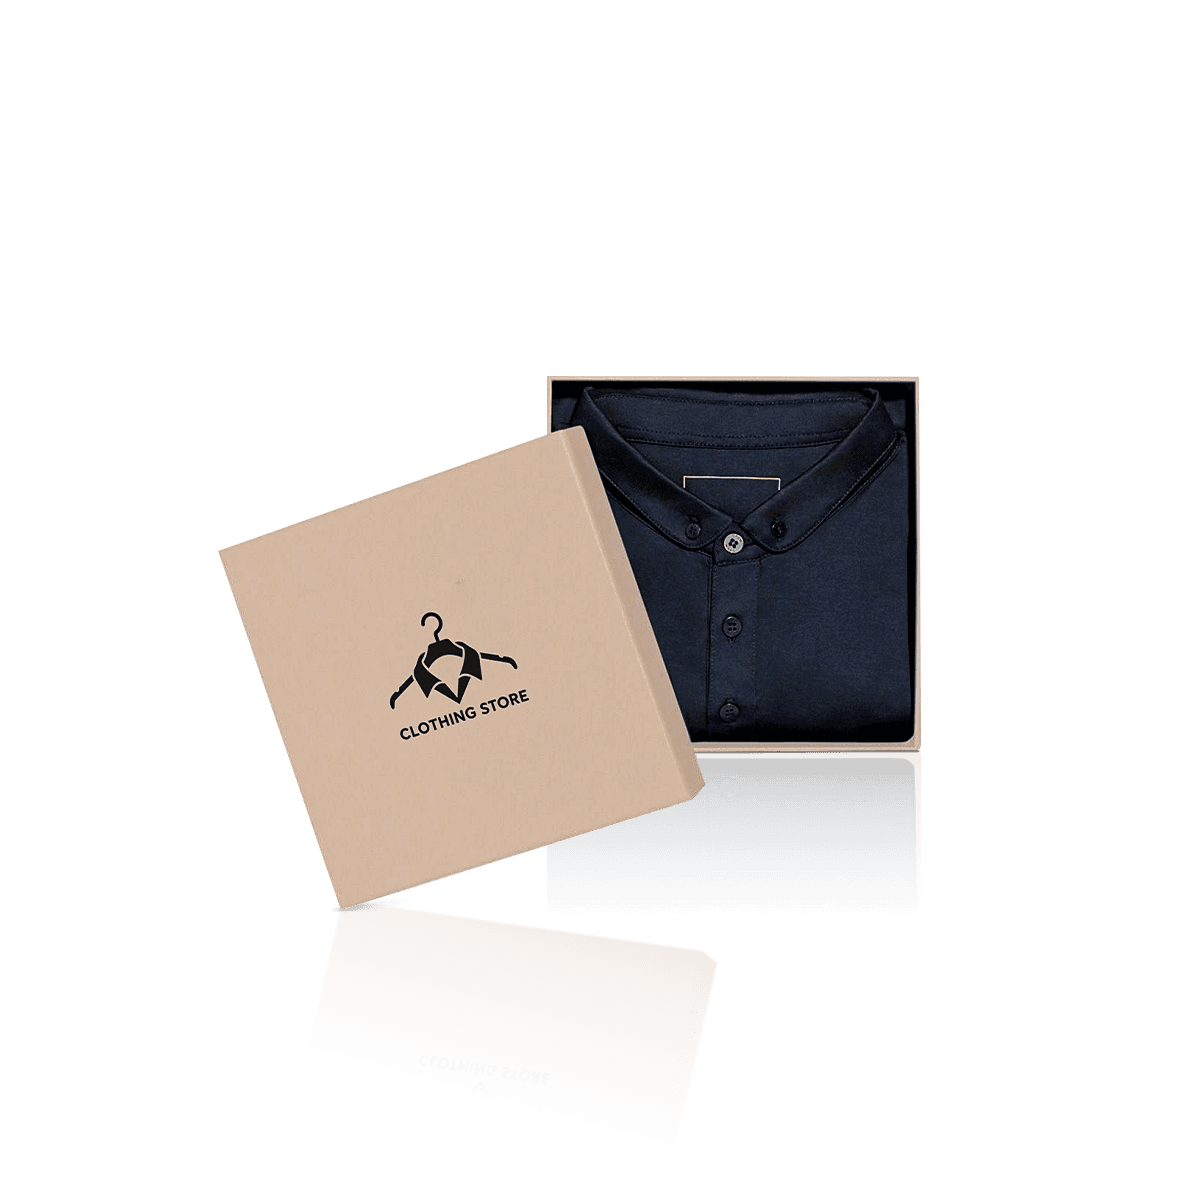
Open a clothing box and the customer sees the packing sequence before they fully see the garment.

A logo card sitting across the chest print, a loose hangtag trapped above the tissue or a second garment sliding over the first can make an otherwise well-made box feel disorganized. The box has done its basic job of containing the clothes, but the presentation has already broken down.

Custom Clothing Boxes should control that first view. The garment face, tissue fold, tags and any cards need intentional positions so the pack opens the same way it was prepared.

That makes this packaging narrower than Apparel Boxes. Brands trying to reduce box-SKU sprawl across many garment types should move that decision there. Clothing Boxes instead concentrate on what happens inside one packed garment or coordinated clothing set.

Show the Right Garment Face

The most visually important surface should normally face upward after packing.

For a button-down shirt, that may be the collar, placket and upper chest. For knitwear, it may be the cleanest uninterrupted knit panel. For a coordinated lounge set, the top piece may carry the logo, embroidery or trim that establishes the set immediately.

Fold orientation affects more than appearance. Seams, pockets, buttons and embroidery create different thicknesses depending on where they land in the stack. Rotating the fold can sometimes create a flatter presentation without changing the box at all.

Move Loose Pieces Off the Garment

Hangtags, care cards, return cards and promotional pieces should not be free to migrate across the fabric.

A card resting on a smooth garment may seem harmless at the packing table. After repeated handling, its corners can catch tissue, sit against embroidery or move into the customer's first line of sight.

Use a defined card position. That may be underneath the tissue flap, beside the garment in a shallow compartment or against an inside wall where the piece stays visible without covering the clothing.

The aim is not to add more inserts. It is to keep the visual hierarchy intact.
Sets Need a Packing Order

Coordinated clothing sets need an order of assembly, not just enough interior space.

The heaviest or least visually important folded piece usually belongs lower in the stack. The hero garment belongs where the customer encounters it first. Small accessories need their own position so they do not work between fabric layers during handling.

This matters for sleepwear sets, matching tops and bottoms, uniforms, branded team kits and clothing gifts that combine garments with belts, socks, patches or small accessories.

Weight Belongs Low in the Stack

A heavier pair of trousers placed above a lighter shirt can distort the shirt fold and press buttons, trims or printed graphics underneath it.

Putting the denser garment lower creates a more stable base. Tissue or a thin paperboard separator can then create a clean transition between pieces without turning the box into a complicated fitted tray.

The order should also make unpacking intuitive. Customers should not need to lift several loose pieces out of the way to reach the garment the brand wants them to notice first.

Accessories Need Their Own Position

A clothing box does not automatically need an insert, but loose hard components should not travel across soft fabric.

Consider a lounge set packed with a small metal accessory and a printed welcome card. If both pieces are simply placed on top of the garment, normal handling can move the metal part underneath the card or into a fabric fold.

A low-profile divider, card pocket or separate paper wrap gives each piece a defined position. The adjustment keeps the accessory away from the garment face and makes the set look intentional when opened.

When several components genuinely need fixed positions, custom product packaging can account for the garment and accessory arrangement together.

Fold Geometry Sets the Interior

Clothing box dimensions should follow the finished fold, but the useful measurement is not simply length × width × height.

The box has to accommodate where thickness accumulates.

A collar creates height in one area. A waistband or double-folded hem creates it somewhere else. Embroidery, pockets, drawstrings and layered seams can produce local pressure even when the overall garment appears thin.

Watch the High Points

If a raised garment feature sits directly under the lid, the box may close while still pressing noticeably into the product.

That can flatten a decorative trim, transfer pressure through tissue or create an uneven lid line. Increasing the entire box depth is not always the best correction because it may leave excessive space everywhere else.

Changing the garment orientation, moving a fold or using a thin garment board can sometimes solve the high point more cleanly.

Formalwear presents different risks again. Suit packaging has to manage structured fabric, lapels and larger folds, so that decision should remain distinct from general clothing boxes rather than being stretched into one universal clothing specification.

Use One Packing Fold

The dieline should be based on a fold the packing team can reproduce.

If one employee folds sleeves inward by three inches and another uses four, a close-fitting box may behave differently from shift to shift. This becomes more obvious when the garment has cuffs, collars or thicker seams.

Establish the fold before the box dimensions are finalized. Pack several real garments, including normal production variation rather than one carefully selected sample.

A paid fully custom pre-production sample can then test the exact box dimensions and opening behavior when the fit is important enough to require physical validation.

A free 3D mockup serves a different purpose. It helps review proportions, panel relationships and artwork before production, but it cannot show how actual fabric settles inside the box.

Opening Style Changes Packout

The way the box opens determines how staff load the garment and how much of the presentation is exposed at once.

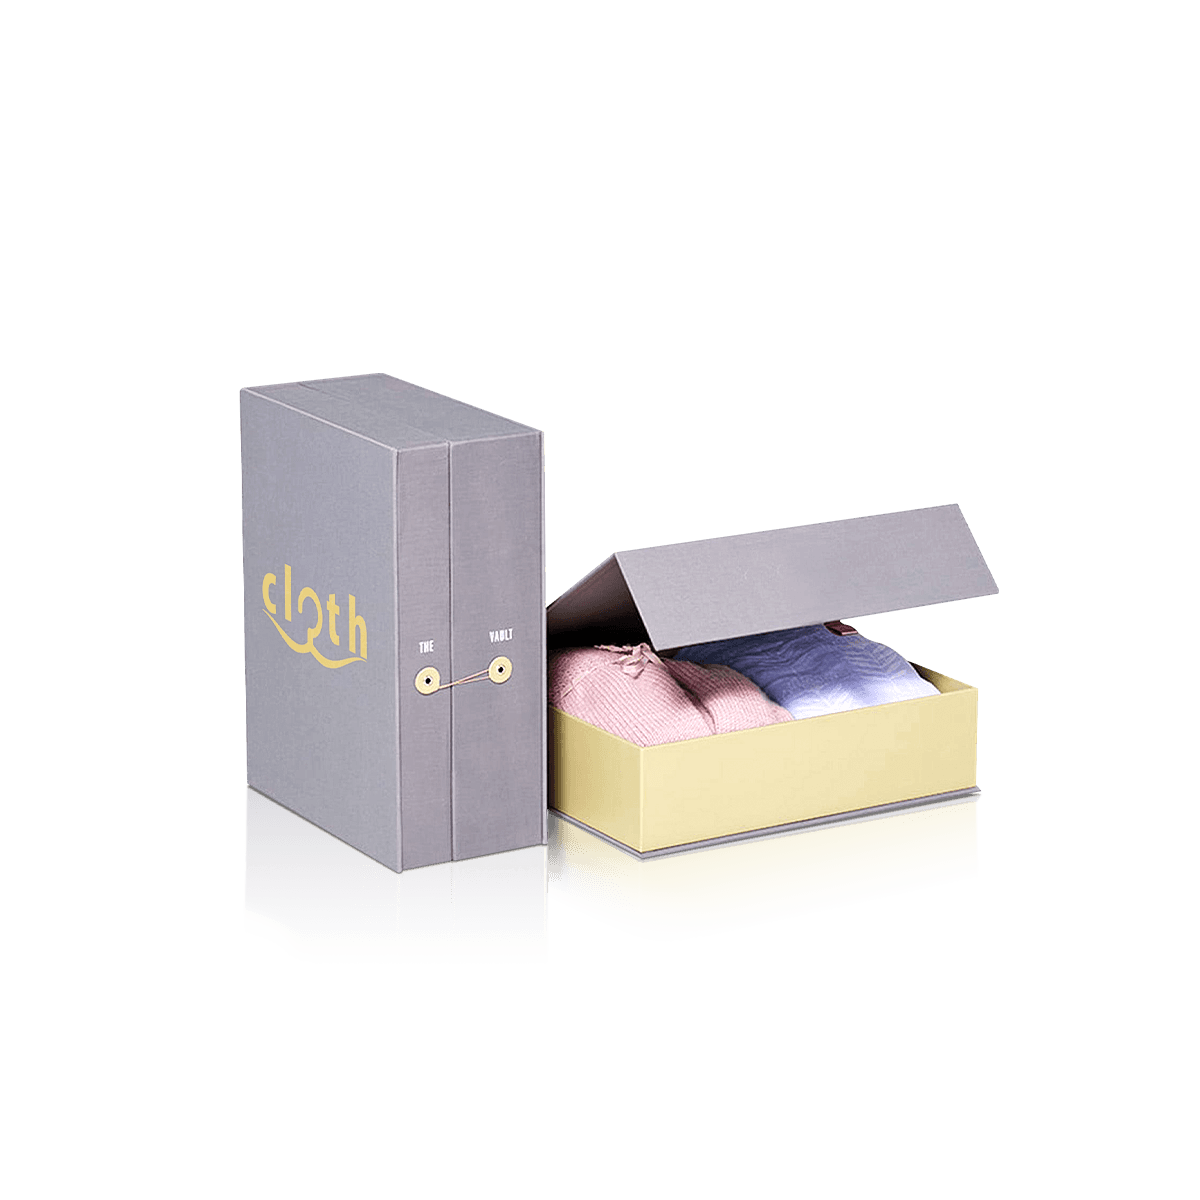
A lift-off lid, folding carton and rigid presentation box can all hold clothing, but they create different packing and opening sequences.

Lift-Off Lids Expose the Whole Pack

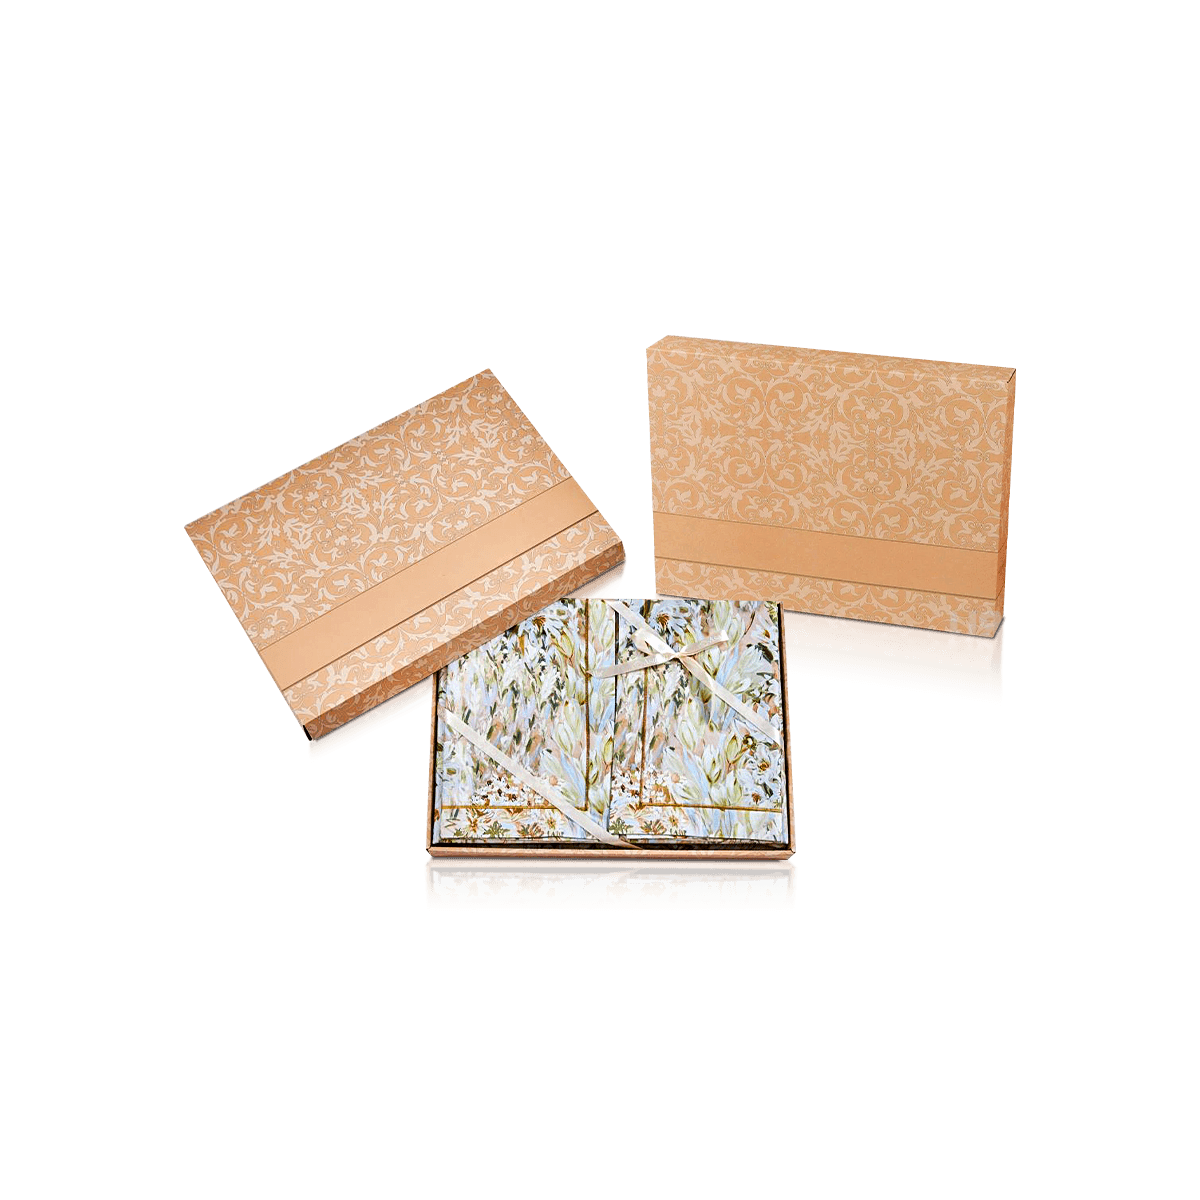
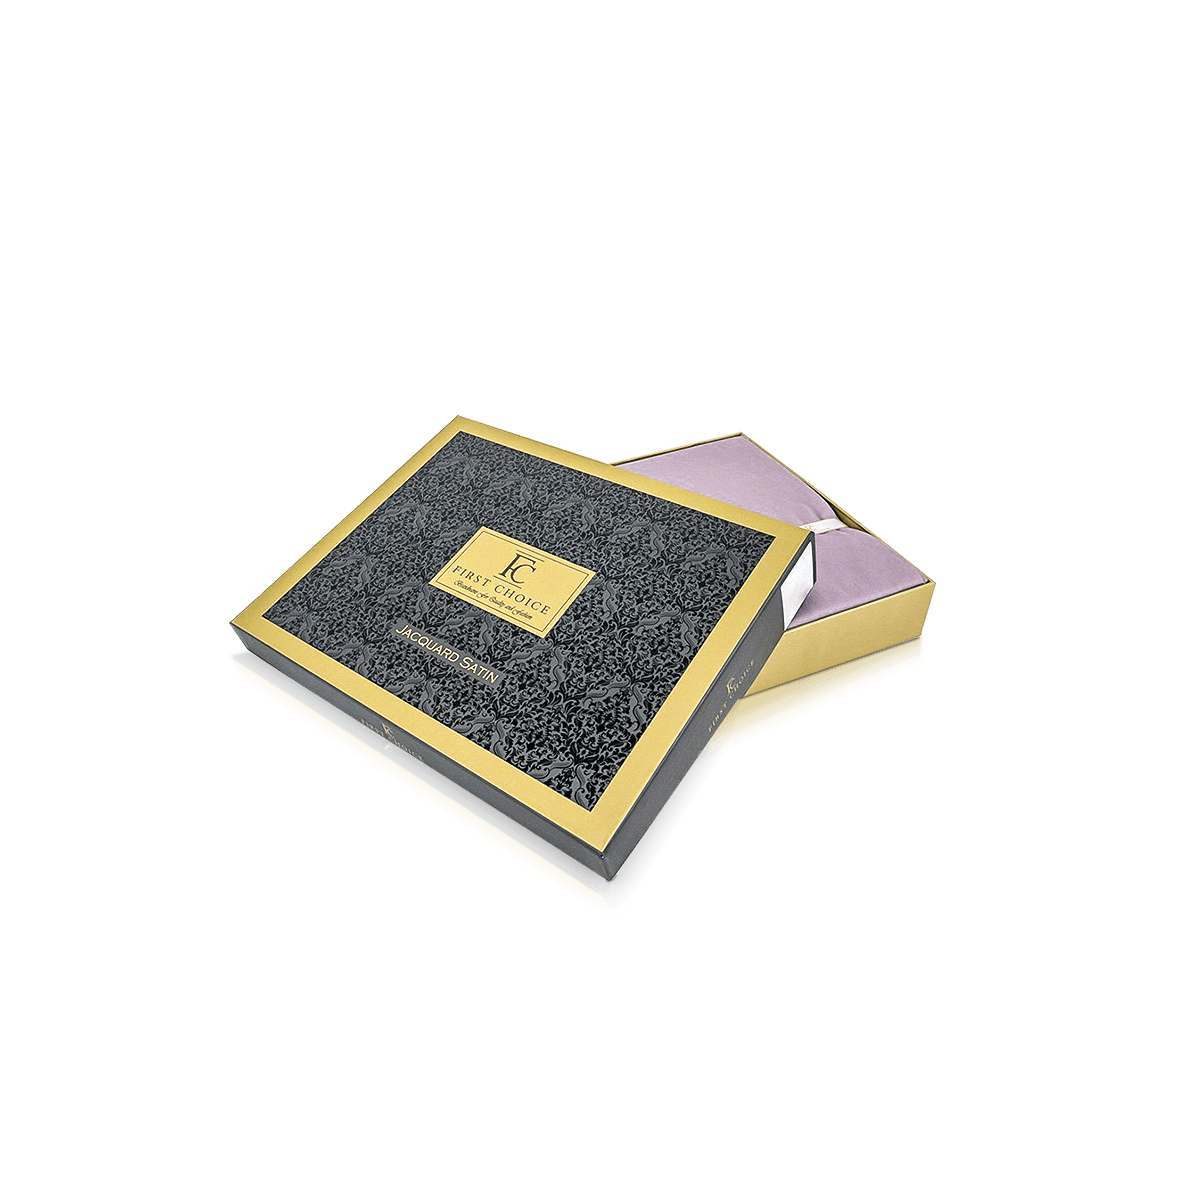
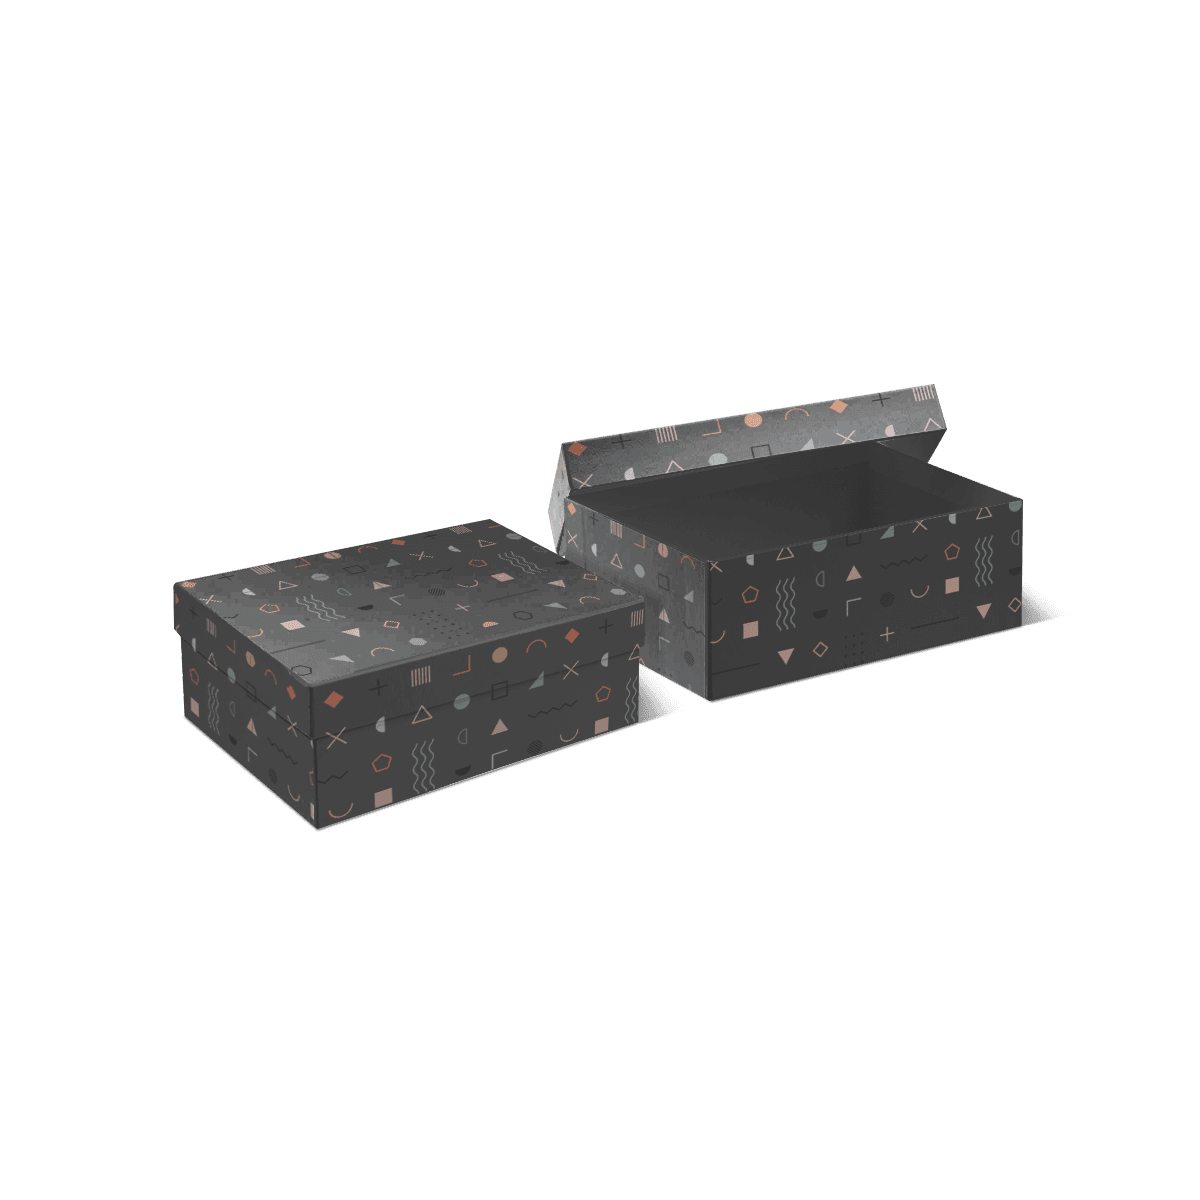
Two-piece lid-and-base boxes work well when the entire garment presentation should appear immediately.

The base can hold tissue-wrapped clothing without forcing staff to slide the garment through an opening. This is useful for folded sets and gift presentation because the product can be staged directly in the tray.

The trade-off is handling. Separate lids occupy space at the packing station, and the lid fit needs to be comfortable enough for repeated closing without crushing corners or catching tissue.

Folding Cartons Favor Faster Handling

Paperboard cartons can make sense when the clothing is light, the presentation is simpler and flat storage matters.

They consume less space before assembly and can suit higher-volume retail packing. The carton still needs enough panel strength to stay flat across the garment footprint. A broad shallow clothing carton can flex even when the same board feels stiff in a much smaller box.

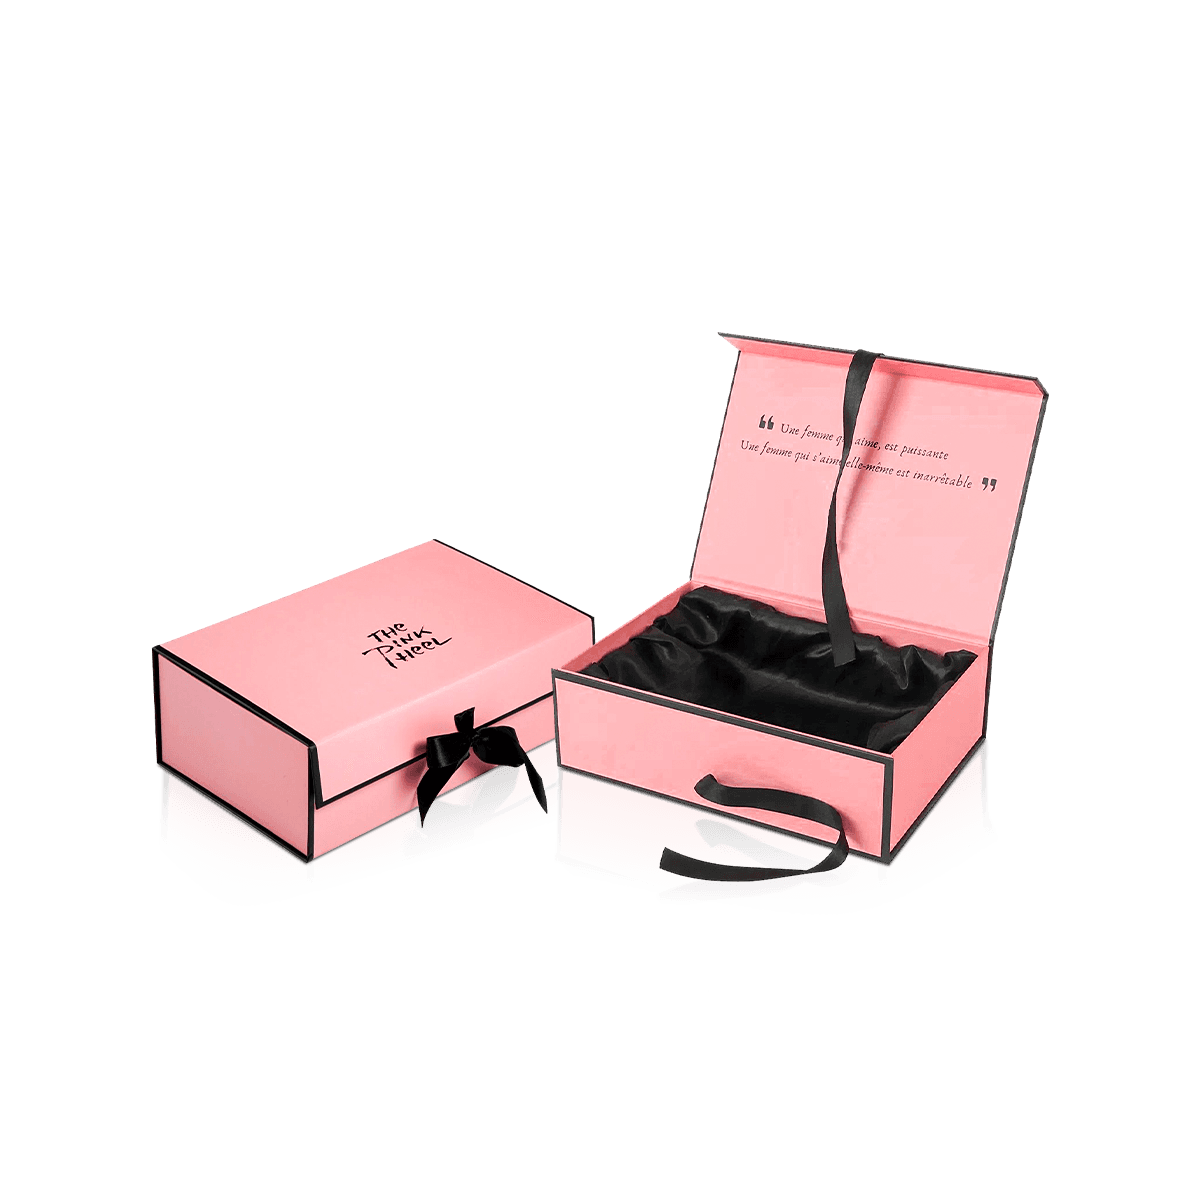
Premium sets that need stiffer walls and controlled interior staging fit Rigid Apparel Boxes more naturally.

A single-tee program has another decision altogether. T-Shirt Boxes can concentrate on shallow folds, size sorting and the repetitive handling of one garment type.

Identification Should Not Disturb the Pack

Retail and fulfillment teams need to identify size, color, style and SKU without opening every box.

That creates an operational surface that should be planned separately from the main presentation surface.

A beautiful lid loses its impact when several barcode stickers, size labels and warehouse marks are added wherever space happens to remain. Putting all variable data into the primary printed artwork creates another problem because each clothing variation may require its own print file.

End panels and lower side panels are often better locations for operational identifiers.

Boxes can then remain stacked while staff read the SKU information from the exposed end. The lid stays visually cleaner, and one main artwork system can serve several sizes or colors when the physical box dimensions remain the same.

Footwear, accessories and garment-specific packs can stay coordinated through Retail & Apparel without forcing every product into the same clothing box.

For clothing itself, identification should help the stockroom without changing what the customer sees first.

Print Around the Opening Sequence

Clothing packaging has several moments of visual contact: the closed lid, the first opening and the garment reveal.

Artwork should decide which moment deserves the strongest treatment.

A box does not need dense graphics on every surface. A restrained exterior can lead into an inside lid with stronger color, a short message or coordinated artwork around the tissue-wrapped garment.

That contrast often works better than treating every panel as equal advertising space.

Protect Brand Color Across Large Panels

Broad box panels make color inconsistency easier to notice.

Premium offset printing can support cleaner graphics and controlled color across coordinated packaging runs. Brand color work may also require a deliberate choice between CMYK and Pantone printing.

CMYK suits multi-color artwork and imagery. Pantone can make sense when a specific spot color is important enough to control separately.

Do not decide only from an on-screen proof. Stock color, coating and print process all affect the finished appearance.

Put Finishes Where Hands Notice Them

Clothing boxes are handled across large flat areas.

Soft-touch coatings, matte lamination, foil, embossing and spot UV can add contrast, but they should have a specific role. A foil logo on the lid may be enough. Embossing can give a wordmark tactile emphasis. Inside printing can carry the stronger visual moment after opening.

If print execution becomes the central requirement, Custom Printed Apparel Boxes put color control, artwork versions and finish placement at the center of the pack.

Custom Packly can support artwork and dieline preparation as part of the packaging process, which is particularly valuable when the exterior, interior and operational label zones must work together.

Decide Whether the Clothing Box Ships

A clothing box intended to look clean at opening should not automatically be expected to absorb parcel handling.

Paperboard corners, wrapped rigid surfaces and decorative finishes can pick up scuffs long before the garment inside is at risk.

The decision is therefore not simply whether clothing is durable enough for ecommerce. It is whether the customer-facing box should also be the transit pack.

For boutique pickup, gifting or retail handoff, the clothing box can remain the primary outer presentation.

For online orders, one option is to place that same presentation box inside a fitted outer shipper. This protects the customer-facing print and lets the inner box keep the same role across store and web orders.

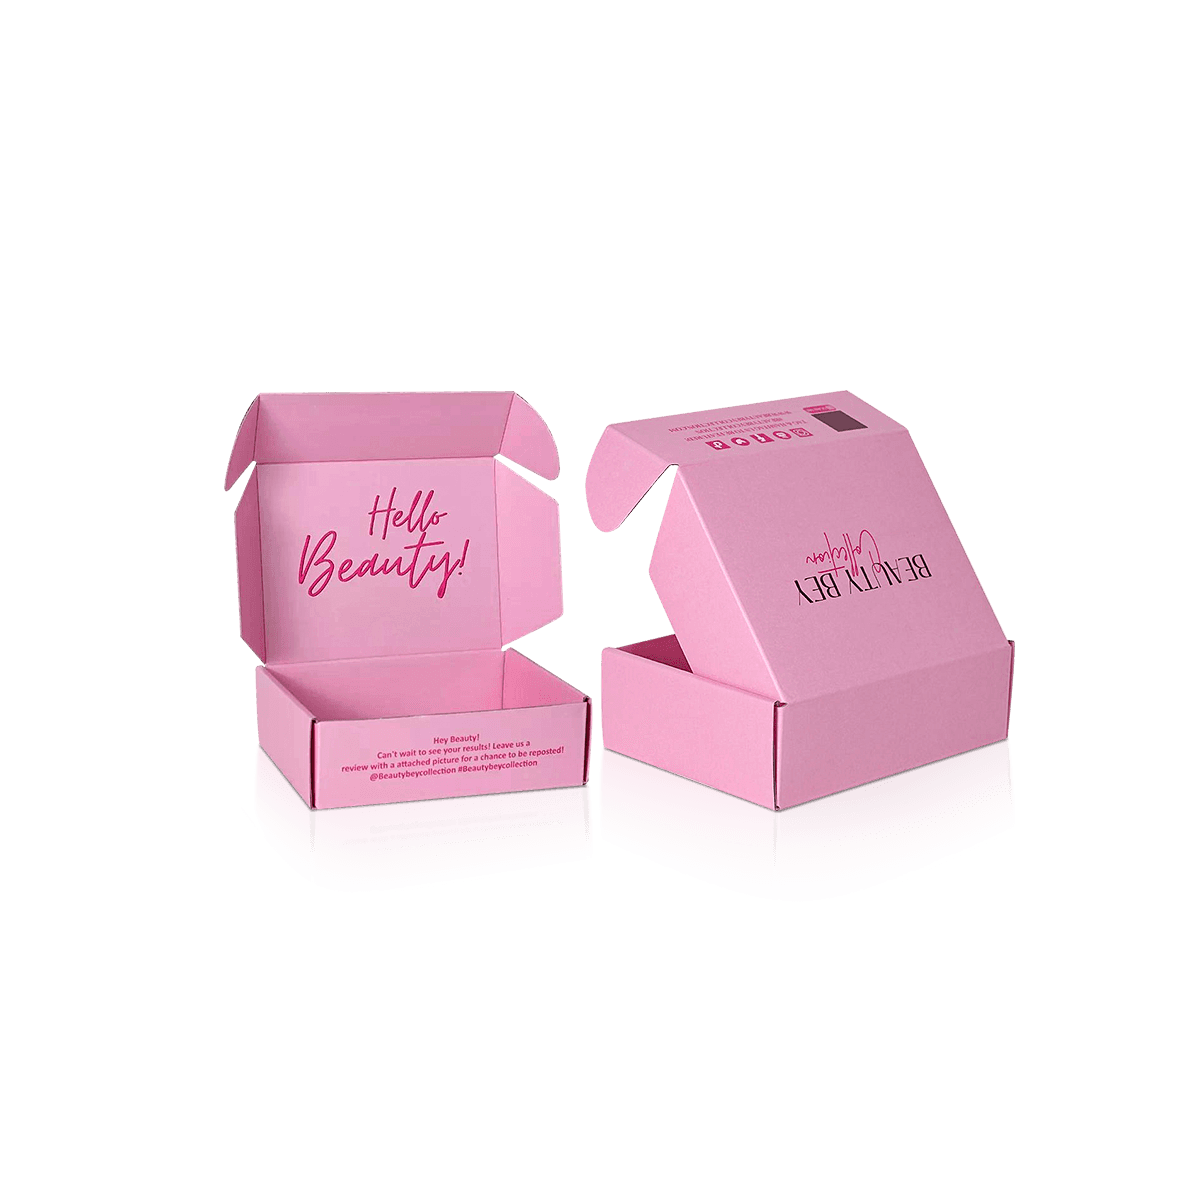
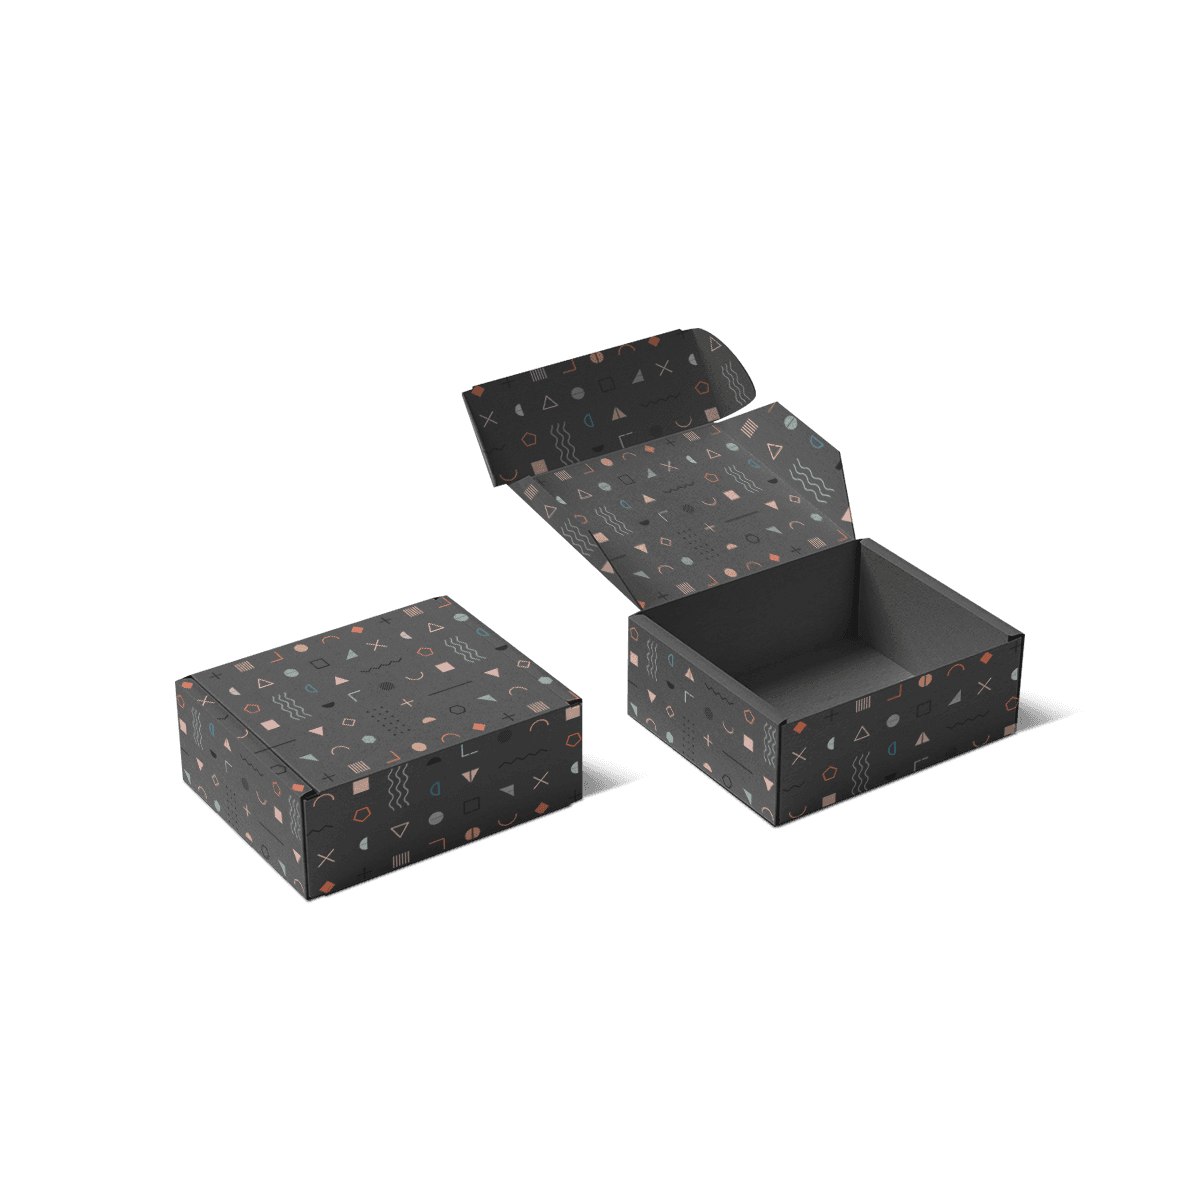
For direct parcel shipping in one branded corrugated pack, Mailer Apparel Boxes solve a different job.

The practical difference between retail and ecommerce packaging matters once the clothing box enters a parcel network.

Do not add shipping strength to the clothing box simply because some orders are sold online. First decide whether the presentation pack travels alone, inside a shipper or not through a carrier at all.

Capsule Runs Should Limit Variables

Small clothing launches often change artwork, garments and quantities at the same time.

Changing the box size as well can make the first production run harder to evaluate.

For a capsule release, start with the fewest physical box specifications that can pack the garments correctly. Change print or identifiers where needed, but avoid creating a new dieline for every colorway simply because the collection is new.

Custom Packly's USA MOQ starts from 100 boxes, so a smaller clothing program can establish a custom pack without committing to a very large first run.

Several garment types can be grouped more efficiently through an Apparel Box system when they need to share sizes and structures.

Once the clothing-box structure, dimensions, print requirements and quantity are settled, pricing can be based on the actual specification.

US production and a standard 4–6 day turnaround after final artwork and specifications are approved can also help when packaging is tied to a fixed clothing launch date. Complex structures, specialty materials or advanced finishes may require additional time.

The important part is not ordering quickly before the pack is defined. It is keeping enough variables stable that the first run teaches the brand something useful.

Turn Packout Into a Repeatable Sequence

The finished clothing box should come with a clear physical packing method.

That method begins before the product reaches the carton. The garment uses the agreed fold orientation. Tissue opens in the same direction. The heaviest piece in a set goes in its assigned position. Small accessories stay in their pocket, divider or wrap. Cards sit in one defined zone. Operational labels go on the same exterior panel.

This consistency matters because presentation problems often start at the packing table rather than at the printer.

A box can be correctly manufactured and still produce uneven customer experiences if each employee interprets the packing sequence differently. One person may place the hangtag above the tissue. Another may hide it underneath. One may rotate the garment. Another may stack the set in reverse.

The box specification and the packout method should therefore be developed together.

Custom Clothing Boxes earn their place when they make folded garments easier to present consistently, not merely when they add another printed layer around clothing. The structure, internal order and opening sequence should make it obvious how the garment enters the box and equally obvious how the customer is meant to discover it.

FAQs

They work for both, but they become especially useful when a brand packs multiple folded pieces, matching accessories or a gift-style apparel set that needs cleaner separation.

Rigid board is usually better for premium presentation, gifting and higher perceived value. Folding paperboard is the more efficient choice for lighter retail runs and faster packout.

Rigid Apparel Boxes are the stronger choice when gift presentation, upscale finishes and a heavier feel matter most. Clothing Boxes work better when a brand wants cleaner garment organization with more flexibility across everyday retail and fulfillment programs.

Tissue wraps, bands, shallow inserts and right-sized depth usually do the job. A closer fit matters more than adding extra filler.

The cleanest setup is to keep the top panel focused on branding and place size labels, barcodes and operational details on a side panel or inside card.

Process

How it works

Your Packaging Journey, From Idea to Production and Delivery

01

Tell Us Your Specs

Custom packaging boxes

Tell Us Your Specs

Provide size, quantity, printing, and finishes.

02

Get a Fast Quote

Custom packaging boxes

Get a Fast Quote

Instant transparent pricing, no hidden fees.

03

Design and Approval

Custom packaging boxes

Design and Approval

Artwork checks, revisions, and final sign-off.

04

Produce

Custom packaging boxes

Produce

Expert manufacturing to meet deadlines.

05

Ship to Your Door

Custom packaging boxes

Ship to Your Door

Hassle-free, flexible delivery options.

Get Your Quote for Custom Clothing Boxes

Share your product details, size, quantity and artwork needs. We’ll help choose the right packaging style and send a clear quote.