Set the Coil Before the Box
A belt can fit inside a surprisingly small carton if it is wound tightly enough. That does not mean it should be packed that way.
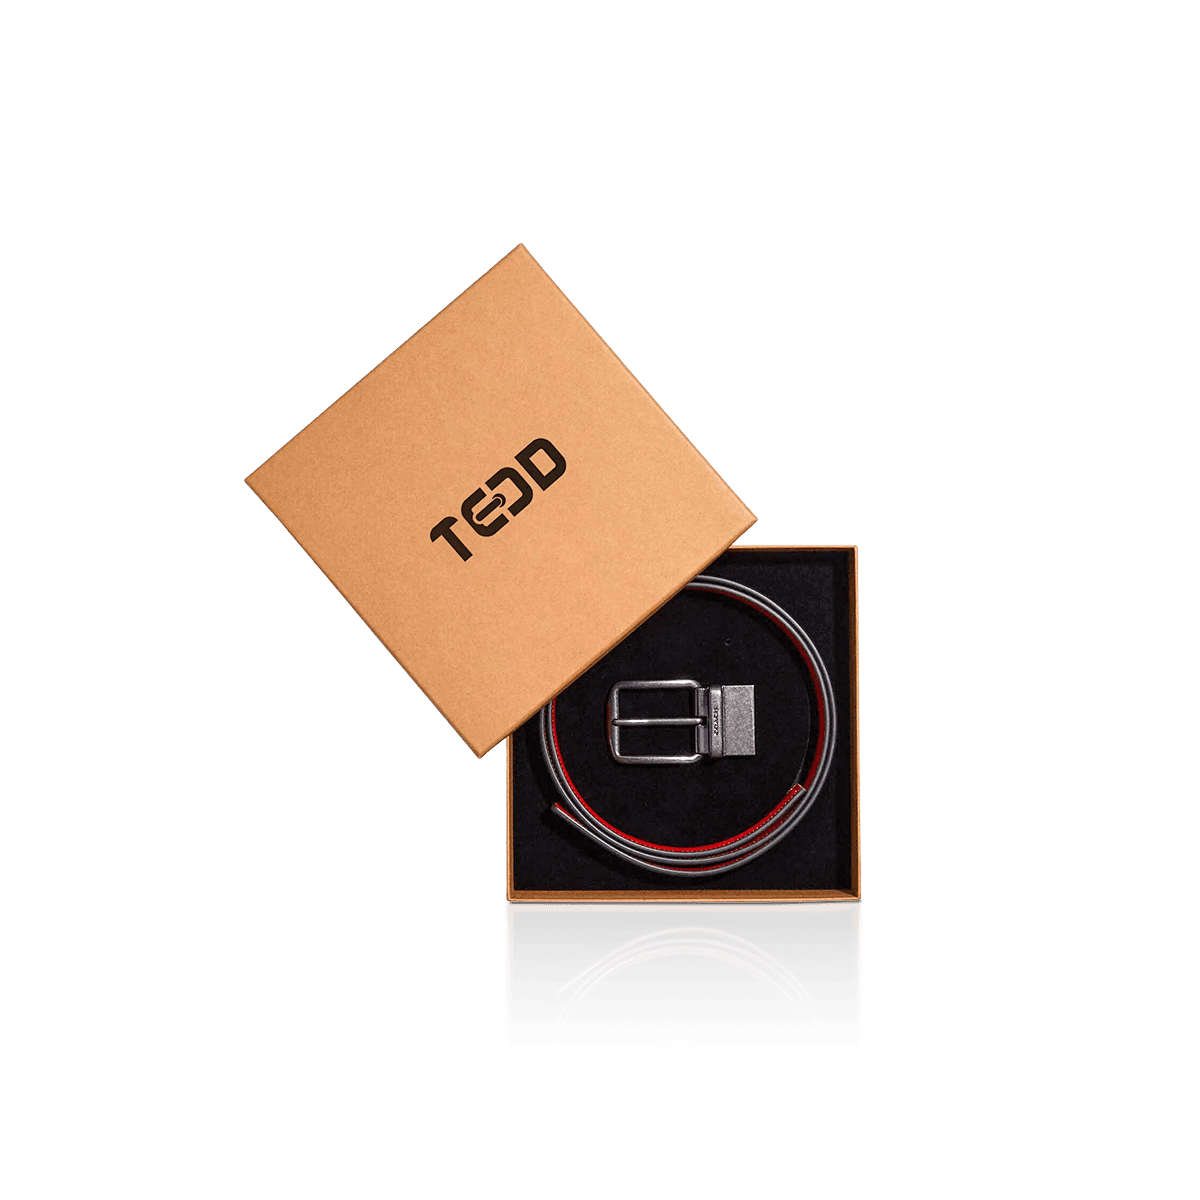
The important dimension is the coil the product can hold comfortably without creating an unnatural bend in the strap or forcing the buckle against the leather. Custom Belt Boxes should start with that packed diameter.
Lay the finished belt on a clean surface, form the intended retail coil and observe how naturally it settles. Thick leather usually produces a larger center opening and resists a tight radius more than a thin woven or synthetic strap. Belt length matters too, but it does not increase the coil diameter in a simple linear way because additional length adds layers around the existing coil.
That makes belt packaging fundamentally different from the folded-garment decisions used for Clothing Boxes. The belt needs controlled curvature and hardware placement rather than a flat fabric stack.
Do Not Tighten the Coil to Save an Inch
A smaller box may look efficient on a specification sheet while creating a worse product presentation.
Forcing a thick leather belt around a very small radius can make the inner layers resist the coil. The strap may spring outward as soon as the lid opens, or the innermost bend may take a more pronounced set than intended.
The better starting point is the product's natural packed shape.
A dress belt with thin leather may tolerate a compact coil. A heavy casual belt with thick edges and a substantial buckle may need more diameter even if both products share the same nominal length.
Measure the Outer Layer
Use the actual outside diameter after the full belt has been arranged.
Do not measure only the first turn around the center. Each additional layer expands the finished footprint, and the buckle may push the outer profile farther again depending on where it rests.
The box should fit that finished state without asking staff to remake the coil more tightly every time.