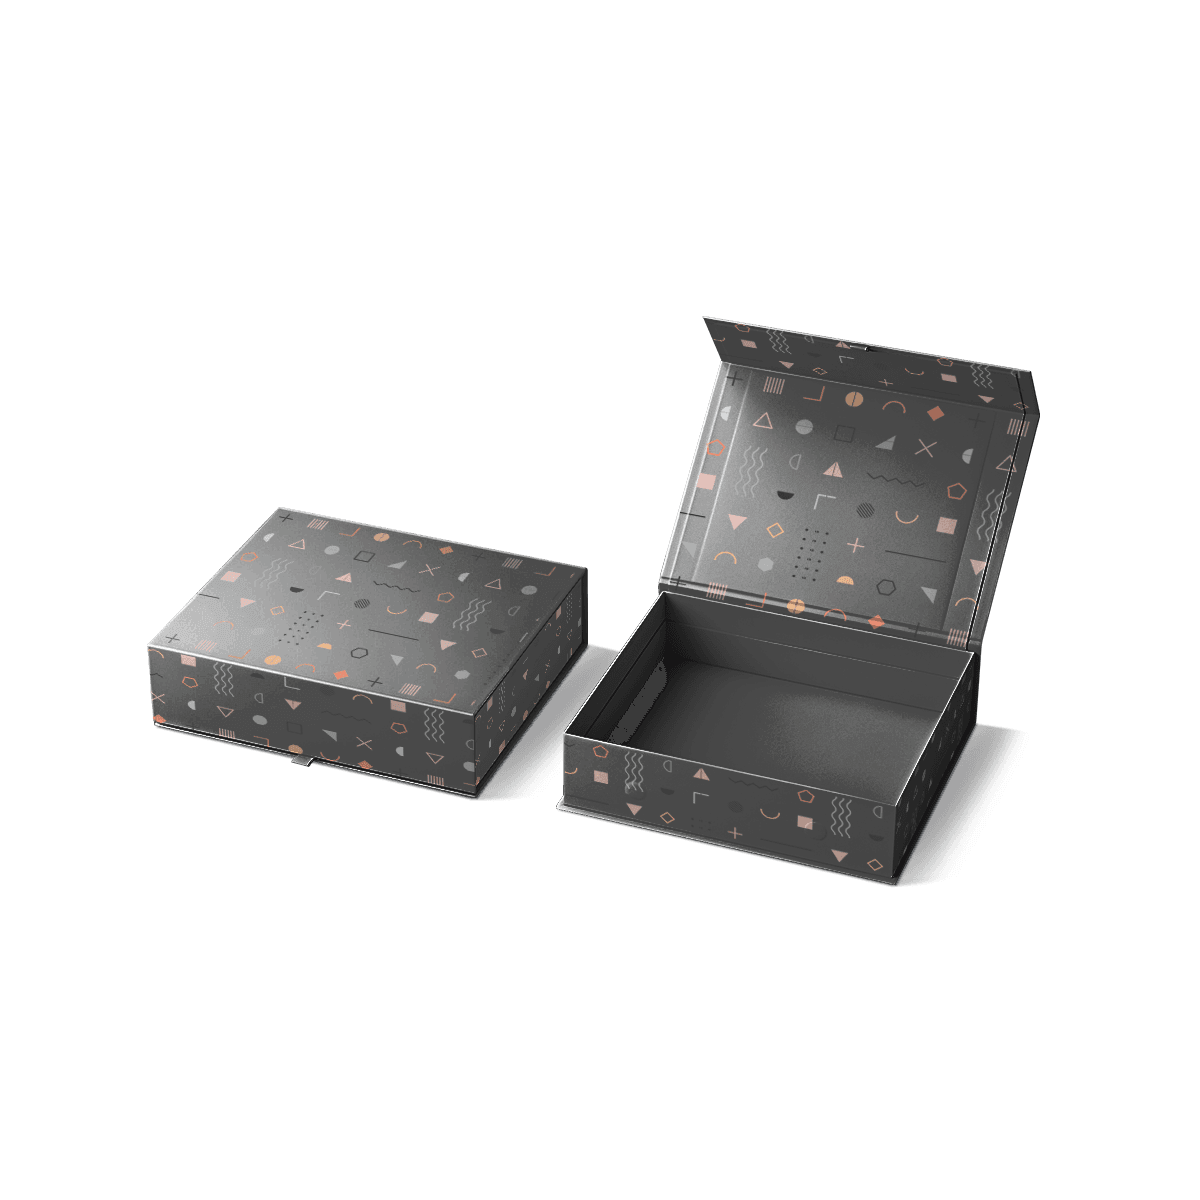
Custom Magnetic Closure Rigid Boxes
Custom Magnetic Closure Rigid Boxes Designed From the Product Out
Custom magnetic closure rigid boxes are premium setup boxes made from thick rigid board, wrapped paper and magnets hidden inside the closing flap. They open like a book and close with a controlled snap, creating a more deliberate presentation than a folding carton or standard mailer.
The quality of the box depends on more than the magnet. Product dimensions, insert depth, board strength, hinge movement and flap alignment all affect how it feels in the hand. A box can look polished in a rendering but still feel weak if the lid lifts, the insert moves or the product sits too far below the opening.
Custom Packly produces magnetic rigid boxes for cosmetics, jewelry, watches, electronics, apparel accessories, corporate gifts, launch kits and curated product sets. USA orders start from 100 boxes, with US production, free shipping and free design support from dieline planning to a 3D mockup.
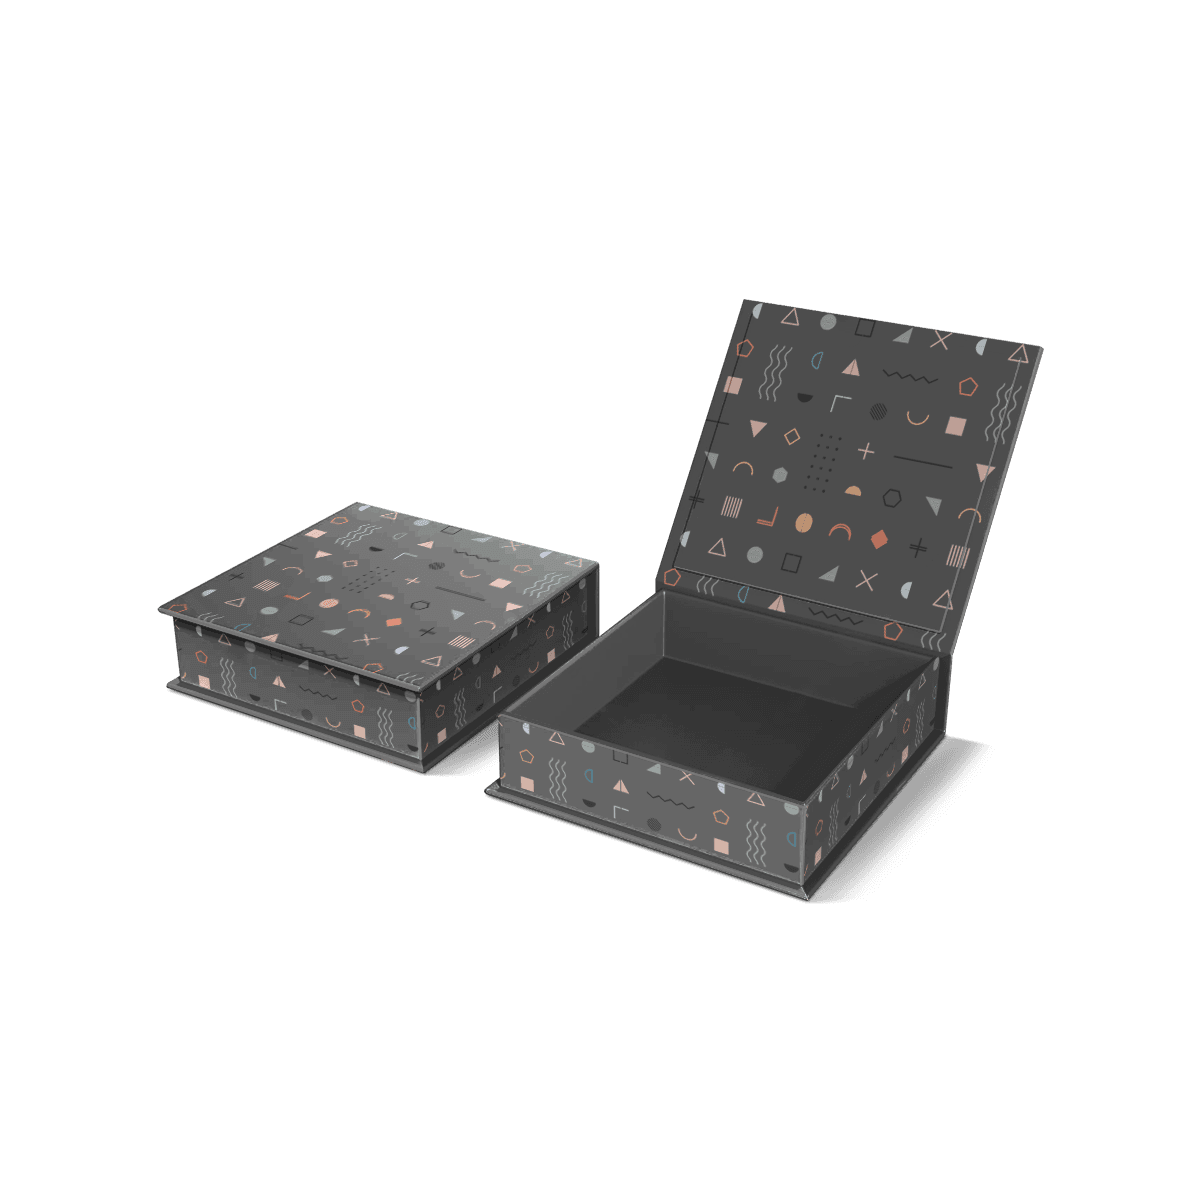
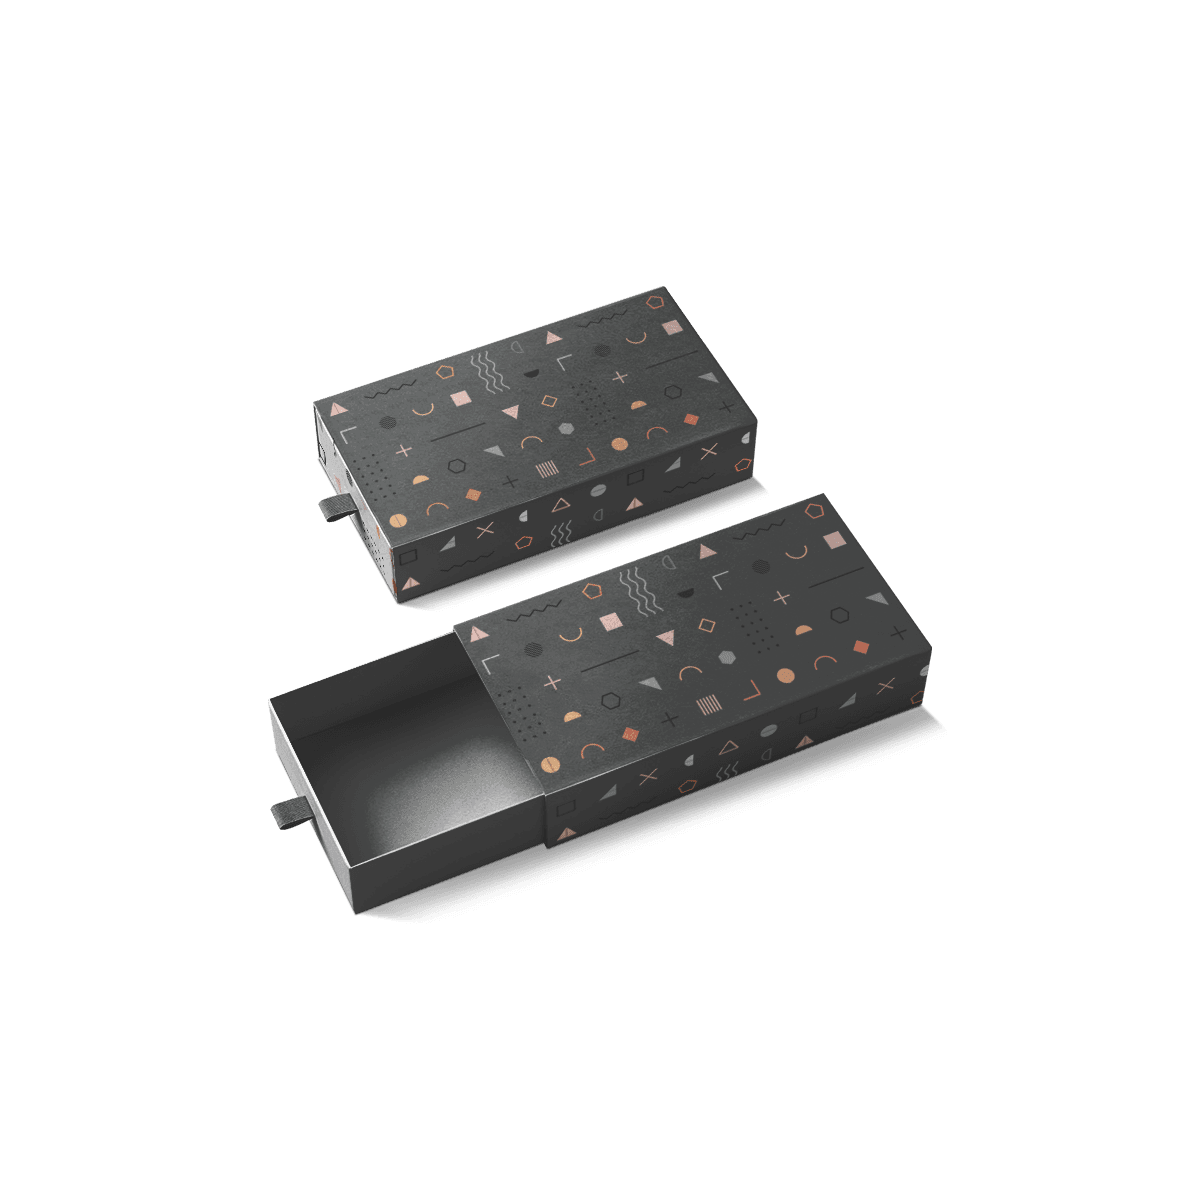
Other custom rigid boxes may suit products that need a drawer, removable lid, raised shoulder or space-saving construction instead.
The Magnetic Closure Must Feel Precise
A good magnetic box should close evenly without needing pressure. The front flap should meet the wall cleanly, the lid should sit level and the magnets should connect in the same position every time.
Hidden Magnets Create the Closing Point
Magnets are placed beneath the paper wrap so the closure remains invisible. Their position must account for board thickness, wrap layers and the distance between the flap and front wall.
Poor alignment can make one side close before the other. It can also leave a visible gap along the front edge.
The Hinge Controls Opening Resistance
The rear hinge should move smoothly without pulling the wrap, lifting the base or causing the lid to spring backward. A lid that feels too stiff can place stress on the hinge. One that feels too loose may not hold its opening position.
The box should be tested through repeated opening and closing before the final production run.
The Flap Needs the Right Length
A short flap may expose the front wall or reduce magnetic contact. An oversized flap can sit unevenly, rub against the corners or make the box feel bulky.
Flap depth should support the closure without taking over the design.
Choose Fixed or Collapsible Magnetic Construction
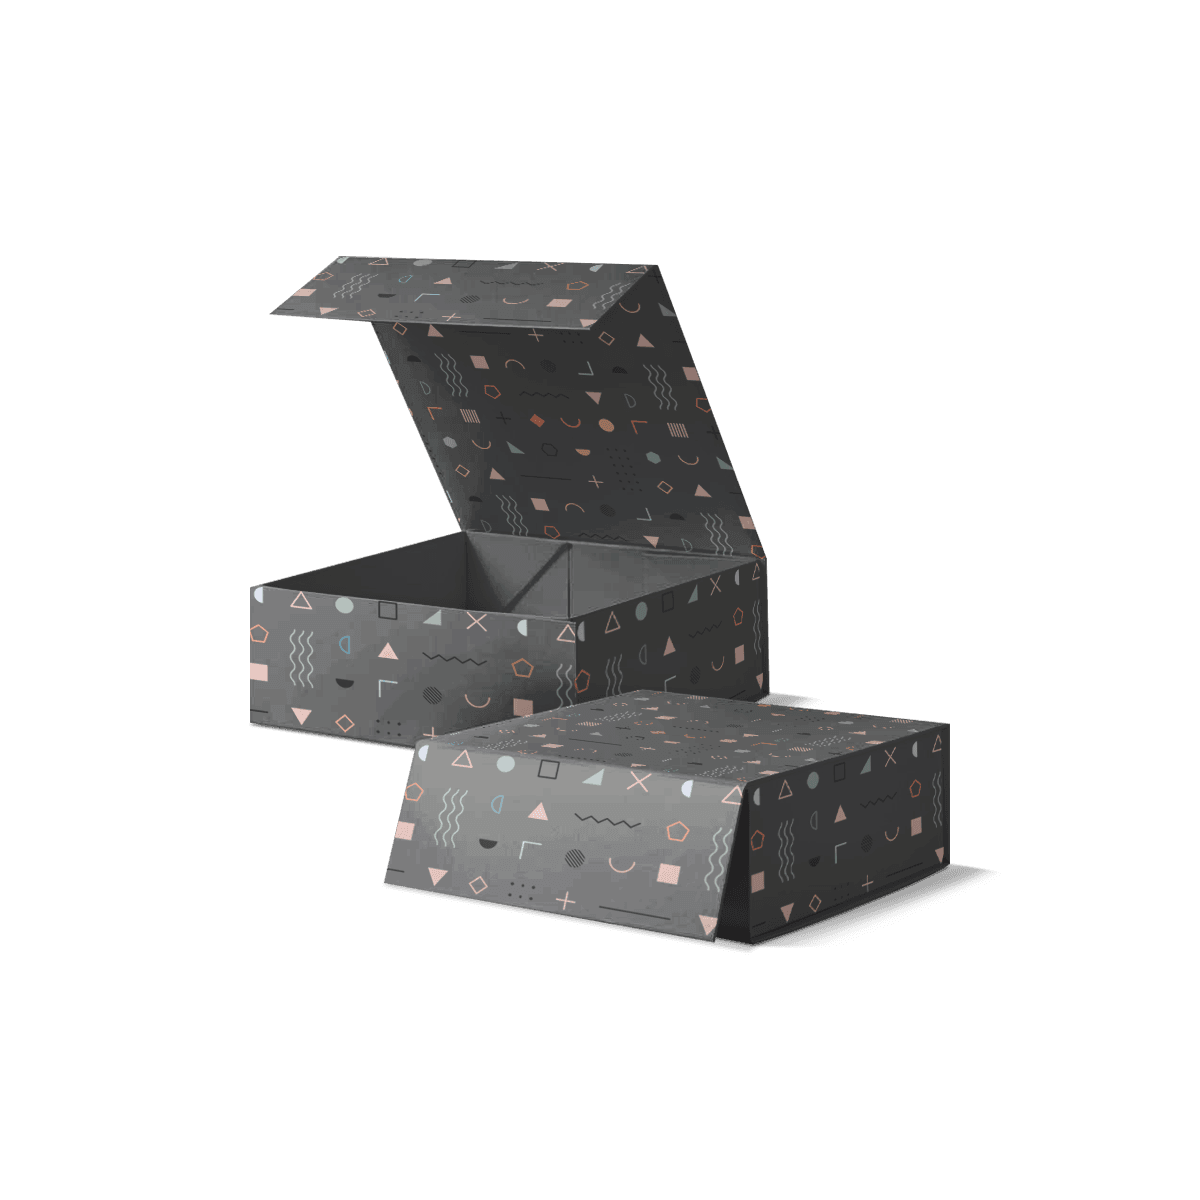
Fixed and collapsible magnetic boxes can create a similar finished appearance, but they behave differently in storage and fulfillment.
A fixed box arrives fully assembled. It gives the strongest immediate rigid feel and requires little setup before packing. This direction works well when staff need to load products quickly or when each box will be prepared by hand for a premium launch.
A collapsible box stores flat and becomes rigid after its side panels are secured. It can reduce warehouse volume across a large order, although it adds an assembly step before products are packed.
Collapsible rigid boxes make sense when storage space and inbound freight volume matter more than immediate packout.
Choose fixed construction when:
- The box must arrive ready to fill.
- Setup time needs to stay low.
- Maximum solidity matters at first touch.
- Order volume will not create storage pressure.
Choose collapsible construction when:
- Flat storage would solve a warehouse problem.
- The order contains larger box dimensions.
- Staff can assemble each box consistently.
- Scheduled packing happens in batches.
The decision should be made before artwork begins because construction changes panel positions, folds and safe print areas.
Size the Box Around the Insert and Opening
Custom magnetic closure rigid boxes should be sized from the inside. Begin with the product’s longest, widest and tallest points, then account for the insert, removal space, protective layers and lid clearance.
Oversizing is not a reliable way to make packaging feel luxurious. It uses more board and wrap paper, increases shipping volume and can make the product appear smaller. A box that is too tight creates a different set of problems. Pumps, caps, buttons or accessories may press against the lid and stop it from closing evenly.
Plan the Product Arrangement Before Dimensions
Decide where every item will sit before confirming the box size. The main product should have visual priority, while secondary pieces should remain easy to find and remove.
For multi-item sets, consider:
- Which product appears first
- Whether accessories sit beside or below it
- How product weight is distributed
- Where fingers can reach
- Whether products can touch during handling
- How quickly staff can load the insert
Build Practical Removal Space
An insert should hold the product firmly without trapping it. Finger notches, thumb cuts, ribbon lifts and open corners can make removal easier.
The product should not fall out when the box is tilted, but customers should not need to pull hard enough to damage the label, finish or insert.
The Free Custom Dieline Generator can help establish the initial length, width and height. Final sizing should still account for the rigid board, paper wrap, insert construction and magnetic closure.
Choose an Insert That Supports the Product
The insert is part of the structure, not an afterthought. It controls product movement, presentation height and packing speed.
Paperboard inserts work well for many skincare products, candles, accessories and lighter gift sets. They can be folded into platforms, compartments and product-shaped openings.
Foam can create close-fitting cavities for watches, electronics, glass containers and delicate components. Surface selection matters when the product may rub against the insert.
Corrugated dividers suit larger sets or products that need separation with more structural support. Molded pulp may work for shaped products when its texture and appearance match the packaging direction.
A strong insert should:
- Hold every item in a fixed position.
- Support the product at the right height.
- Avoid pressure on weak components.
- Allow quick packing.
- Make removal intuitive.
- Keep accessories from moving under the main product.
For retail sets, test the box with the actual products rather than relying only on measurements. Weight and balance can reveal issues that a digital layout will not show.
Match Board, Wrap Paper and Printing
Rigid board gives the box its shape, while the outer wrap controls its visual and tactile character. These materials need to work together.
A larger lid span or heavier product may need a stronger board build than a compact jewelry box. Board selection should support the product without making the package unnecessarily heavy.
White coated paper creates a clean surface for detailed graphics and bright color. Kraft paper gives the box a warmer, more natural appearance. Textured and solid-colored papers can add depth without covering every panel in print.
CMYK printing suits full-color designs, photography and gradients. Pantone printing may be better when a key brand color needs closer control. Artwork can appear outside, inside the lid, beneath the product or across a printed insert.
Common finish directions include:
- Matte lamination for a restrained surface
- Gloss lamination for added shine
- Soft-touch for a smooth feel
- Foil stamping for focused metallic detail
- Embossing for a raised mark
- Debossing for a pressed impression
- Spot UV for selective gloss
The strongest magnetic boxes rarely use every finish at once. One clear focal detail usually feels more intentional than foil, embossing, spot UV and heavy graphics competing across the same panel.
Plan the Unboxing as a Sequence
The opening experience starts before the customer touches the magnet. Box proportion, surface feel and logo placement set the expectation. The closing flap then introduces the first physical interaction.
Inside printing can add a message, campaign line or visual contrast as soon as the lid opens. The main product should appear without the customer searching through loose cards or filler.
A clear sequence might work like this:
- The exterior introduces the brand.
- The flap opens without resistance.
- The inside lid reveals one concise message.
- The main product appears at the correct height.
- Secondary items remain organized.
- The product lifts out without disturbing the set.
The effect of board strength, surface texture, magnet response and product placement is examined in premium magnetic box unboxing.
Avoid adding layers only to make the opening take longer. Tissue, cards, ribbons and sleeves should support the product story or protection. Unnecessary parts can slow fulfillment and create clutter.
Protect the Printed Box During Shipping
Custom magnetic closure rigid boxes are presentation packaging. They should not automatically be treated as the only transit box.
Rigid walls can support the product, but the outer wrap, corners, foil and lamination may still be marked by conveyors, stacking and carrier handling. Dark print and soft-touch surfaces often show scuffs more readily than lighter matte wraps.
For direct-to-consumer orders, place the magnetic box inside properly sized shipping boxes. Use protective wrapping or cushioning where needed to stop rubbing and corner impact.
The shipping setup should account for:
- The weight of the packed magnetic box
- Empty space inside the shipper
- Movement during parcel handling
- Pressure on the closing flap
- Finish sensitivity
- Whether several boxes will be master packed
- Warehouse stacking conditions
Test the complete packed system. An empty rigid box may close perfectly, while a heavy product or raised insert can change the lid position.
Fulfillment teams should also know how the box is intended to be handled. Gripping the flap, dragging boxes across a packing bench or stacking unfinished surfaces directly together can affect presentation before the order leaves the warehouse.
Use Magnetic Rigid Boxes Where Presentation Has a Job
Custom magnetic closure rigid boxes make the most sense when the packaging supports the value, gifting purpose or launch experience of the product.
Cosmetics and Skincare Sets
Bottles, jars, applicators and samples can be organized in one fitted layout. Insert depth should protect pumps and caps while keeping labels visible.
Jewelry and Watches
Compact magnetic boxes can frame smaller products without excessive empty space. The insert must support the item securely and allow easy removal.
Electronics and Accessories
A device can sit above cables, instructions or adapters in a layered insert. Product weight and component separation need careful planning.
Apparel and Corporate Gifts
Larger boxes can hold folded garments, cards and branded items in a gift-ready format. Collapsible construction may be useful when these dimensions create storage pressure.
Launch Kits and Limited Editions
Inside printing, multiple compartments and a controlled opening sequence can support campaign messaging without turning the box into a complicated display.
Magnetic rigid construction may not be the right choice for low-cost products, high-volume disposable packaging or products that only need lightweight shelf protection. In those cases, paperboard cartons, mailers or another structure may use the budget more effectively.
Control Cost Through Structure, Not Quality Cuts
The price of custom magnetic closure rigid boxes is shaped by dimensions, quantity, board construction, wrap paper, magnets, printing, finishes, inserts and assembly.
Box size often has more impact than expected. A small increase in each dimension can add board, paper and shipping volume across the full order.
Complex inserts also affect cost because they may require added material, tooling and assembly. Inside printing, foil, embossing and specialty papers create more production steps.
The main factors behind custom rigid box costs can help establish where the budget should go.
Cost can often be controlled by:
- Keeping the dimensions close to the product layout
- Using one strong finish instead of several
- Standardizing the outer box across related products
- Changing inserts instead of changing the whole structure
- Quoting realistic repeat quantities
- Avoiding hidden compartments that serve no clear purpose
- Planning the outer shipper at the same time
Custom Packly’s USA MOQ starts from 100 boxes. Larger quantities are available for retail programs, corporate gifting, product launches and repeat orders.
Warehousing and scheduled deliveries can also support larger production runs when the full quantity does not need to reach one location at once.
Approve Artwork, Fit and Closure Before Production
Artwork should begin only after the structure, dimensions and insert layout are stable. The dieline must show panel edges, hinge areas, wrap turns, magnetic positions and safe print zones.
Logos and small text should not sit too close to corners or moving joints. Foil, spot UV, embossing and debossing need separate artwork layers so each process can be reviewed clearly.
Provide:
- Vector logos where possible
- High-resolution images
- Outlined or packaged fonts
- CMYK or Pantone color references
- Separate finish layers
- Clear inside and outside artwork
- Notes for insert printing
A 3D mockup helps check proportion, artwork placement and the opening concept. A physical custom sample is more useful when exact fit, color, closure strength, surface texture or insert performance must be approved.
Free examples of previously produced samples are available. Fully custom pre-production samples can be arranged as paid samples.
Before approving the order, review:
- Front flap alignment
- Magnet contact
- Hinge movement
- Lid clearance
- Corner wrapping
- Insert fit
- Product removal
- Inside artwork position
- Surface behavior after handling
Send the Details Needed for an Accurate Quote
A useful quote starts with the real product and packing plan, not only a reference image.
Share the following information:
- Product dimensions and weight
- Required box quantity
- Fixed or collapsible preference
- Product arrangement
- Insert material or protection needs
- Exterior and interior printing
- Brand colors
- Finish preferences
- Artwork status
- Sample requirements
- Delivery ZIP code
- Required production timing
- Warehousing or scheduled delivery needs
Estimates can begin the discussion, but final measurements must be confirmed before the dieline and artwork are approved.
Send your specifications through the custom packaging quote. Custom Packly can help refine the structure, dimensions, insert and finish so the box works during packing, shipping and presentation.
FAQs
Related Industry Packaging
How it works
Simple steps from idea to delivery
Tell Us Your Specs
Tell Us Your Specs
Provide size, quantity, printing, and finishes.
Get a Fast Quote

Get a Fast Quote
Instant transparent pricing, no hidden fees.
Design and Approval

Design and Approval
Artwork checks, revisions, and final sign-off.
Produce

Produce
Expert manufacturing to meet deadlines.
Ship to Your Door

Ship to Your Door
Hassle-free, flexible delivery options.
Get Your Quote for Custom Magnetic Closure Rigid Boxes
Share your product details, size, quantity and artwork needs. We’ll help choose the right packaging style and send a clear quote.