Skip to content
Details

Custom Stand-Up Pouches

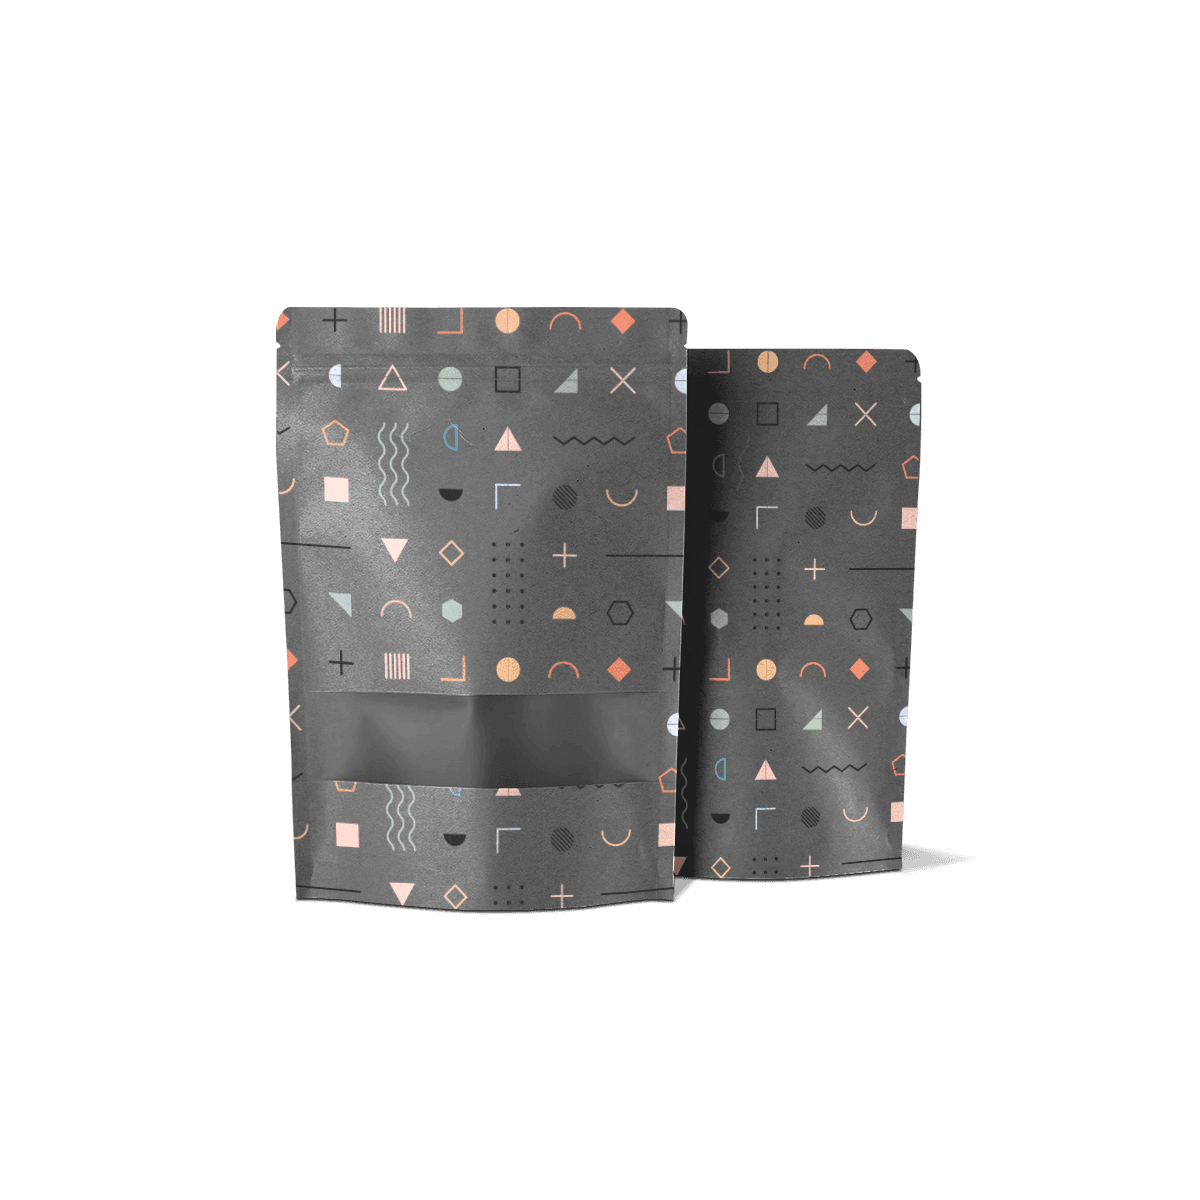
Match the bottom gusset, real fill volume and closure space so the pouch stands naturally, seals cleanly and presents consistently on shelf.

The Gusset Has to Open Under Real Fill

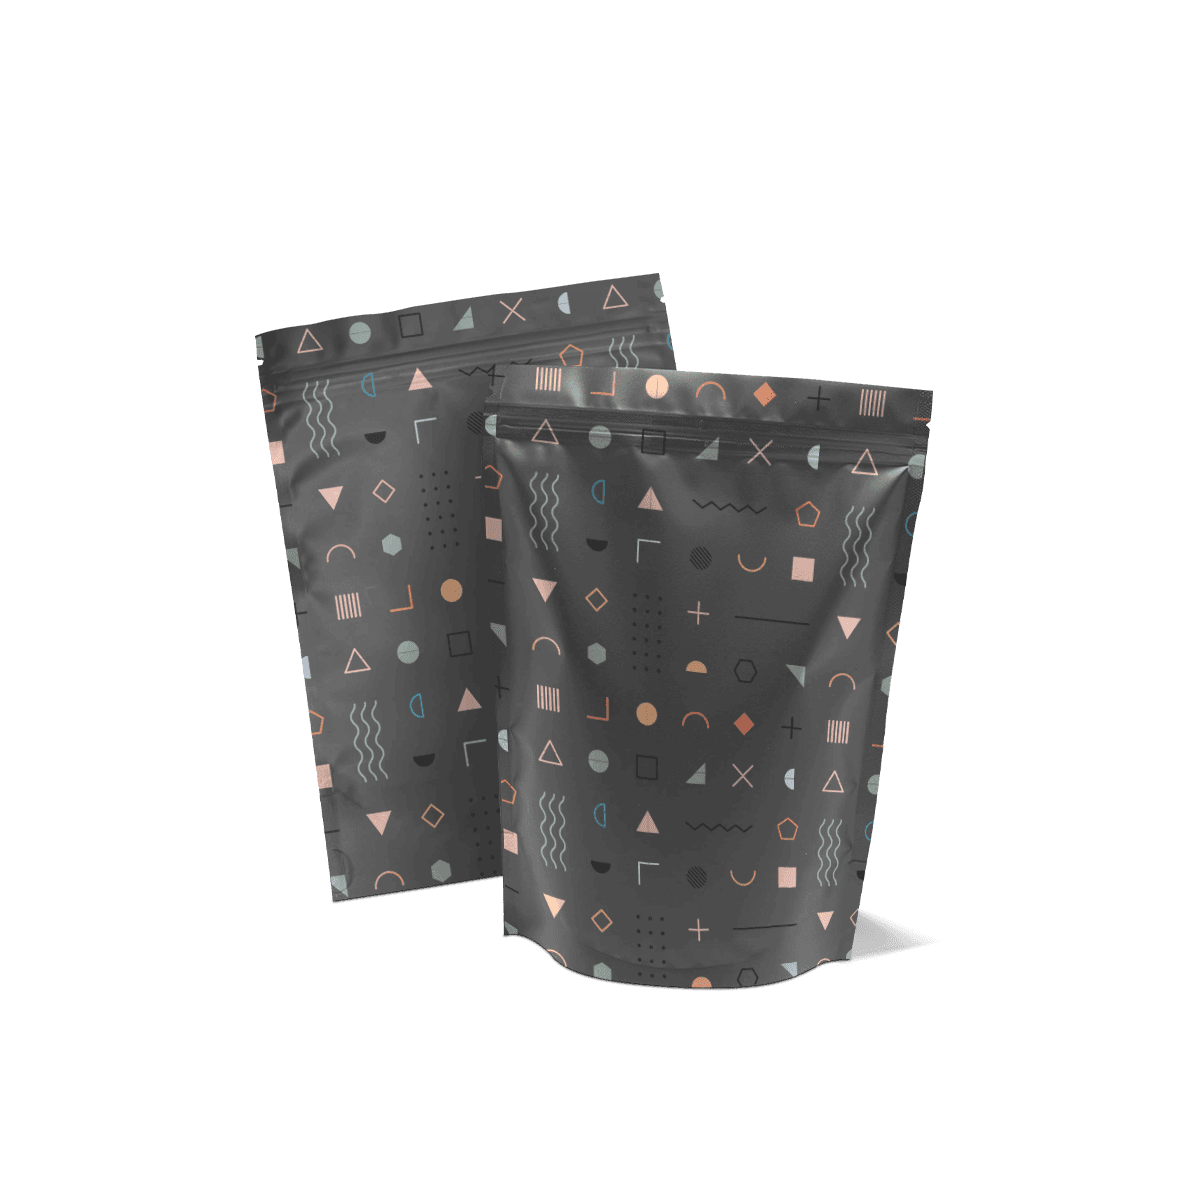
A stand-up pouch earns its name only after the product opens the bottom gusset and creates a stable base. The empty pouch can look perfectly formed on a table and still lean, slump or sit unevenly once the real product is filled.

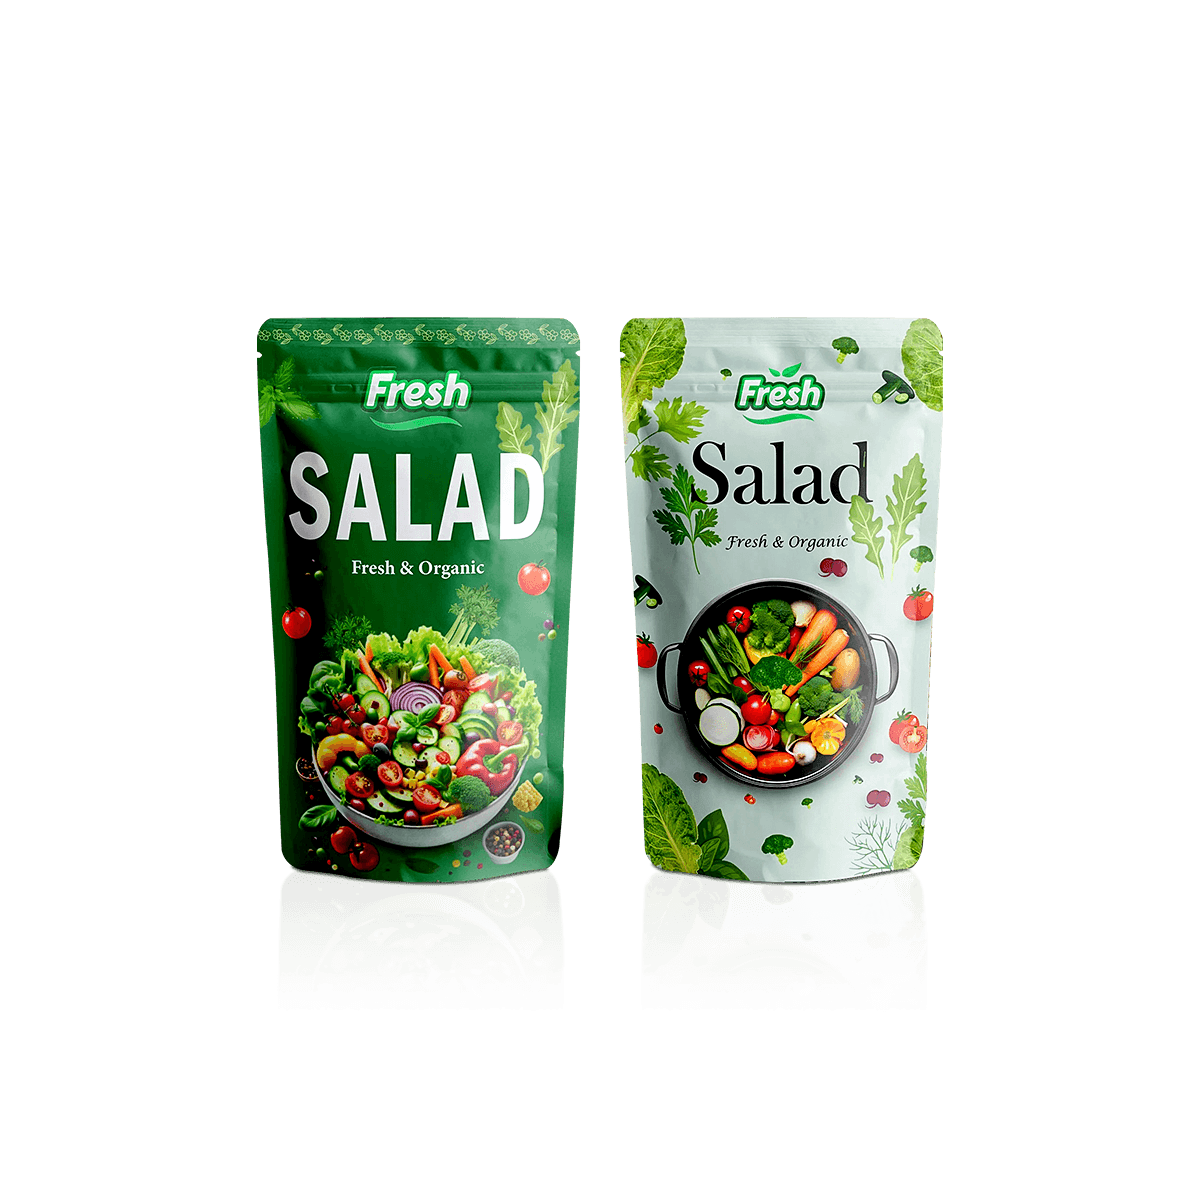
Custom Stand-Up Pouches use a gusseted bottom to create upright shelf presentation while keeping the storage and shipping efficiency of flexible packaging. The structure works especially well for dry goods, powders, supplements, pet treats, refills and other products that benefit from a large front panel without the weight of a rigid container.

Within Flexible Pouches, stand-up construction is the right direction when filled shelf stance matters most. A zipper, window, tear notch or hang hole can be added, but those features do not create the standing base.

Shelf Stance Is a Filled Condition

The gusset needs enough product volume and weight distribution to open into its intended shape.

A pouch that is too large for the fill can remain partly folded at the base. A very narrow pouch may stand tall but become easier to tip. A pouch that is overfilled can bulge outward and distort the base rather than settling into it.

Approve the size with the real product whenever possible, not with an empty sample alone.

Light Products Need Enough Base Area

Lightweight pieces such as dried snacks, botanicals or soft treats can occupy substantial volume without putting much weight into the bottom.

For those products, pouch width and gusset depth may matter more to stability than simply choosing a heavier film.
Net Weight Does Not Choose the Pouch Size

Two products with the same labeled weight can need very different pouch volumes.

A dense powder settles into less space than light flakes, large pet treats or an airy snack mix. Piece shape also changes how efficiently the contents pack together. That means ounces or grams are not enough to select width, height and gusset.

Start with the actual filled volume and how the product settles after handling.

When product geometry, fill behavior or multiple components complicate the choice, custom product packaging can start from the real packed product rather than forcing it into a standard pouch assumption.

Fill Trials Beat Capacity Guessing

A nominal capacity estimate is useful for narrowing options, but the final decision should come from a real fill.

Check whether the base opens, whether the front panel looks appropriately filled and whether enough unused height remains for closing. Shake or settle the pouch the way it will be handled before deciding that the size is correct.

Leave Working Space Above the Product

The area above the fill is not wasted space. It is where the pouch has to close cleanly.

If the format uses a zipper, product should stay below the zipper track so the closure can engage without granules, powder or crumbs getting trapped in it. If the filled pouch receives a final heat seal above the zipper, that seal area also needs to remain clear.

Too little headspace can turn a correctly sized pouch into a difficult filling job.

A Zipper Needs a Clean Track

Resealability only helps when the consumer can actually press the zipper together after opening.

Fine powders, sugar, salt, crumbs and small particles can collect in the track if the fill sits too high or the packing process is messy. Adjust fill height, opening width and packing method before assuming a different zipper will fix the problem.

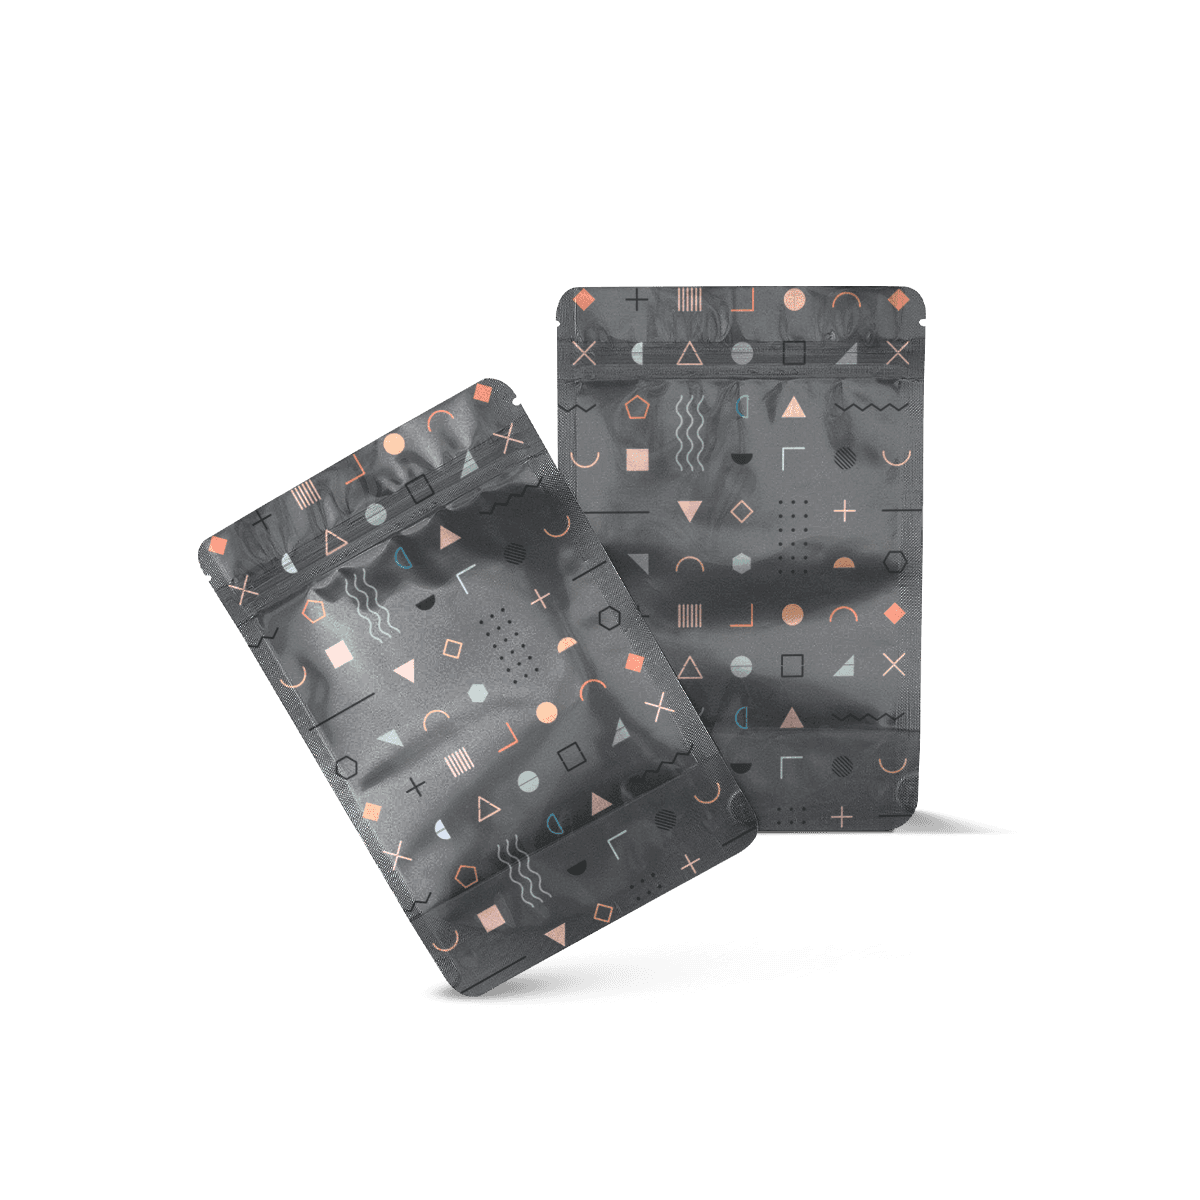
Zipper Pouches make more sense when repeated opening is more important than whether the package stands upright.

Barrier Starts With What Can Damage the Product

Flexible film should be selected around the product risk rather than thickness alone.

Moisture-sensitive powders, aroma-sensitive coffee, oily foods, strongly scented products and light-sensitive contents can require different film constructions. Expected shelf life, storage conditions and filling process also change what the package needs to resist.

Custom Packly's packaging capabilities can support material, print and finish decisions once the product requirements are clear.

More Layers Are Not Automatically Better

Adding barrier simply because it sounds safer can increase cost or create a structure that is unnecessarily complex for the product.

Define the problem first. If moisture is the main risk, specify for moisture performance. If aroma retention or light exposure matters, treat those as separate requirements.

For regulated or sensitive products, the final material structure and any required product-contact documentation should be confirmed for that exact use rather than assumed from a generic pouch description.

The Base Changes the Artwork

A stand-up pouch is printed while flat but sold while expanded.

As the bottom gusset opens, the lower part of the front and back panels changes angle. Artwork that sits too close to the bottom can appear compressed, curved or partly hidden once the pouch is filled.

Keep critical product names, compliance copy and barcodes away from structural folds and seal areas unless the final dieline specifically accounts for them.

Use the Gusset as a Secondary Surface

The gusset can carry color, pattern or supporting graphics, but it is not as consistently visible as the front panel.

Do not place information there that a shopper must read without moving the pouch.

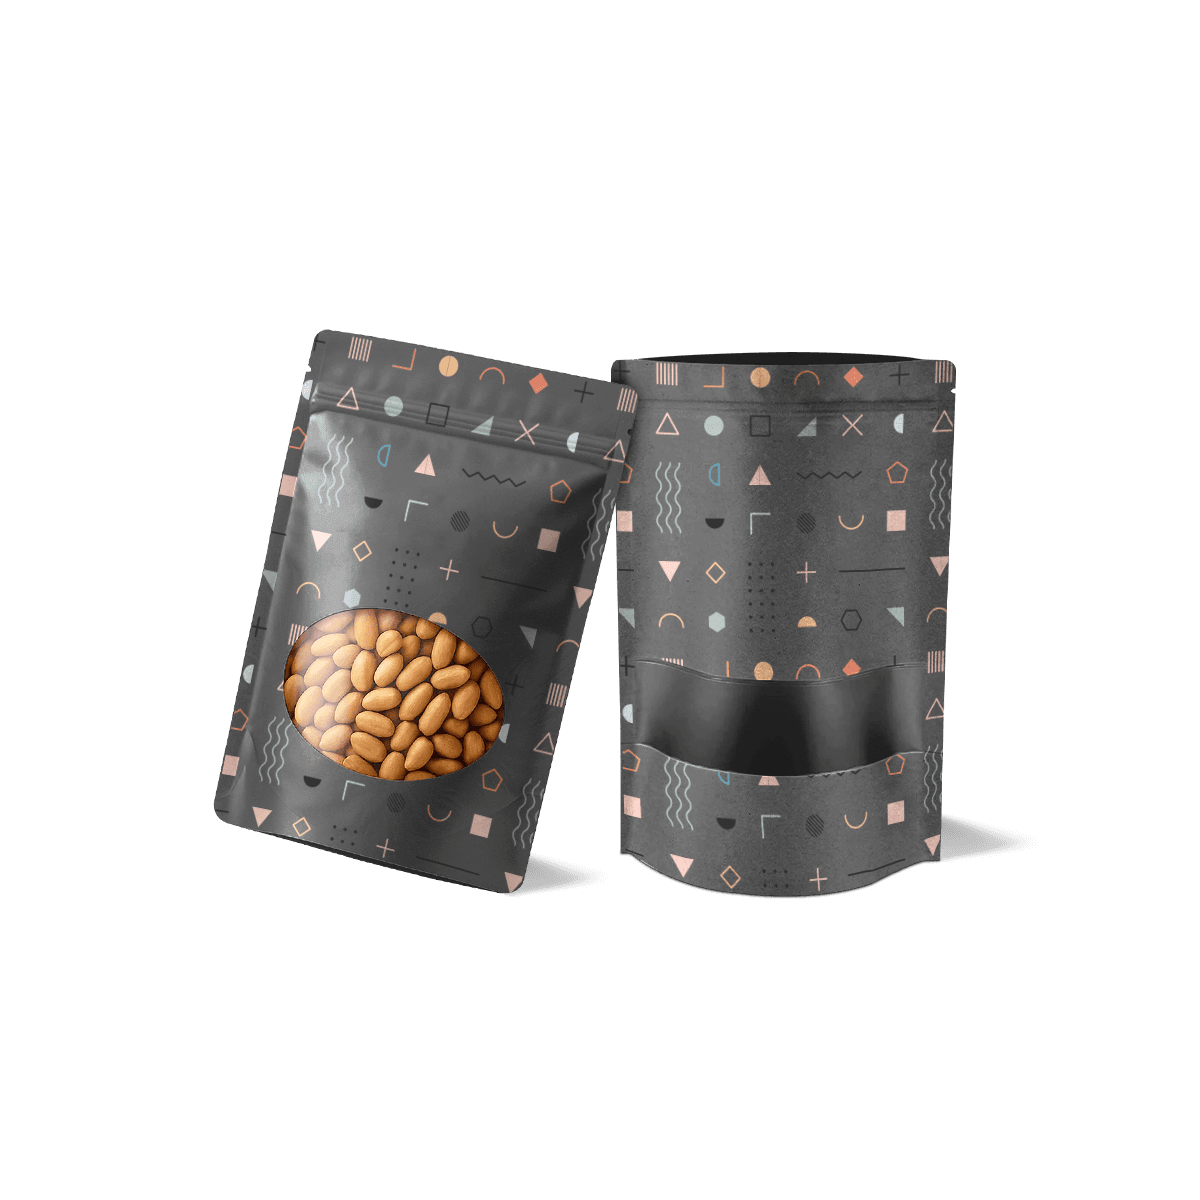
If product visibility is central to the sale, Windowed Mylar Pouches make that choice explicit and allow the transparent area to be planned around the product and artwork together.

Stand-Up, Zipper and Gusseted Are Different Decisions

Flexible-pouch names often overlap because one package can combine several features.

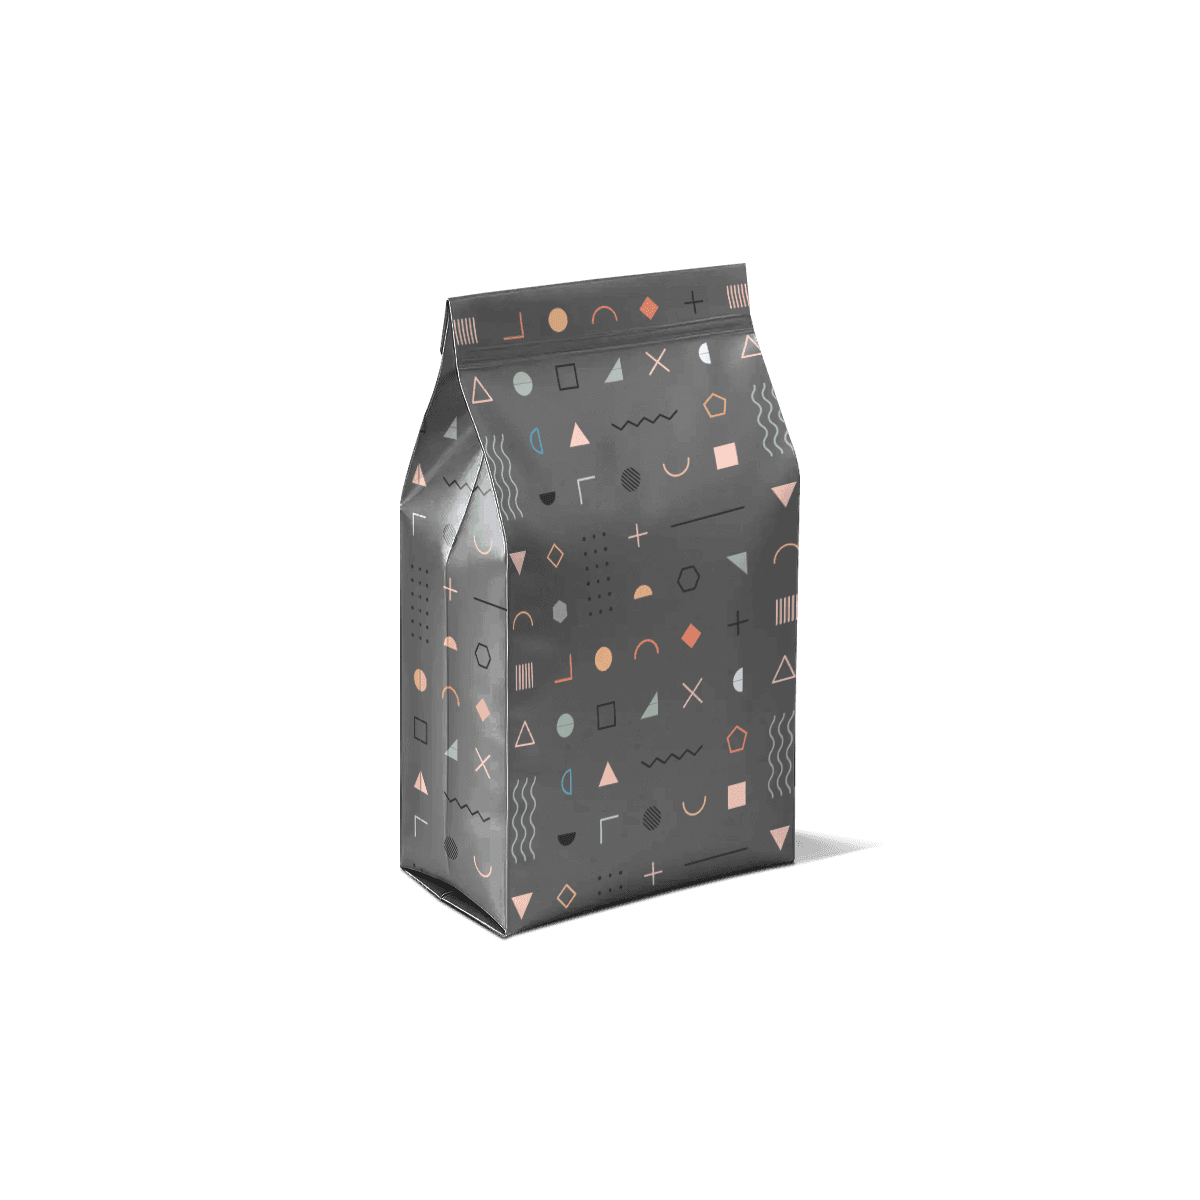
A stand-up pouch is defined by its ability to create an upright base when filled. A zipper pouch is defined by resealability. A gusseted pouch is defined by expandable material that creates additional capacity, which may be at the bottom or another part of the structure depending on the format.

Flat Pouches remove the standing-base requirement and suit thinner, lower-profile packs.

Gusseted Pouches make expandable capacity the central choice.

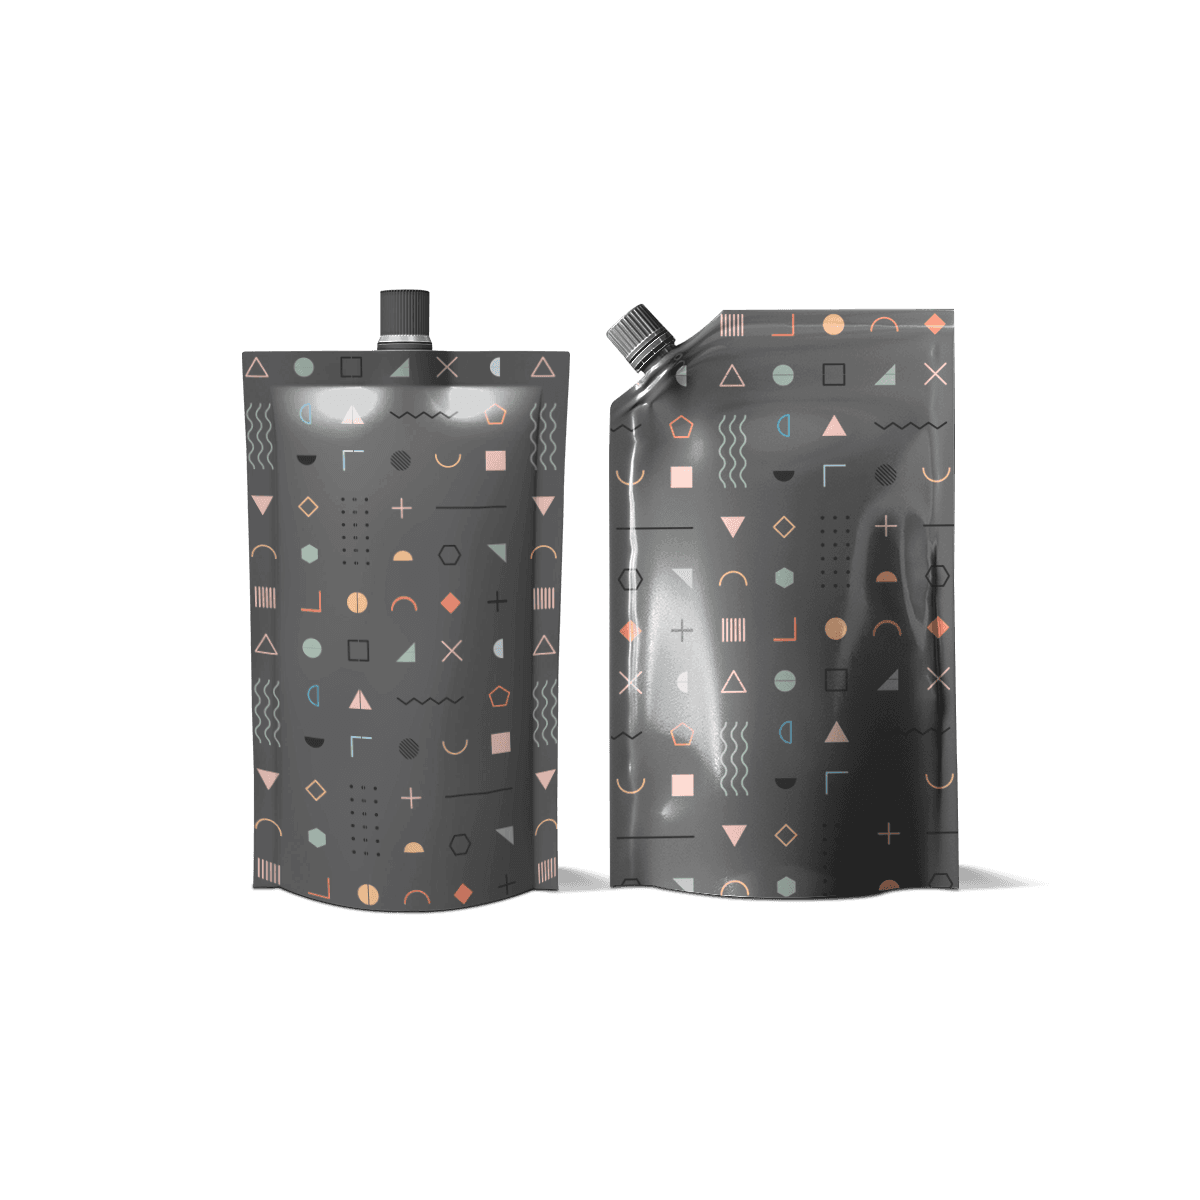
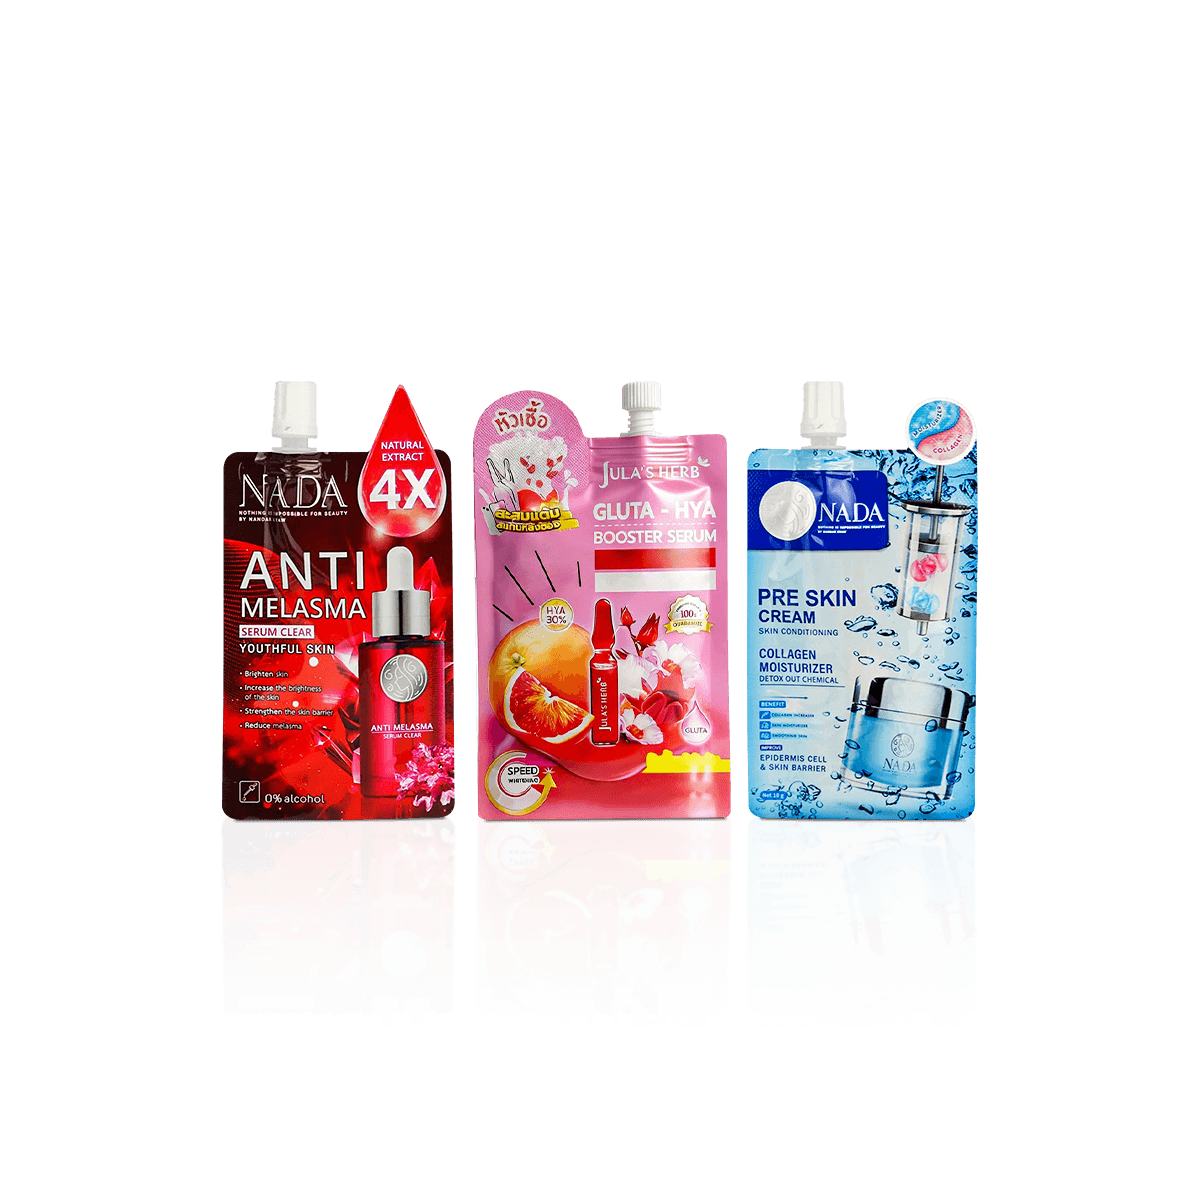
Spouted Pouches move the priority toward controlled pouring and reclosure for liquids or semi-liquids.

The useful question is not which name sounds more advanced. It is what the product needs the pouch to do after filling and after opening.

Shelf Stance Can Change Inside the Case

The pouch may stand correctly at the packing table and still reach the store with distorted bases if secondary packing is too tight.

An overpacked shipping case can press gussets flat, curl lower corners or leave front panels heavily creased. A case with too much unused space can allow pouches to shift and arrive in inconsistent orientations.

Case count should support the finished pouch profile without forcing every unit into compression.

For food programs where pouches sit beside cartons, bags and takeaway formats, Food, Bakery & Restaurants can help frame the pouch as one part of the larger product and distribution system.

Shelf Tests Should Use Case-Packed Samples

Do not evaluate shelf stance only after hand-filling one pouch.

Pack several units in the intended case orientation, handle the case and then place the pouches on shelf. This reveals whether the gusset recovers cleanly and whether the printed panels still present consistently after distribution.

Settling Changes the Shelf Profile

Granules, powders and irregular pieces can settle lower after vibration in transit. That can reduce the visible fill height and change how fully the gusset stays open even when the pouch looked correct immediately after filling.

Check the pouch after the product has settled, not only at the filling station. If the final shelf profile collapses too far, the better correction may be a smaller pouch, a different gusset relationship or a revised fill target rather than more film stiffness.

One Dense Formula Can Make the Pouch Look Empty

Consider a wellness line using one pouch size for two powdered formulas sold at the same net weight.

The first formula is relatively light and occupies enough volume to open the bottom gusset fully. The pouch stands well and the front panel looks balanced.

The second formula is much denser. The same labeled weight settles lower in the pouch, leaving more unused space above it. The bottom gusset opens only partly, so some pouches lean and the pack looks underfilled even though the declared quantity is correct.

Changing to thicker film would not solve the basic geometry.

A better correction is to size that SKU around its actual filled volume or revise the width and gusset relationship so the dense product creates the intended shelf shape. If both formulas need to look aligned as one product line, they may require different pouch dimensions even when the printed net weight is the same.

This is the kind of difference that should be found during fill testing, before artwork is repeated across the entire SKU set.

Filling Method Changes the Specification

A pouch packed by hand does not have the same operational constraints as one running through automated equipment.

Opening width, zipper location, static, product flow, fill accuracy and final sealing method can all affect how easily the package moves through production. Powders and small granules may behave differently from large pieces even when both fit the same finished pouch.

For higher-volume operations built around automated form-fill-seal processes, Roll Stock Pouches may be a more appropriate production direction than stocking premade pouches.

Design Around the Filling Sequence

Decide whether the pouch arrives with a zipper, whether it is filled above or below that feature and where the final seal is made.

Artwork, tear notches and hang holes should be placed after those working zones are understood. Production features should not be squeezed into the remaining space after the graphics are finished.

Feature Count Changes Cost and Complexity

Stand-up pouch pricing depends on dimensions, film structure, quantity, print coverage and added features such as zippers, windows, tear notches, valves or specialty finishes.

A feature should earn its place through the product or customer experience.

A zipper makes sense for a multi-use product. A window makes sense when seeing the product affects purchase confidence. A valve can be important for selected products with specific gas-release needs. Adding every available option to a single pouch can increase cost without improving the way the product is sold or used.

Production planning should follow the final pouch specification, especially when different SKUs need different dimensions, barrier structures or closure features.

Free sample examples of prior work can help assess general film feel and print quality. When exact filled shape, zipper behavior or gusset performance needs to be proven, a paid fully custom pre-production sample may be the more useful approval step.

Price the completed pouch specification through an instant custom packaging quote after fill volume, dimensions, material needs, features, quantity and artwork are defined.

Build the SKU Line Around Filled Shape

A product line looks more deliberate when neighboring pouches reach the shelf with a consistent visual logic.

That does not require every SKU to use one physical pouch size.

A dense supplement powder, bulky pet treat and lightweight snack mix can all use stand-up construction while needing different width, height or gusset proportions. What matters is that the front panels align intentionally, the product fills each pack convincingly and required labeling stays readable.

For supplement and refill products, Wellness Packaging adds the labeling, safety and barrier context that should influence the pouch specification. For treats and lightweight pet products, Pet Products adds another set of freshness, resealability and labeling needs.

Build the SKU system from real filled profiles, then create the visual family across those proven dimensions.

Custom Stand-Up Pouches work best when the bottom gusset, product volume, headspace, closure and artwork all produce the same result: a pouch that fills cleanly, stands naturally and still looks intentional after it reaches the shelf.

FAQs

Because they solve several packaging needs at once. They display well, store efficiently, and adapt to many fill types without forcing the product into a box or bottle.

Choose Stand-Up Pouches when upright shelf display and a fuller pack shape matter. Flat Pouches are better for slim products, inserts, samples, and pack formats that do not need to stand.

No. They are widely used for supplements, bath salts, personal care refills, pet treats, small accessories, and many other retail-ready or refill-friendly products.

That is one of the biggest advantages of this style. It gives a visible pack face for merchandising while still helping with storage, shipping, and warehouse handling.

Start with product behavior. Fill volume, weight, barrier needs, closure preference, and shelf goals usually determine the best material and pouch proportions.

Process

How it works

Your Packaging Journey, From Idea to Production and Delivery

01

Tell Us Your Specs

Custom packaging boxes

Tell Us Your Specs

Provide size, quantity, printing, and finishes.

02

Get a Fast Quote

Custom packaging boxes

Get a Fast Quote

Instant transparent pricing, no hidden fees.

03

Design and Approval

Custom packaging boxes

Design and Approval

Artwork checks, revisions, and final sign-off.

04

Produce

Custom packaging boxes

Produce

Expert manufacturing to meet deadlines.

05

Ship to Your Door

Custom packaging boxes

Ship to Your Door

Hassle-free, flexible delivery options.

Get Your Quote for Custom Stand-Up Pouches

Share your product details, size, quantity and artwork needs. We’ll help choose the right packaging style and send a clear quote.