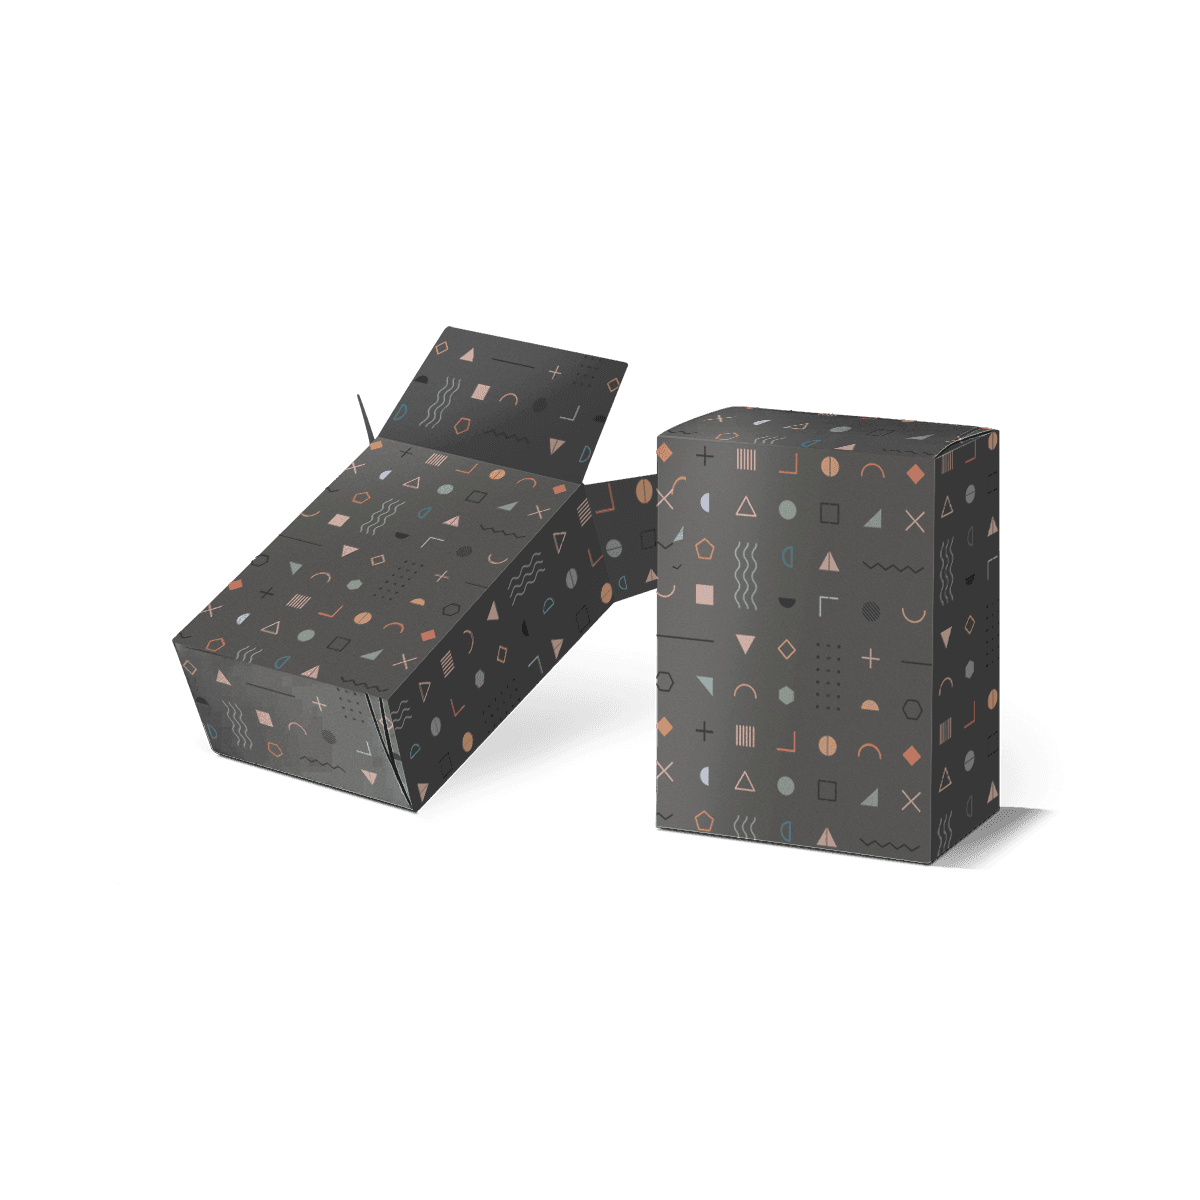
Custom Seal End Boxes
Custom Seal End Boxes Use Glue to Keep the Pack Closed
Custom seal end boxes are folding cartons with end flaps that close with glue. This fixed seal gives more hold than a plain tuck flap. It helps the pack stay shut during filling, storage and shelf use.
They suit products that should stay closed until first use and repeat pack runs that need a steady close. Wide panels hold logos, product facts, steps and barcodes.
Within custom packaging, this style is chosen for closure control rather than repeat use. Most paperboard versions are retail cartons, not parcel shippers.
Glue alone cannot make a weak carton strong. Custom seal end boxes still need the right board, size, flap plan and pack method.
How the Seal End Structure Is Formed
Custom seal end boxes have a glued side seam and end flaps that overlap. The carton is sent flat. At pack-out, it is opened, filled and closed with glue at one or both ends.
Side Seam, Dust Flaps and Main Panels
The side seam creates the carton body. Small dust flaps fold in first. The main end panels fold over them and bond in the set glue zone.
Dust flaps limit open gaps. Main flaps form the closed face. The side seam keeps the body square. The dieline must set flap depth and glue space for the stock.
Custom seal end boxes may use hot melt or another approved adhesive. The choice depends on the board and line speed. Set it before final art.
Partial Overlap, Full Overlap and Tear Access
Partial overlap suits many light and midweight packs. Full overlap gives more panel cover and can add firmness to a wide closed face.
A tear strip, thumb notch or short perforation can show where to open the box. Test the cut on the real board because each stock can tear in a different way.
Custom seal end boxes are often made for one first opening. For repeat access, custom straight tuck end boxes may be a better fit.
Build Custom Seal End Boxes Around the Packing Method
The pack method affects the whole box. Hand packing needs easy access and enough room to load the item. A machine line needs steady folds, square panels and exact flap control.
Hand Packing and Semi-Automated Runs
For hand packing, the product should slide in without force. Staff also need a clear fold order and a clean place to add glue. Too little room slows the task. Too much room lets the item move and can make the panels bow.
A semi-automated line may form, fill or seal only part of the pack. Creases must fold well and glue must stay clear of print and cuts.
When staff need to reopen the box during pack-out, reverse tuck-end boxes can be easier to use.
Cartoning Lines and Repeat Runs
For a cartoning line, custom seal end boxes must match the machine. Grain direction, board gauge, blank size and flap shape can all affect speed.
A tight box may catch on the product. A loose box may twist, crush at the corners or look weak on shelf. Run a fit and line test before a large order, even when a past carton looks close.
If the main need is a fast pop-open base, auto-lock bottom boxes can cut hand setup time and add base support.
Size Custom Seal End Boxes for Fit and Fast Loading
Custom seal end boxes should hold the item with little free space, but they should not grip it. The size must include the product, insert, leaflet, wrap and room needed for loading.
Use Internal Length × Width × Depth
State the box size as internal Length × Width × Depth. Measure the item in its final pack position. Include caps, tabs, cables, blister edges and any part that adds bulk.
A tight fit can split a fold or slow the line. A loose fit can let the item turn, add board and make the pack feel less planned.
The free custom Dieline Tool can make a base layout from your size. Final glue zones, flap depth and fit space should then be checked for the stock and pack method.
Add Inserts Before the Size Is Locked
An insert can hold a bottle, card, small device or set of parts. A divider can keep two items apart. A folded tray can lift the product and help it face the right way.
Plan the fitment first, then measure the product and fitment as one unit. Also check how a person will lift the item out.
For custom seal end boxes with a leaflet, leave room for the fold. A crushed leaflet can push on the walls and make the carton swell.
Choose Board That Can Hold the Seal and the Load
The board must fold well, bond well and stay flat after the ends close. The right stock depends on box size, item weight, print needs and shelf use.
SBS, Kraft and Recycled Board
SBS has a smooth white face. It works well for fine text, photos, bright color and small design details.
Kraft has a brown base and a more natural look. Dark, bold art tends to show well. Pale ink may need a white base.
Recycled board can have a different shade and feel from SBS. Proof the art on the stock that will be used.
Custom seal end boxes need enough stiffness to keep flat panels from bowing. A wide box or dense item may need a firmer grade.
Know When Paperboard Is Not Enough
An insert can stop product shift, but it cannot fix weak outer walls. A sharp, dense or heavy item may need a stronger box.
Use custom seal end boxes as retail or secondary packs when that role fits. For direct parcel use, a corrugated box may give better crush and edge strength.
Plan Print Around Folds, Glue and the First View
Custom seal end boxes give useful flat space for brand art and product data. The art must follow the final dieline. Keep key copy clear of cuts, folds, glue zones and end overlap.
Set a Clear Order for Product Information
Choose the main shelf face first. Place the logo and product name where they can be read at once. Give barcodes, steps and required copy a clean panel with good contrast.
CMYK suits full-color art and images. Pantone can help when one brand shade needs tight control. Keep small type away from corners and creases.
Strong box design starts with structure, then size, print and finish. The same order shapes custom packaging that builds a stronger brand. A good logo cannot fix poor fit or a weak seal.
Use Finishes to Support One Clear Goal
Matte can cut glare. Gloss can add shine. Soft-touch changes the feel in the hand. Foil, embossing, debossing and spot UV can draw focus to a logo or name.
Do not place foil or a thick coating in a glue zone. Keep a window away from a weak edge. Test any finish that crosses a tear line.
Inside print can hold a short note or use steps. Custom seal end boxes often have a quick first opening, so keep the inside clear and useful.
Add Opening Cues and Inserts Without Weakening the Box
The user should know where to open the pack. A small arrow, notch or tear start can prevent rough opening. The path should not cross key text or a glue zone.
Use a Controlled First-Open Feature
A perforation or tear strip can give a neat first break. The cut depth must suit the board. If it is too light, the strip may not start. If it is too deep, the panel may break during pack-out.
A glued end can show that a box has been opened. That does not mean every seal end pack meets a formal tamper rule. Set any safety or legal need before the box is made.
Keep Parts Still With Simple Fitments
Paperboard cradles, sleeves and dividers can hold small parts in place. A simple fitment often works better than a complex insert that adds cost and slows pack-out.
Custom seal end boxes can hold blister cards, cables, adapters, small bottles and amenity items. The fitment should stop shift without forcing the side walls.
For unit-dose packs, blister pack outer boxes must allow for the card edge, leaflet, count and code area.
Use Custom Seal End Boxes for the Right Product Journey
Custom seal end boxes work well for goods that need a fixed retail carton and clear print panels. They can serve wellness packs, dry goods in inner wraps, personal care items, tech parts and small kits.
Retail, Wellness and Tech Uses
Blister cards, sachets, chargers, cables and adapters often need clear product facts and a neat closed pack. Custom seal end boxes give room for use steps, warnings, part lists and scan codes.
For food or a regulated item, the stock, ink, coating and box role must be approved for that exact use. The box shape alone does not make a pack food safe, tamper proof or fit for a medical claim.
Kits, Amenity Packs and Small Parts
Small hotel items, refill parts and mixed kits may need a divider or tray. Size the carton around the full set, not the largest item alone.
Custom seal end boxes are a poor fit when the user must reopen the pack often. They may also be wrong for a very heavy item or a pack that must act as its own shipper.
A sound choice follows the full path from fill to shelf to first use. It should not be based on the front view alone.
Keep Bulk Orders Clear, Stable and Easy to Repeat
Bulk custom seal end boxes are easier to reorder when the approved size, board, art and glue plan stay tied to the right SKU.
The US minimum starts at 100 boxes. Production often takes 6 to 8 business days after the art and box details are approved. Free shipping is available for US orders.
Free sample examples of past work can help you review print and stock quality. A full custom sample is paid when you need to test the exact size, seal, art, finish or insert.
US production, warehousing and scheduled shipping can support repeat programs. Balance order size against cost, storage and likely SKU changes.
Send the Details That Shape the Quote
For custom seal end boxes, send the internal Length × Width × Depth, item weight, order amount and pack method. Add the stock, print, finish, insert and opening needs.
State if one or both ends will be sealed after loading. Add line limits, glue needs, the shipping ZIP code and target date.
Custom Packly gives free design help from the dieline to a 3D mockup. Clear facts make it easier to check fit, flap overlap, glue areas and art direction before the run starts.
Send the final details through the custom packaging quote form for pricing and next steps on custom seal end boxes.
Custom Seal End Box FAQs
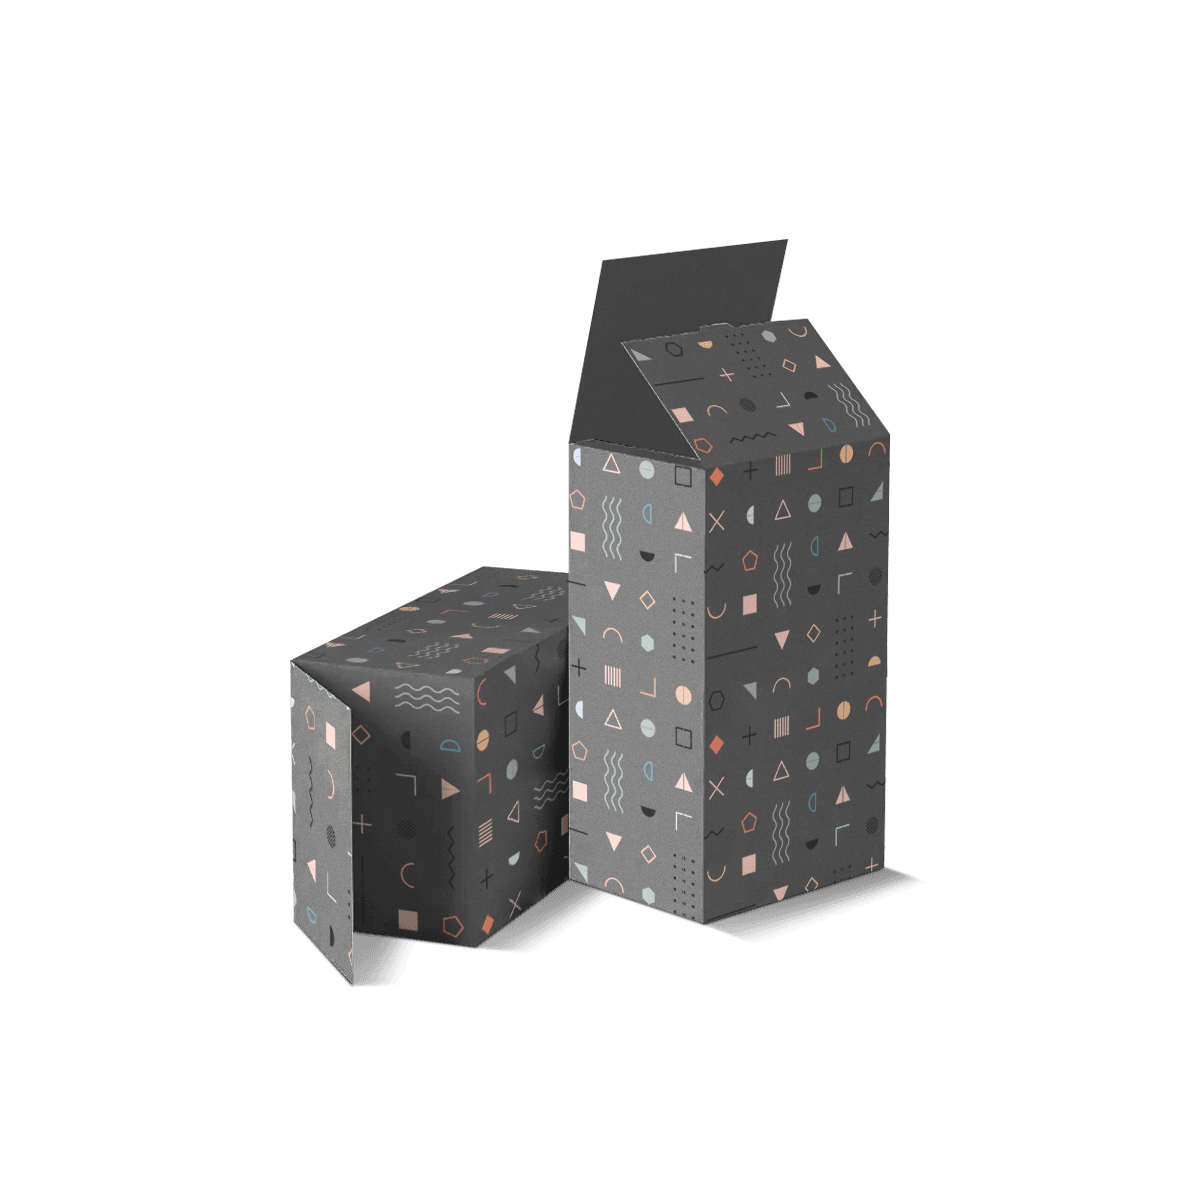
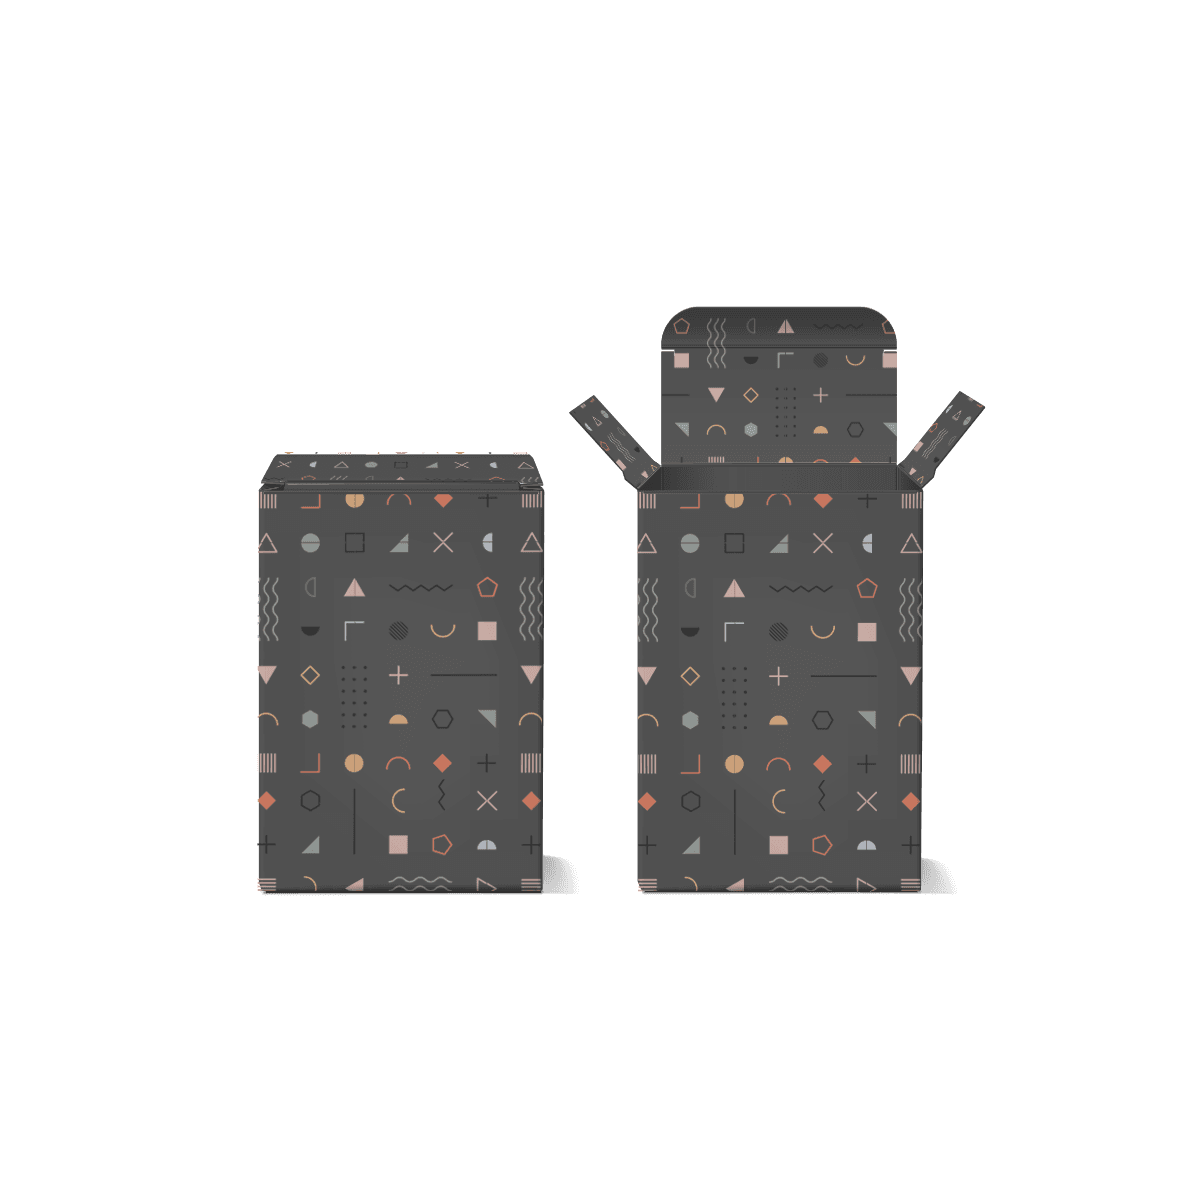
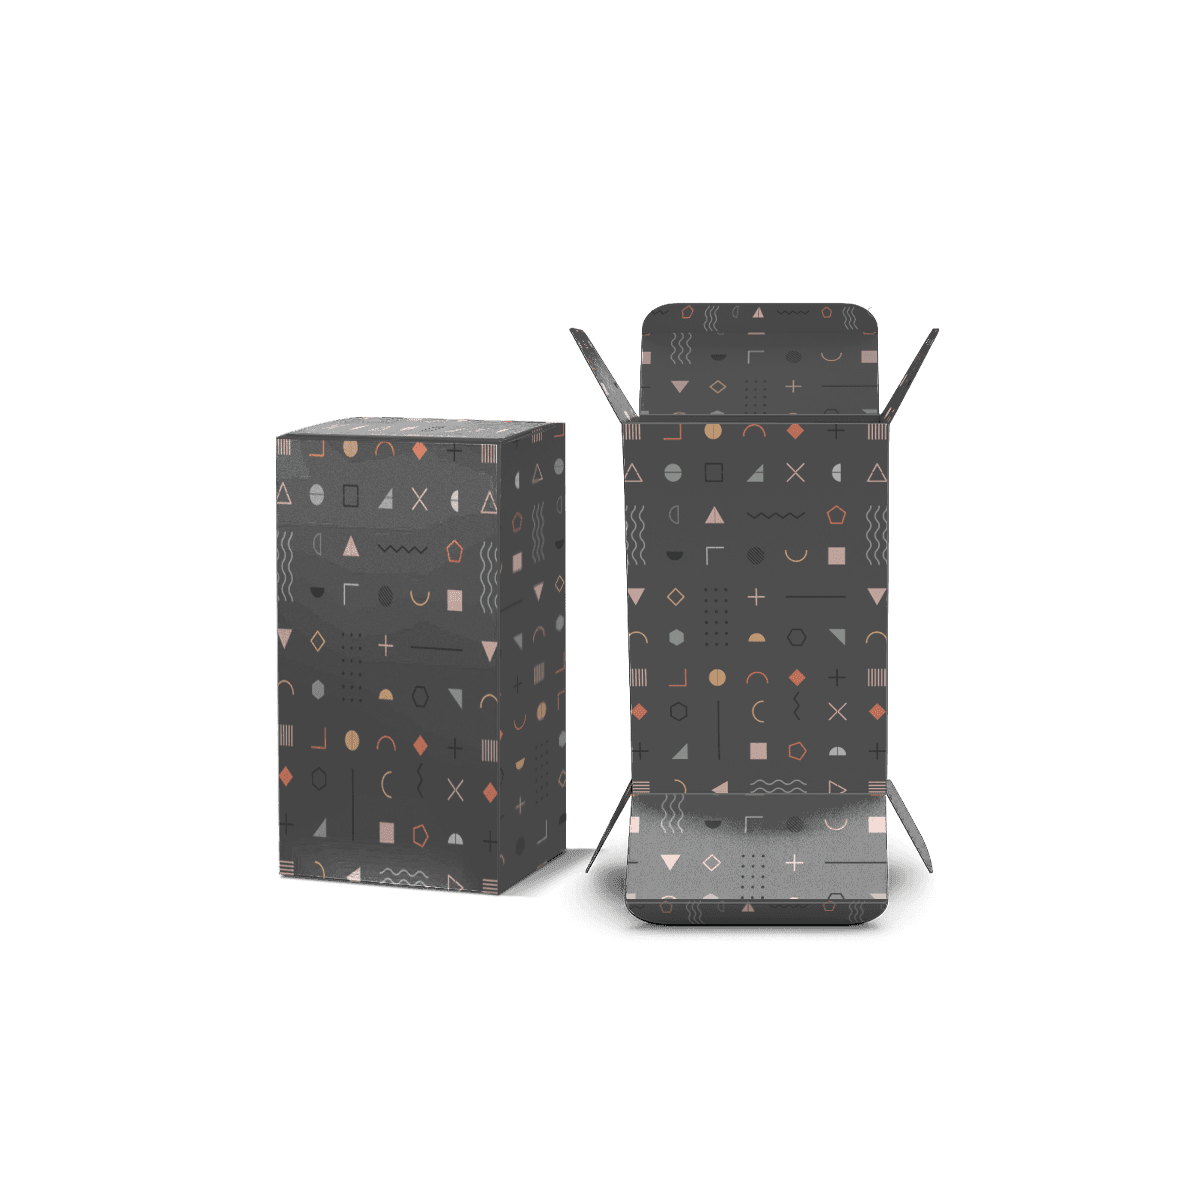
Related Industry Packaging
How it works
Simple steps from idea to delivery
Tell Us Your Specs
Tell Us Your Specs
Provide size, quantity, printing, and finishes.
Get a Fast Quote

Get a Fast Quote
Instant transparent pricing, no hidden fees.
Design and Approval

Design and Approval
Artwork checks, revisions, and final sign-off.
Produce

Produce
Expert manufacturing to meet deadlines.
Ship to Your Door

Ship to Your Door
Hassle-free, flexible delivery options.
Get Your Quote for Custom Seal End Boxes
Share your product details, size, quantity and artwork needs. We’ll help choose the right packaging style and send a clear quote.