Skip to content
Details

Custom Menu Presentation Display Boxes

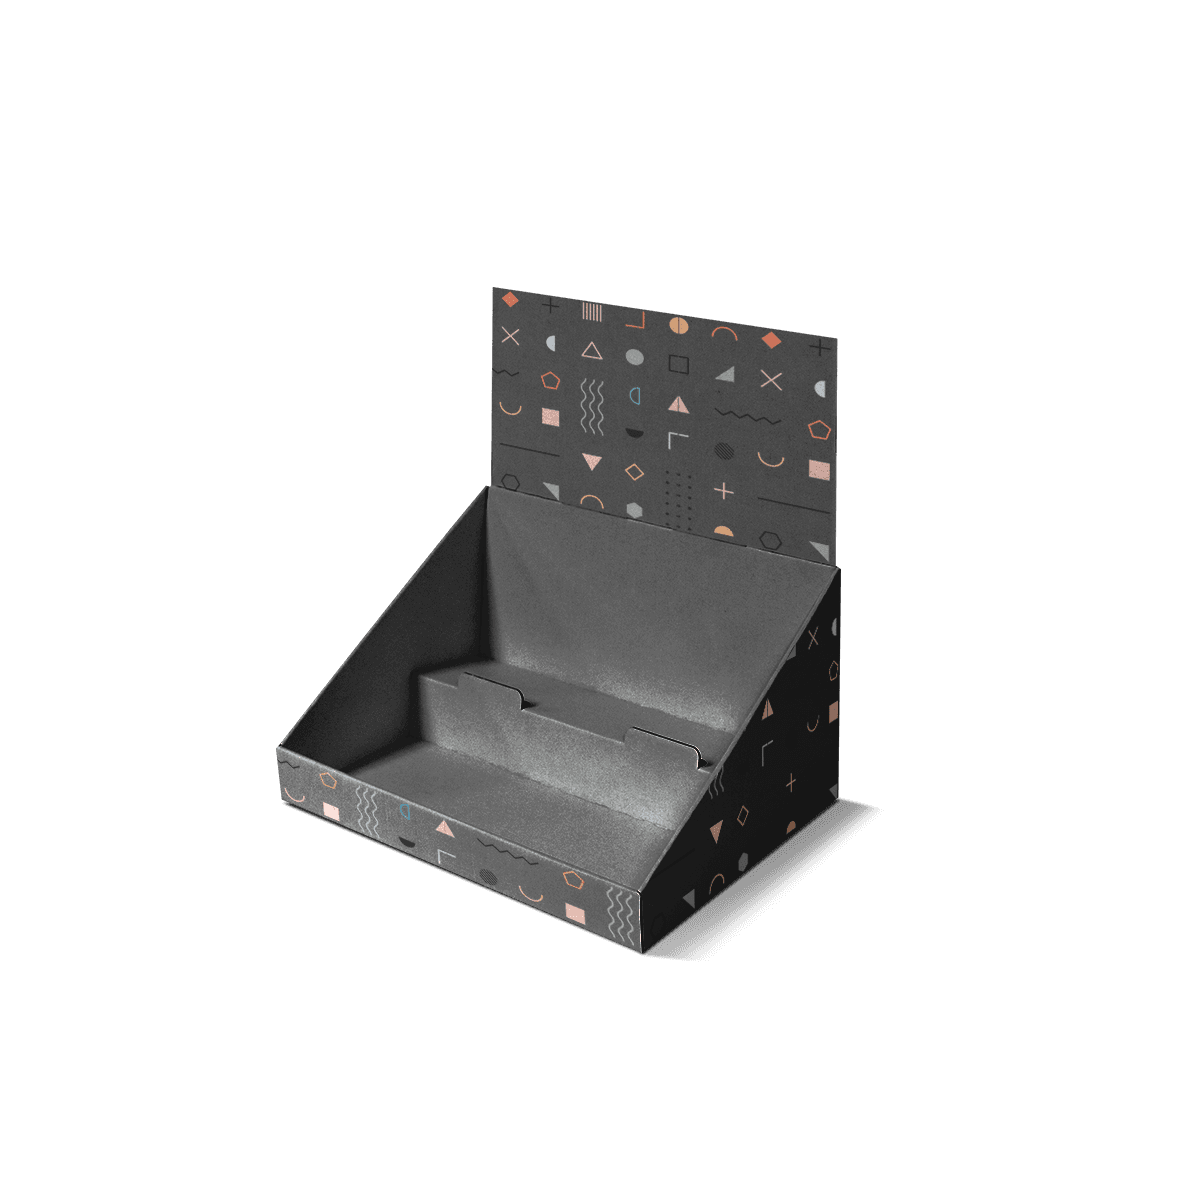
Hold menus, specials and event cards at a deliberate viewing angle with stable bases, replaceable inserts and branded structures suited to tables, counters and hospitality service.

Set the Viewing Angle

A tabletop menu display can stand perfectly upright and still be awkward to read. Card height, base depth and display angle determine what a seated guest actually sees.

Start with the printed insert in its real orientation. A compact drinks card viewed across a bar needs different geometry from a tall dinner menu placed in the middle of a dining table.

Account for Seated Eye Level

Tabletop displays are usually viewed from a short distance and from a lower eye position than counter signage. A slight backward angle can feel more natural for seated reading.

Height Changes Stability

A taller insert raises the visual area and usually raises the center of gravity. More height may require a deeper footprint, stronger board or a different folded geometry to keep the stand stable.

Viewing angle should be tested with the smallest text that guests must read, not only the logo or heading. A stand can look balanced from across the room while forcing seated guests to lean forward for prices or short descriptions.
Grip the Menu Card

The display should hold the printed insert securely without gripping it so tightly that staff crease the card during every update.

Slot width, channel depth and card thickness need to work together. Measure the final printed piece, including lamination or any added stock layers.

Set the Channel Width

A loose channel lets the menu lean, twist or sit at a different angle from one table to another. A channel that is too narrow can damage corners and slow routine changes.

Support the Lower Edge

Tall cards need enough engagement at the base to stay upright. Decide how much of the card can disappear into the stand before artwork is finalized.

Card thickness should stay consistent across replacement runs. A channel tuned to heavy laminated stock may hold an uncoated temporary insert too loosely, while a thicker reprint can become difficult to slide into place.

The card edge should also stay straight after repeated changes. If staff have to bow or twist the insert to enter the slot, the printed piece can develop visible curl even when the stand itself remains intact.

Stabilize the Table Footprint

Table space is limited. Plates, glasses, condiments, cutlery and phones compete for the same surface as the menu display.

The base needs enough footprint to remain stable without becoming an obstacle.

Place Weight Near the Base

A folded structure should concentrate stiffness low in the display. If decorative panels or thick layered pieces are added high on the structure, reassess the balance.

Check Common Table Knocks

A tabletop display will be nudged. Test the assembled piece with the intended insert rather than testing the empty base.

Base depth also affects cleaning and table reset. A broad footprint may trap crumbs or make staff lift the stand repeatedly, while an overly narrow base can tip during routine wiping and clearing.

A good footprint also leaves enough room for servers to clear and reset the table without relocating the stand every time. Place the prototype beside the normal plate, glassware and condiments, then perform a typical reset. If the stand must constantly be moved to make space, reduce its depth or reconsider its position. Stability matters, but stability that consumes too much service area creates another operational problem.

Choose One or Two Faces

A menu display does not always need the same message on both sides.

The viewing direction should determine whether the stand carries one printed face, matching content on two faces or different content toward each side of the table.

One Face for Directed Viewing

A bar counter, reception desk or hosted tasting station may have a clear approach direction. One primary face can keep the structure slimmer.

Two Faces for Shared Tables

Dining tables and banquet settings often have guests viewing the display from opposite sides. A double-sided system can serve both directions without requiring anyone to turn the stand.

Two-face displays need a clear rule for card orientation. Staff should be able to tell quickly which card faces which seat direction so a wine list, food menu or event message is not installed backward.

Make Menu Changes Routine

The printed card may change far more often than the structure holding it.

Lunch and dinner menus, chef specials, seasonal drinks and event-specific cards can all rotate while the branded display stays in service.

Swap Cards Without Disassembly

Staff should not need to unfold the stand or release structural tabs simply to change a printed insert.

Separate Permanent Branding

Keep long-life hotel or restaurant branding on the reusable body. Put short-life prices, menu items, dates and daily offers on the replaceable insert.

Frequent menu changes favor a reusable body with a simple access point. Replacement should feel like changing a card, not rebuilding a small box every time lunch turns into dinner service.

A replacement system works best when old cards can be removed without tools. Staff should be able to update a menu during service without taking the stand away for repair or disassembly.

Match Material to Service Life

A display intended for one banquet does not need the same construction as a stand used daily in a hotel restaurant.

Material should follow expected handling, presentation level and replacement frequency.

Paperboard for Shorter Cycles

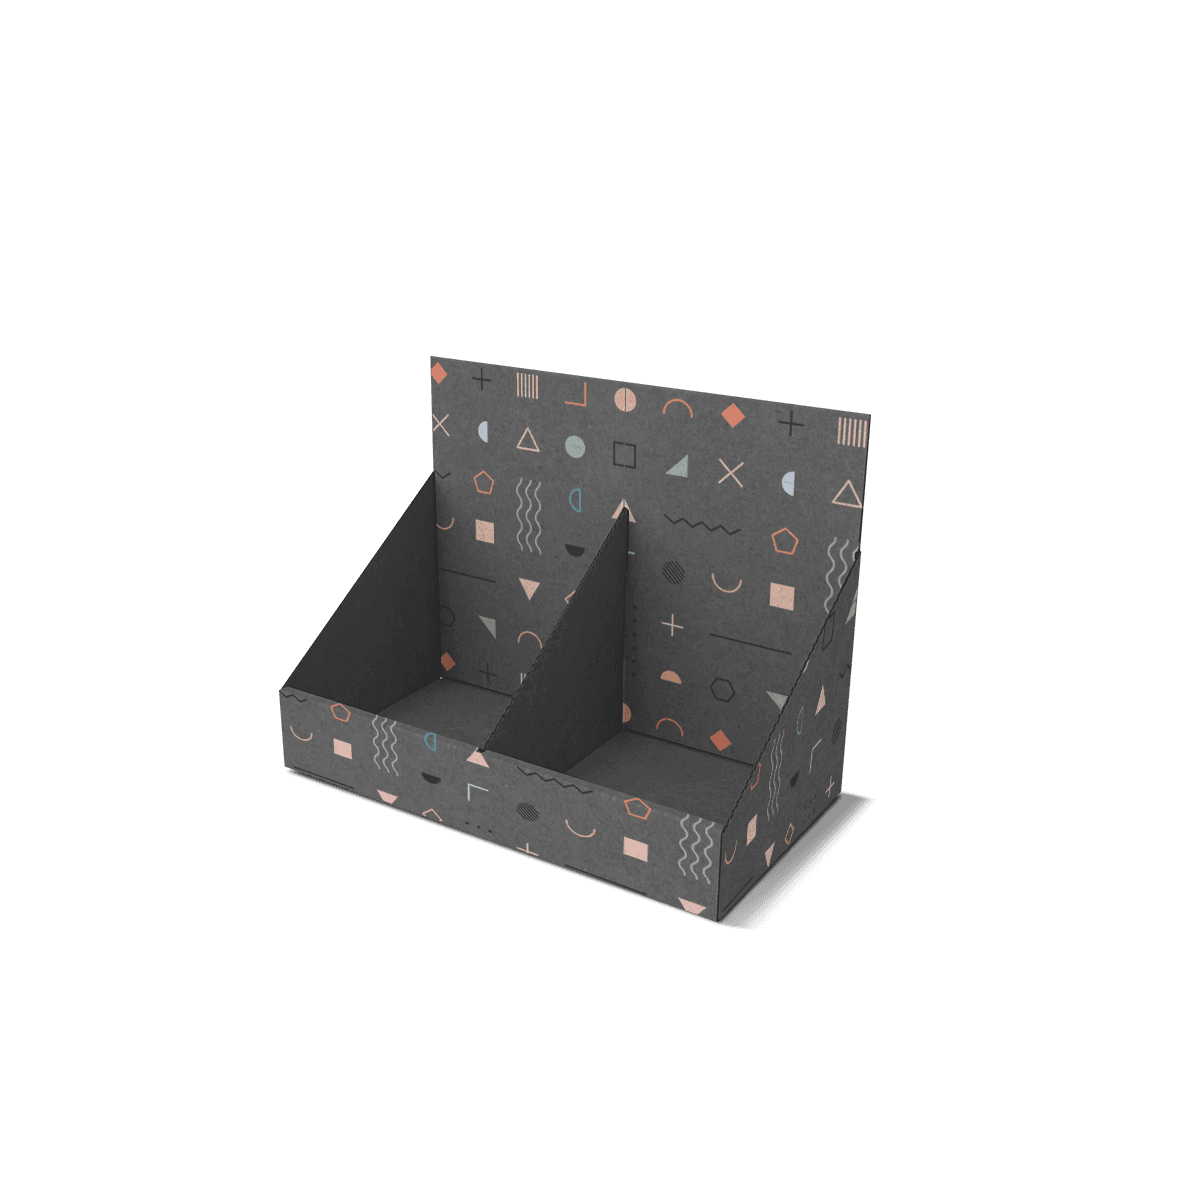
Printed paperboard works well when the display needs to remain light, ship or store efficiently and change with campaigns or events. If the fixture must merchandise sellable products instead of printed cards, Counter-Top Display Boxes fit that job.

Rigid Board for Repeat Handling

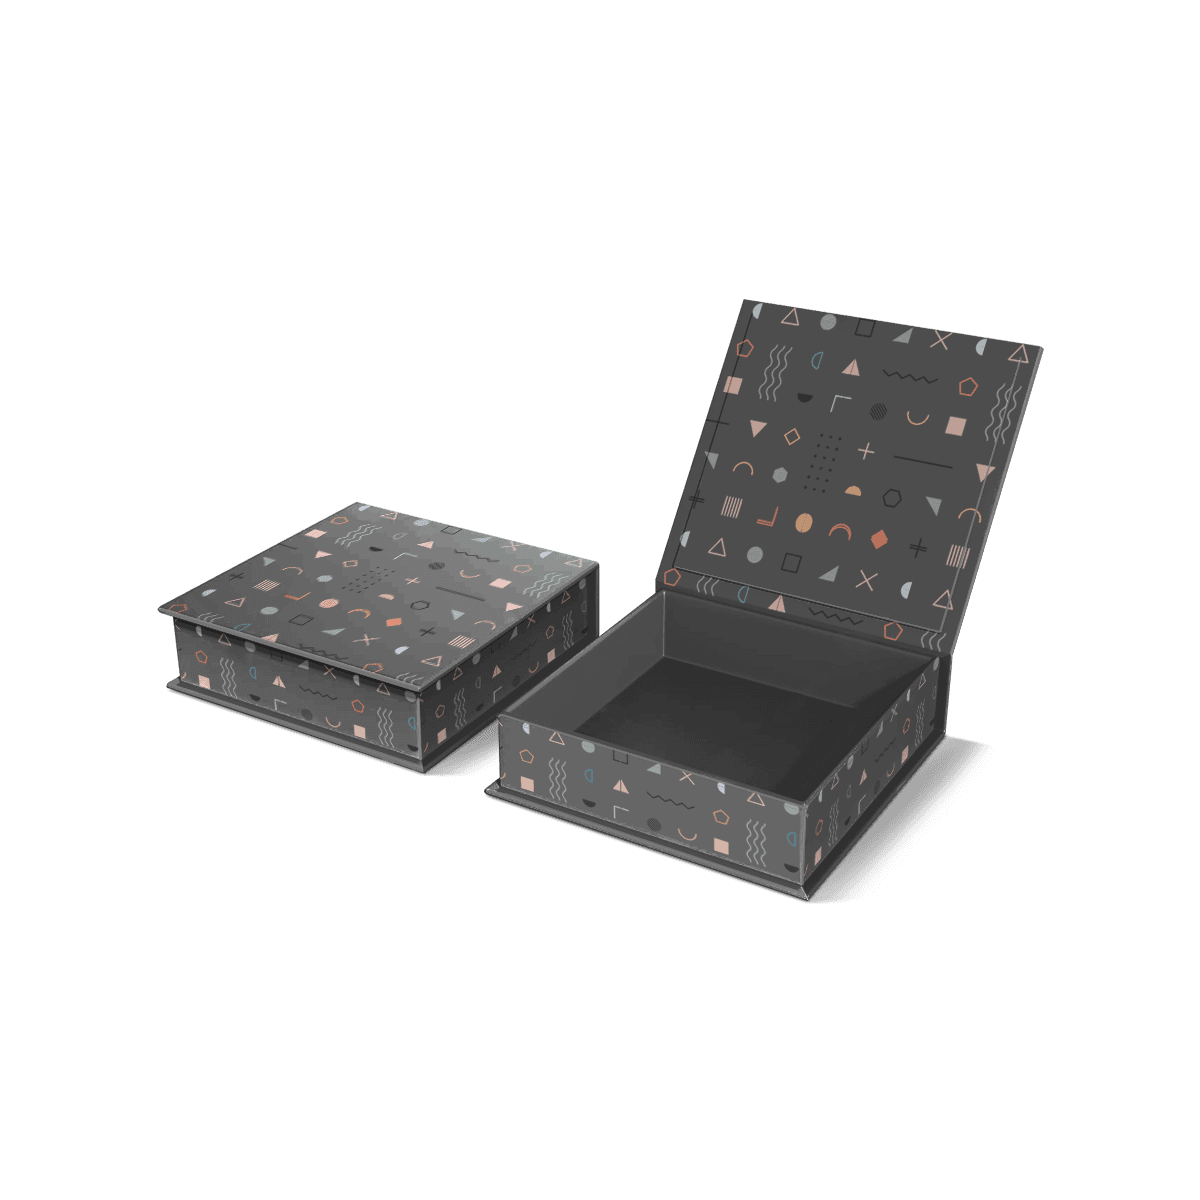
Rigid board can suit restaurants, lounges and hotels that want the stand itself to feel like part of the interior presentation.

Service life also changes the finishing decision. A one-night banquet piece can prioritize light weight and efficient production, while a daily hotel stand may justify tougher wrapped edges and a more substantial base.

Finish the High-Touch Areas

Menu displays are handled repeatedly by staff and guests.

Edges, lower panels and insert openings usually receive more contact than broad decorative surfaces. Finish planning should account for those touch points.

Protect the Insert Opening

Repeated card changes can wear the same slot edges. Give the opening enough tolerance and reinforce the geometry where repeated use justifies it.

Keep Fine Print Away

Small logos, borders and fine typography should not sit directly on heavily handled folds or insertion edges.

High-touch wear often appears first at the slot, lower corners and grip points used by staff. Put delicate foil, fine rules and small type on calmer surfaces so normal handling does not become the main source of visual damage.

Design Around the Service Zone

The same venue may need different menu displays at dining tables, a lobby bar, a spa café and a banquet setup.

One visual system can connect them without forcing one physical size everywhere.

Dining Tables Need Restraint

A dining-table display should occupy enough space to remain stable but not compete with the meal.

Counters Can Go Taller

Host desks, buffet stations and bar counters can often support a taller card because viewing distance and surface use differ. Display Boxes serve product merchandising when the physical object on the counter needs to hold inventory rather than a printed menu card.

Service-zone testing should use the real furniture. A stand that feels compact on a design desk can block sightlines or crowd plates once it sits on a two-person dining table with glasses and condiments.

Event Cards Need Faster Setup

Banquets, weddings and conferences can multiply one display into dozens or hundreds of table positions.

At that scale, assembly becomes part of the specification.

Reduce Setup Steps

Count the actual actions required to prepare one unit. Simplify parts that do not improve stability, reading angle or presentation.

Separate Menus From Favors

A printed menu stand and a guest gift may share branding without needing the same physical structure. Event Favor Boxes handle the gift handoff while the menu display remains focused on readable printed content.

Event setup should be timed with the actual number of stands. A few extra folds or alignment steps can become a significant preparation burden when banquet staff are placing units across many tables.

Banquet teams should also know how the displays travel from storage to the room. Flat-folding paperboard pieces, preassembled rigid stands and loose printed cards each create different staging needs. Test the setup as a batch, not just one unit. Count how many fit in a transport tray, whether cards stay sorted and how long one table takes to prepare. A structure that saves a few seconds per unit can make a meaningful difference when staff are setting many tables against a fixed event schedule.

In-Room Service Has Another Job

A menu display placed in a hotel room may present dining options, minibar notes or service offers, but it is still an information holder.

The packaging carrying the actual meal solves a separate operational problem.

Use Compact Room Footprints

Guest desks and bedside surfaces can be smaller and more crowded than restaurant tables. A room display may need a shorter height, narrower base or single-sided orientation.

Separate the Meal Carrier

Hotel Room Service Boxes handle food-container organization rather than upright menu presentation.

In-room displays also compete with guest belongings. Compact proportions and one clear viewing face can reduce clutter on desks and bedside surfaces that already hold phones, chargers, keys and drinks.

Standardize Insert Sizes Carefully

Using one printed insert size across several hospitality zones can simplify artwork production and replacement stock.

It only works when the viewing conditions are similar enough.

Share Sizes Where They Work

Group service zones by reading distance, orientation and footprint. A bar and café counter may share one card size while dining tables need another.

Control Artwork Versions

Each insert should have an obvious version identity for staff even if that marking is discreet to guests. Lunch, dinner, wine and event cards can look visually similar while carrying different operational meaning.

Standard insert sizes work best when staff can identify them instantly. Small internal codes, distinct storage bins or clear size differences can prevent the wrong dinner card from being forced into a breakfast stand.

Run a Live Service Test

Approve the display where it will actually be used.

Install the final printed card. Put the stand on a dressed table or operating counter. View it from the guest position, change the insert as staff would and move normal objects around it.

Check the Full Routine

Look for unstable bases, awkward reading angles, edge wear and slow card changes. The successful structure is the one that keeps the menu upright, readable and visually consistent without creating extra work for the people using it every day.

US orders start from 100 boxes, with US production, free shipping and standard 4–6 day turnaround after final artwork and specifications are approved.

A live service trial should include removal, storage and reset after the guest interaction ends. The display needs to remain practical across the whole shift, not only during the first presentation.

Storage between shifts deserves a quick check as well. Stands that nest, stack or return to a predictable tray can be easier for staff to count and redeploy than bulky pieces that must remain upright at all times.

FAQs

They work best anywhere guests make quick dining decisions, such as restaurant tables, hotel lobby bars, tasting counters, banquet setups and spa lounges. They are especially useful when menus change often and the printed piece needs to stay visible instead of lying flat.

Rigid board or laminated paperboard usually gives the best balance of structure and daily durability. For lighter turnover pieces, SBS paperboard can work well, while coated surfaces help resist fingerprints, splashes and wear.

Yes, when the goal is upright shared viewing and faster update cycles. Standard menu covers are better for seated multi-page menus, while display boxes are stronger for specials, wine features, table promotions and short-format service information.

Very quickly if the display is engineered with side openings, pockets or slide-in channels. Staff can swap a printed sheet in seconds, which helps with lunch-to-dinner transitions, sold-out items and event-specific messaging.

Yes, that is a common requirement. Tailor-made dimensions, panel layouts and insert depths can be adjusted so each service zone gets the right footprint without losing visual consistency.

Process

How it works

Your Packaging Journey, From Idea to Production and Delivery

01

Tell Us Your Specs

Custom packaging boxes

Tell Us Your Specs

Provide size, quantity, printing, and finishes.

02

Get a Fast Quote

Custom packaging boxes

Get a Fast Quote

Instant transparent pricing, no hidden fees.

03

Design and Approval

Custom packaging boxes

Design and Approval

Artwork checks, revisions, and final sign-off.

04

Produce

Custom packaging boxes

Produce

Expert manufacturing to meet deadlines.

05

Ship to Your Door

Custom packaging boxes

Ship to Your Door

Hassle-free, flexible delivery options.

Get Your Quote for Custom Menu Presentation Display Boxes

Share your product details, size, quantity and artwork needs. We’ll help choose the right packaging style and send a clear quote.