Skip to content
Details

Custom 3 Side Seal Pouches

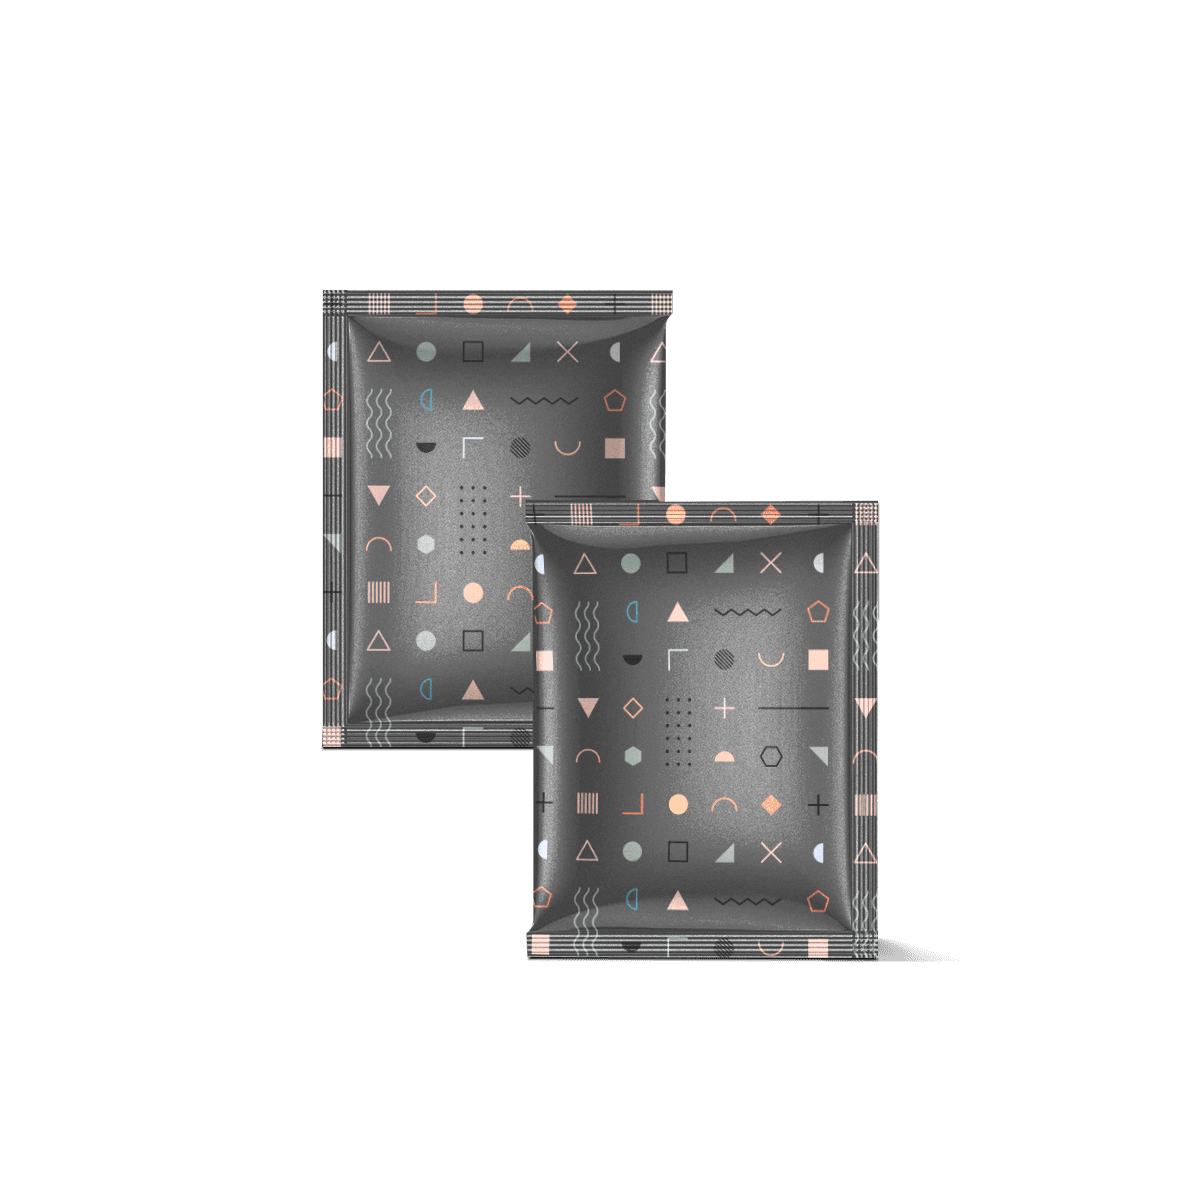
Flat pre-made pouches with a defined three-seal construction, planned around fill direction, barrier duty, opening features and final heat sealing.

Three Seals Define the Format

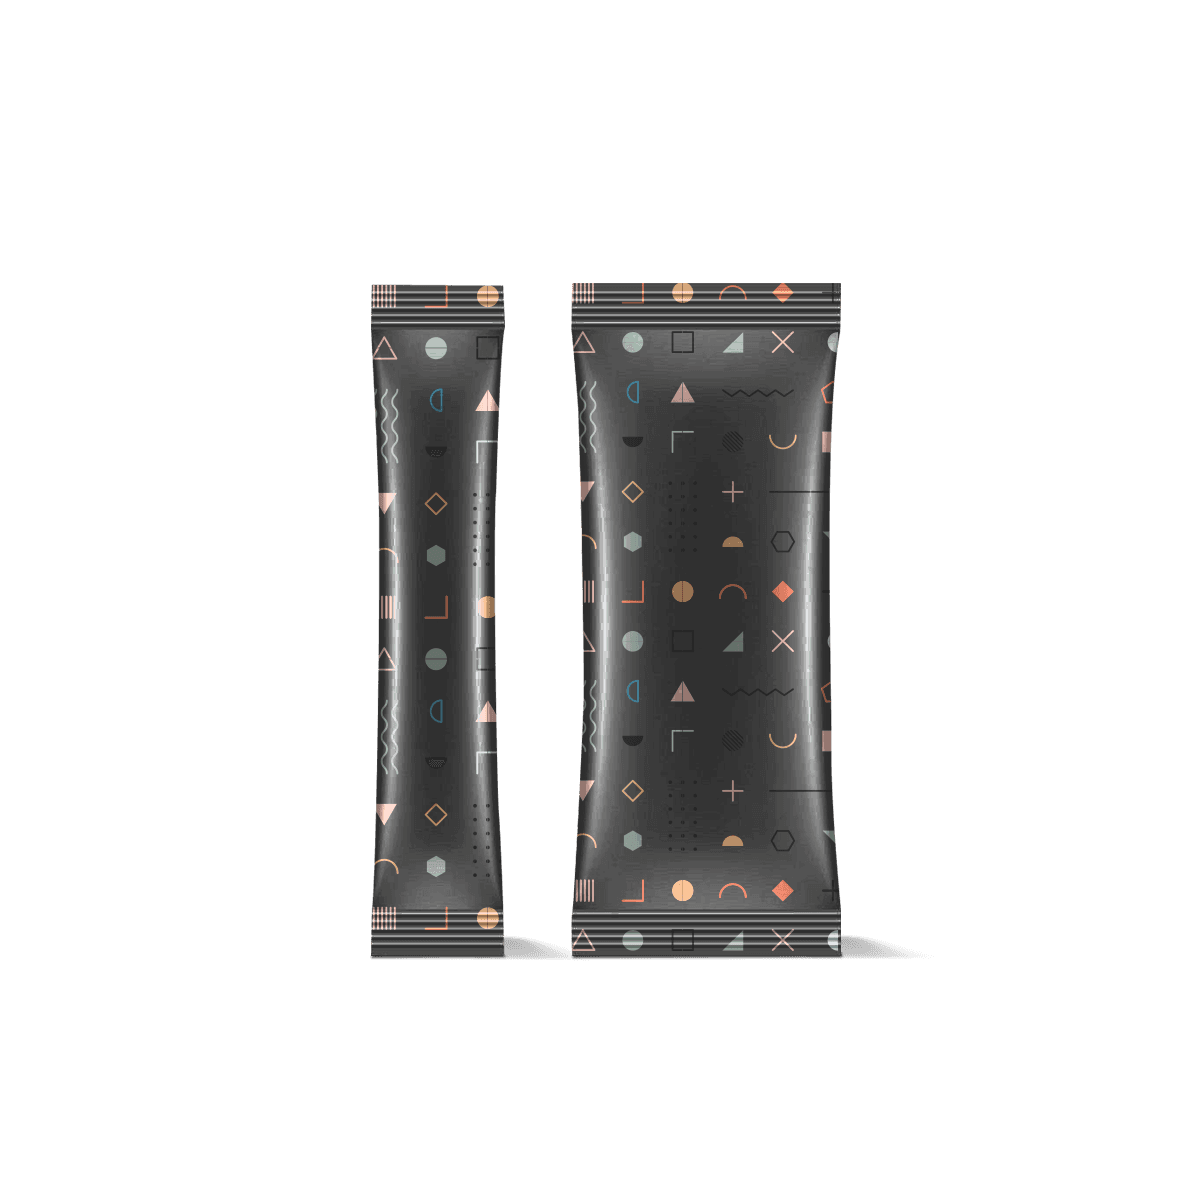
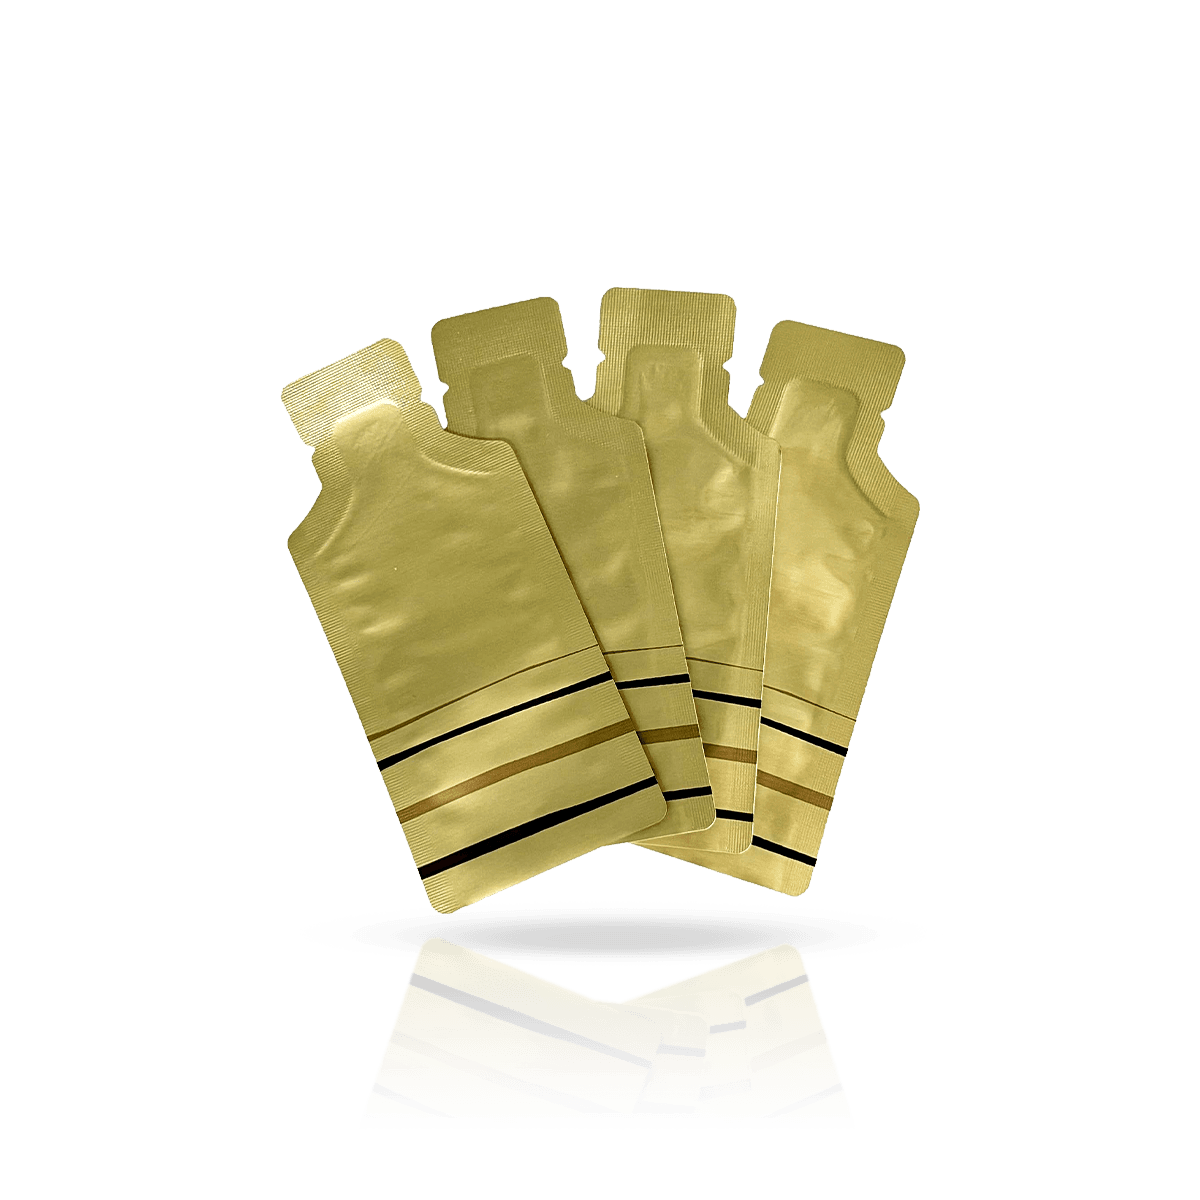
A three-side seal pouch is a pre-made flat pack with three finished seal edges and one edge left open for filling before the final close. That seal geometry is the reason to choose the format. It gives the pack a thin profile without a bottom gusset, so samples, single portions, wipes, powders and compact products can stay flat in storage, case packing and retail handling.

The structure should not be confused with every flat pouch. Custom Flat Pouches handle the general low-profile format, while three-side seal packaging is the better specification when the seal pattern itself matters to filling, opening and panel layout.

A pouch can look simple and still fail if the open edge, seal width or product shape was assumed rather than specified. Start with how the product enters the pouch and how the last seal will be made.
Fill Direction Comes First

The unsealed edge determines the packing motion. A powder dosed from above, a wipe inserted as a folded stack and a flat hardware kit loaded by hand do not create the same clearance need. The opening must be wide enough for the product and the filling method without contaminating the seal area or forcing operators to stretch the film.

For pre-made pouches, confirm which edge arrives open, the usable opening width and the equipment or hand-packing step used after filling. If the fill can smear oil, powder or sauce into the sealing zone, the project needs a realistic process check before the pouch dimensions are locked.

At higher volumes, the packaging decision may move toward Custom Roll Stock Pouches when form-fill-seal equipment is the real production system rather than pre-made bags.

Protect the Final Seal Zone

The last seal is made after filling, so the material at that edge has to arrive at the sealing step clean, flat and correctly aligned. Powders, oils, crumbs and fine particles can interfere with seal formation if the filling process lets product collect in the closure area.

That makes headspace a production decision rather than empty wasted space. The pouch needs enough clear material above the contents for handling and sealing without pushing the product too far down into an oversized pack.

For hand-filled programs, a simple loading fixture or consistent fill line can improve repeatability. For equipment-fed production, confirm the jaw position, pouch presentation and seal area before artwork or coding is placed near the open edge.

Barrier Starts With the Product

Film selection should follow what can damage the contents. Moisture sensitivity, oxygen exposure, aroma loss, light exposure, puncture risk and chemical compatibility are separate requirements. A visually metallic laminate is not proof that it provides the exact barrier a product needs.

Dry seasoning, cosmetic samples and small metal parts can all fit the same outline yet require very different film structures. Ask for the barrier specification that matches the product and expected storage conditions, then decide whether clear, white, kraft-look or metallized surfaces make sense.

When the material decision is still open, paperboard, kraft, corrugated and rigid materials help separate flexible-film needs from box-based alternatives.

Seal Bands Need Clear Space

The printed face is not the full usable design area. Each sealed edge consumes width, and the final sealing area must remain suitable for production. Important text, barcodes, lot coding and small symbols should not be pushed into the heat-seal zone.

Treat the seal bands as structural space on the artwork. If a design depends on a border, frame or repeated pattern, check how the three sealed edges change the visible proportions after conversion.

Code Zones Belong in the Dieline

Batch, date or lot coding often happens after printing. Reserve a quiet area that the coding method can use without covering mandatory copy or important branding.

Opening Features Need a Tear Path

A tear notch only works well when it sits above the product level and starts a controlled tear through the selected laminate. The consumer should be able to open the pack without tearing through instructions, spilling a powder charge or creating a ragged opening that is hard to handle.

Hang holes and rounded corners also change the header area. If the pouch is sold from a peg, the distance between the hole, top seal and product fill line needs enough material to carry the pack weight.

A resealable zipper can be added to some flat constructions, but it earns its place only when the product will genuinely be reopened. Single-use portions usually need a clean tear and dependable final seal more than a zipper.

Filled Shape Changes the Printable Face

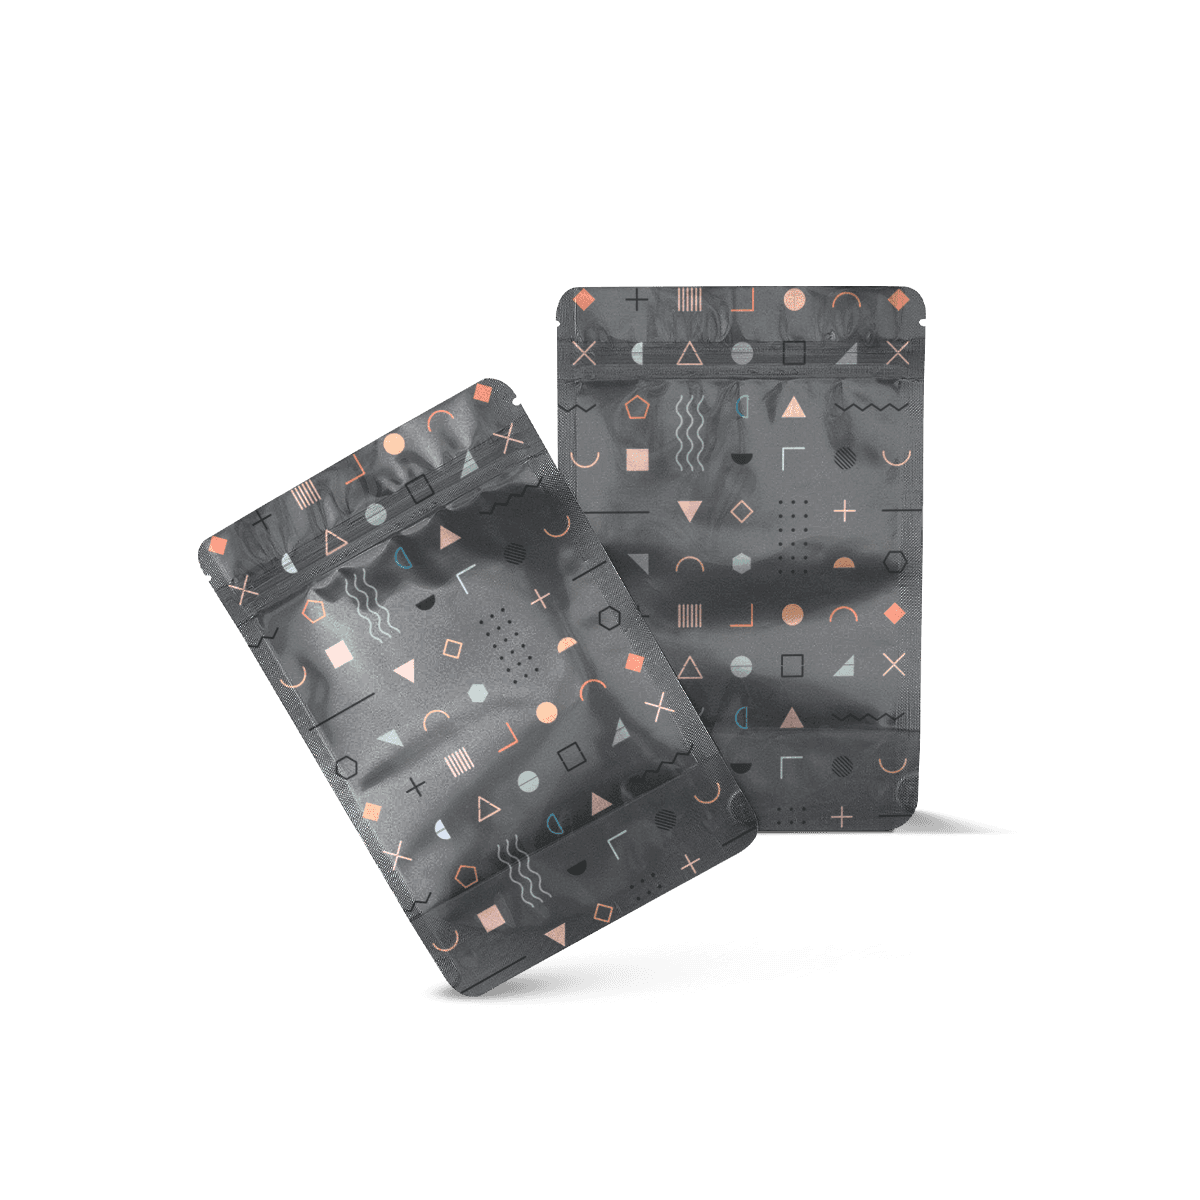
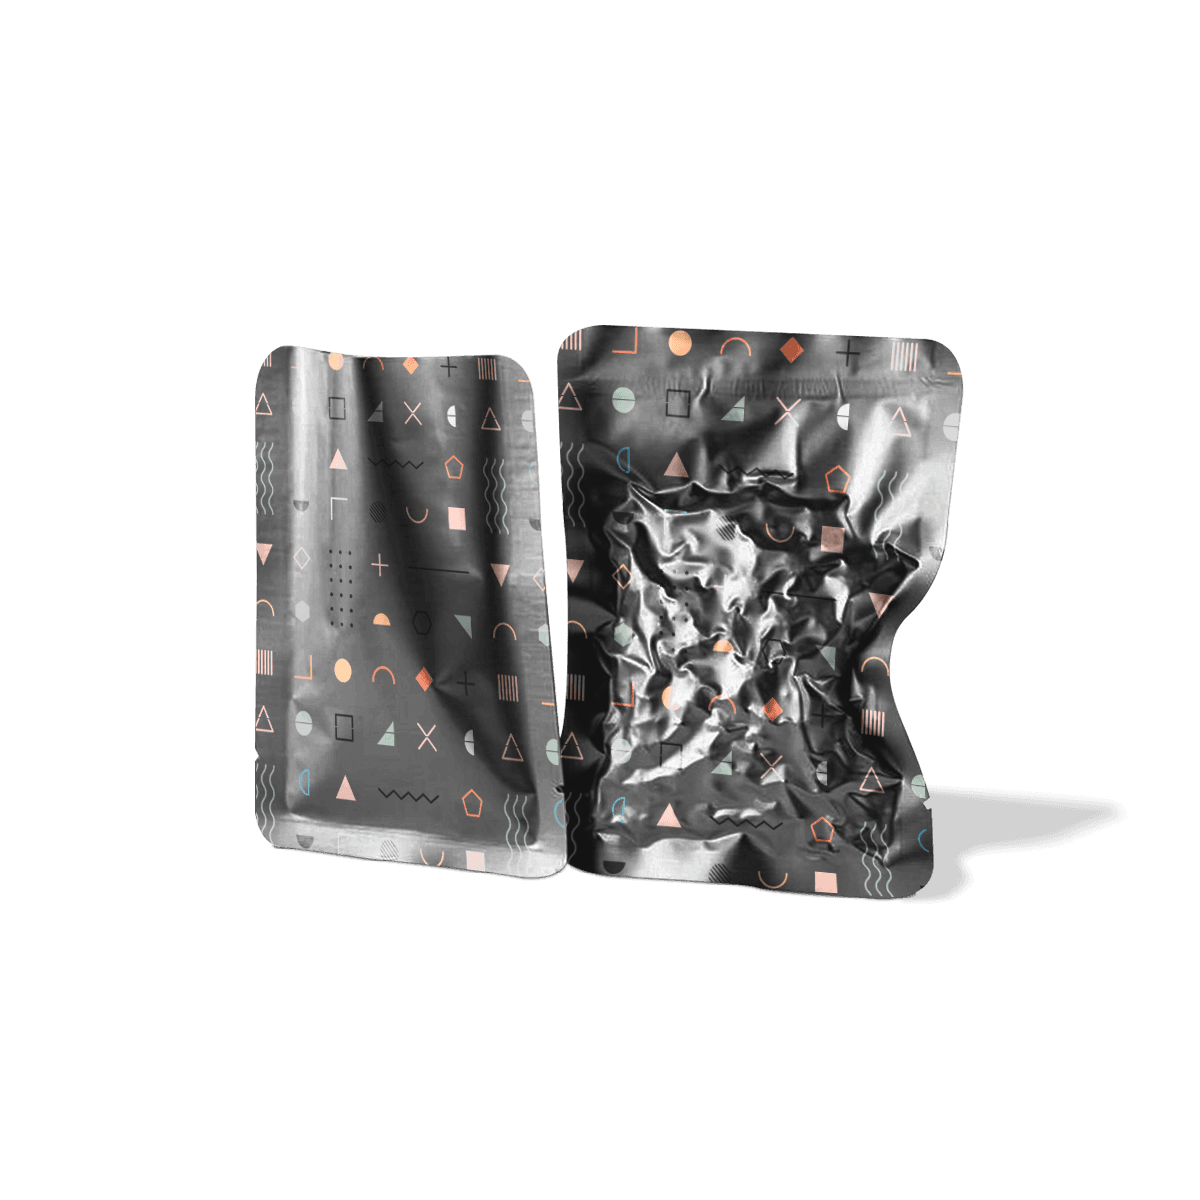
Three-side seal pouches are flat when empty but the front and back panels curve once the contents create thickness. A granular fill may settle toward the bottom, while a rigid component can push against one localized area. That changes how large graphics, borders and small type read after packing.

Design the front panel around the filled silhouette. Keep critical copy away from the perimeter where the film transitions into the seal bands, and avoid using a tight rectangular frame if slight fill variation will make it look crooked.

A mockup can confirm visual hierarchy, but the final proof of panel behavior is a filled pouch. The package should still look intentional when it is held, stacked or displayed rather than only when it lies empty on a screen.

Small Packs Magnify Tolerance Errors

On a small sachet, a few millimeters can be a large share of the usable interior. Seal width, product thickness and fill variation should therefore be considered together rather than sizing from front-panel artwork.

A compact pouch that is too tight can trap product in the seal or create a rounded, stressed pack. Too much space can make a single dose look underfilled and may allow a rigid item to move toward the edge.

Use finished product dimensions or fill weight with real bulk behavior. Powders settle, wipes compress and irregular pieces occupy space differently from a simple volume calculation.

Flat Case Packing Is an Operational Advantage

The absence of a standing gusset keeps empty pouches compact and lets filled packs form predictable layers when the contents stay relatively flat. That can simplify secondary cartons, sample kits and subscription packouts.

For ecommerce, the pouch still needs an outer package when the contents require crush protection or the shipping label cannot go on the pouch itself. Custom Mailer Boxes can carry flat pouch assortments while keeping the flexible pack focused on barrier and presentation.

If parcel movement is already causing failures, better structure and fit can reduce shipping damage before extra filler becomes the default.

Case Count Can Expose Thickness Variation

A pouch program may look dimensionally consistent one unit at a time and become unpredictable when dozens of filled packs are placed into a carton. Small differences in settled product thickness multiply across a case layer and can create bulging, wasted space or uneven counts.

Decide how many pouches should fit per inner bundle or shipping case, then test that count with realistic fills. This is especially useful for samples, sachets and portions that will be distributed in kits or replenished in fixed case quantities.

Case packing does not need to dictate the consumer pouch, but it should identify whether the pouch size or fill tolerance is creating avoidable secondary-packaging problems.

Print Must Survive Flexible Handling

Flexible film bends, wrinkles and changes shape after filling. Fine type and registration-sensitive graphics should be positioned where distortion is least likely to hurt readability. Large uninterrupted front and back faces are an advantage, but the design still needs to account for seals, tear features and coding.

Use CMYK or spot-color control according to the artwork and production method. Matte, gloss or tactile effects should be chosen only after the film structure and seal performance are settled.

When brand color is difficult to hold across packaging formats, CMYK and Pantone printing can clarify the color-control tradeoff.

Use the Seal Pattern as the Buying Decision

Choose three-side seal when a defined flat sachet construction, three finished seals and one fill edge solve the product and production job. Choose a broader flat pouch specification when closure, seal pattern or loading method still needs to be decided.

For self-standing shelf presence and more internal volume, Custom Stand-Up Pouches move the product onto a bottom gusset instead of keeping the pack flat.

The decision is structural, not a naming exercise. The right format should make filling, sealing, opening and secondary packing easier at the same time.

Artwork Versions Affect Production Planning

A single pouch size can carry several flavors, strengths or product versions, but each printed design still creates its own production quantity. A total order of 10,000 units split across ten artworks is not the same manufacturing job as one 10,000-unit design.

List quantity by artwork version when requesting pricing. If several SKUs share the same film structure and finished dimensions, keeping those structural specifications common can simplify repeat ordering even though the printed faces change.

Version control should include the approved art file, pouch dimensions, material structure, seal pattern, tear features and coding location. That prevents a later reorder from reproducing the right graphics on the wrong pouch specification.

Approve the Filled Pack

A flat empty sample cannot prove final performance. Check a finished pouch with the real product or an accurate equivalent. Inspect seal cleanliness, tear behavior, filled thickness, print distortion, coding space and how the packs stack in their secondary carton.

Custom Packly can support custom sizing, artwork review and 3D mockups, with US production and an MOQ starting from 100 where the selected construction is suitable. Standard turnaround is 4–6 days after final artwork and specifications are approved; specialty materials or more complex production can require additional time.

For pricing, send pouch width and height, fill product, fill weight or count, quantity by artwork version, barrier need, opening features and the way the final seal will be made. That gives the production team a usable specification instead of a generic pouch request.

Pre-Made Pouches Have a Volume Threshold

Three-side seal pouches are practical when the project needs pre-made bags that can be filled and sealed without installing form-fill-seal equipment. As volume grows, the labor, pouch handling and equipment available at the filling site can change the economics.

The correct comparison is not only unit pouch price. Include filling speed, waste, changeover effort, coding, secondary packing and the capital or contract-packing setup behind the chosen format.

A growing brand can keep the same consumer-facing dimensions while changing the production route later, but the film structure, seal integrity and artwork repeat should be revalidated when the converting and filling process changes.

FAQs

They perform best in flat, portion-controlled, or sample-size applications where storage efficiency, seal integrity, and clear printed communication matter.

Choose 3 Side Seal Pouches when you want a flatter shape, cleaner panel presentation, and a more structured edge-sealed look. Pillow Pouches are better suited to flow-wrap style packing where a softer, fin-sealed pack is acceptable.

Yes, with the right material selection. Film choice should match the product’s barrier needs, shelf-life target, filling method, and regulatory requirements.

Tear notches and rounded corners are common add-ons that improve usability while keeping the pouch secure during storage and transit.

More than many small flexible formats. The wide flat panels give useful space for logo placement, usage directions, ingredients, warnings, QR codes, and batch details.

Process

How it works

Your Packaging Journey, From Idea to Production and Delivery

01

Tell Us Your Specs

Custom packaging boxes

Tell Us Your Specs

Provide size, quantity, printing, and finishes.

02

Get a Fast Quote

Custom packaging boxes

Get a Fast Quote

Instant transparent pricing, no hidden fees.

03

Design and Approval

Custom packaging boxes

Design and Approval

Artwork checks, revisions, and final sign-off.

04

Produce

Custom packaging boxes

Produce

Expert manufacturing to meet deadlines.

05

Ship to Your Door

Custom packaging boxes

Ship to Your Door

Hassle-free, flexible delivery options.

Get Your Quote for Custom 3 Side Seal Pouches

Share your product details, size, quantity and artwork needs. We’ll help choose the right packaging style and send a clear quote.