The right mailer box size holds a product securely without crushing it, lets the lid close naturally and avoids shipping unnecessary empty space. It is not simply the smallest box the product can squeeze into. The right size depends on the product's dimensions, its fragility, any cushioning or inserts and what happens to the parcel during shipping.
When we work out dimensions for a customer, we start with the actual product, then assess how easily it could be damaged. Only after deciding whether it needs cushioning or an insert do we settle on the internal box size and check the outside shipping dimensions. That order matters. Starting with an attractive box size and making the product fit afterward is how avoidable problems begin.
This approach applies to custom mailer boxes used for clothing, cosmetics, accessories and subscription orders, but each product needs its own assessment. The steps below show how to move from a product on your packing bench to a box size that is practical to order.
Start With the Product as It Will Actually Ship
A product's listed dimensions are only a starting point. You need the length, width and height of everything that will go into the mailer in its final packing orientation. A folded sweatshirt is not the same size as the sweatshirt laid flat. A bottle with a pump may be taller than the dimensions on its label. A small gift set becomes larger once its pieces are arranged beside one another.
Before selecting a box, measure one complete, representative order. Include tissue, sleeves, cards, instructions and other accessories only if they will ship in that position. For a made-to-measure product pack, the usable packed footprint matters more than nominal product measurements.
Record the maximum packed length, width and height
Set the product or group of products in the position you want customers to find when they open the mailer. Measure its longest footprint side, the other footprint side and its total height. Check the largest real unit, not only the neatest one. For apparel, measure a normal finished fold; for multi-item kits, measure the arrangement with every component present.
Write dimensions in inches as length × width × height. Also record the packed weight and any fragile edges, caps, glass surfaces or protrusions. Weight does not change the product's footprint, but it can change the corrugated structure and board specification you should use.
Decide whether the package needs an insert before adding clearance
An insert changes the dimensions you are sizing around. A cardboard cradle might add material around the sides; protective cushioning can add thickness above and below the product. Measure the complete protective assembly, not the bare item, and keep the space needed for loading and removal.
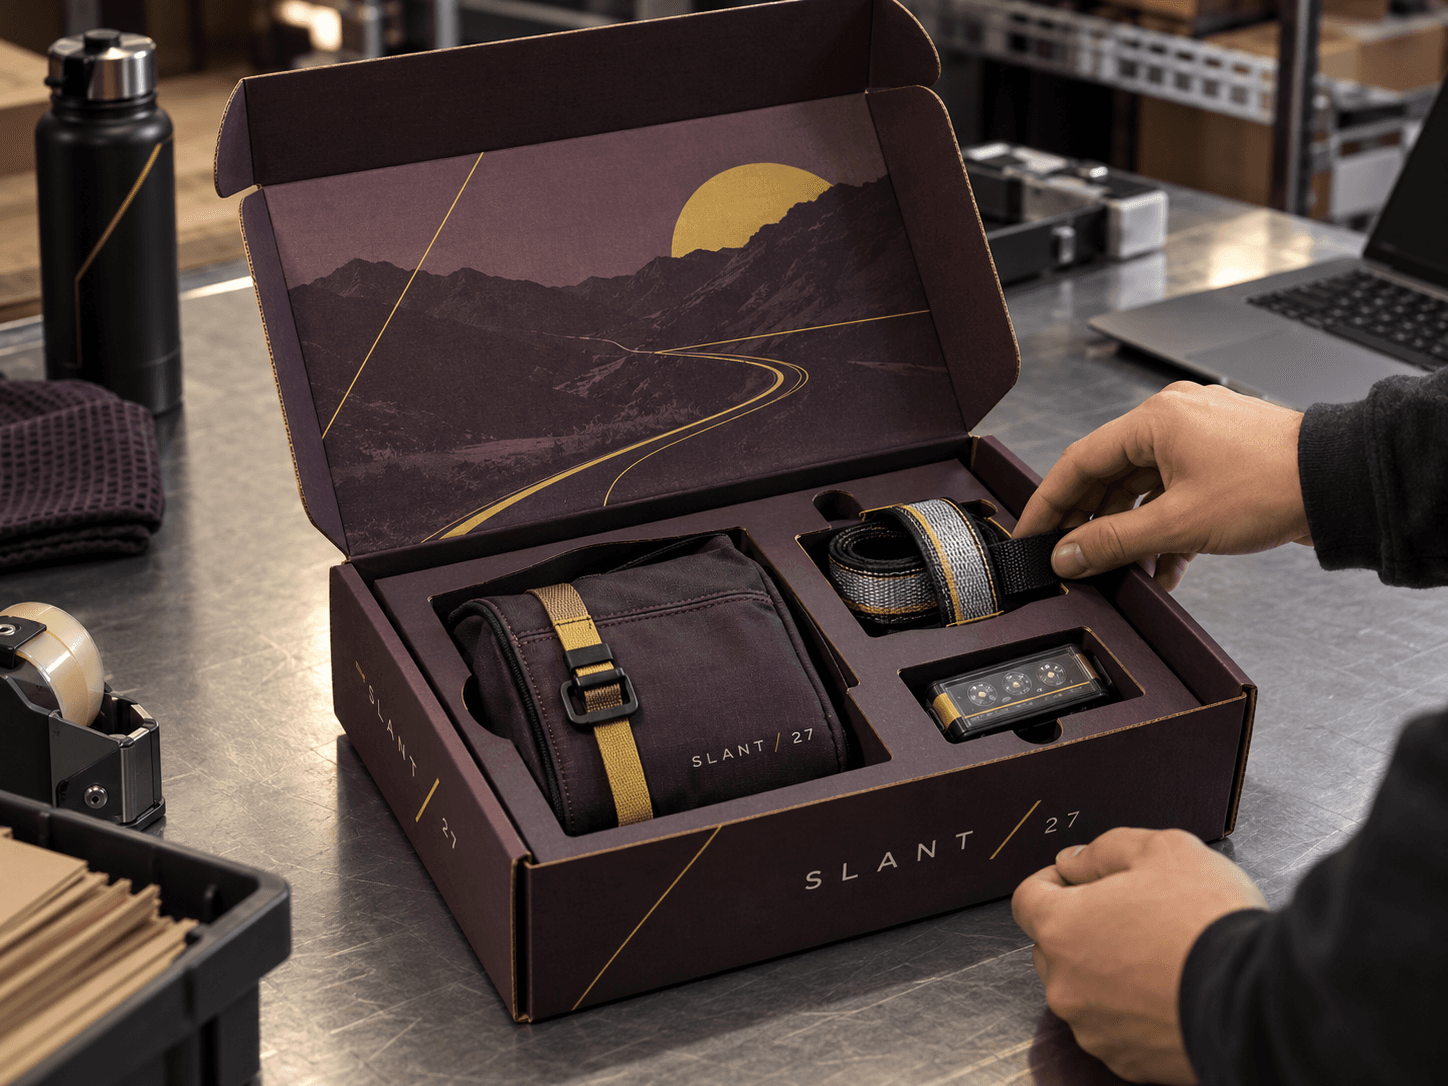
A fitted custom insert box is useful when a product must stay in one orientation or when accessories could hit each other. For other products, a close-fitting mailer with suitable structural strength may be enough. The decision comes from the item's fragility, not from a rule that every box needs an insert. Different foam, cardboard and molded-pulp inserts also occupy different amounts of space.

Convert Product Measurements Into Internal Mailer Dimensions
The dimension you need for fit is the usable internal size of the assembled mailer. Begin with the largest packed product dimensions, add the space taken by necessary protection and allow only enough working clearance for the product to go in and come out without force.
For example, imagine a product carton that measures 9 × 6 × 2 inches after wrapping. A trial mailer with a 9.5 × 6.5 × 2.5-inch usable interior might be a sensible prototype. That is an illustration, not a universal allowance: a flexible garment, a glass container and a precisely fitted electronics kit will need different clearances. Test the actual contents before approving production.
Internal size and external size are not interchangeable
The inside determines whether the product fits. The outside determines how much space the finished parcel takes up in transit. Corrugated board has thickness, and foldovers, rolled edges and doubled panels affect usable clearance. A supplier's stated dimensions should say whether they refer to the interior or the assembled exterior.
Do not take the outside dimensions of an existing box and assume the same figures will work as the inside dimensions of a replacement. Likewise, a dieline's flat measurements cannot be read as three assembled internal dimensions. The actual construction controls the conversion.

Pay particular attention to usable height
Height is often the dimension that fails first. A product may sit comfortably in the base, yet the lid presses against a bottle cap, tissue-wrapped clothing or the top of an insert. The lid and locking flaps must sit in their designed positions without bending or springing open.
Try closing the prototype several times, both carefully and at normal packing speed. If the lid is forced, the box is too shallow for that packout, regardless of whether the bare product dimensions appear to fit.
How Much Empty Space Should You Leave?
There is no reliable one-size-fits-all gap around a mailer box product. A few fractions of an inch may be enough for an already boxed, nonfragile item; a breakable product might need a properly designed cushioning system and more room. The objective is controlled clearance, not zero clearance.
Too much empty space can let an item accelerate and strike the inside walls. Too little can transfer compression directly to fragile surfaces or make the box difficult to load. The amount of space should be justified by something concrete: insert thickness, cushioning performance, the shape of the product or the motion needed to close the box.
For repeat ecommerce product mailers, pack a few real orders rather than relying on a single perfect arrangement. If the product shifts when the sealed mailer is handled normally, revisit the fit and protection before changing the artwork.
A Customer Wanted No Insert. The Box Was the Problem.
One customer had been using a mailer that was much larger than the product. They did not want an insert, but the product had room to move around inside the box, and damage was occurring during shipping. Adding more decorative packing material would not have addressed the basic mismatch between the product and its container.
We changed the box dimensions so the product fitted much more closely and specified thicker corrugated walls for the shipping job. The new configuration reduced the space in which the product could move, while the stronger walls provided better structural protection. It solved the customer's immediate fit problem without requiring the insert they wanted to avoid.
The lesson is not that inserts are unnecessary. It is that the first response to movement should be to inspect box geometry. A stronger, smaller box can sometimes be the right answer; in other cases, snug contact with the walls can expose a fragile item to impact. That distinction should be tested, not guessed.

When damage persists despite adequate fit, the next questions concern orientation, weak points, cushioning and transit handling. Those are different decisions from simply choosing a size, and they are worth checking against shipping damage and packaging fit.
Measure the Mailer Around the Way It Closes
A mailer does not behave like an empty rectangular container with a separate removable lid. In common roll-end and tuck-front constructions, flaps, rolled sidewalls and a front locking panel all occupy space or rely on particular fold geometry. Your selected interior dimensions must work with the actual closure.
Length and width: choose the orientation that packs naturally
Start with the product's footprint, then decide which side should face the front opening. Put the most delicate face or tallest protrusion away from an area that could be pressed by a tuck flap. If staff will pack hundreds of orders, the chosen orientation should be obvious and repeatable without rotating the product until it fits.
Depth: allow the lid to close without acting as a clamp
Measure stacked contents at their highest real point. Check the lid's underside, the front tuck and any folded panel that enters the usable interior. A mailer that looks fine while open can fail once assembled. Consider board thickness and how the corrugated folds behave before finalizing the depth.
The final choice of stock, flute, board strength and any protective elements should be checked against actual packaging materials and production capabilities, because changing the construction after selecting dimensions can change the usable interior.
One Mailer Size or Several? It Depends on How You Sell.
A common mistake is ordering one mailer size for every product without looking at what normally ships together. Another is ordering a different box for every item before knowing whether the volumes justify the additional inventory. Both approaches can waste money.
For smaller quantities, one box plus different inserts may be practical
My first question is whether customers usually order these products separately or together. When the quantities are relatively small and the packed footprints are not wildly different, I often recommend one suitable outer mailer size with different inserts for different products. That can reduce the number of box types to order and store, while still giving each product a controlled fit.
This approach makes sense only if the insert holds the smaller product securely and the largest product does not strain the closure. An oversized common box that requires large amounts of loose filler for every order is not a meaningful saving.
For larger quantities, dedicated sizes become more attractive
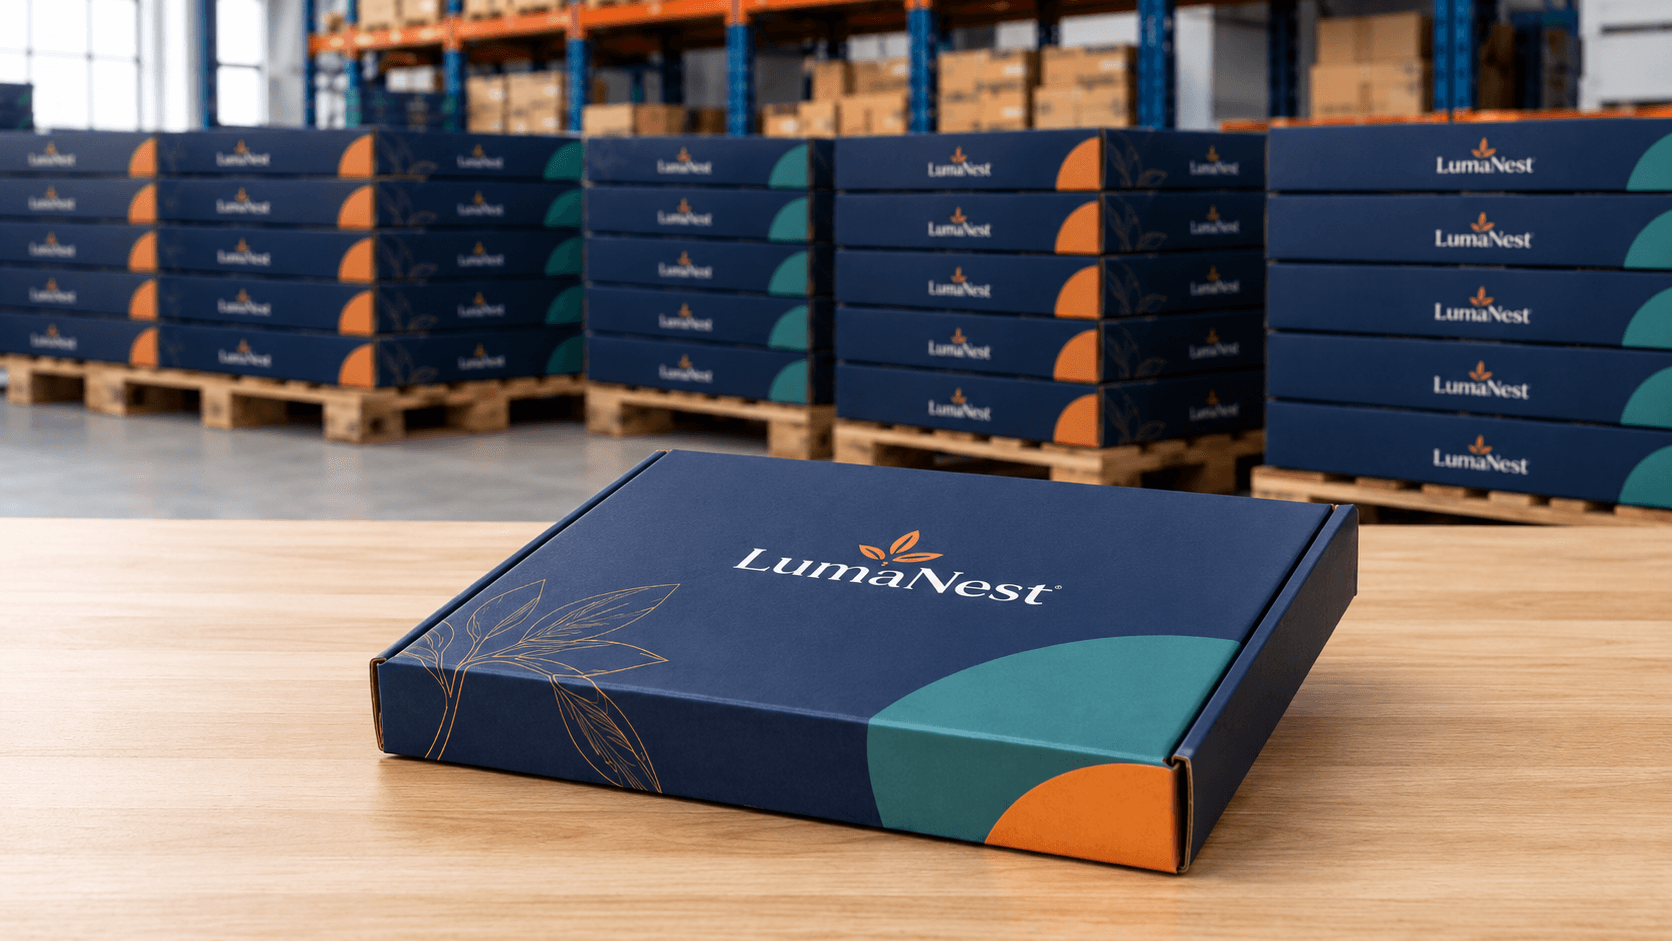
When order volume grows, I am more likely to recommend separate mailer dimensions for distinct products or groups of products. It can improve pack speed, reduce filler requirements and make the customer experience more consistent. The purchasing decision should be based on the real order mix, not simply on the number of SKUs in a catalog.
An order of around 5,000 boxes may give more flexibility to specify stronger packaging while keeping the unit cost competitive. That is a practical production observation, not a fixed price threshold. Board grade, box dimensions, printing, tooling, the number of designs and the quantity of each size all affect the actual economics.
When comparing one-versus-several sizes, record how many shipments fall into each product-size group, which combinations ship together and how many empty cartons your operation can store. Only then compare the total cost of separate sizes against a common size with inserts.

Box Size Affects Shipping Cost, but Not in a Simple Way
Carriers measure the outside of the closed parcel, not the interior that holds your product. Larger external dimensions can increase dimensional weight, which some services compare with the package's actual weight when determining billable weight. The applicable divisor, measurement rounding and charges depend on the carrier, rate type and shipment.
Take two illustrative finished parcels: 12 × 10 × 4 inches contains 480 cubic inches, while 14 × 12 × 6 inches contains 1,008 cubic inches. The larger one occupies more than twice the volume even though each dimension increased only a little. That does not mean shipping will cost twice as much. It means the outer dimensions deserve attention before you finalize a mailer.
The shipping decision should follow the protection decision. A smaller box that causes damaged shipments is not a saving. A larger box with unnecessary air space may also increase material consumption, filler use and packing labor. For carrier-focused dimensions and standard shipping cartons, compare standard US shipping box sizes with the actual assembled mailer you intend to send.
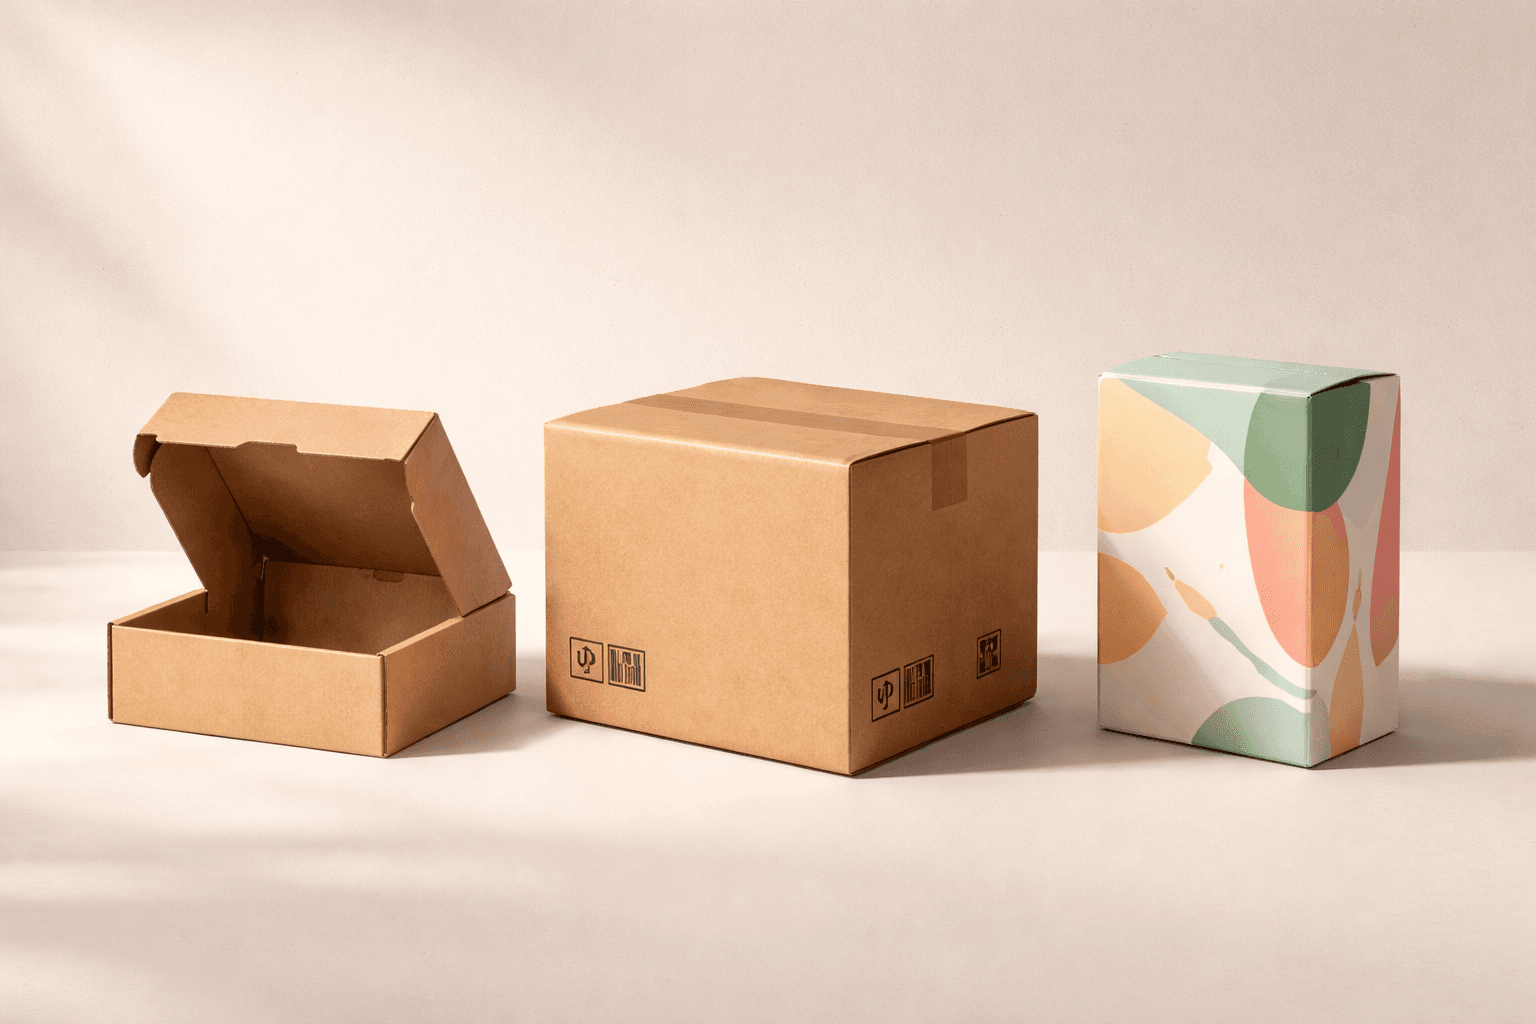
If the product is heavy, unusually fragile or shipped as part of a larger case, a corrugated shipping box may suit the transit job better than a presentation-led mailer. Do not force a mailer structure onto a shipment simply because the internal dimensions can be made to fit.

Three Sizing Situations Worth Testing
A folded T-shirt or lightweight apparel item
Measure the garment after it has been folded and placed in the actual tissue or sleeve. It may compress slightly, but do not rely on forcing the fabric flat to close the lid. Test how the fold behaves after the packed box is handled and stacked. Too much empty depth usually creates a messy opening rather than a premium one.
A skincare bottle with a pump
Measure the full height including the pump, cap and any sealed protective wrapping. Decide whether the bottle will lie flat or stand in a cradle. Check that it cannot slide into the tuck area or receive direct pressure from the lid. If the container is glass or otherwise fragile, do not assume the box walls alone provide sufficient cushioning.

Three accessories with different footprints
First decide whether they usually ship in one order or three separate orders. For occasional low-volume shipments, try one practical outer size with inserts that locate each item. If the products sell separately in much higher volumes, prototype two or three box sizes and compare real packouts, storage needs and procurement quantities before standardizing.
Sizing Mistakes I Would Correct Before Approving Production
The most expensive sizing errors are usually decisions made too early, before anyone has handled the finished packout. These are the problems I would challenge first:
A 3D mockup can make proportions and printed artwork easier to approve, but it cannot show every compression point or reveal how a loosely supported product behaves during shipping.
Confirm the Size With a Real Packing Trial
Before a production run, assemble a representative mailer in the intended board and place the complete product inside it. Close it at normal packing speed. Check for bowing, resistance, shifting, pressure points and scuffing. If the contents are fragile, use an appropriate transit-testing approach rather than relying on a shake test alone.
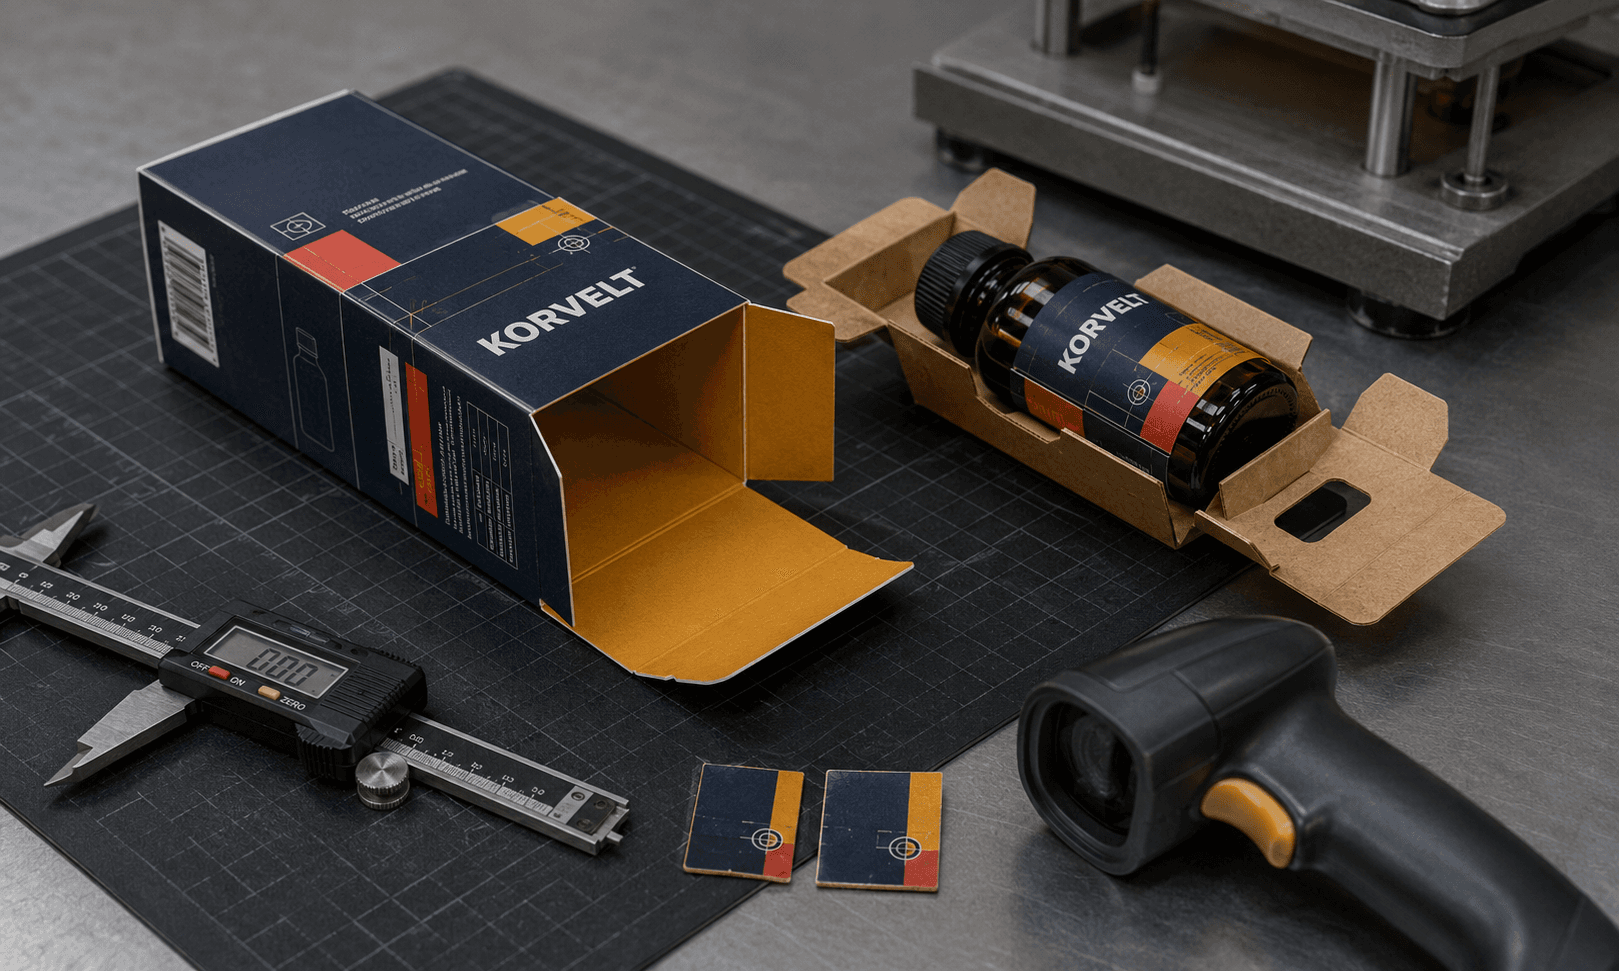
Once the fit is proven, the dimensions can be carried into the structural layout. You can begin planning the cut and crease geometry with the dieline generator, but the final production dieline still needs to match the actual structure, material thickness and closure.
Keep a simple record of the final internal length, width and height, outside dimensions, board construction, packed weight, insert specification and which products fit. That single record is particularly useful when you reorder or add another SKU.

The Best Mailer Size Is the One You Can Repeat Confidently
A good mailer specification makes the product easy to pack, protects what is fragile and does not make the customer open a box full of wasted space. I would rather spend time proving the right dimensions than win a small unit-price saving on a box that does not fit its job.
When you're ready to price a custom size, share the packed product dimensions, quantities, shipping destination ZIP code, product weight, whether items ship together and whether inserts are acceptable. Those details make an instant packaging quote more useful than sending only a preferred box size.
Custom Packly can help turn those measurements into a practical mailer specification, with design and dieline support and a 3D mockup to review before final approval. The key decision remains the same: prove the physical fit first, then make the packaging look the way your brand deserves.