Getting custom mailer boxes made for your business starts with the product, not a box design. Measure everything that will go inside, decide how the parcel must survive shipping, choose a suitable corrugated mailer and confirm the insert or padding before approving artwork. Then compare quantities, review a dieline and 3D mockup, check product fit and authorize production.
Box size influences more than board usage. It determines how inserts locate the product, how long each order takes to pack and what the carrier handles. Fit, closure and artwork need to be assessed as one specification; otherwise a convincing design proof can become an awkward box on the packing bench.
Begin With the Product You Actually Ship
A product photo is a poor substitute for a packing trial. Items that appear to fit neatly may require extra height or side clearance once protective wrap, accessories and printed inserts are added.
Measure the complete packed product, not just its label dimensions
Start with the actual finished item. Measure length, width and height in inches, including lids, caps, handles and anything that extends beyond the main body. Record the weight of the packed contents. If you sell apparel, measure the folded garment as it will leave your packing station, not the unfolded size on a product listing.
Next arrange every item that must ship together: tissue, instruction cards, accessories, samples and inserts. Measure the resulting footprint and tallest point. An insert raises the product or adds side clearance; it must be considered before the mailer's internal dimensions are final.
Do a hands-on trial with the intended packout. The contents should go in without force, sit securely and leave enough room for the lid to close naturally. Too little clearance risks crushed corners and stressed closures. Too much leaves room for movement, excess filler and unnecessary parcel volume.

If you're still deciding how the packed item should sit in its enclosure, custom product packaging can be specified around the item's actual dimensions, weight and weak points.
Make the size work for daily packing
A box that passes one careful trial may still slow a fulfillment team. Have someone pack it in the same sequence used for customer orders. Watch for a lid that needs pressure, a product that has to be repositioned or an insert that is easy to place backward.
Check a few representative units, especially if handmade products or apparel bundles vary slightly in size. The objective isn't a zero-gap cavity; it's a consistent fit that protects the contents without making assembly difficult.
Select a Mailer Structure for the Shipping Job
Most branded ecommerce mailer boxes use a one-piece corrugated structure with a hinged lid. But front closures, sidewalls and insert layouts differ, and those details change how easily the box packs and how securely it stays closed.
Match the closure to the weight and fulfillment routine
Roll-end tuck-front mailers suit many lightweight ecommerce shipments. The folding sidewalls create a defined frame and the front tuck makes the lid easy to open. Tab-lock mailers can add a more positive mechanical closure. Self-sealing and adhesive-strip formats may be worthwhile when reducing repeated taping steps matters at higher volume.

The best option depends on packed weight, lid pressure, the carrier journey and your team's packing sequence. For a first order, start with the actual structures offered under custom mailer boxes, then narrow the choice based on the job.
If the order is particularly heavy, fragile or likely to face demanding stacking, a traditional shipping carton may be more appropriate than a presentation-style mailer. Don't force a format to do something its construction is not suited to do.
Choose corrugated board on performance, not appearance alone
Corrugated board has a fluted middle layer between liner surfaces. Flute profile, board construction and the package's dimensions affect rigidity, fold behavior, crush resistance and print appearance. A thicker board is not automatically better for every product.
A compact, lightweight apparel shipment may need a different construction from a dense electronics kit. Kraft and white liners also change the visual result: white tends to provide a brighter printing base, while ink printed on kraft must account for the brown background. Ask the manufacturer to recommend the board after reviewing the contents and shipping conditions.
A California Ecommerce Customer With Three Products
One California ecommerce business came to Custom Packly needing approximately 50,000 mailer boxes each month. The company sold three products, which created a practical packaging question: how should the products be held securely without treating every shipment as an entirely separate packaging project?
For this three-product range, the recommendation was to use differently sized inserts so each item could sit securely inside its mailer. The important decision was made around the individual product fits, rather than treating the outside box as the entire specification.
The customer continues placing orders and has told us they're happy with the arrangement. What makes this example useful isn't an unverified cost-saving percentage; it's the decision to treat the product mix and inserts as part of the mailer specification from the start.

What other businesses can take from this case
When you sell several products, decide whether the differences belong in the outer box, the insert or both. Sometimes a shared outer format with carefully sized inserts simplifies purchasing and keeps the unboxing presentation consistent. Sometimes product dimensions or weights differ too much, and separate mailer sizes are the better solution.
The decision must be tested against actual packouts. A smaller item shouldn't rattle inside a large box just to reduce the number of packaging SKUs. Inserts also have a material and assembly cost, so they should solve a real fit or presentation problem.
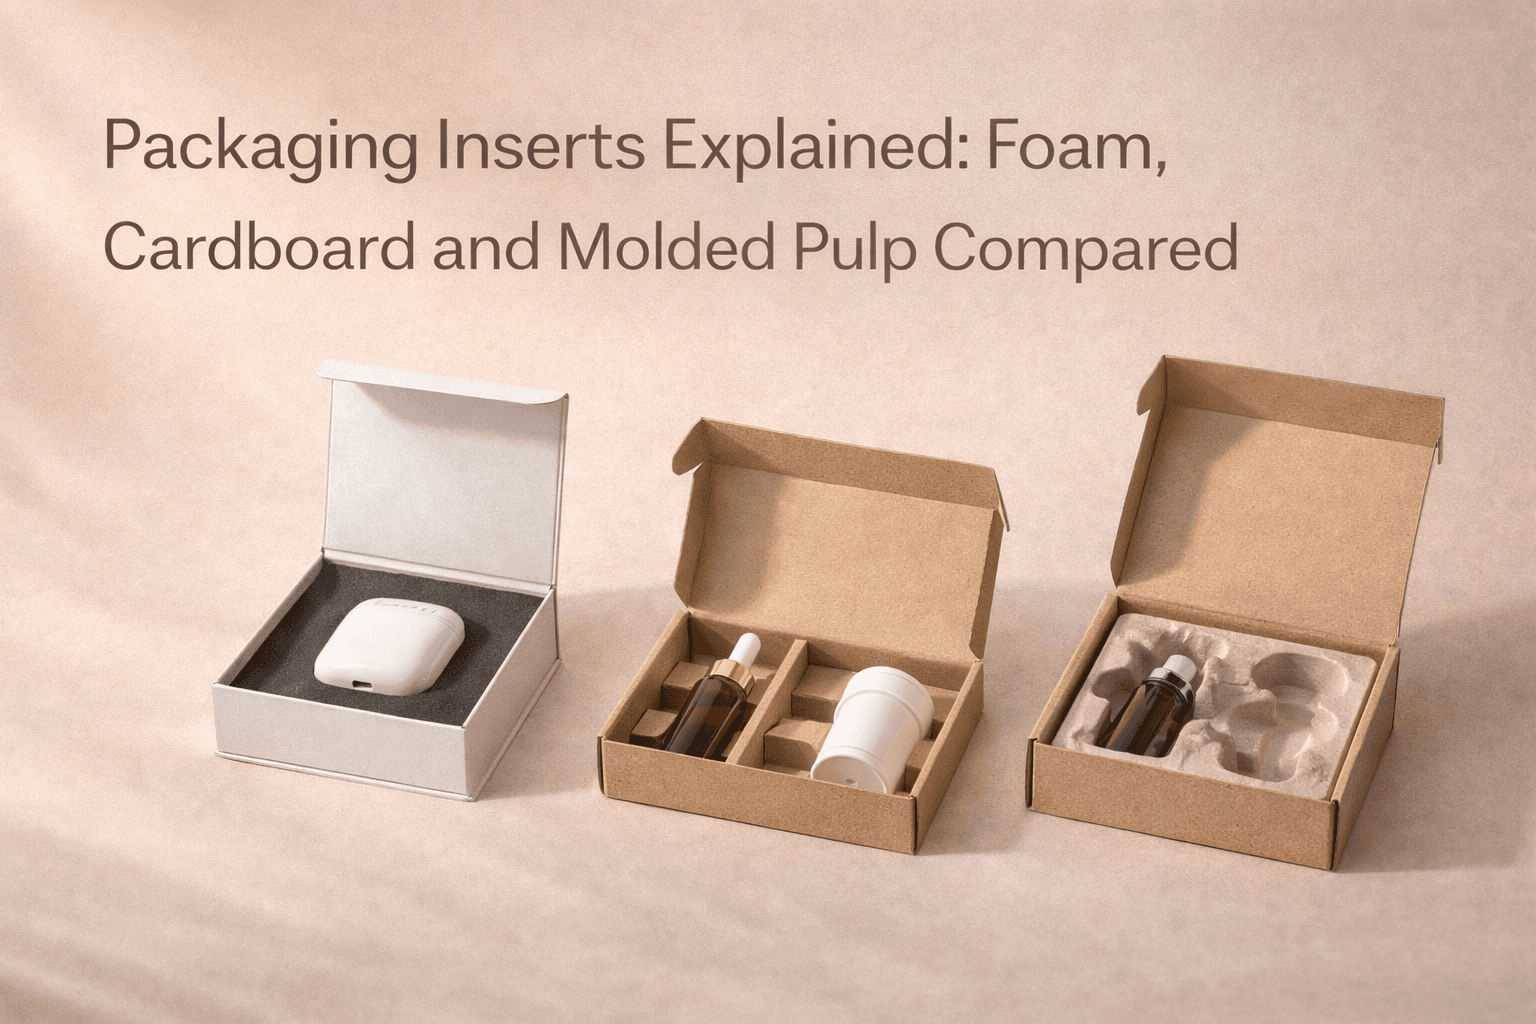
For a closer look at when an insert makes sense, compare cardboard, foam and molded-pulp insert options based on movement, cushioning and how the product is presented.
Balance Cost, Protection and the Unboxing Moment
A printed exterior cannot compensate for an unstable packout. Board strength, product restraint, packing effort and presentation should be judged together. An insert that prevents movement may earn its cost; an elaborate finish that adds no value to the shipment may not.
An oversized printed mailer may look dramatic when opened, but it can consume more corrugated board, require more void fill and create a larger parcel. A smaller mailer may improve efficiency, but only if it doesn't compress the product or make a carefully packed order look cramped.
Spend on choices the customer will notice or the operation will benefit from
An accurate size, reliable closure, clean print and well-organized contents often matter more than an expensive finishing effect. If the exterior will carry a shipping label and handle warehouse wear, a restrained design may work better there. The inside lid can be the right place for a brand message or stronger visual reveal.
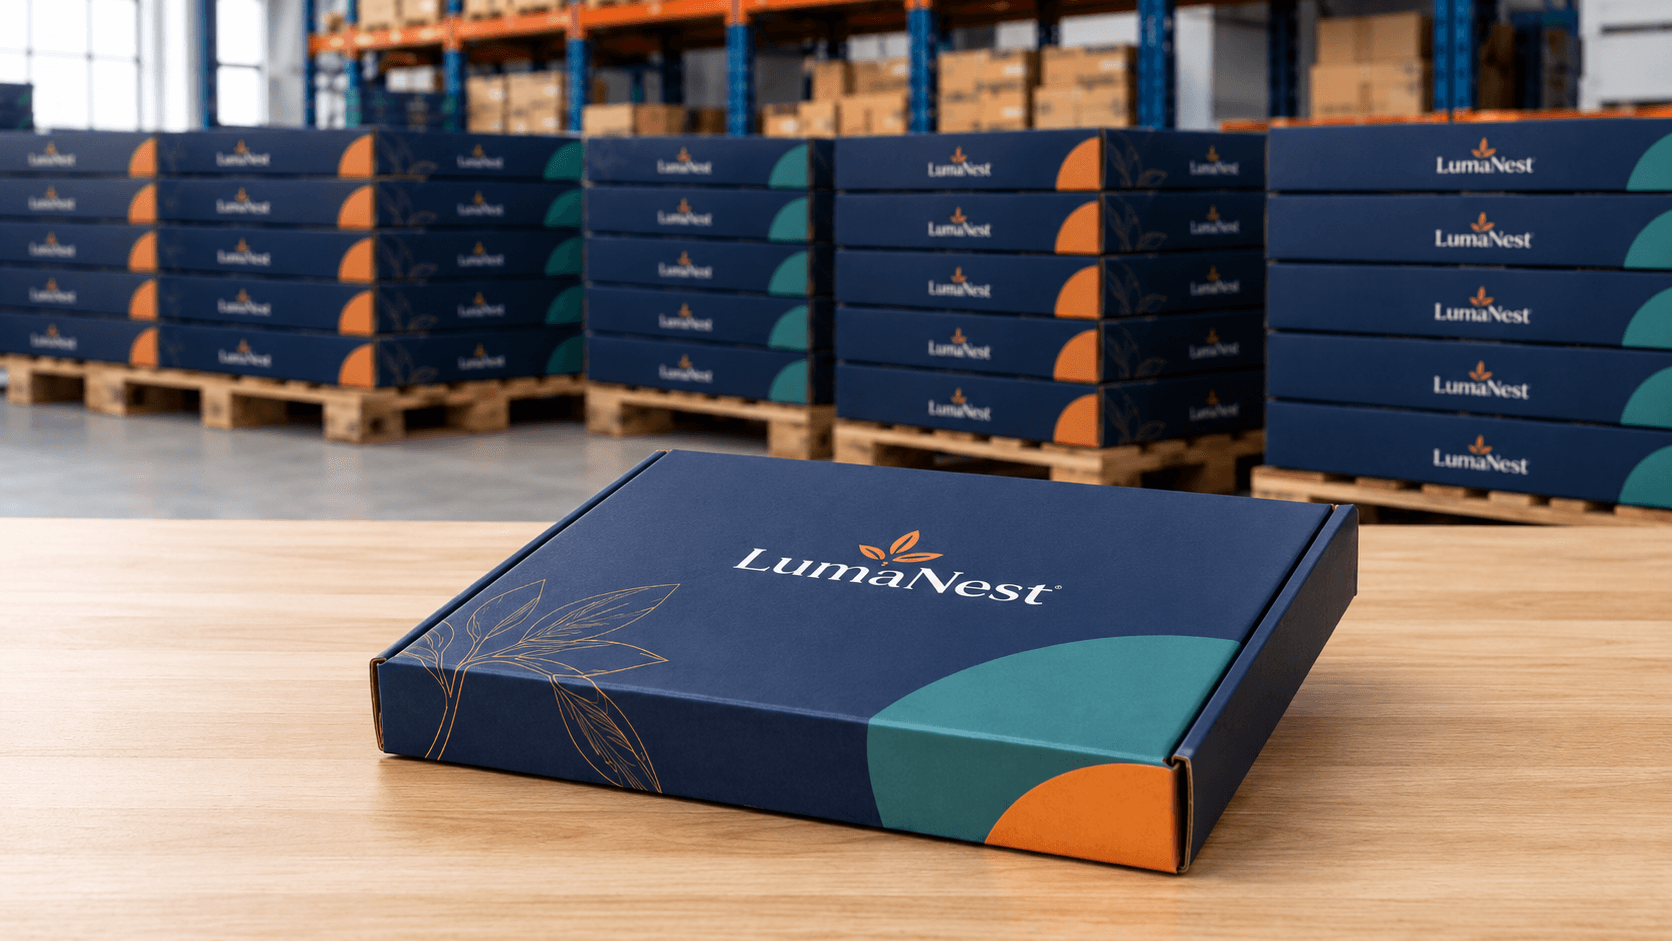
Consider printed branded mailers when a recognizable shipping box and a controlled unboxing experience are both part of the brief. Keep a usable label area on the outside; don't place crucial artwork where carrier labels are likely to cover it.

Compare total packaging cost, not only the box price
A quote per box doesn't tell the whole story. Consider protective inserts, tissue or filler, packing labor, storage, damage risk and the shipping dimensions of the packed parcel. A slightly higher unit price could be justified by better fit or easier packing; a cheaper structure can be the right choice if it performs equally well.
Don't assume a more complicated insert or printed finish will improve the result. Ask what problem that additional component solves, then compare the complete cost of each feasible specification.
Turn a Packing Trial Into a Production-Ready Mailer
Finished artwork isn't a prerequisite for starting the order. What matters first is agreeing on what the mailer has to hold, how it will travel and how the packing team will use it. The checkpoints below put those decisions ahead of print approval.
1. Discuss the product and order requirements
Tell us what you're shipping, the packed dimensions and weight, any fragile components, the expected quantity, destination ZIP code and target date. Share photos or existing packaging if you have them. If you sell several products, include the major size differences and the order mix rather than sending just the largest item's measurements.
2. Recommend dimensions, material and insert approach
We use those details to recommend a mailer size, suitable corrugated construction and closure. We also discuss whether the contents need a fitted insert, divider or cushioning. This is the point to challenge an off-the-shelf size if it leaves unnecessary void space.
3. Prepare the dieline before finishing the artwork
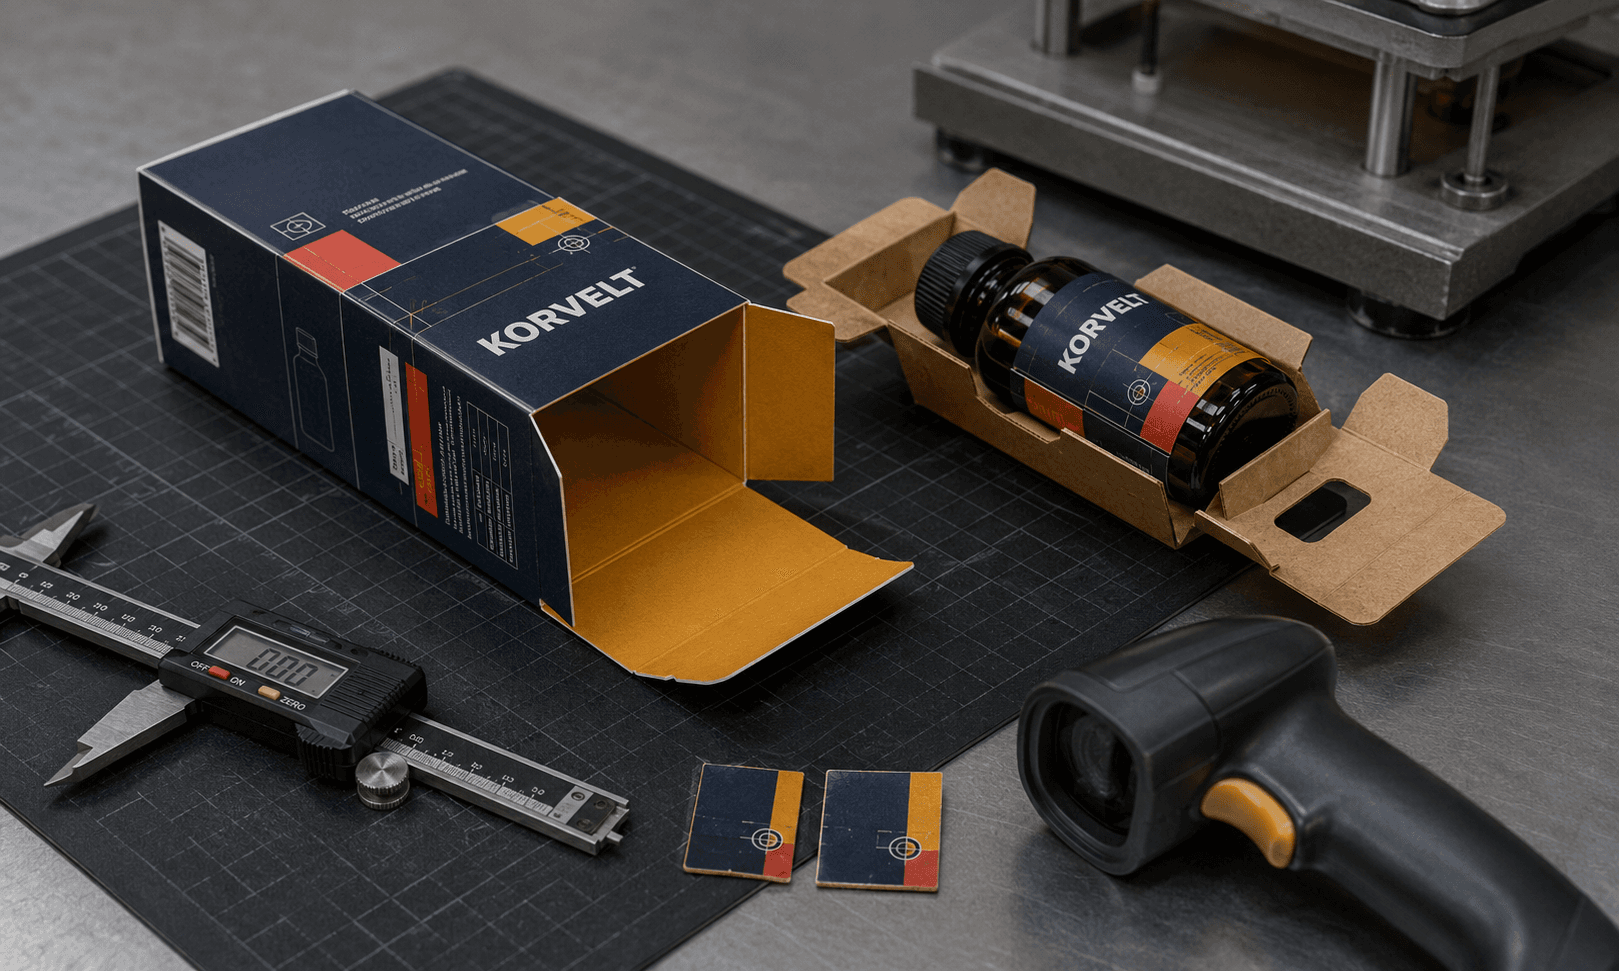
A dieline is the flat production layout showing panels, cuts, crease positions and safe printing areas. Mailer graphics must line up correctly after the sidewalls and lid are folded. A logo placed over a crease or a front tuck may appear differently on the assembled box.
Our team can help prepare and check dielines. For supported structures, the free dieline generator lets you start with dimensions and inspect the basic flat layout. If this is unfamiliar, packaging dielines, cut lines and artwork setup show the distinctions worth checking before design approval.

4. Review a 3D mockup and approve the design
A free 3D mockup helps you see the assembled structure, outside design and planned inside artwork. Check panel direction, spelling, logo placement, color expectations and the location of the shipping label. Premium offset printing is available when the approved design calls for high-quality, consistent print production.
A digital mockup is a visual approval tool, not proof that the physical product fits. Treat those as separate checks. Where an exact physical prototype is needed, fully custom pre-production samples are paid; examples of previous work may be available without charge.
5. Check the real packout before committing to volume
Place the product and every intended insert in a physical sample or suitable structural prototype when the project warrants it. Close and open the box repeatedly. Check product movement, closure stress, panel alignment and the packing sequence. For fragile or demanding shipments, plan appropriate transit testing rather than relying on a tabletop fit check alone.
The practical checks in custom packaging testing can help you distinguish fit approval, print approval and protection checks. No mockup by itself verifies all three.
6. Approve the final specification and begin production
Once size, structure, materials, quantity, inserts and artwork are approved, the order can move into manufacturing. The process typically includes printing, die-cutting, creasing, folding or converting as required, and quality checks before dispatch.
Custom Packly's standard US turnaround is 4–6 business days after final specifications and artwork approval for applicable orders, with free US shipping. Complex constructions, specialty materials and advanced finishes may need more time, so confirm timing for the actual specification before scheduling your launch.

For Repeat Orders, Plan Inventory as Carefully as Design
For a business reordering the same mailers every month, the cheapest unit quote can create an awkward inventory decision. Larger runs may spread setup costs but occupy more storage, while frequent smaller orders can introduce repeated purchasing and production overhead.
For suitable repeat programs, Custom Packly can arrange warehousing and scheduled deliveries. Receiving agreed releases from a larger approved run can make stock planning more manageable, but it only makes commercial sense when usage, storage and cash flow support the arrangement.
If you know the monthly usage, warehouse capacity and expected product mix, discuss them before placing a large order. It helps to estimate how quickly stock will be consumed, whether all mailer sizes move at the same rate and what happens if a design changes mid-program.
A growing business considering repeat purchases can evaluate bulk custom box ordering with production quantities, storage needs and delivery cadence considered together.
Questions Business Owners Ask Before Ordering
Can I get custom mailer boxes without finished artwork?
Yes. Begin with your product measurements, quantity, logo or visual references and the type of experience you want. The structure and dieline should be established before final artwork is signed off. Design and dieline support can help close the gap.
What is the minimum order for custom mailer boxes?
Custom Packly's US minimum starts from 100 boxes. The right starting quantity depends on your specifications and how settled your product size and design are. A small first run can be useful for validating a new setup before committing to recurring volume.
Should three products use three different mailer sizes?
Not necessarily. Group the products by packed dimensions, weight and protection needs. Try appropriate inserts if a common outer format remains practical, but use distinct mailer dimensions when the products differ enough to create excess space or closure problems. The physical packout decides.
How much do custom mailer boxes cost?
Price varies with dimensions, corrugated board, insert design, printing, finishes and order quantity. There is no trustworthy single unit price for every custom mailer. Compare quotes for the same approved specification and account for packing and shipping costs as well as the box itself.
Do I need a physical sample if I have a 3D mockup?
A mockup is useful for visual review but cannot confirm material feel, exact product fit or transit performance. For a new structure, fragile contents or a large production commitment, a physical sample or prototype is a sensible validation step.
When should I request a price?
Once you know what the box must hold and have an estimated quantity, you have enough information to start. The dimensions and material direction can be refined with a packaging specialist. Share the product, expected run size, artwork status and delivery ZIP code when you request your custom mailer box quote.
Make the First Mailer Order Easier to Repeat
A successful first order is easier to repeat when the approved specification extends beyond the artwork file. Keep the finished internal dimensions, board construction, closure, insert layout and packing method together so a reorder does not depend on someone's memory.

For a business shipping several products, the aim is a practical packaging system rather than one supposedly perfect box. Choose the outer mailer sizes around real shipment needs, use different inserts where they solve a fit problem and document how each product is packed. That gives the next production run a reliable starting point.