Cavity Pitch Sets the Box
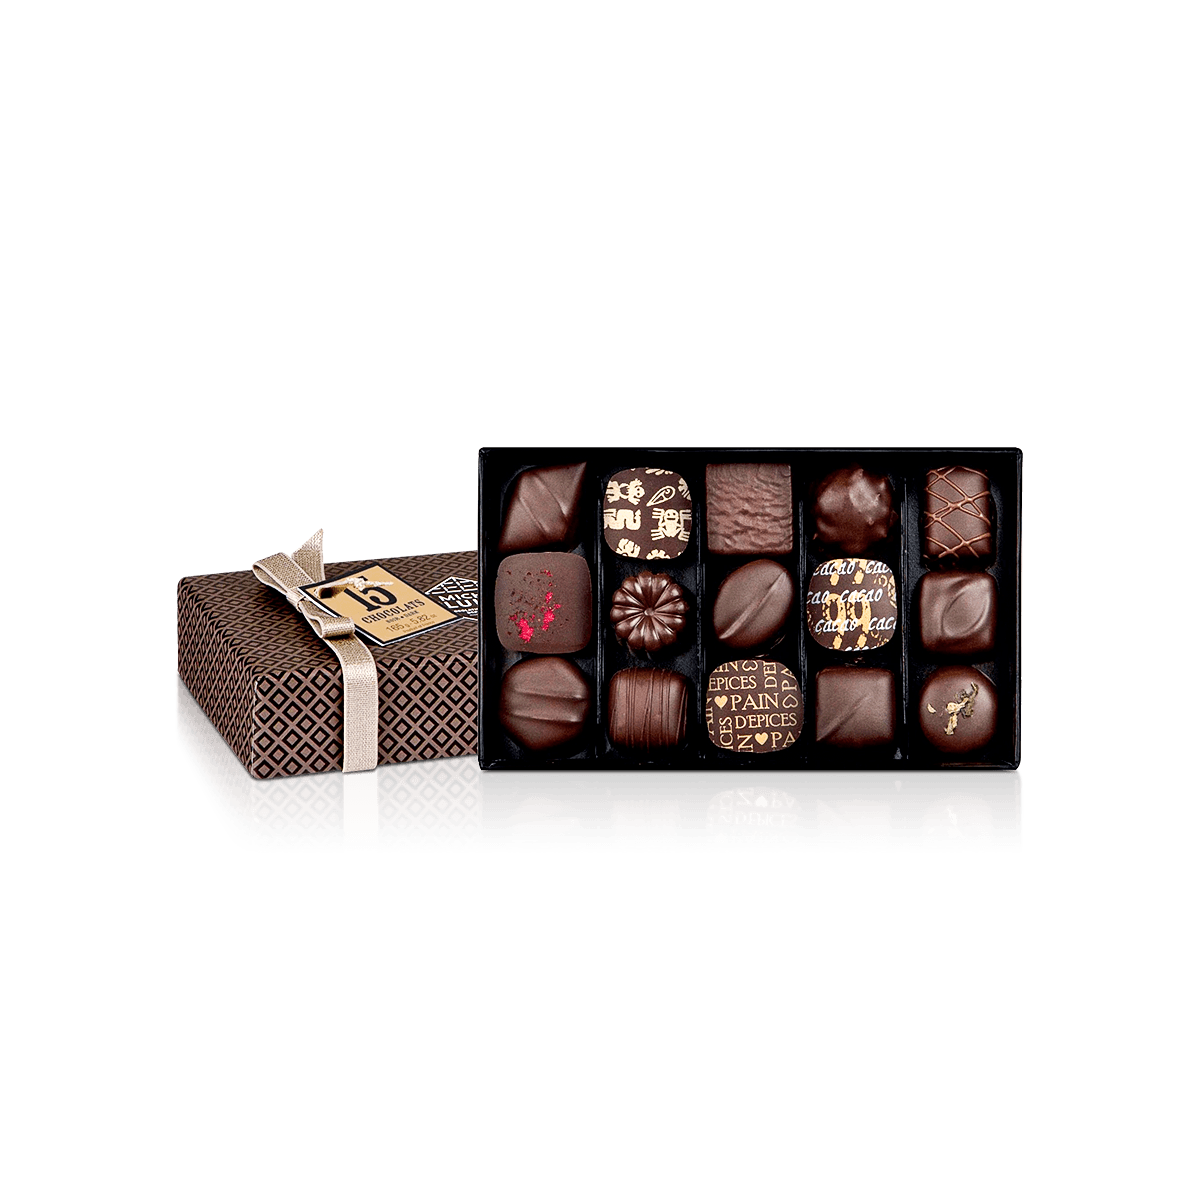
Chocolate assortments become a geometry problem before they become a print problem. A twelve-piece box can look generous from the outside and still fail if every cavity is slightly too narrow, too deep or too close to its neighbor. Repeated dimensions magnify small errors across the full tray.
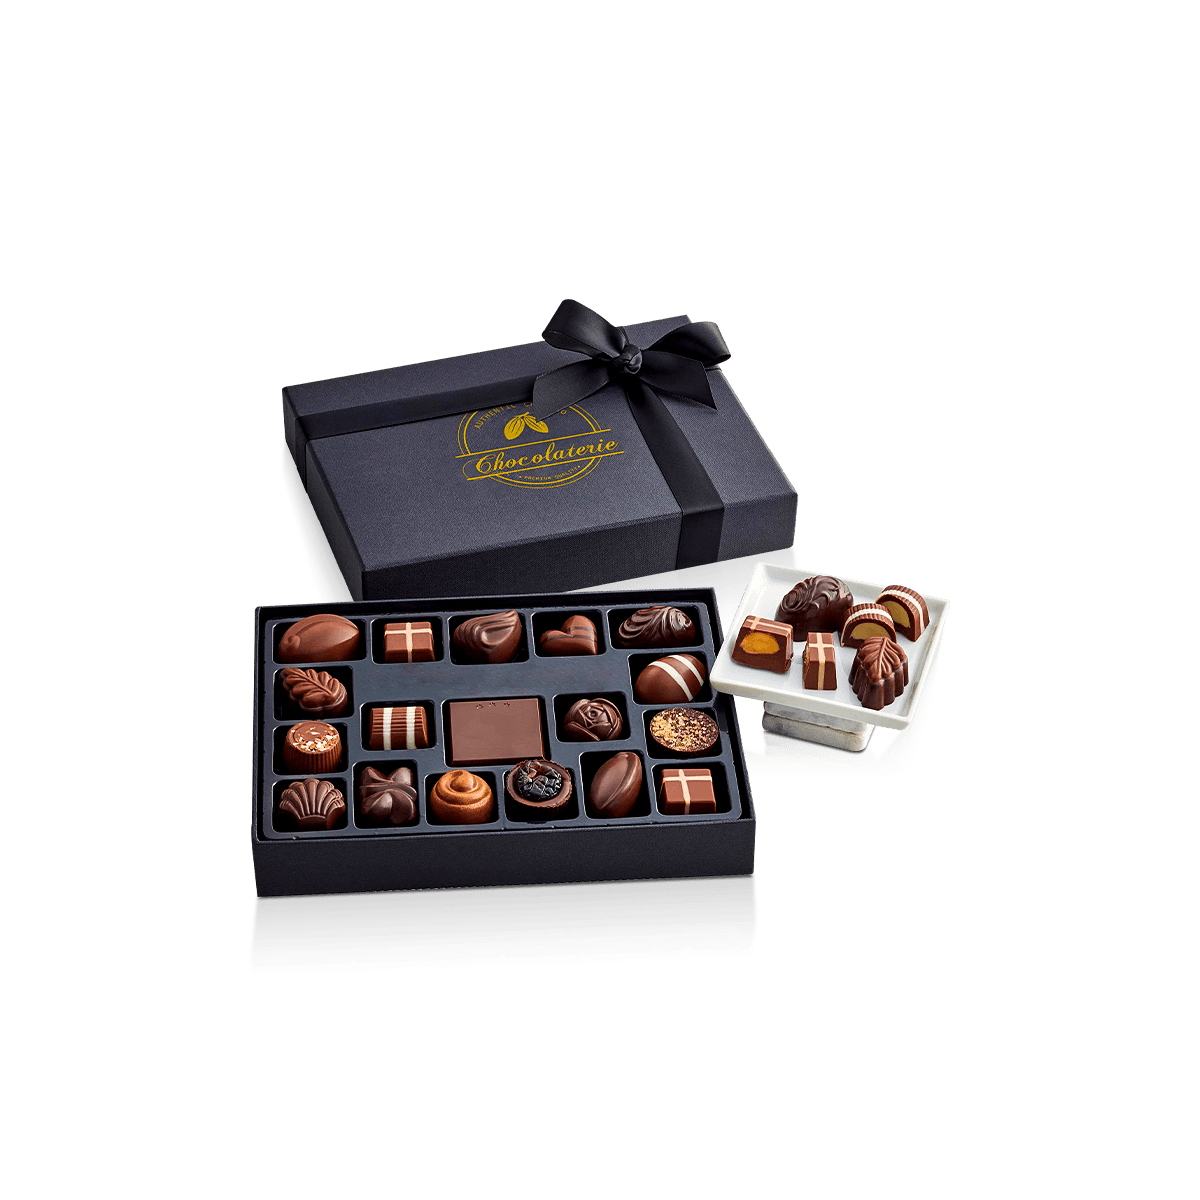
Start with the finished piece, including its paper cup, wrapper or decorative top. Map the actual count and row arrangement before setting the carton footprint. The strongest layout gives each chocolate enough positional control to stop wandering without gripping delicate surfaces.
A verified Custom Packly inquiry for a premium chocolate project used tray compartments around 35 × 35 × 27 mm. The value of that example is not the number itself. It shows why repeated cavity geometry deserves its own approval step: a small fit error is multiplied across every position.
Count Before Carton Size
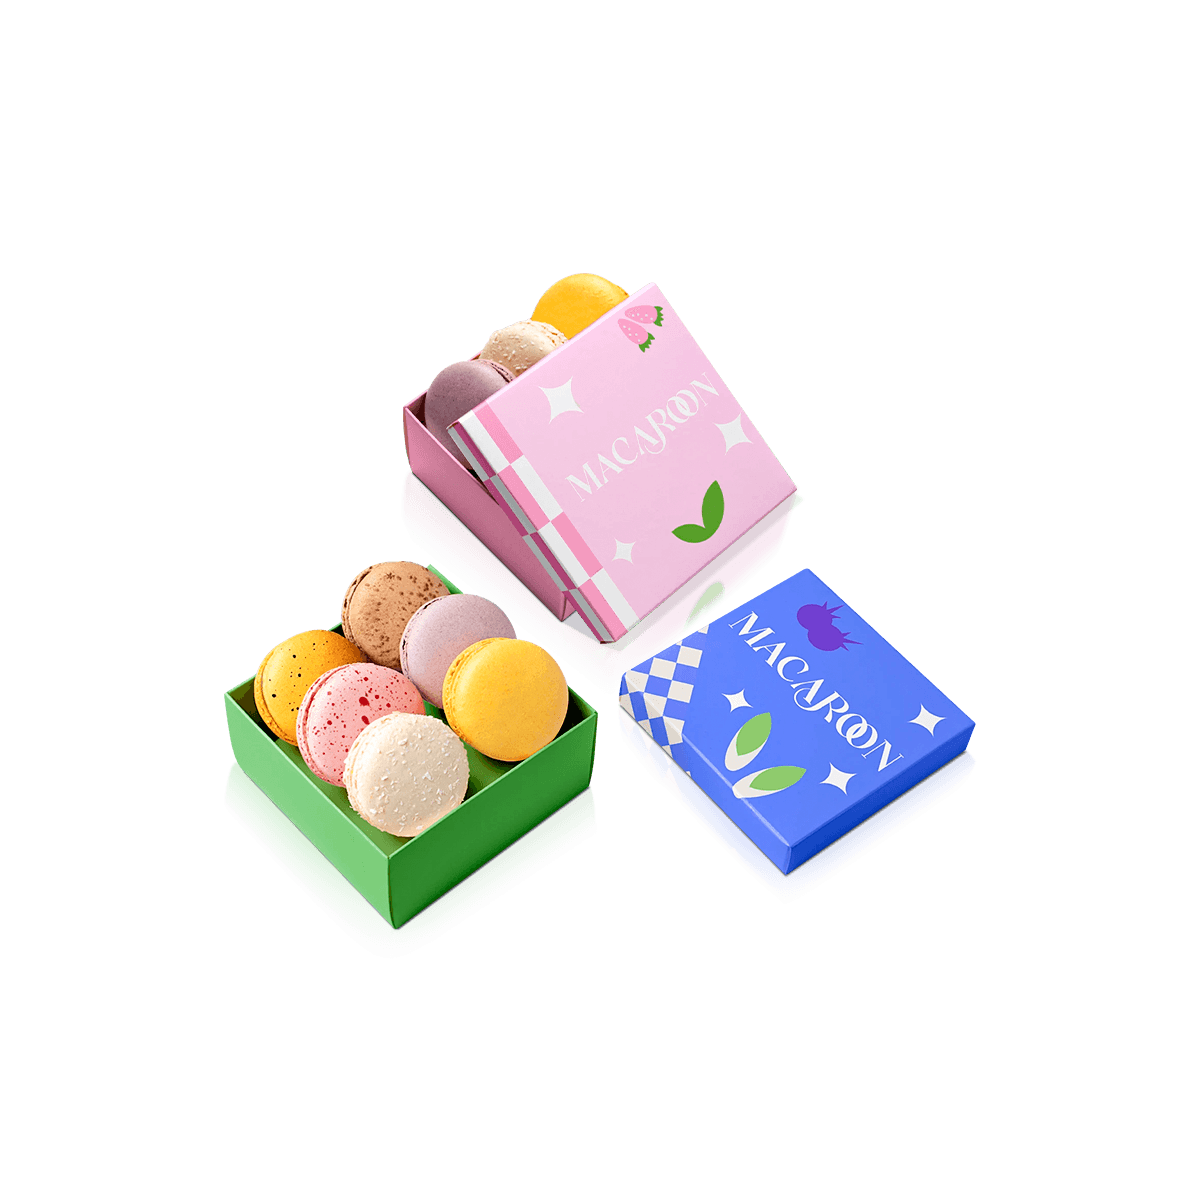
Decide the selling count first. Four, six, twelve and twenty-four pieces create different tray proportions, lid spans and removal behavior. Do not choose an outer box and then force the assortment into whatever grid happens to fit.
Mixed-piece assortments need another check. A molded centerpiece, truffle or flatter praline may not belong in the same cavity profile as every other piece.
Validate the Tightest Cavity
The most restrictive position controls the risk. Check the largest normal piece, the thickest cup and any decoration that changes the finished footprint. If that position loads cleanly without scraping and still allows removal, the rest of the grid has a stronger starting point.
A cavity grid should also be checked from the tray edges inward. Perimeter positions can behave differently from center positions because sidewalls reduce finger access and may flex less during loading.