Skip to content
Details

Custom Tool Boxes

Paperboard and corrugated tool packaging that keeps hand tools, power-tool sets and accessories organized through shipping, carrying and repeated access.

The Box Becomes a Tool Map

Custom Tool Boxes work best when the interior acts like a map of the set, not just a cavity that happens to hold metal tools. The arrangement should tell a technician what belongs in the pack, where it sits and what is missing after the job.

That changes the design priority. A hammer, ratchet, drill, wrench set or measuring instrument may all fit inside the same rectangular volume, yet they do not behave the same once someone starts removing and returning pieces. Long handles create leverage. Dense heads create concentrated loads. Loose bits migrate into gaps. Chargers, cables and batteries can cross over the main tool if they do not have their own position.

For MRO packaging, the most effective pack is usually the one that makes identification and access faster without asking the outer walls to solve every internal-control problem.

A strong layout can make an empty position obvious, keep the primary tool from burying small accessories and preserve order after the first item has been removed. That is a different job from a one-time shipment carton.
Set Logic Before Dimensions

The final box size should follow the arranged tool set, because the longest tool is rarely the only dimension that matters. The packed envelope includes handles, guards, battery packs, cords, sockets, adapters and the clearance needed to lift each piece out without tearing the insert.

Primary Tool Envelope

Measure the finished tool at its largest real points, including protruding triggers, side handles, chuck ends, clips and battery housings. Then decide its orientation inside the pack. A diagonal placement may shorten one outside dimension, but it can also complicate the insert and make accessory zones harder to use.

For a hand-tool set, lay out the tools in the order they should be seen and removed. For a power-tool set, establish the main tool position first, then battery, charger and accessory spaces around it. The goal is not maximum density. It is controlled density that a person can actually use.

Accessory Zones

Small parts should not depend on the main tool to stop them from moving. Bits, sockets, blades and fasteners need pockets, dividers or enclosed zones that still work after the large tool is removed.

If the contents are consumed as a defined service bundle rather than returned to the same pack, Maintenance Kit Boxes are the stronger direction because the packing logic centers on job completeness and component sequence.

Removal Clearance

Allow finger clearance where a tool must be lifted vertically and extra room around handles that rotate during removal. A cavity can fit perfectly and still be frustrating if a user has to pry the product out by its trigger, cable or delicate edge.

This is one reason outside dimensions should not be approved from product dimensions alone.

Paper Packaging Has a Limit

Paper-based tool packaging is not a replacement for every permanent toolbox. It is a strong fit for retail tool sets, branded service packs, training kits, sample tools, distributor programs and other uses where the box must organize and protect the set for a realistic access cycle.

A molded plastic case, EVA case or metal toolbox is usually more suitable when the container will live in a service truck for years, face frequent oil or water exposure, support very rough daily handling or be opened and closed hundreds of times.

That boundary matters because adding more corrugated board does not turn a paper package into a permanent equipment case. The structure should be matched to its actual duty.

For dense sets that mainly move through freight and warehouse handling, Heavy Duty Boxes can carry the structural burden while the organized tool pack remains focused on access and identification.

Carry Load Changes Structure

A tool box that will be lifted by hand needs different engineering from a box that sits flat on a shelf. Once a handle or handhold is added, the packed weight creates a load path through the handle cutout, top panel, side walls, base and closure.

Handle Stress

A die-cut handle removes material from the very panel that must transfer the carrying load. The board around that cutout needs enough remaining material and support so the opening does not become a tear starter.

For heavier sets, handle reinforcement or a different carrying arrangement may make more sense than simply enlarging the hand slot. The packed weight should be evaluated with the real tool set, not an empty sample.

Closure Recovery

Repeated access changes what the closure must do. A tuck tab that closes cleanly once may soften or distort after frequent cycling, especially when the user pulls against a heavy insert or overfilled accessory pocket.

During custom packaging testing, repeated opening, closing, lifting and partial unloading can reveal whether the closure still behaves correctly after realistic use.

Edge Pressure

Metal tools can focus pressure onto small areas. A wrench jaw, drill chuck or exposed metal corner can mark or puncture board even when the total packed weight seems reasonable.

Corrugated board can distribute those loads better than light paperboard in many tool applications, while an insert can move pressure away from the outer wall. White or kraft surfaces can then be selected around printing, appearance and handling rather than being asked to compensate for weak structure.

Retention After Partial Use

The insert should remain stable after any one tool is removed. That sounds simple, but many layouts depend unintentionally on the largest item to brace nearby walls, cables or accessory pockets.

Imagine a cordless drill kit packed with a drill, battery, charger, bit set and instruction card. At the start, everything fits tightly. A technician removes the drill and battery, then carries the remaining box to another area. If the insert loses support when those large pieces leave, the charger can tip, bits can migrate and the card can drop into the empty tool cavity.

The correction is not necessarily more foam. It is an interior that supports itself.

Self-Supporting Cavities

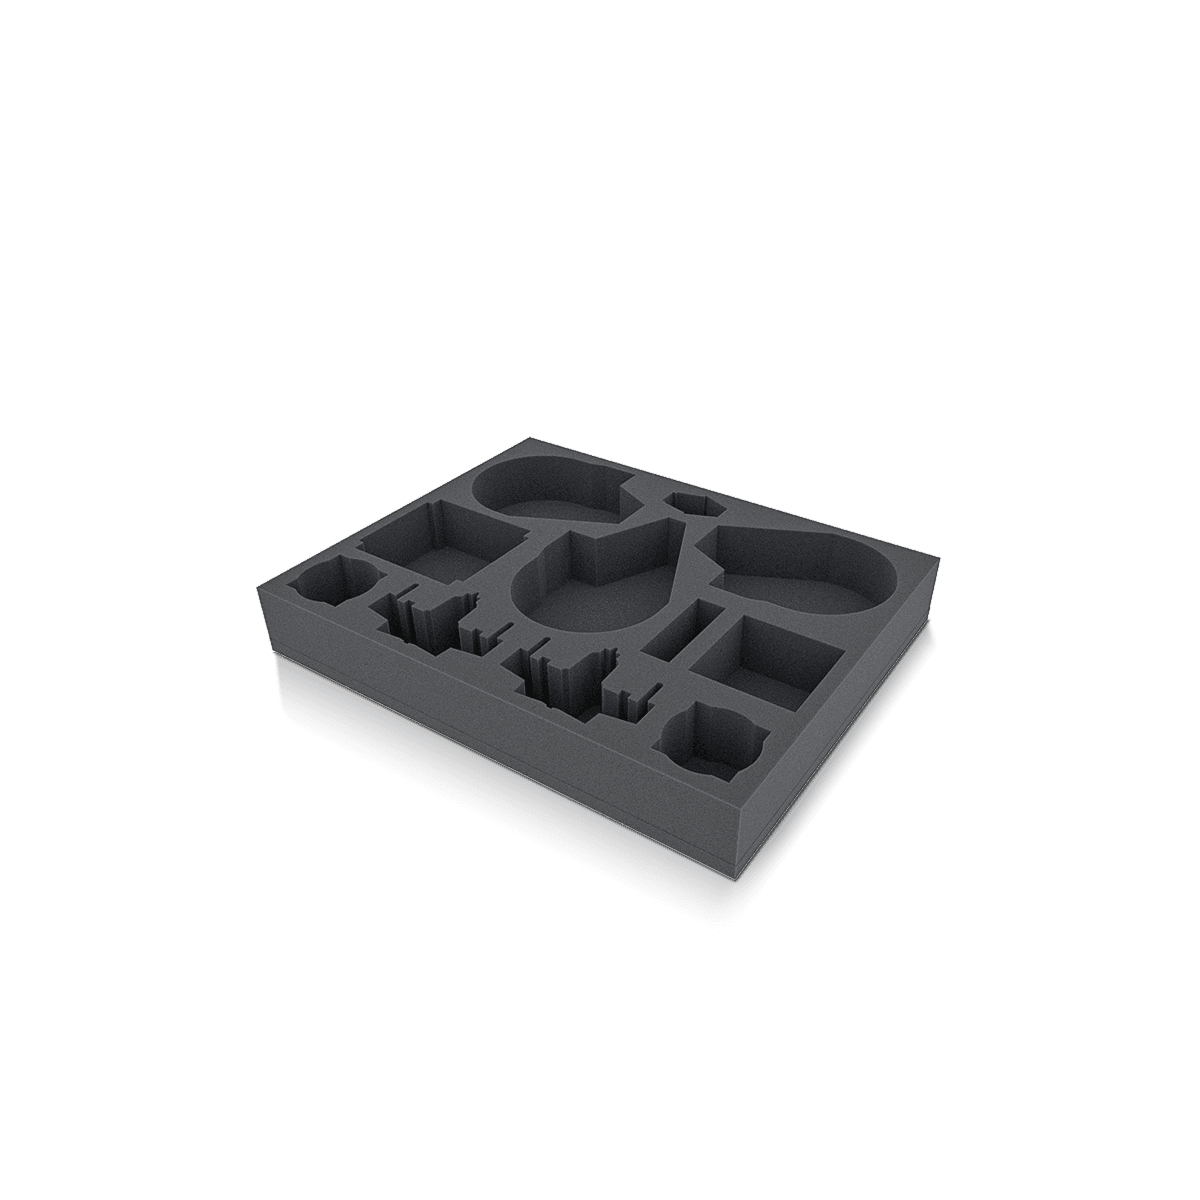
Folded paperboard or corrugated retainers can work well when the goal is organization and moderate restraint. Their walls, tabs and shoulders should stay upright without relying on the product as a structural prop.

For multi-part sets that need simple separation, Divider Boxes can create defined compartments without forcing every tool into a shaped cavity.

Fitted Retention

Scratch-sensitive instruments, precision tools or high-value components may justify closer cushioning. Foam Insert Boxes suit products that need shaped support and more impact absorption.

Paperboard, corrugated and foam should be selected according to the tool's mass, surface sensitivity, geometry and expected handling. Foam makes sense when cushioning or close retention is genuinely necessary. Corrugated and folded paperboard can be more efficient when the main job is positional control.

Finger Access

Every snug cavity also needs a deliberate removal point. Finger notches, lift gaps and exposed handle areas let the user remove the tool without pulling against a vulnerable switch, connector or cable.

Good retention means the product stays put until someone wants it out, then releases without a fight.

Retail Pack or Working Pack

A retail tool box and a working tool box can use similar materials but need different priorities. Retail packaging must identify the product quickly, carry sales and compatibility data and survive shelf handling. A working pack must make the contents easy to verify, carry and return after use.

If a set will be sold in stores, the outer panels may need space for the product name, model, included components, barcode, key specifications and any required warnings. The tool layout still matters because the customer may open the pack and keep it as the set's storage container.

If the pack moves between stockroom and job site, operational identification becomes more important. Large set names, equipment IDs, location codes or color blocks can help teams distinguish similar tool sets without opening every box.

Loose inventory that is repeatedly picked one piece at a time belongs closer to Parts Storage Boxes, where shelf access and stock control are more important than preserving one complete tool set.

Transit Is a Second Job

A box that carries tools well around a workshop is not automatically the best parcel shipper. Carrier handling adds drops, stacking, conveyor impacts, labels and tape that may conflict with repeated-access packaging.

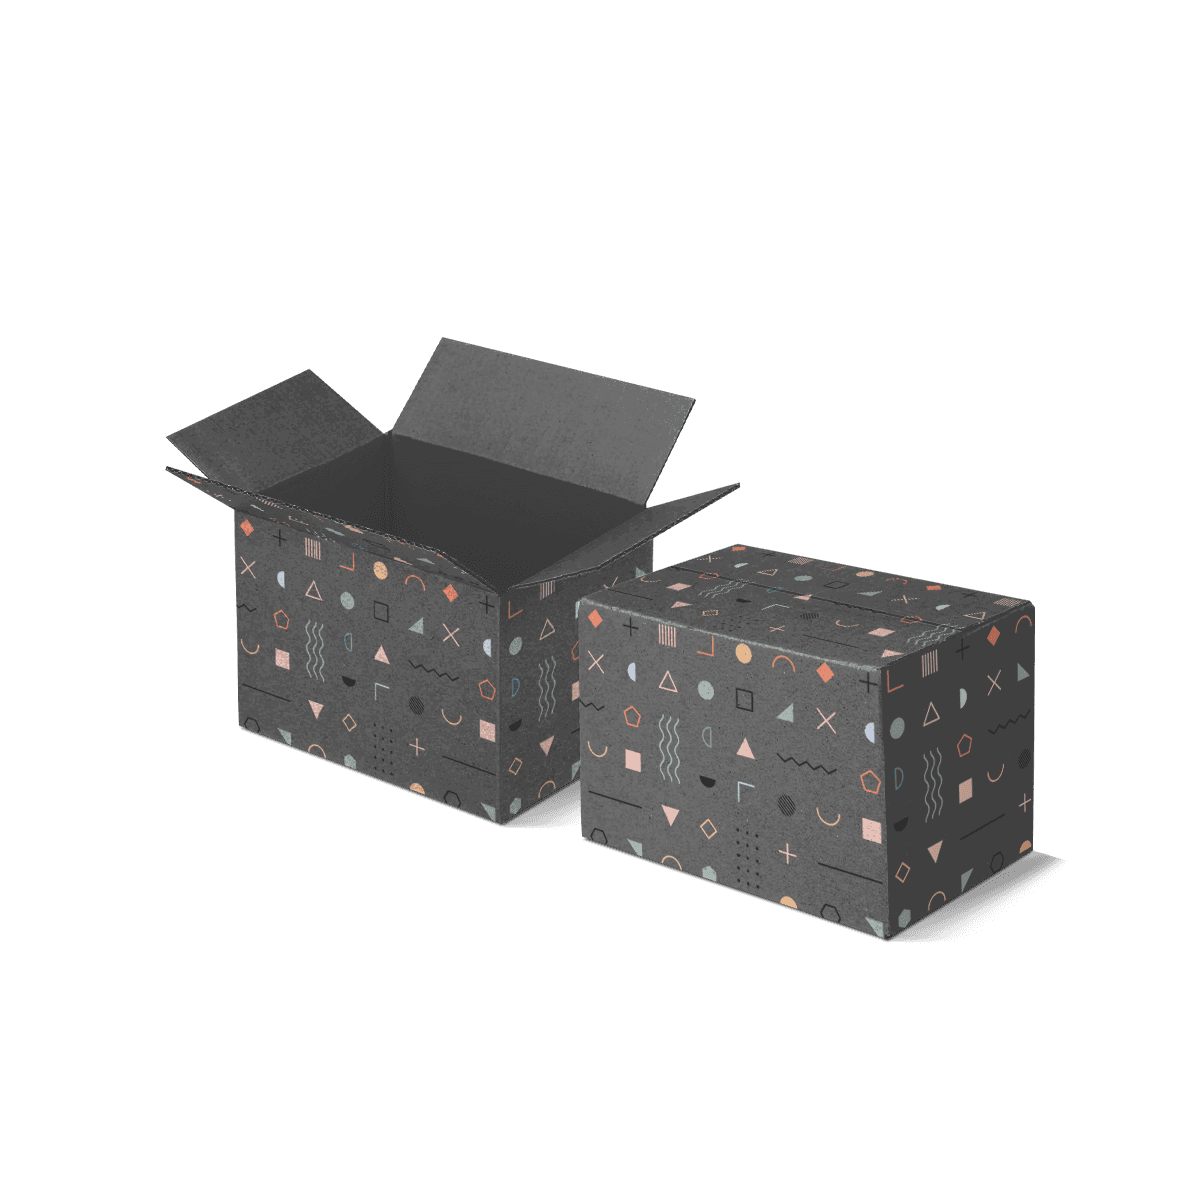
For direct shipment, there are two sensible routes. The tool pack can be built as a corrugated shipping-capable structure if the weight and handling risks are manageable, or it can sit inside a separate shipping box structure that absorbs the transit duty.

The second route often makes sense when the inner pack is intended to stay clean, open repeatedly or act as the organized storage unit after delivery. It also prevents shipping labels and sealing tape from taking over the surfaces people need for set identification.

The outer transit carton should still fit closely enough to limit movement. A stronger shipper does not fix an inner tool pack that allows a dense tool to hammer against its insert.

Print for the Work

Printing on industrial tool packaging should reduce mistakes before it adds decoration. A clean exterior can show the set name, model code, barcode, contents and opening orientation. Interior print can label tool positions, accessory groups or return locations when that makes the set faster to check.

A simple silhouette or tool name beside each cavity can turn the insert into a count-control system. If a socket, gauge or wrench is missing, the empty position is visible before the box is closed.

Branding still matters, especially for retail and distributor programs, but it should not crowd out functional text. High-contrast codes and readable technical copy often earn their space more than decorative effects on an MRO pack.

For programs with changing model codes or larger production runs, the choice between digital, offset and flexographic printing should follow artwork variation, quantity, board construction and color requirements.

CMYK can handle full-color imagery and diagrams. Pantone spot colors can be useful when a specific brand or identification color needs tighter control. The print method should be selected after the structure and material are known.

One Outer, Several Sets

Tool brands often want to reduce the number of packaging specifications across a product line. A shared outer box can work across several tool sets, but only when the internal layout can change without creating excess space or weakening retention.

For example, three cordless tool models may use the same charger and battery but different tool bodies. A common corrugated shell with model-specific inserts may simplify purchasing if the largest and smallest layouts still handle well. If one model needs large voids or excessive filler, separate outside sizes are usually cleaner.

The same logic applies to accessory bundles. A base set and an expanded set can sometimes share one outer structure while using a different insert, printed identifier or compartment arrangement.

As volume grows, packaging that is not ready to scale often shows up as slow packout, too many nearly identical specifications and changes that are hard to trace.

Revision marks on artwork and insert drawings can help distinguish updated tool layouts from older ones. For repeat production, the approved outer size, board, insert geometry and print files should stay tied to the exact set they support.

Price the Working Pack

Tool packaging cost is shaped by the whole working system, not only the outside box. The structure, board, insert material, number of cavities, print coverage, assembly requirement, quantity and sampling needs can all change the price.

Custom Packly's USA MOQ starts from 100 boxes. Free design and dieline support and free 3D mockups can help settle the layout before production. Free sample examples of previous work are offered, while a fully custom physical sample can be arranged as a paid sample when an exact tool-and-insert fit needs physical confirmation.

The standard turnaround is 4–6 days after final specifications and artwork approval. Complex structures, specialty materials and advanced finishes can require more time. US production and free shipping can simplify supply planning for domestic orders.

Once the tool layout, packed weight, structure, insert and quantity are defined, request an instant custom packaging quote against that working specification.

For larger repeat programs, warehousing and scheduled deliveries can reduce the need to hold the entire packaging run at one location.

Missing Space Should Speak

The best custom tool box can help answer a simple operational question before it is closed: is every tool back where it belongs?

That is why an empty cavity should be readable. A fitted pocket, printed silhouette, tool label or contrasting interior can make a missing item visible at a glance. This is especially valuable for service sets, calibration tools, shared maintenance equipment and field kits that move between people.

The same interior logic can reduce packing errors at the factory. Instead of checking a loose pile against a list, the packer can see whether each position is filled.

That final check is one of the clearest reasons to treat Custom Tool Boxes as organized working packaging rather than ordinary cartons. The box protects the set, but its greater value is making the set easier to understand before, during and after use.

FAQs

Because loose packing can let tools collide, shift and arrive looking incomplete. A tool box format creates a defined place for each item so the set stays more organized and easier to check.

It works well for screwdriver sets, socket kits, calibration tools, electrical hand tools, inspection gear and mixed service assortments that need one organized pack instead of separate loose items.

Tool Boxes are usually designed around a complete reusable set with fixed placement for each piece. Repair Parts Boxes are a better fit for replacement components, smaller service orders and spare items that do not need a tool-control layout.

Yes. The same pack can combine branded outer graphics with insert-based protection and right-sized structure so it works for shelf programs, distributor shipments and direct issue to crews.

Foam is often the stronger choice when the tools are heavy, have finished surfaces or need a more exact hold. Corrugated partitions can still work well for lighter grouped items and accessory-led kits.

Process

How it works

Your Packaging Journey, From Idea to Production and Delivery

01

Tell Us Your Specs

Custom packaging boxes

Tell Us Your Specs

Provide size, quantity, printing, and finishes.

02

Get a Fast Quote

Custom packaging boxes

Get a Fast Quote

Instant transparent pricing, no hidden fees.

03

Design and Approval

Custom packaging boxes

Design and Approval

Artwork checks, revisions, and final sign-off.

04

Produce

Custom packaging boxes

Produce

Expert manufacturing to meet deadlines.

05

Ship to Your Door

Custom packaging boxes

Ship to Your Door

Hassle-free, flexible delivery options.

Get Your Quote for Custom Tool Boxes

Share your product details, size, quantity and artwork needs. We’ll help choose the right packaging style and send a clear quote.